How to replace old windows with floor-to-ceiling windows? A breakdown of how I flooded my dining room with light.
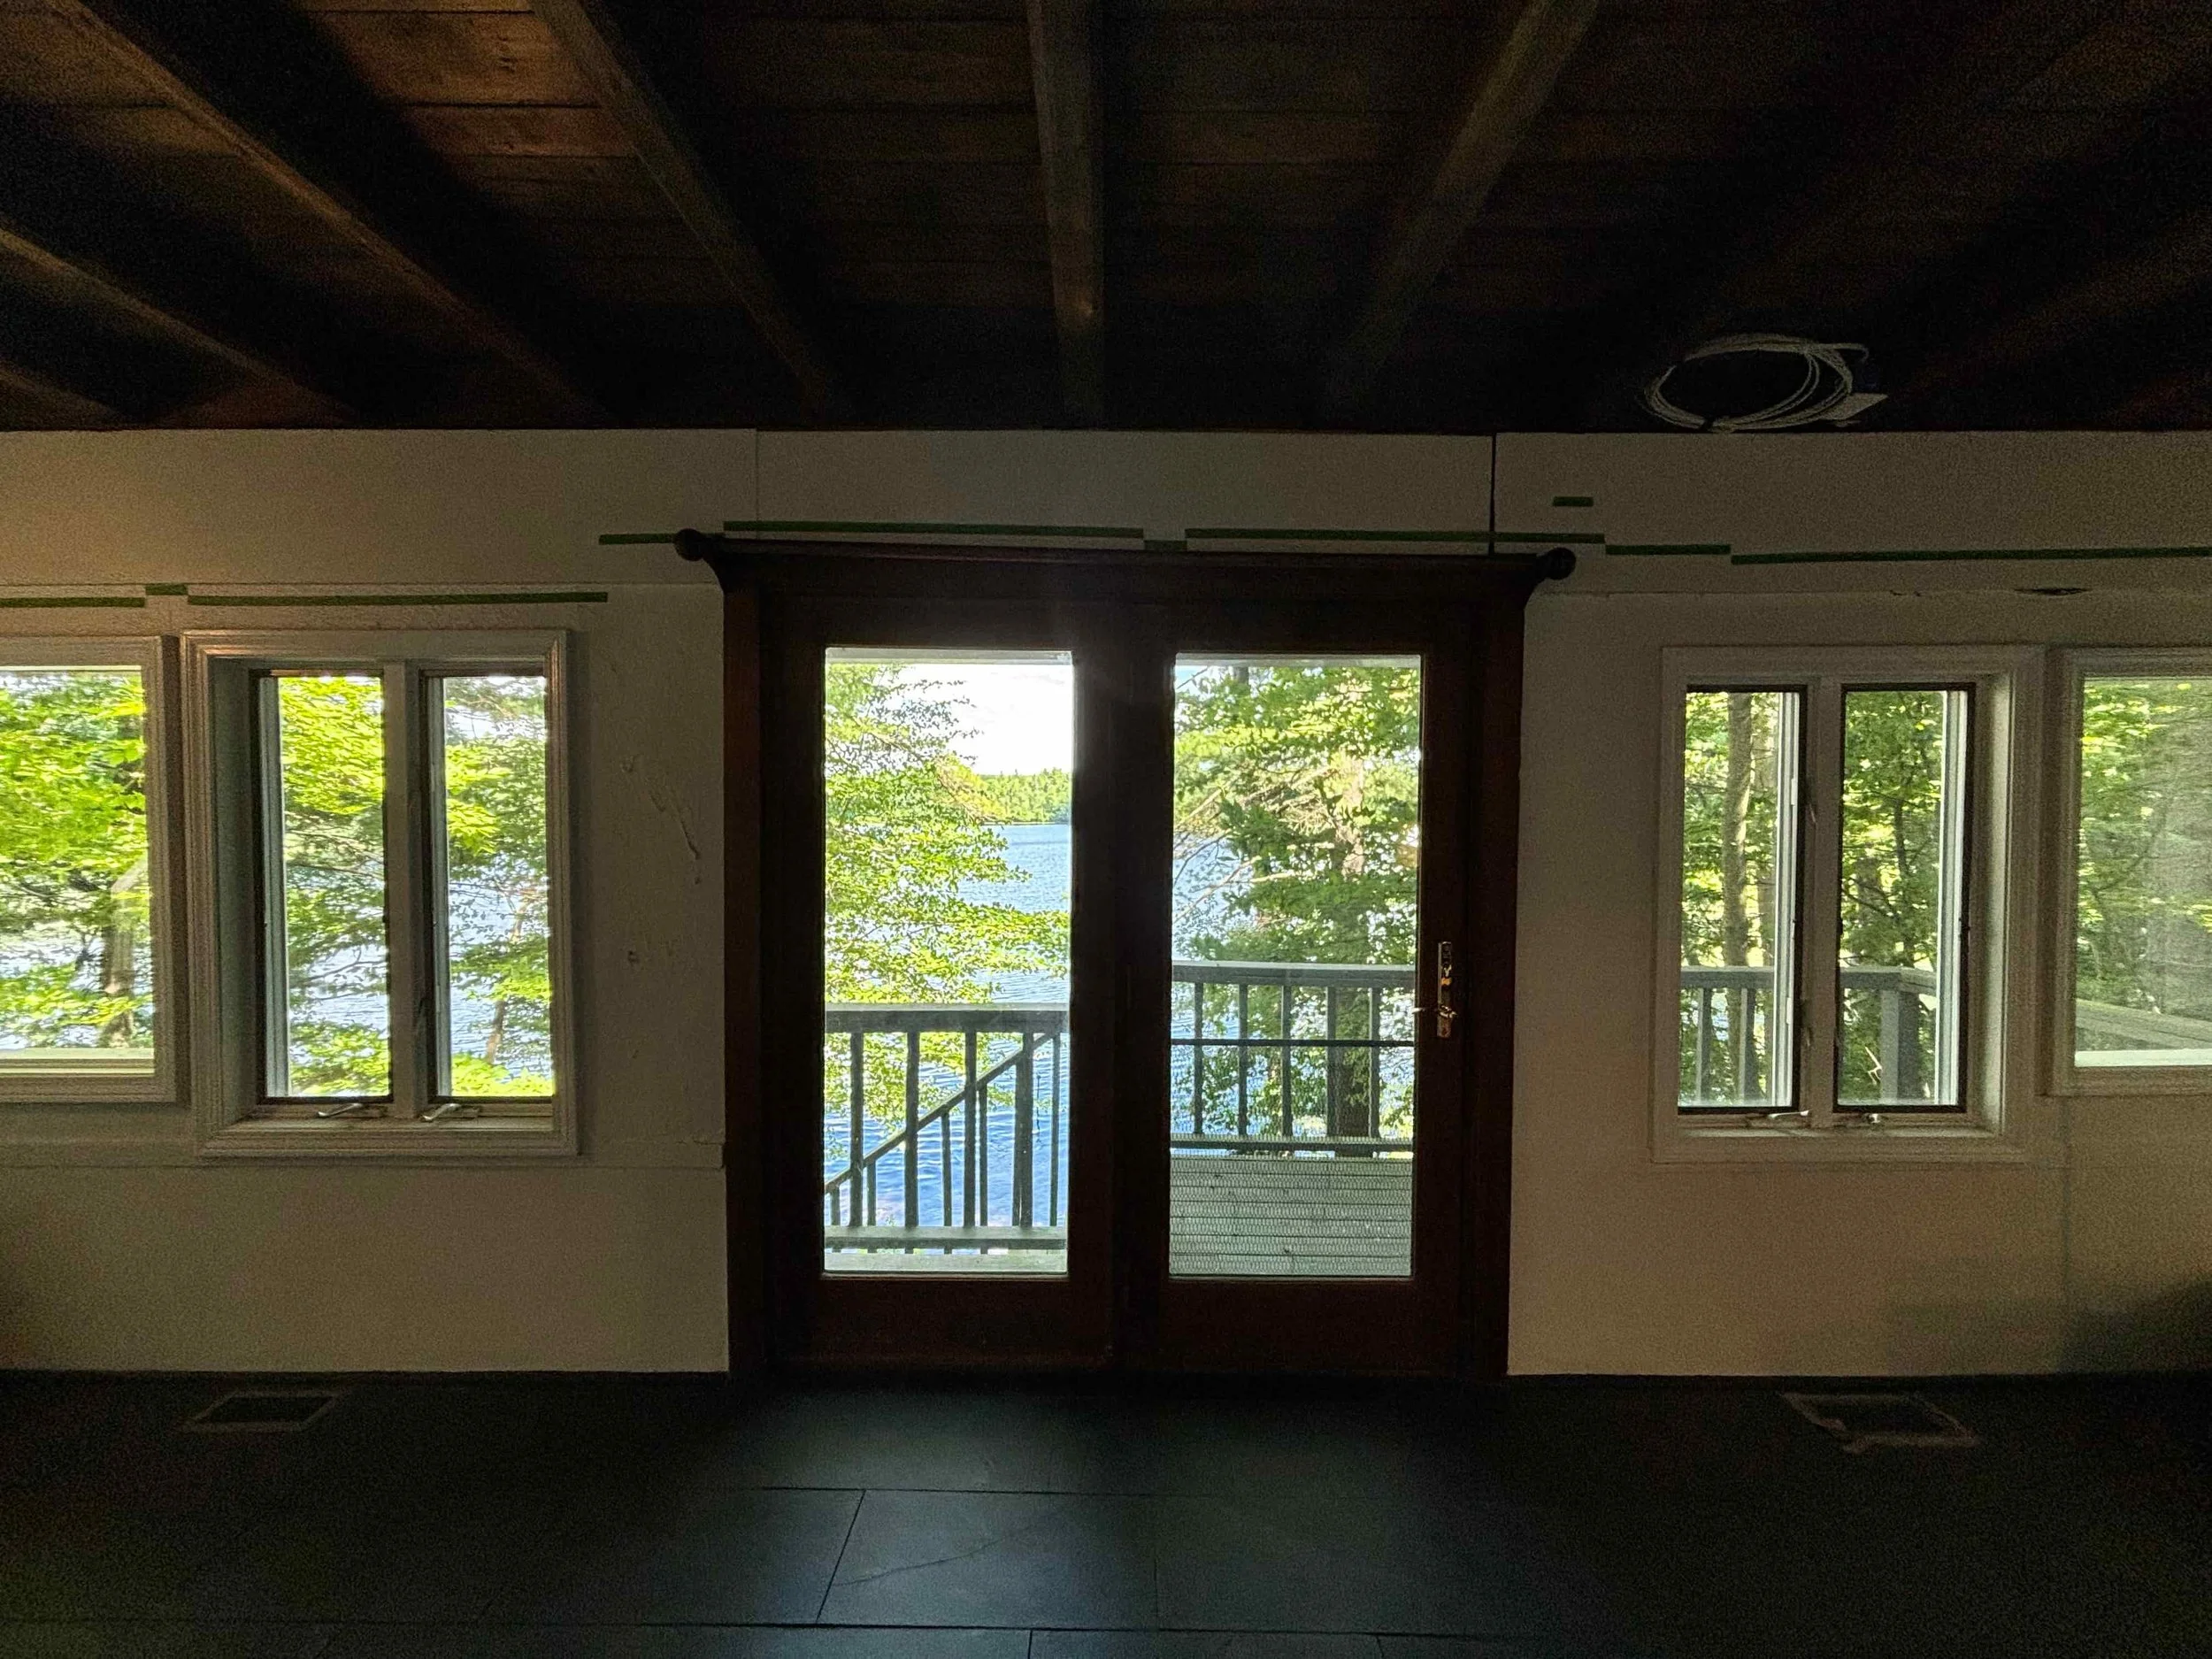
My house is north-facing. Read: dark.
Not a preferred choice, but when the priority is to have a waterfront house, the right to exercise preferences on anything else is restricted.
My husband and I knew from the beginning that we would install floor-to-ceiling windows to maximize views of the water and increase natural light penetration… what we didn’t expect was just how much of an impact floor-to-ceiling windows brought our home:
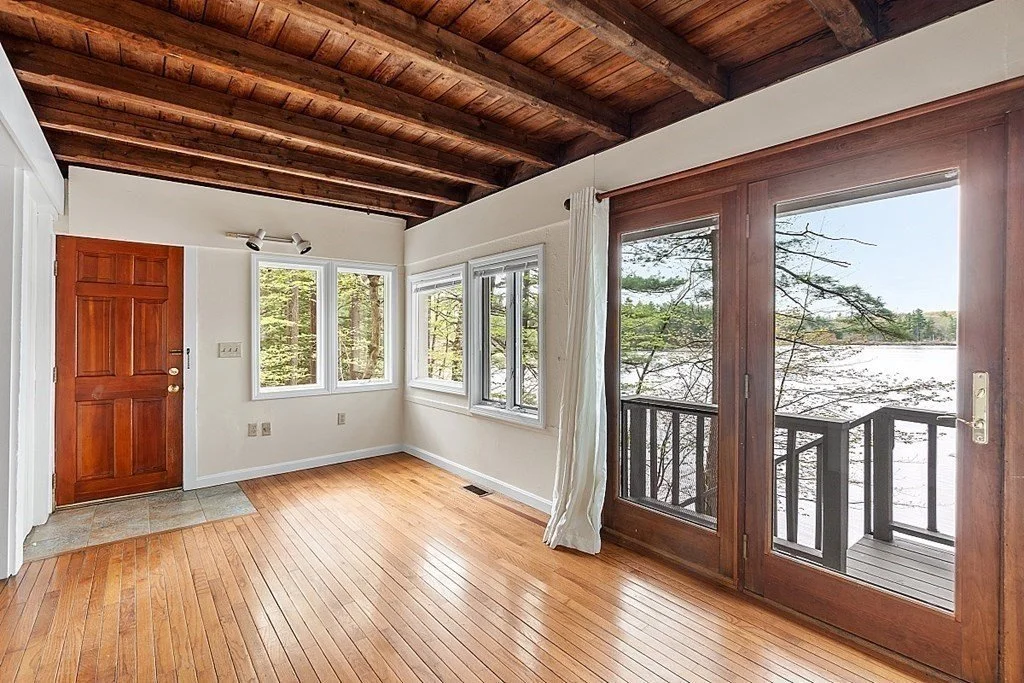
Before
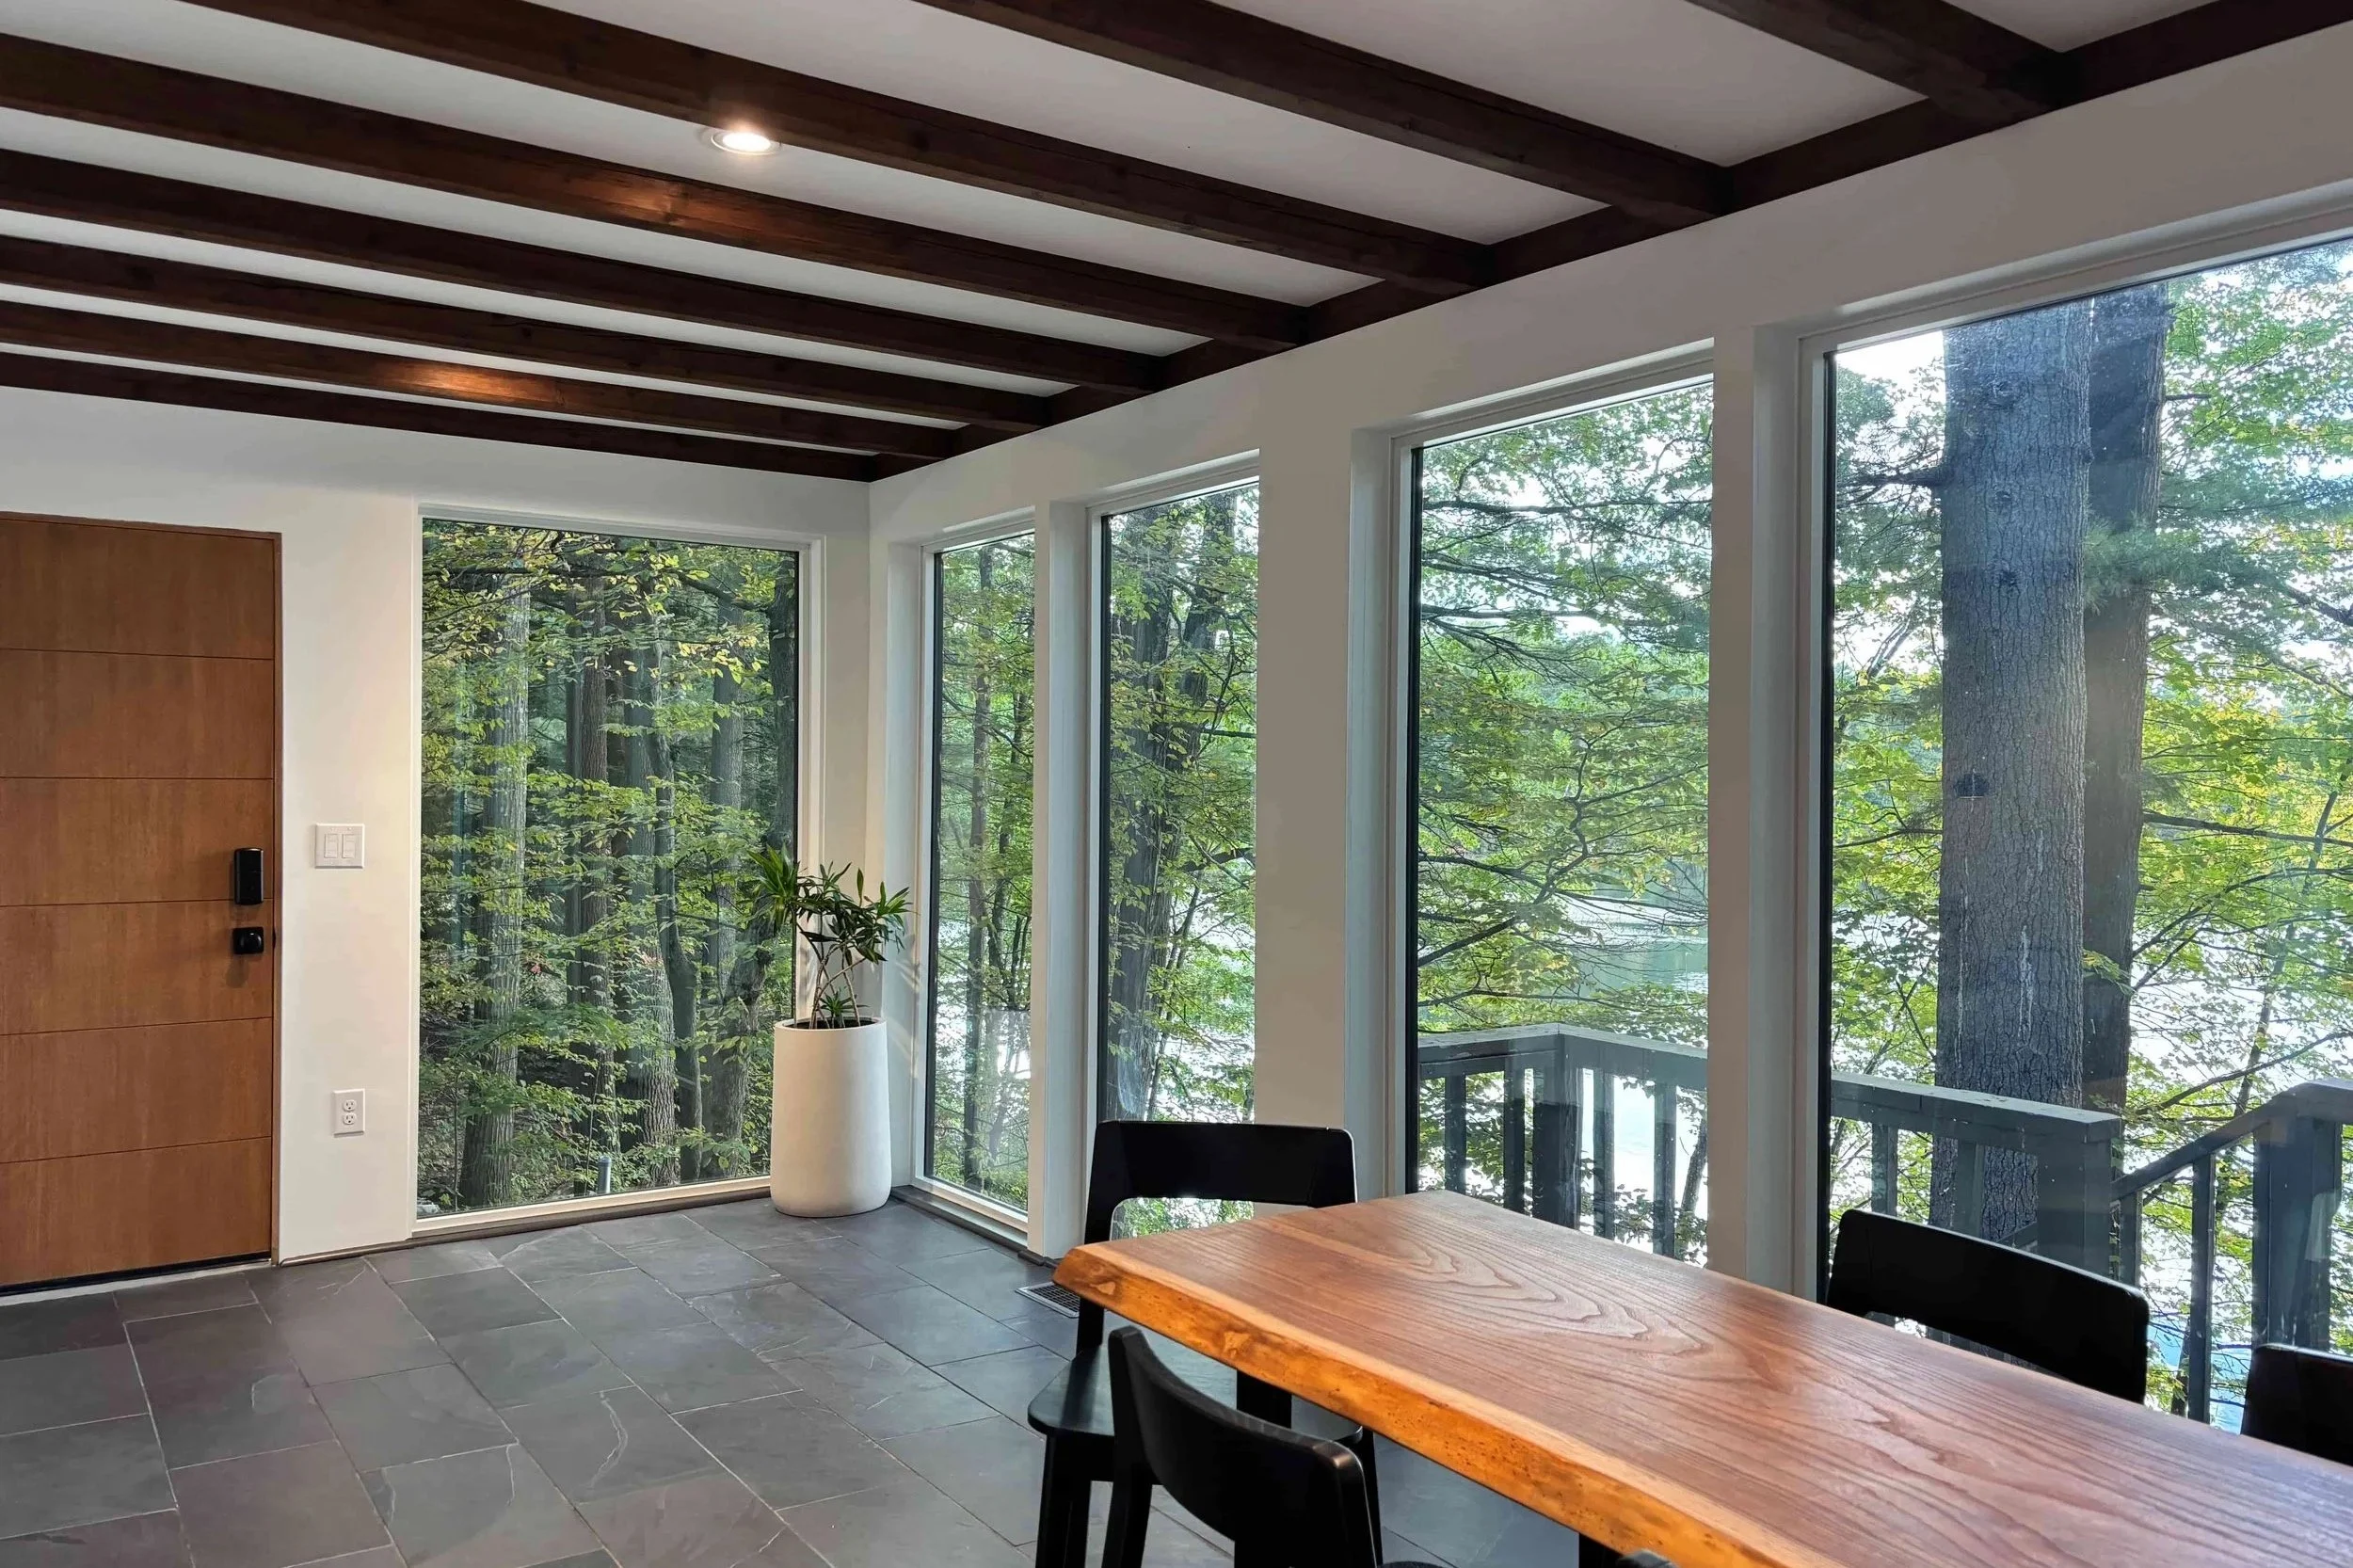
After
I’m being generous by using the listing photo (which was professionally taken and edited for brightness) for a direct angle comparison.
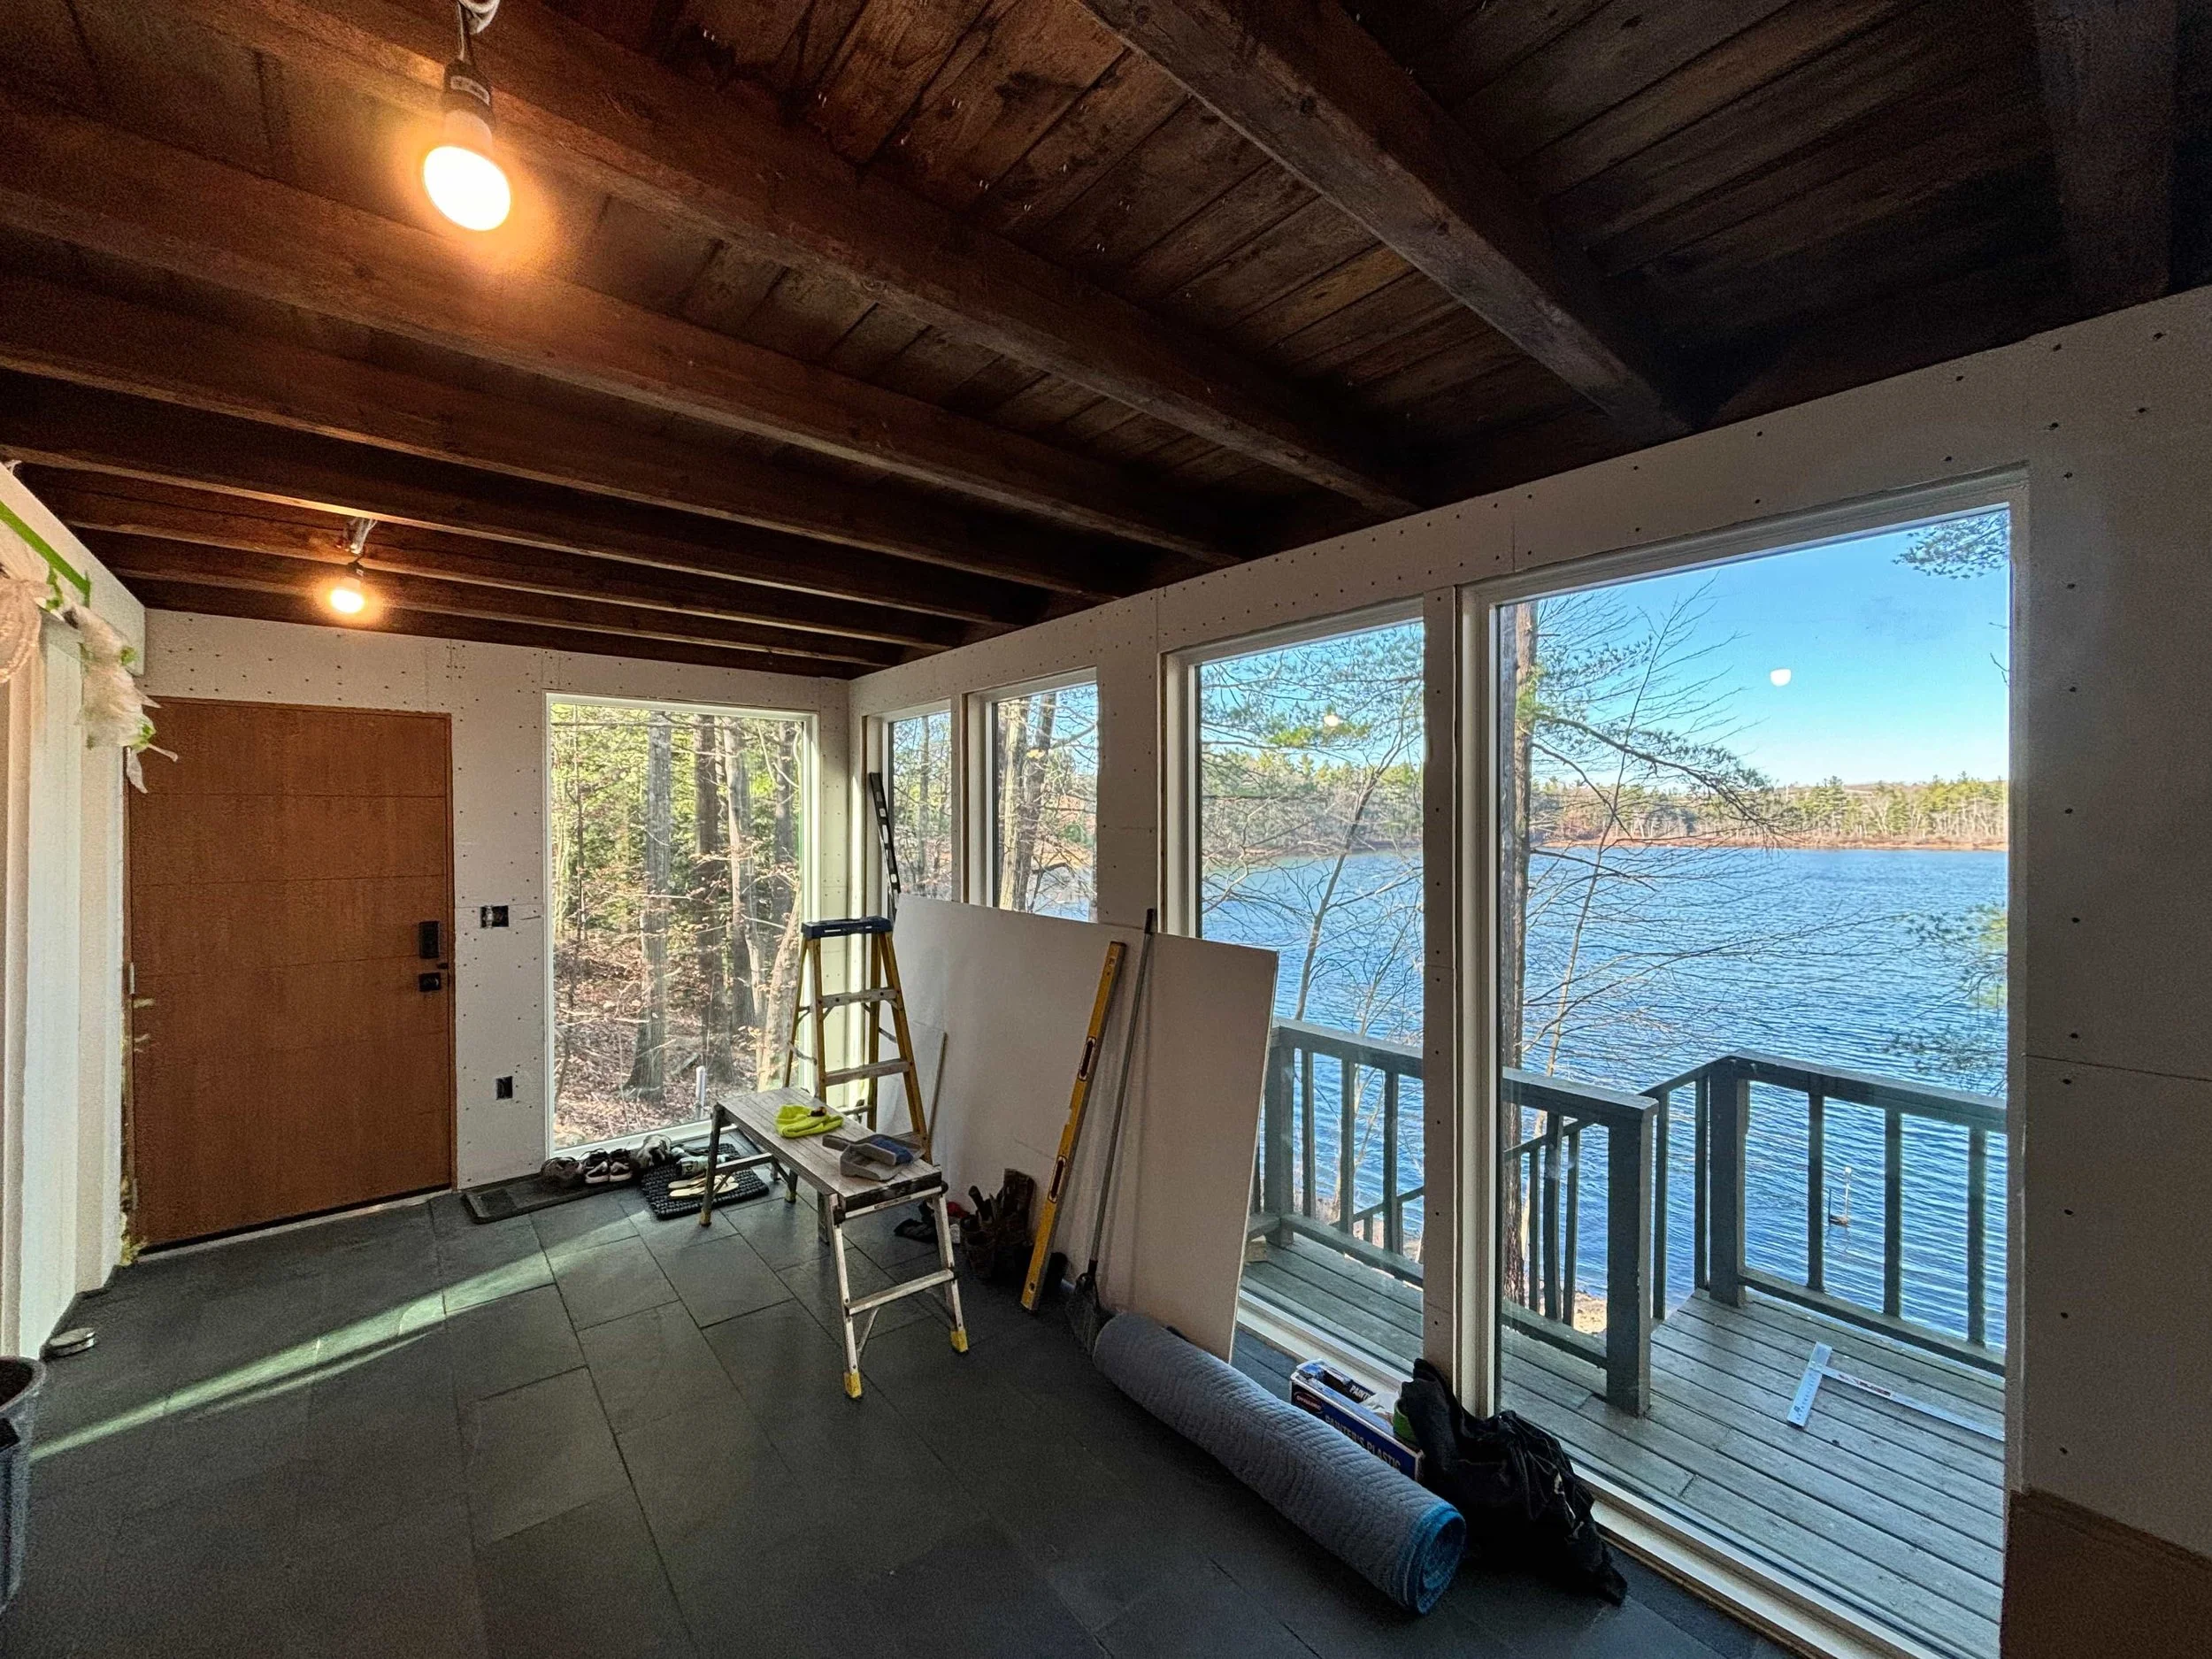
The reality shot is this:

How does one create floor-to-ceiling windows when they lie on the structural perimeter of the house?
Read on for a step-by-step break down.
Step 1: Consult contractor for dimensional layout
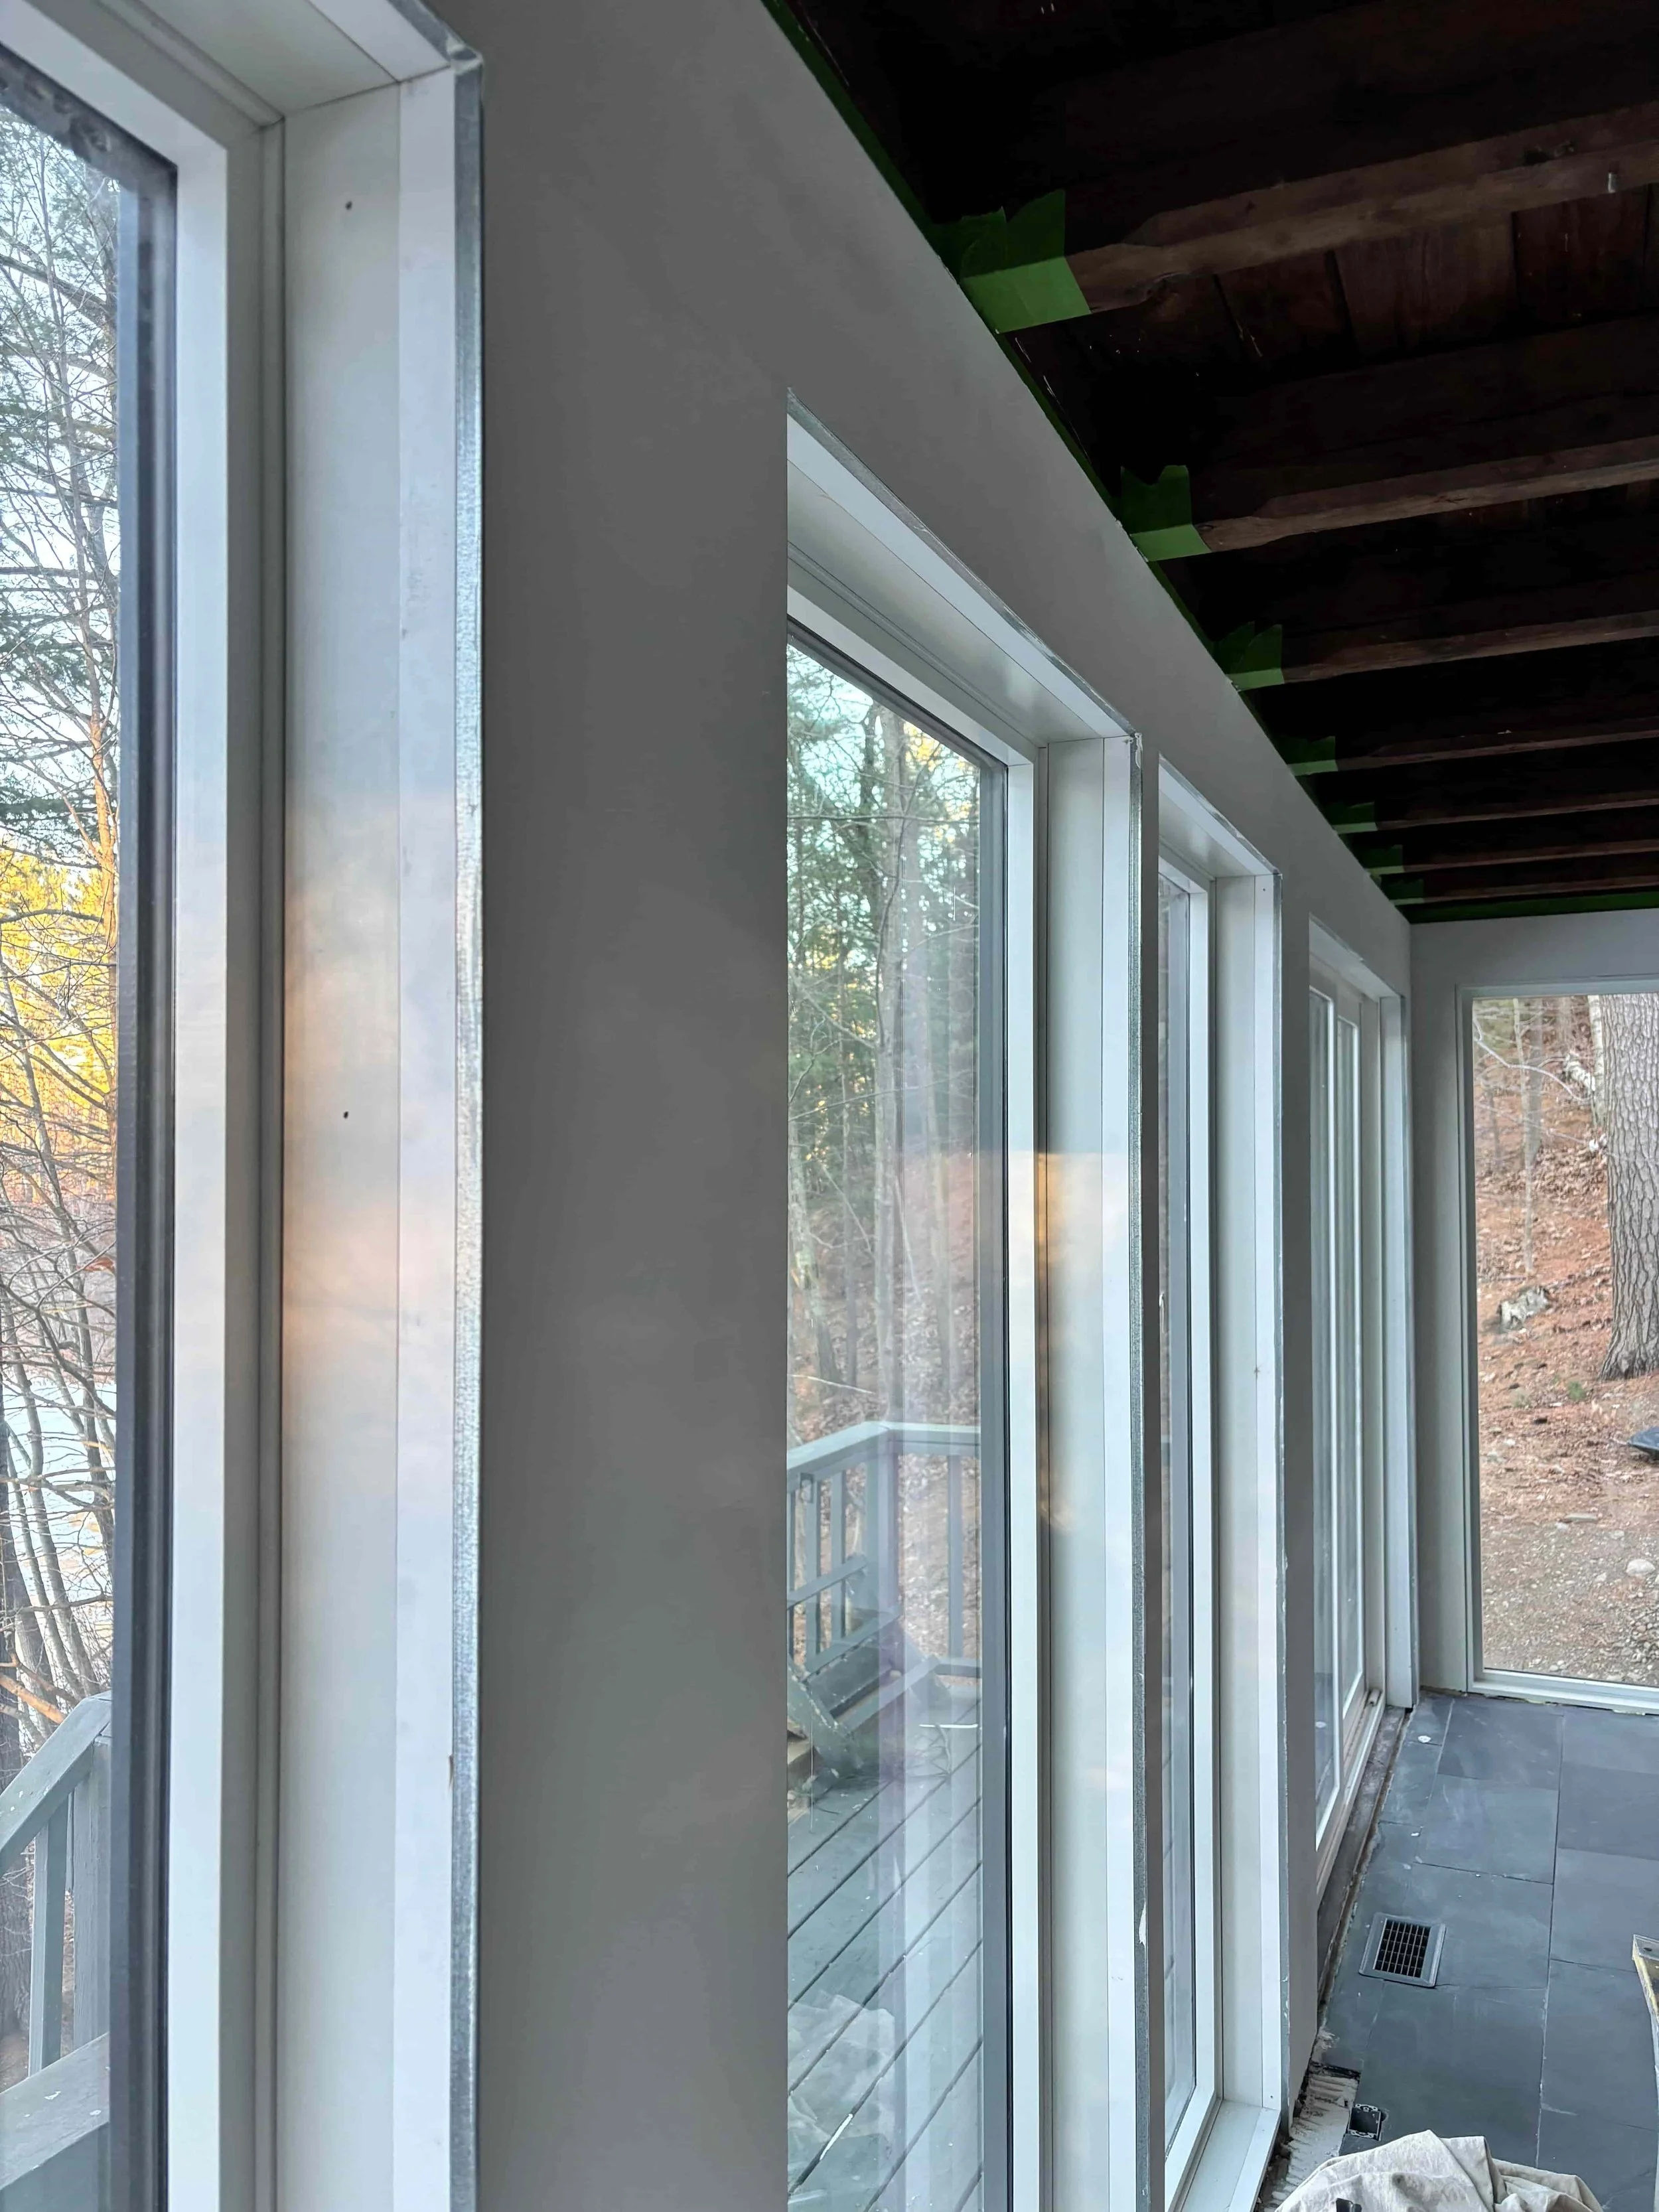
To be fair, our new windows are not exactly floor-to-ceiling. That would mean no white space above the top of the window- a vision we initially had, but quickly abandoned after consulting with our contractor.
Installing true floor-to-ceiling windows in our house would entail inserting a steel beam, running the structural load down the ground and reinforcing the base of the house with cement footings. It would be too involved and very expensive.
We settled for “as much height as possible”.
Next, we marked out the plan with tape for a visual reference. (We’ve been marking our renovation with tape since the beginning and I highly recommend it.)
Step 2: Pull a permit
A permit is needed if the window replacement project involves structural work. You do not need to pull a permit if you’re simply executing a like-for-like window replacement.
I pulled the permit by my own. Contrary to popular belief that permits could only be pulled by a general contractor, all homeowners have the right to pull a building permit.
Also: pulling a permit is not rocket science. I put together mine with a powerpoint presentation.
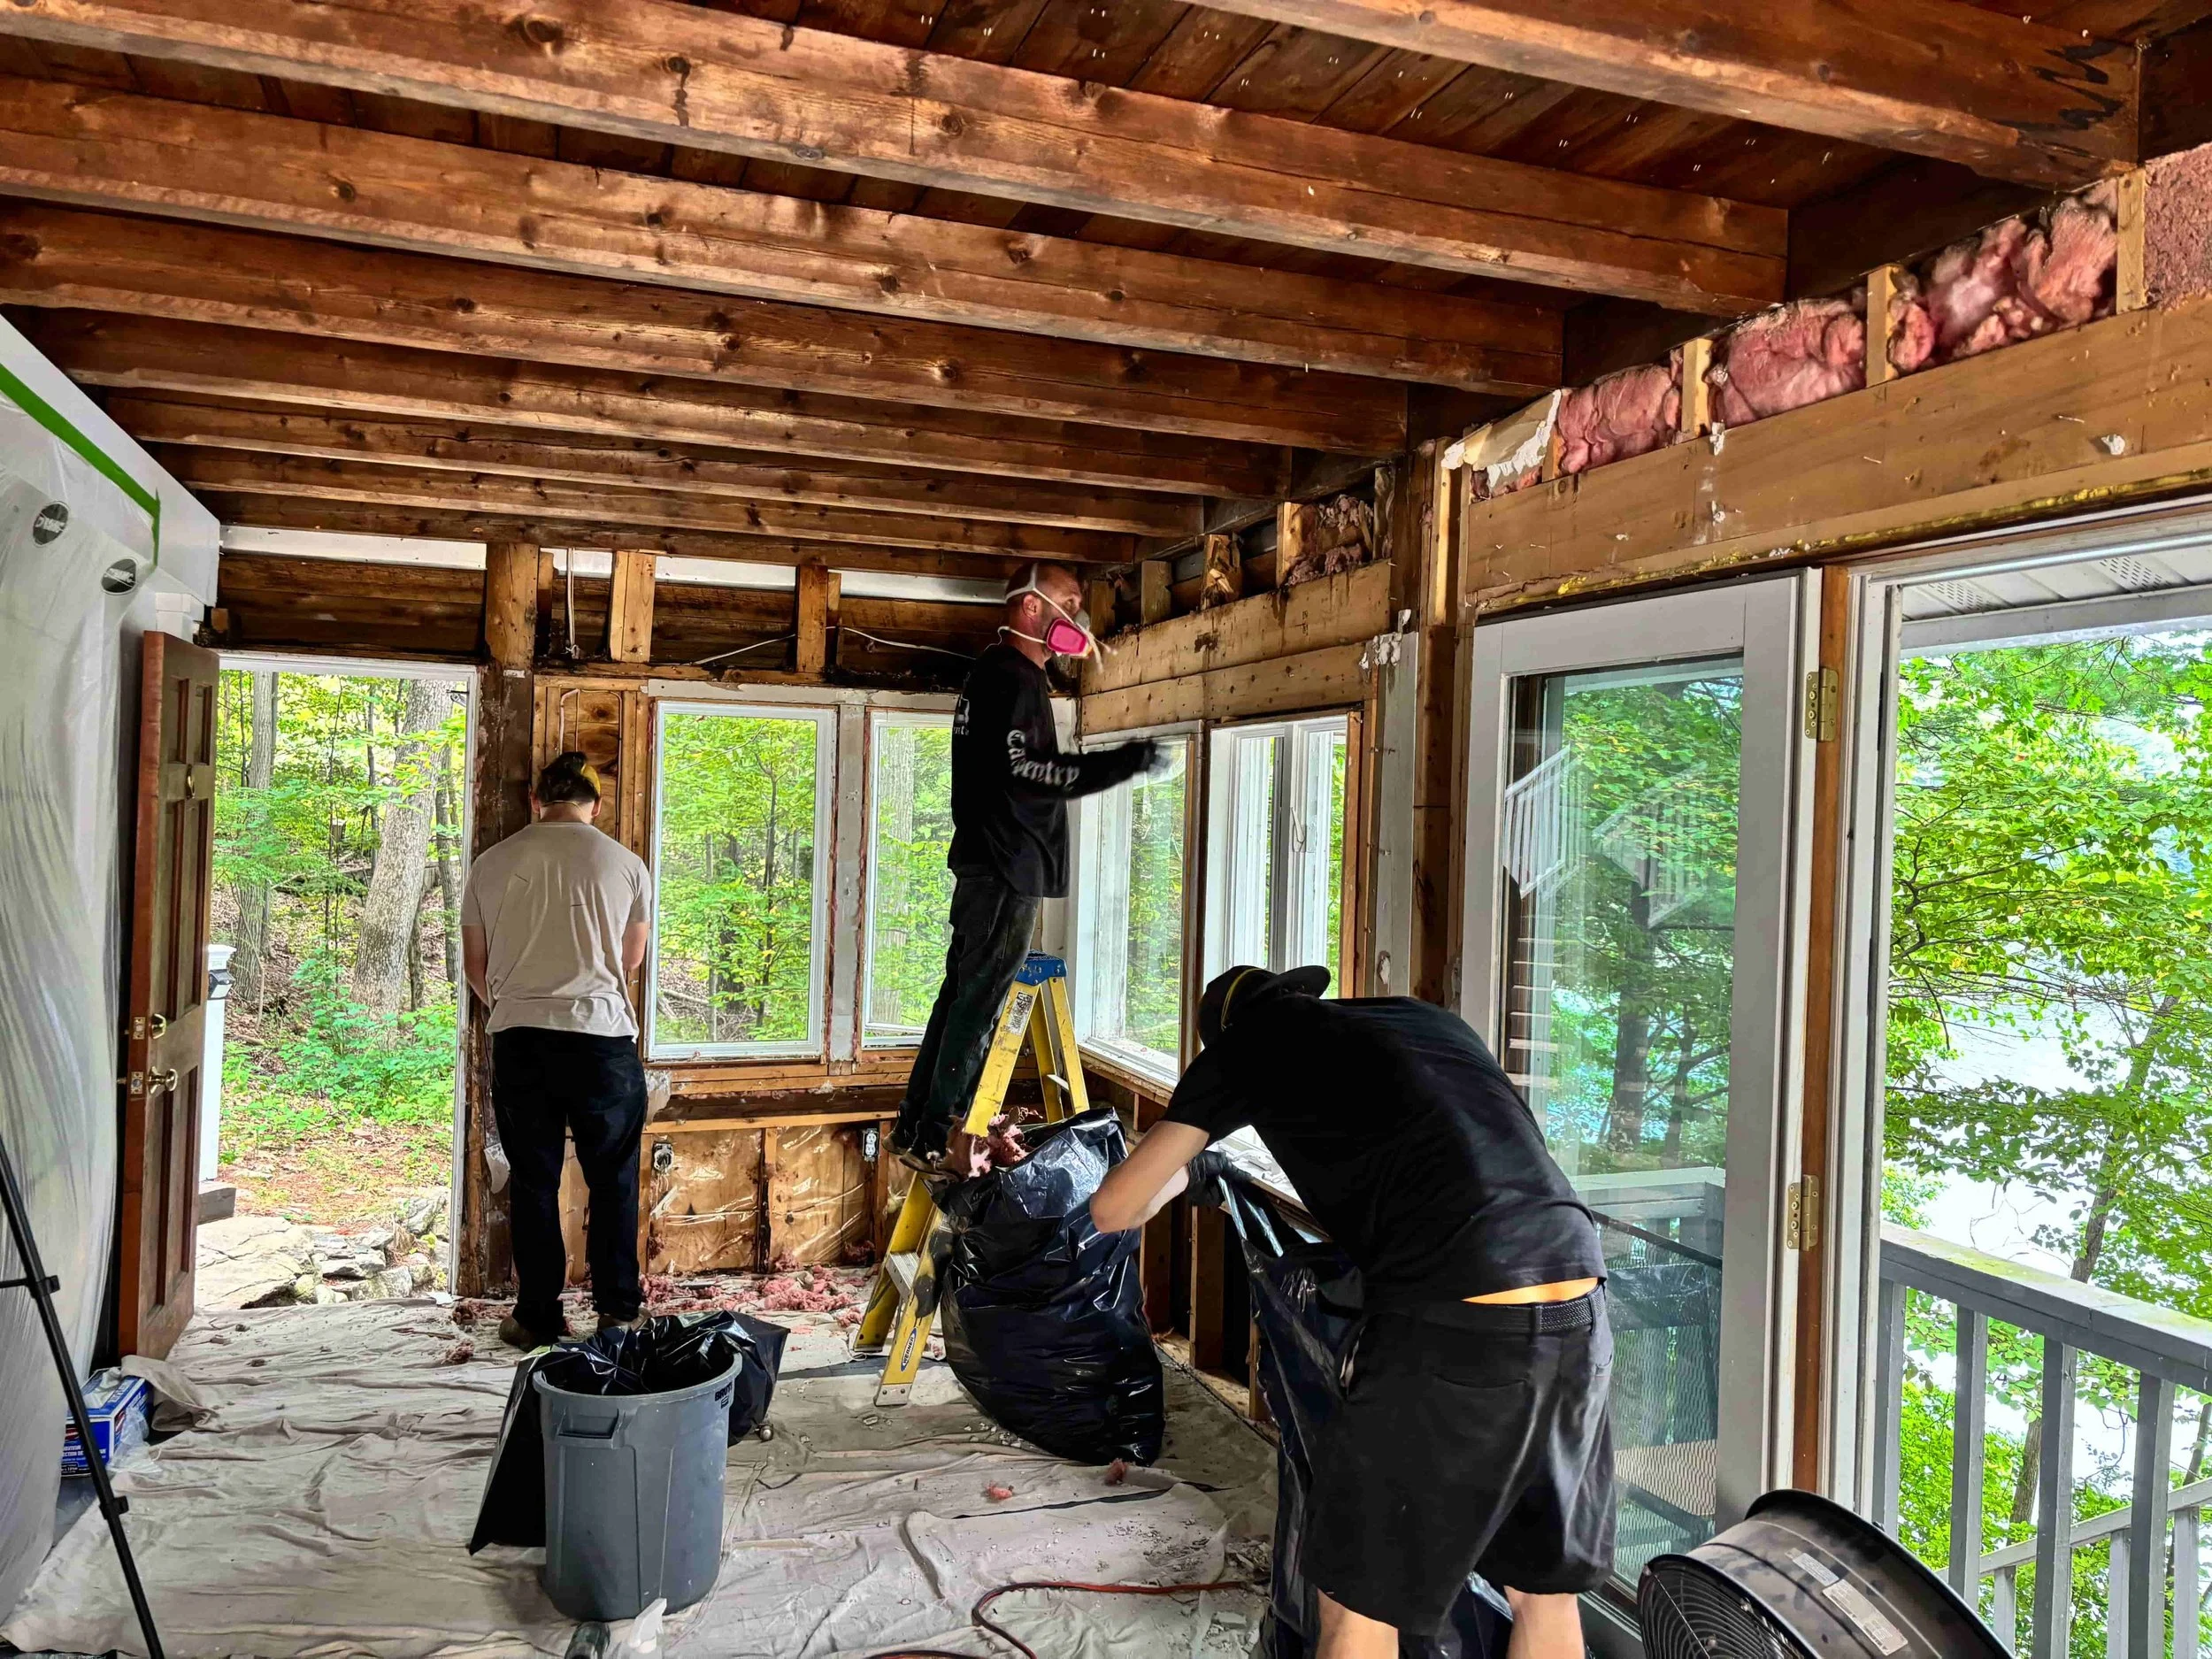
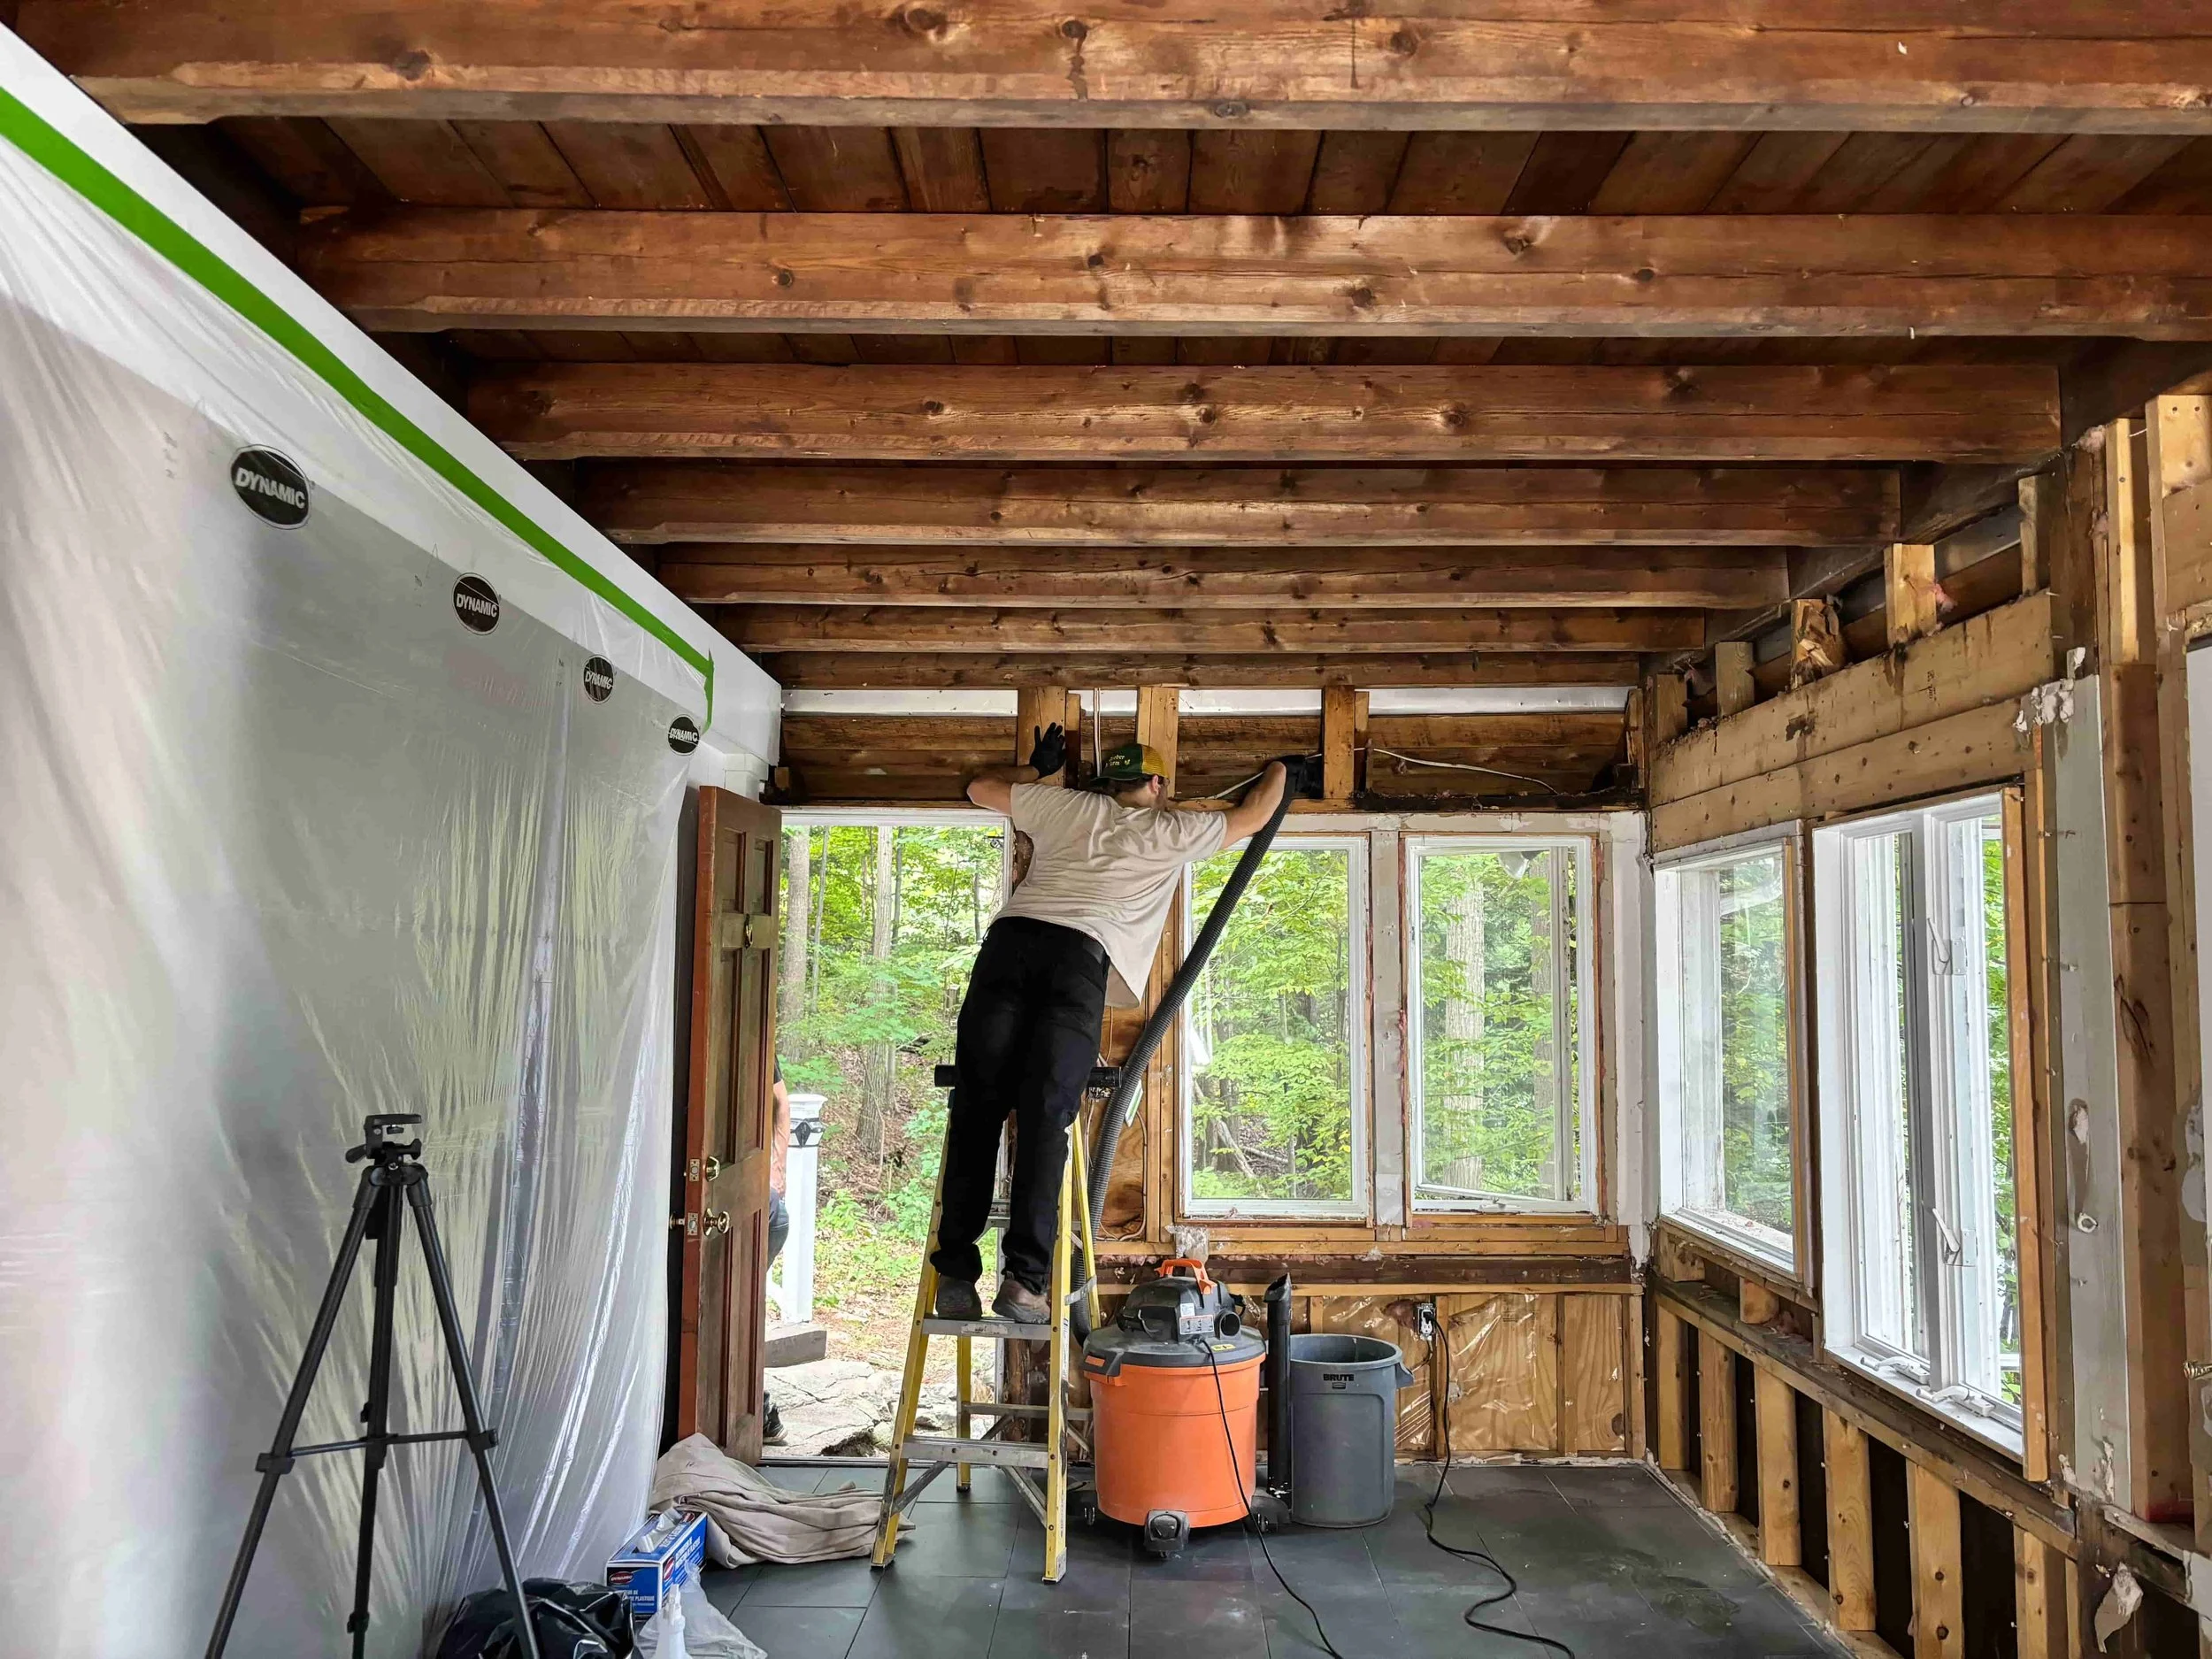
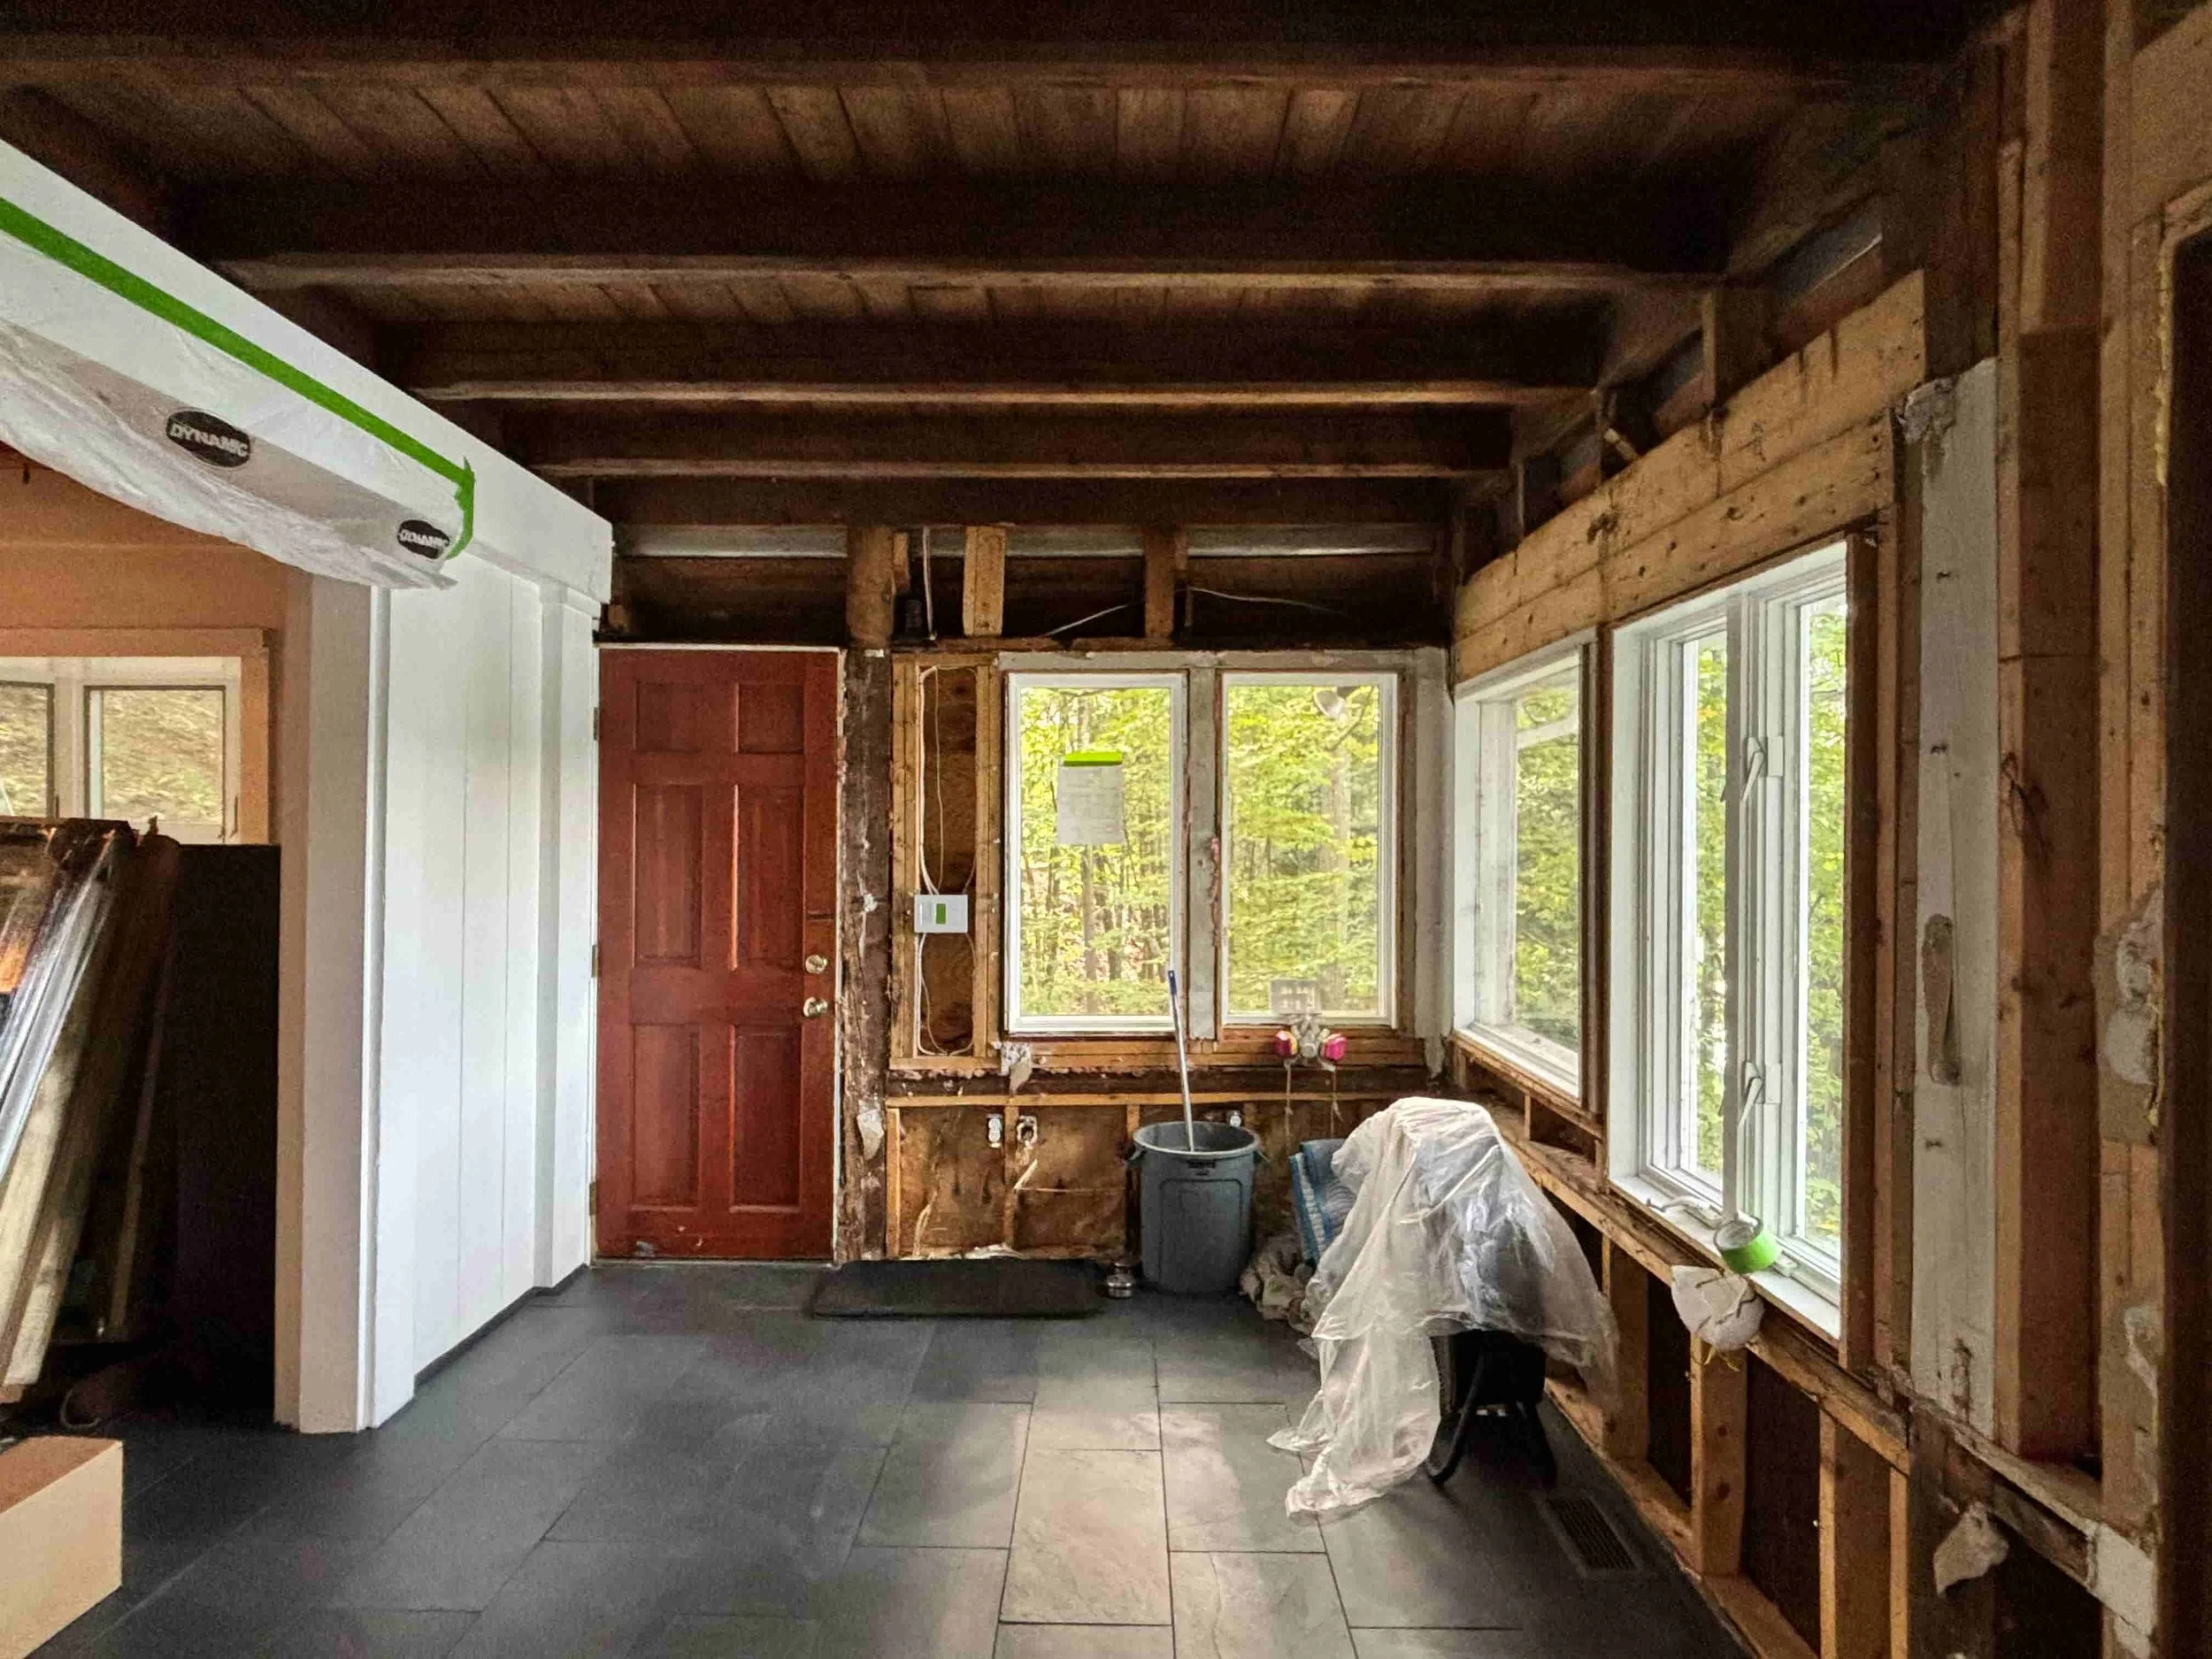
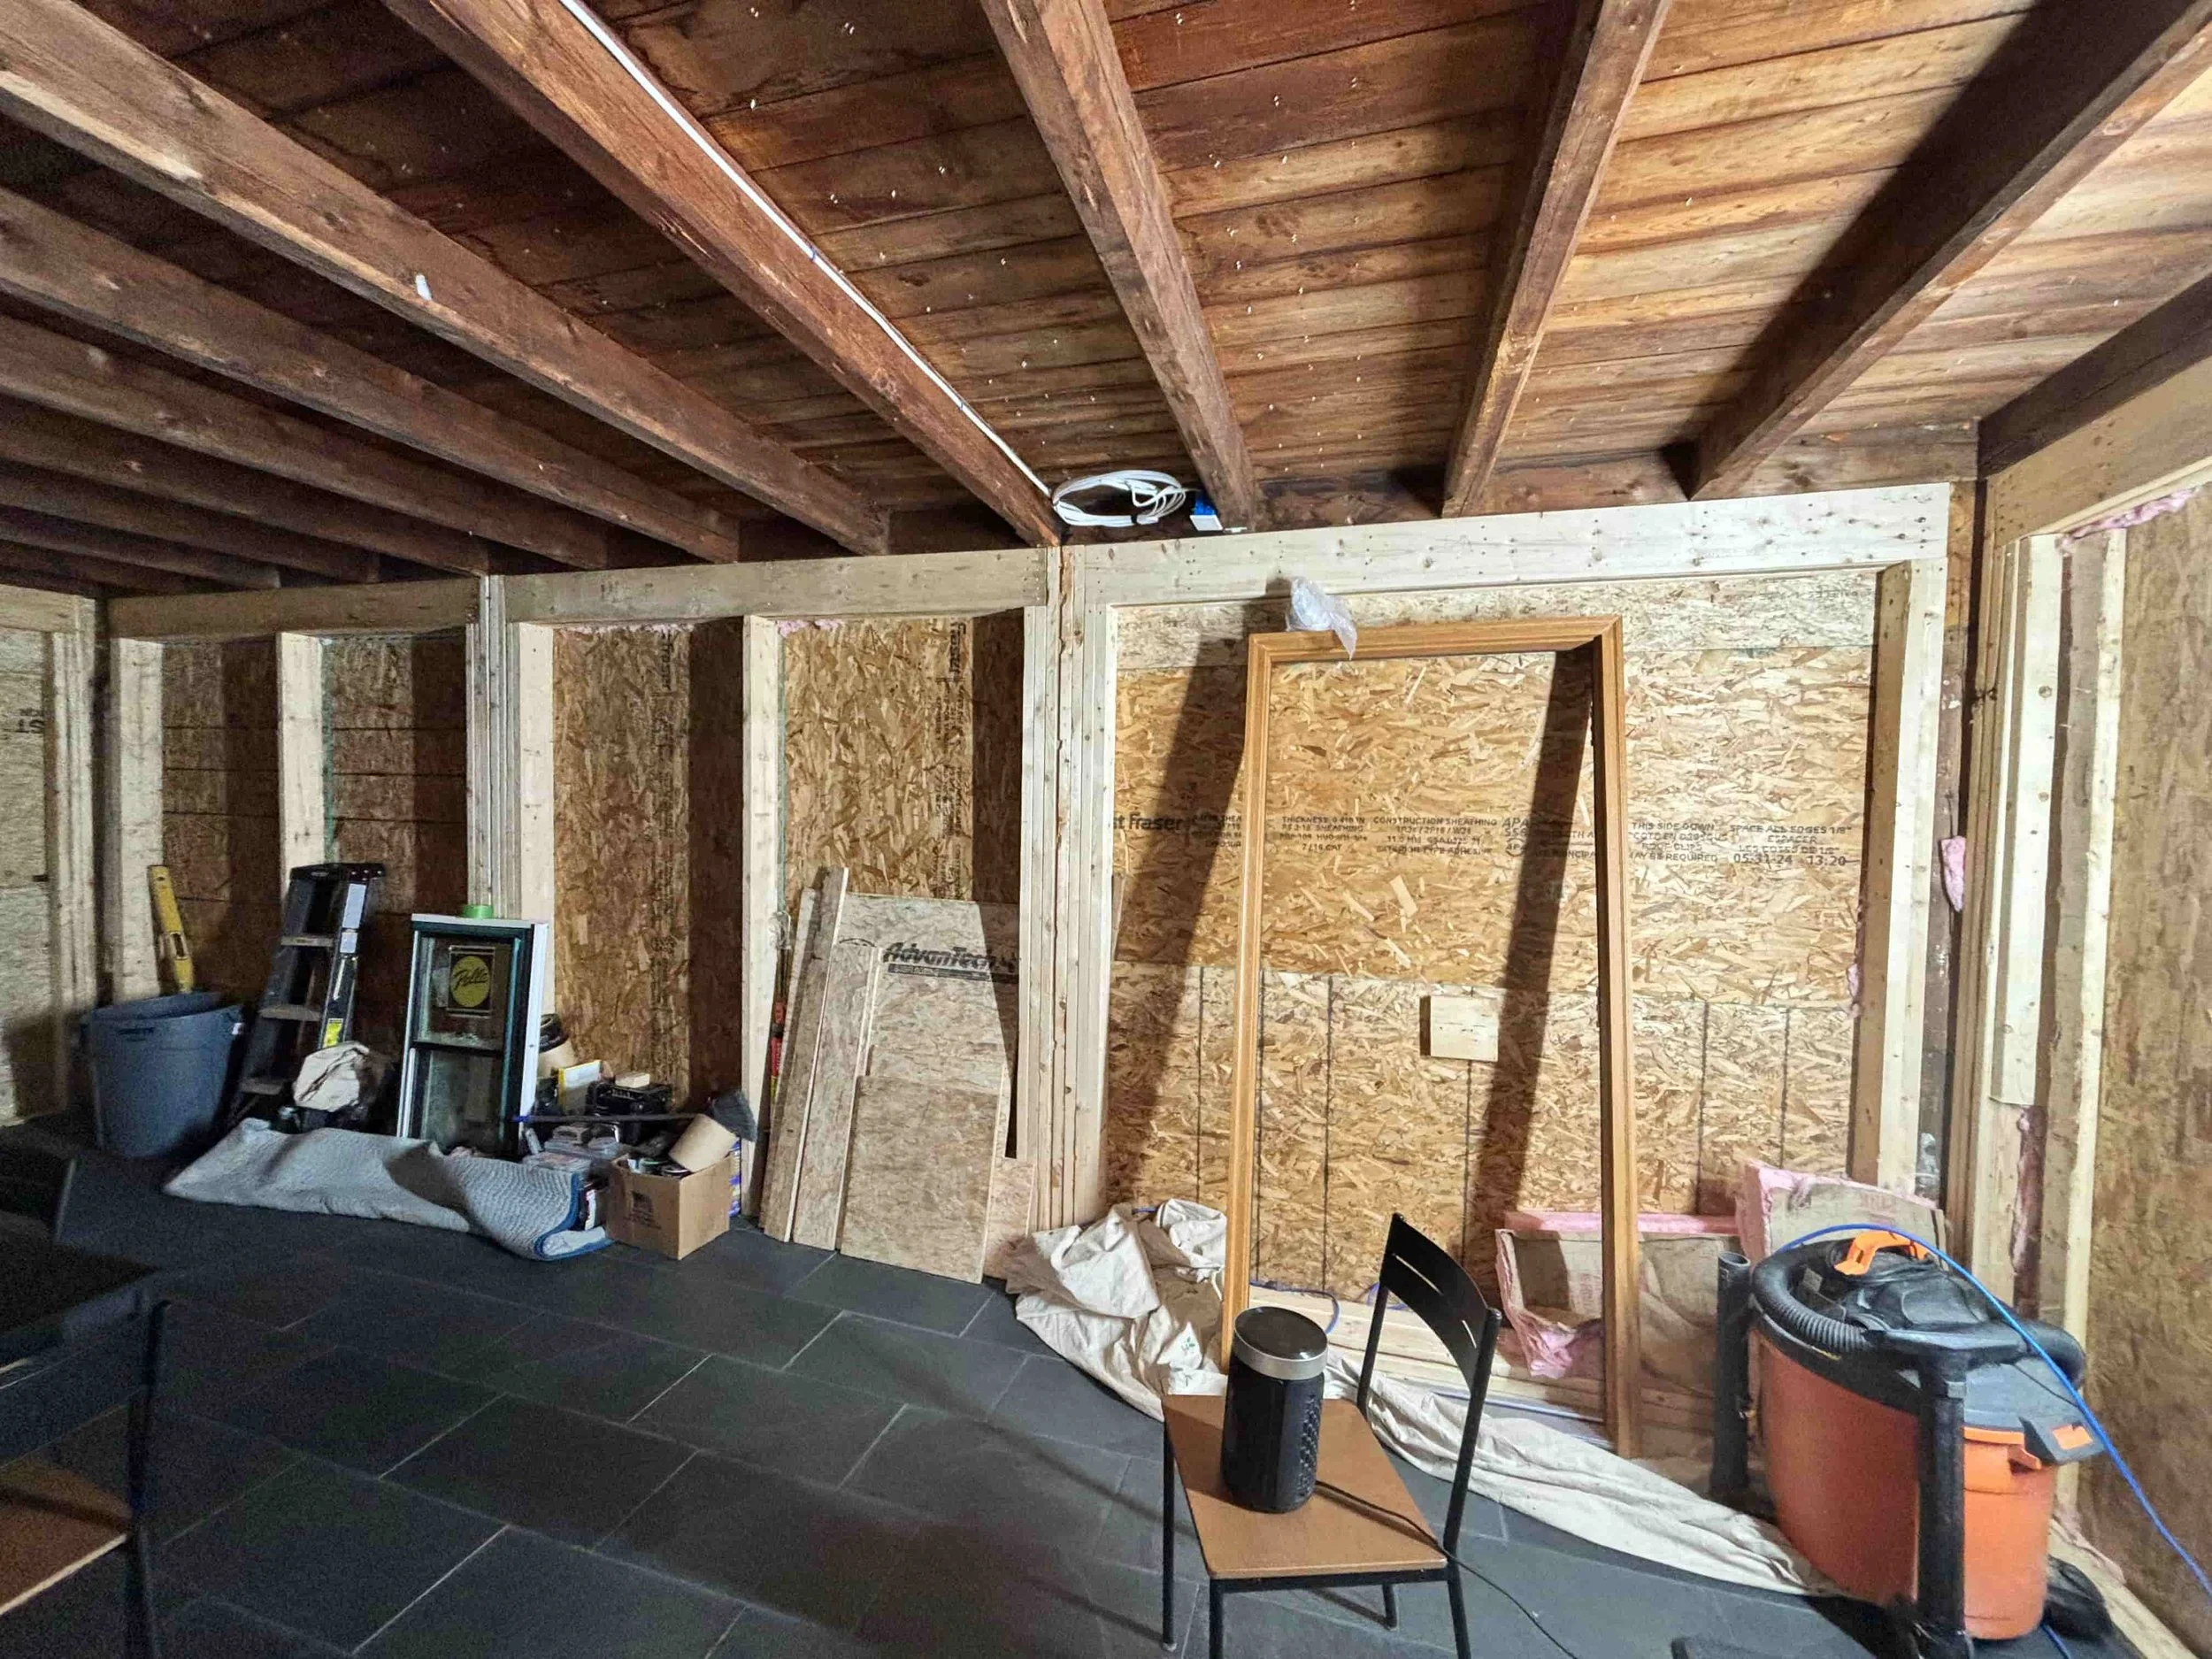
Step 3: Remove drywall and insulation
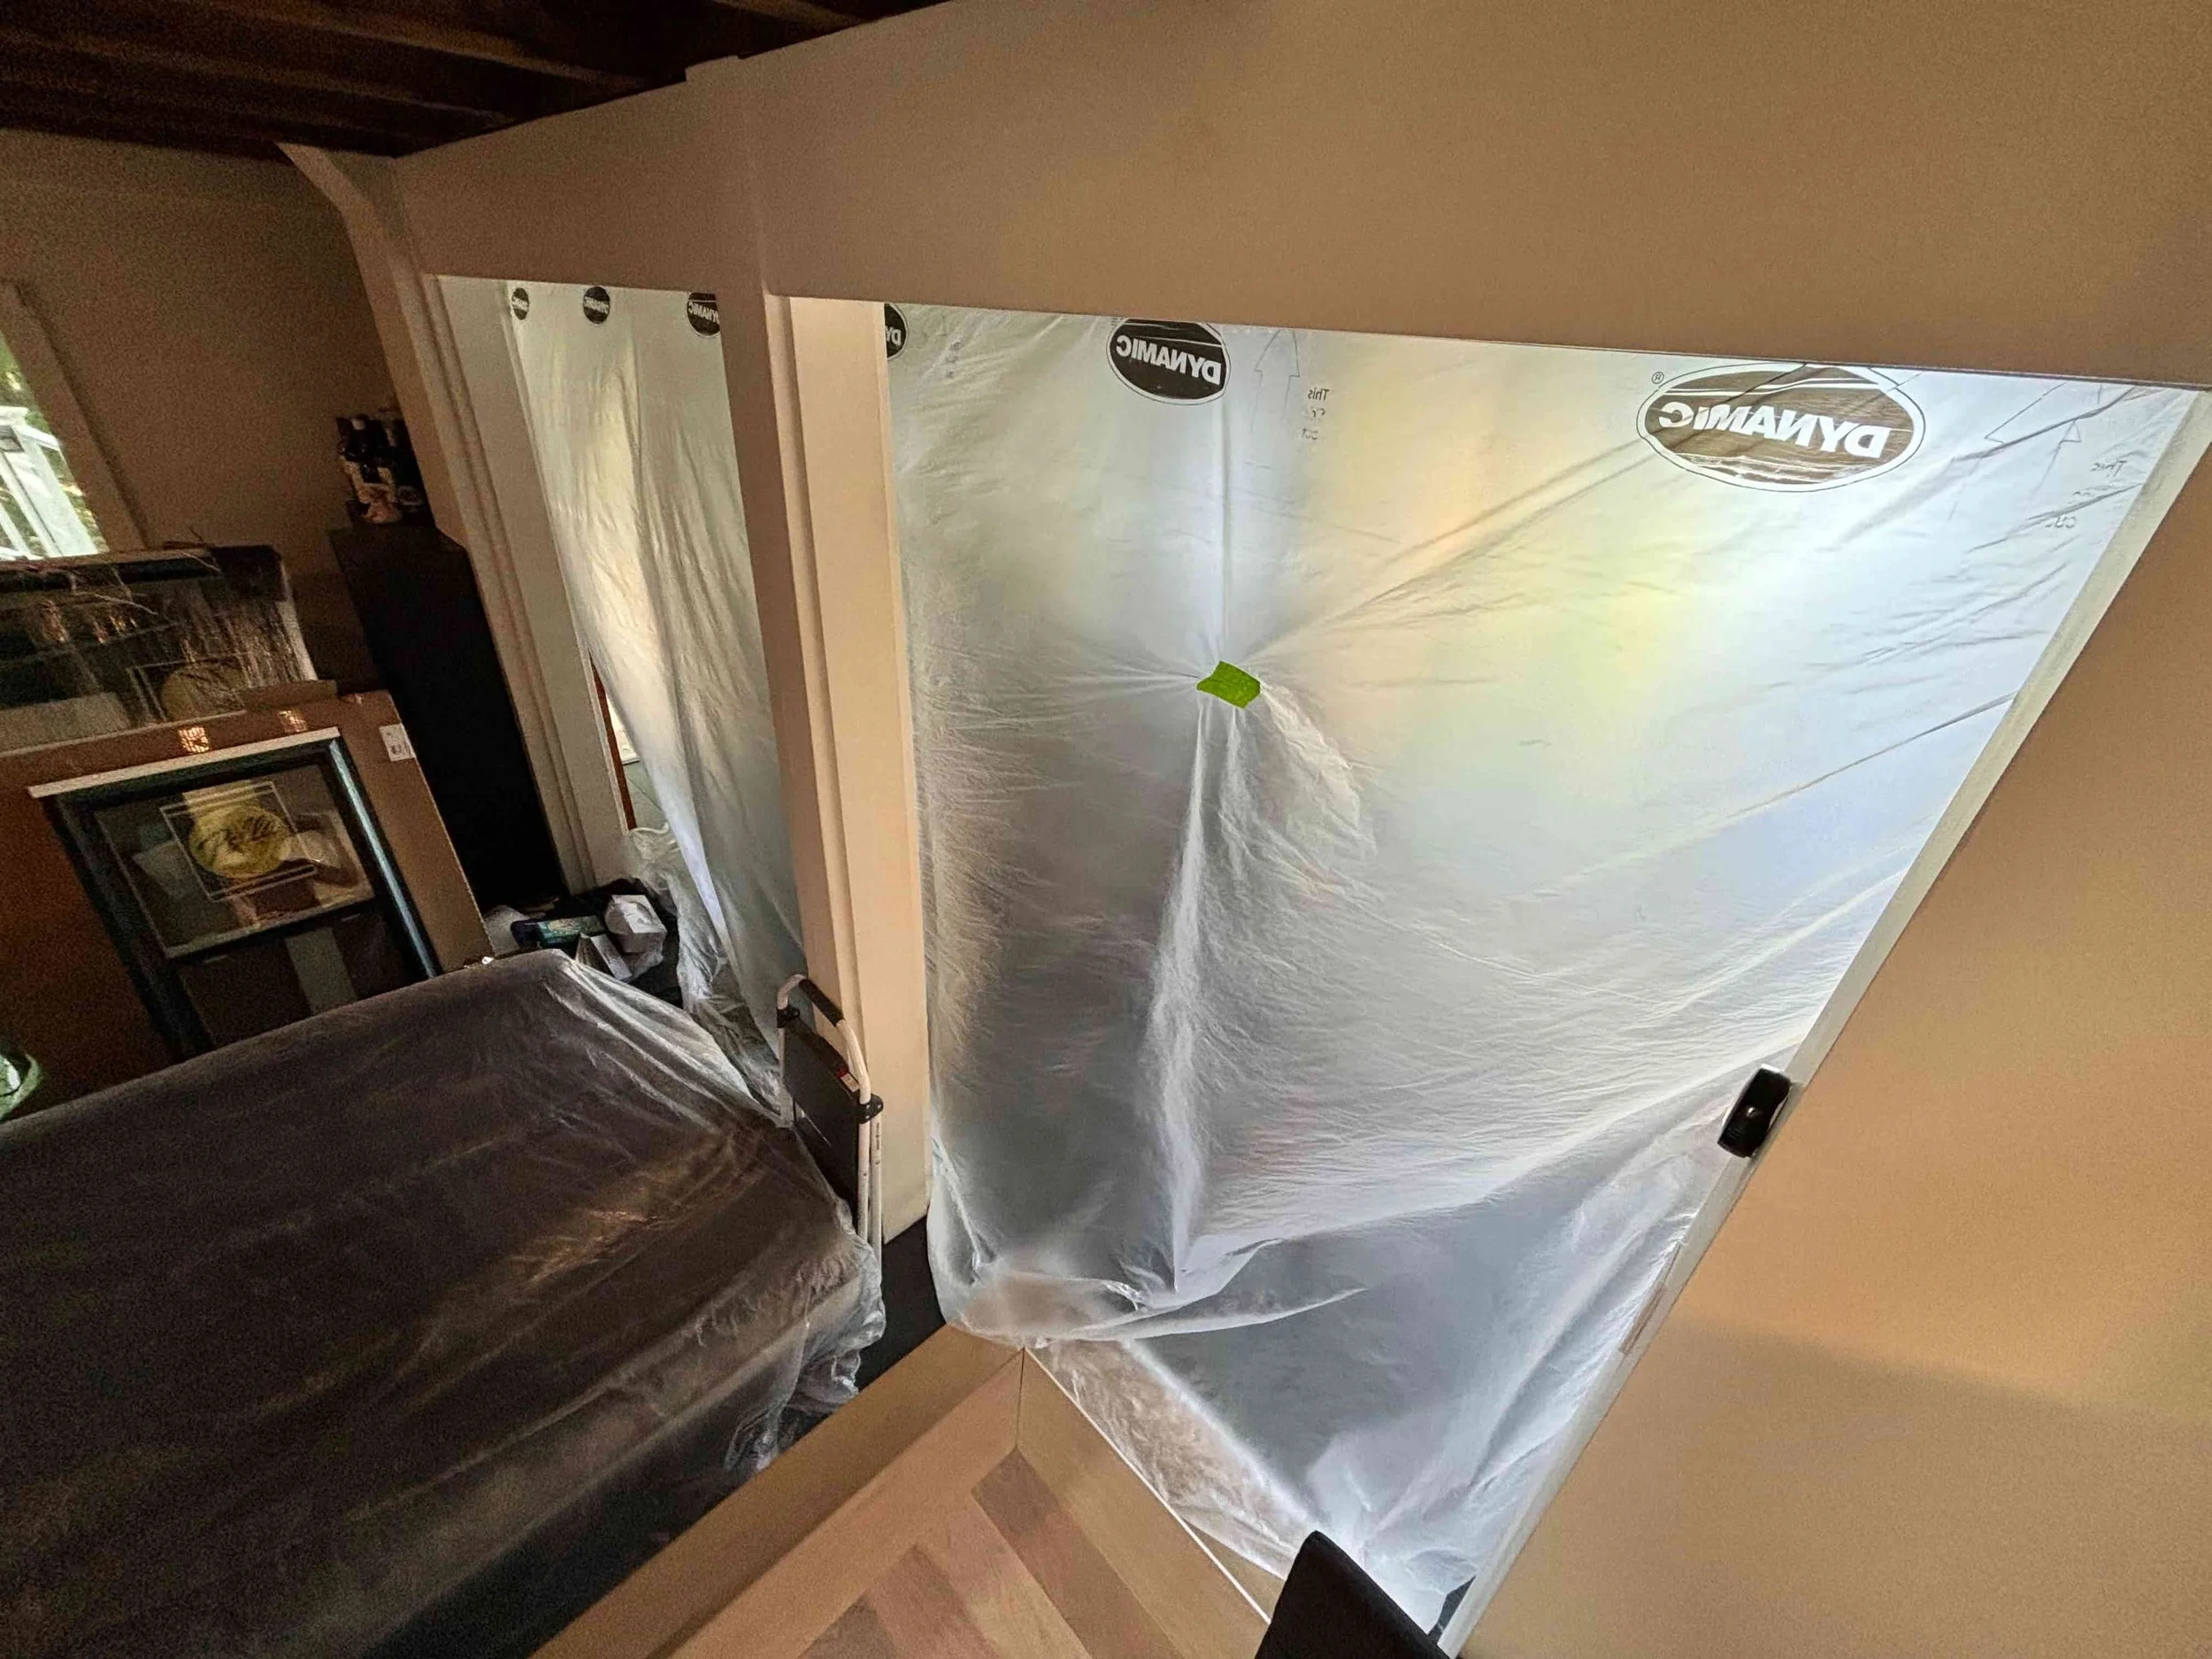
My contractor always does a great job of isolating the construction site from the rest of the house.
Believe me, you’d want old fiberglass insulation and drywall dust contained.

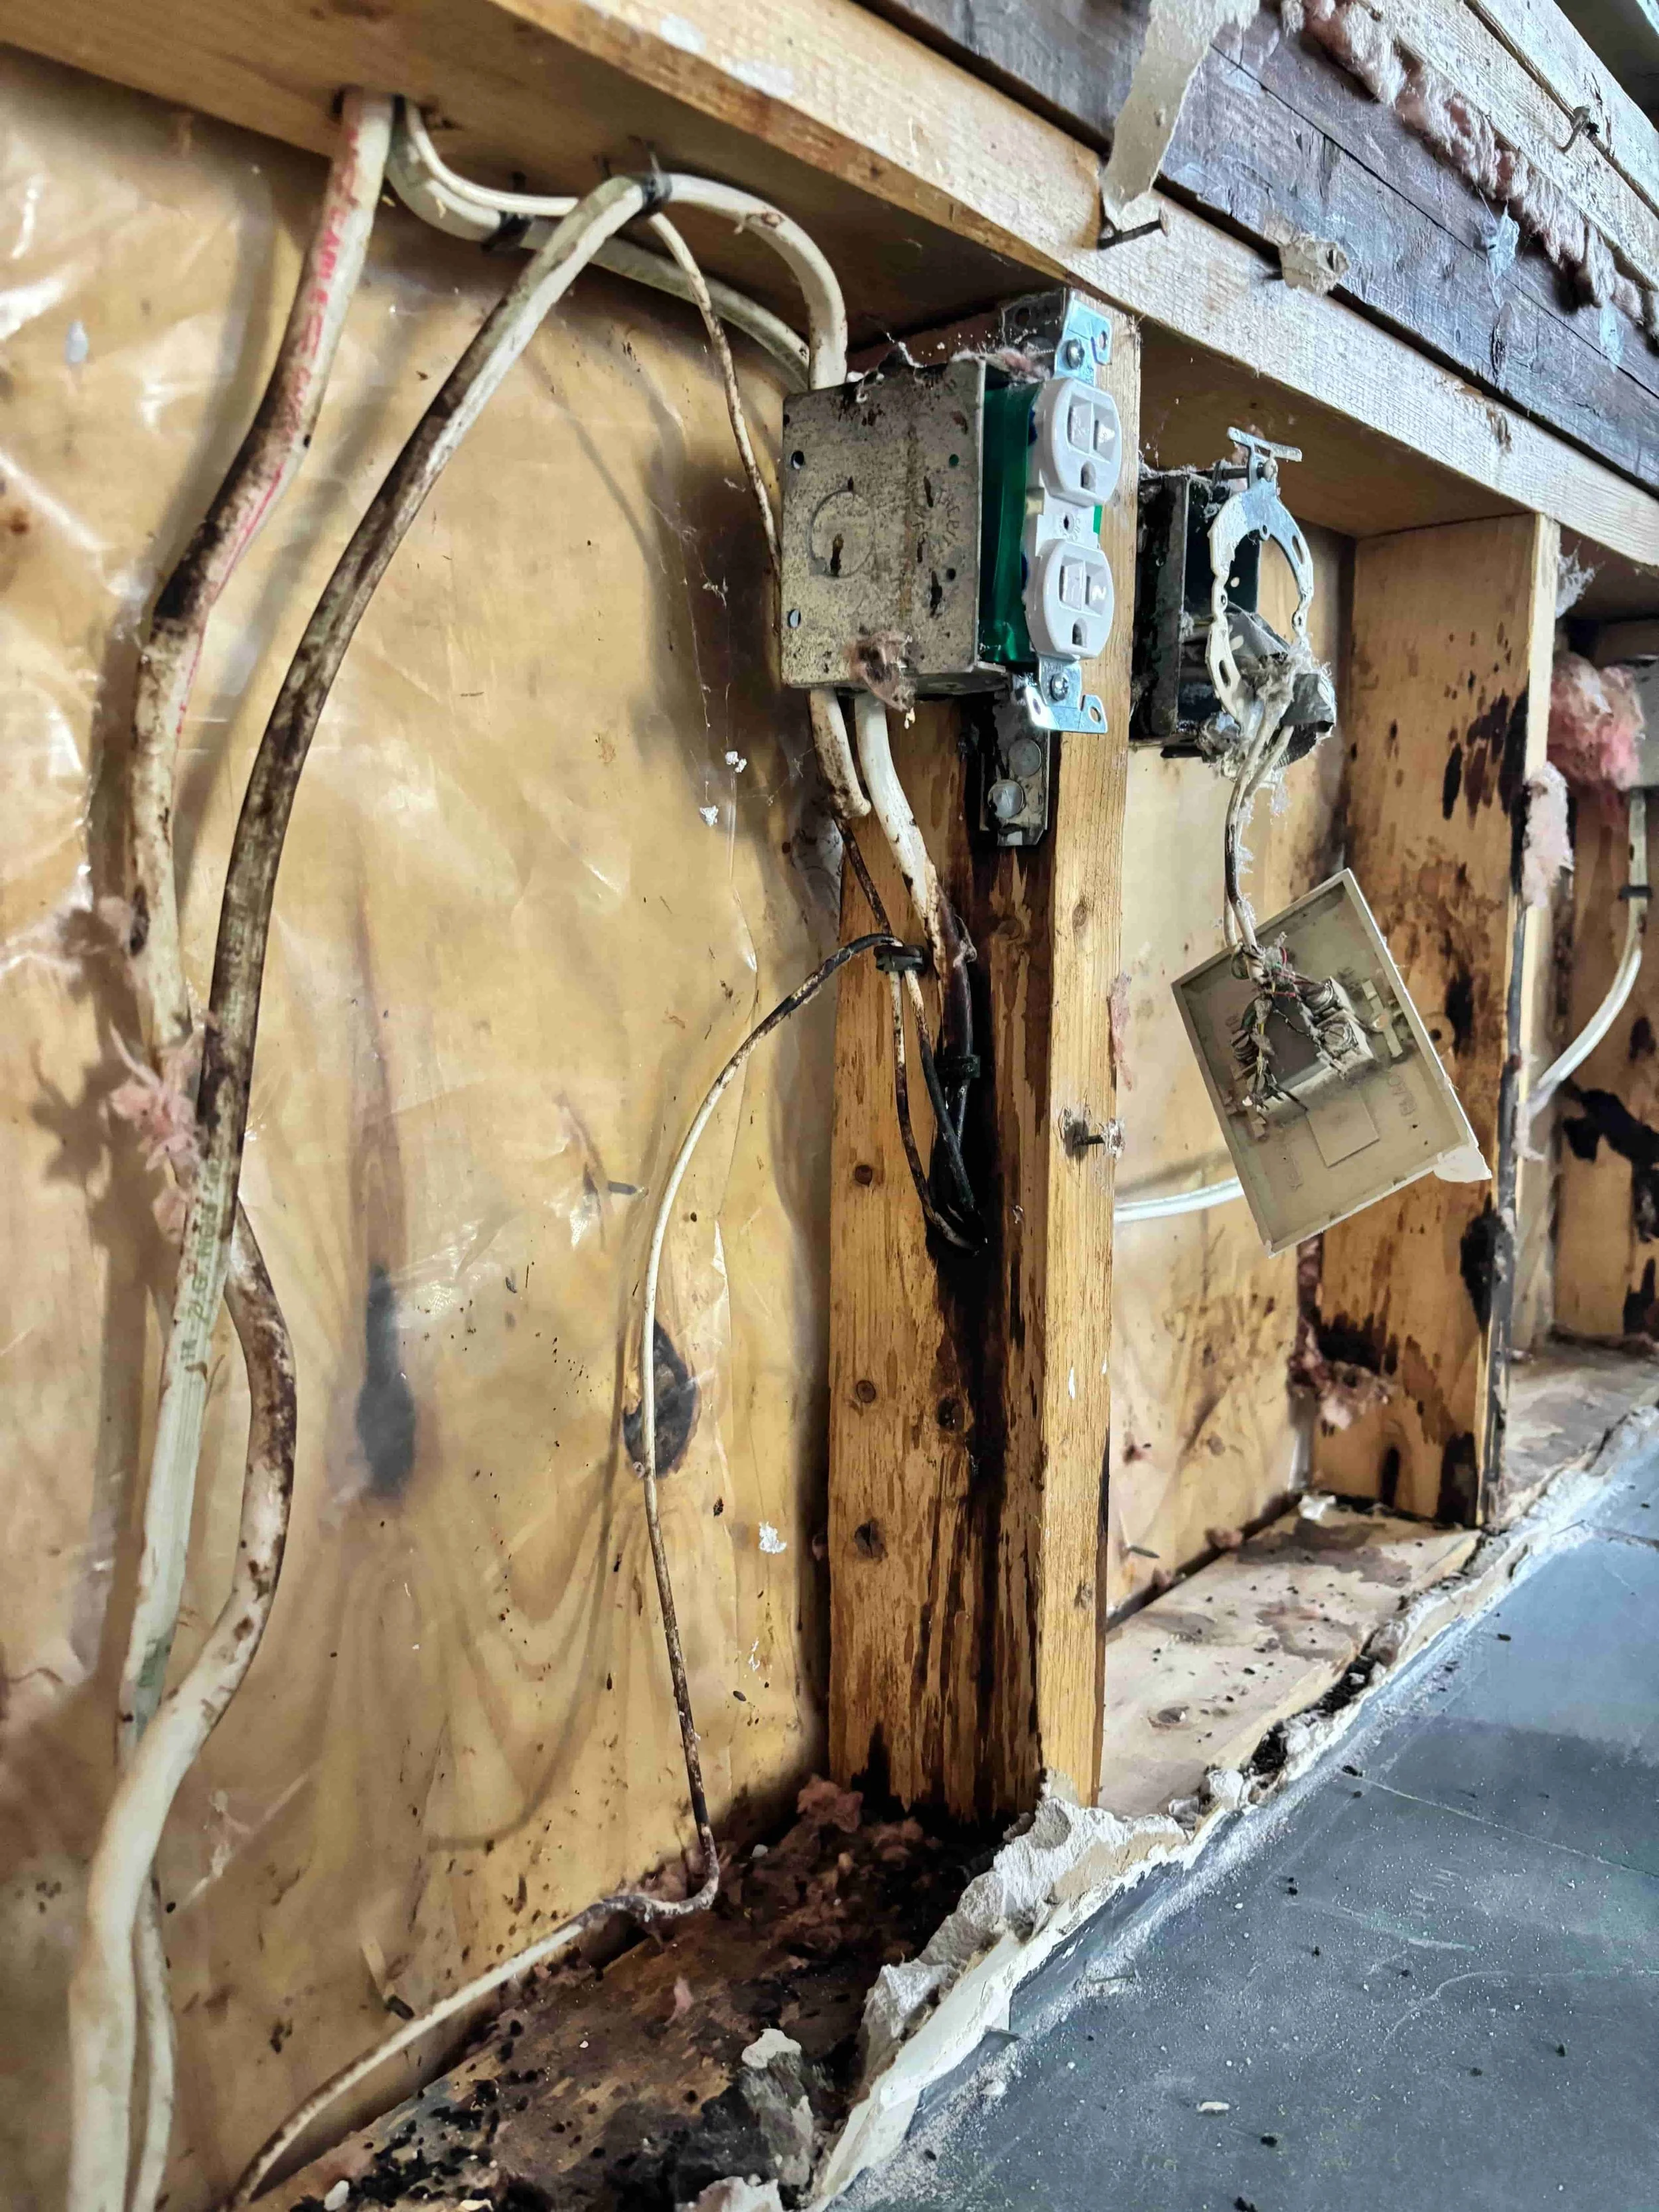
This house had a history of mice infestation.
And this scene, is the worst that I’ve seen in all my years of being an agent.
My house; the epitome of Level 100 mice infestation.
Gross as it is, I decided to show you these photos so you could learn to spot these tell-tale signs of mice presence: droppings, black streaks on wood, and holes in insulation.
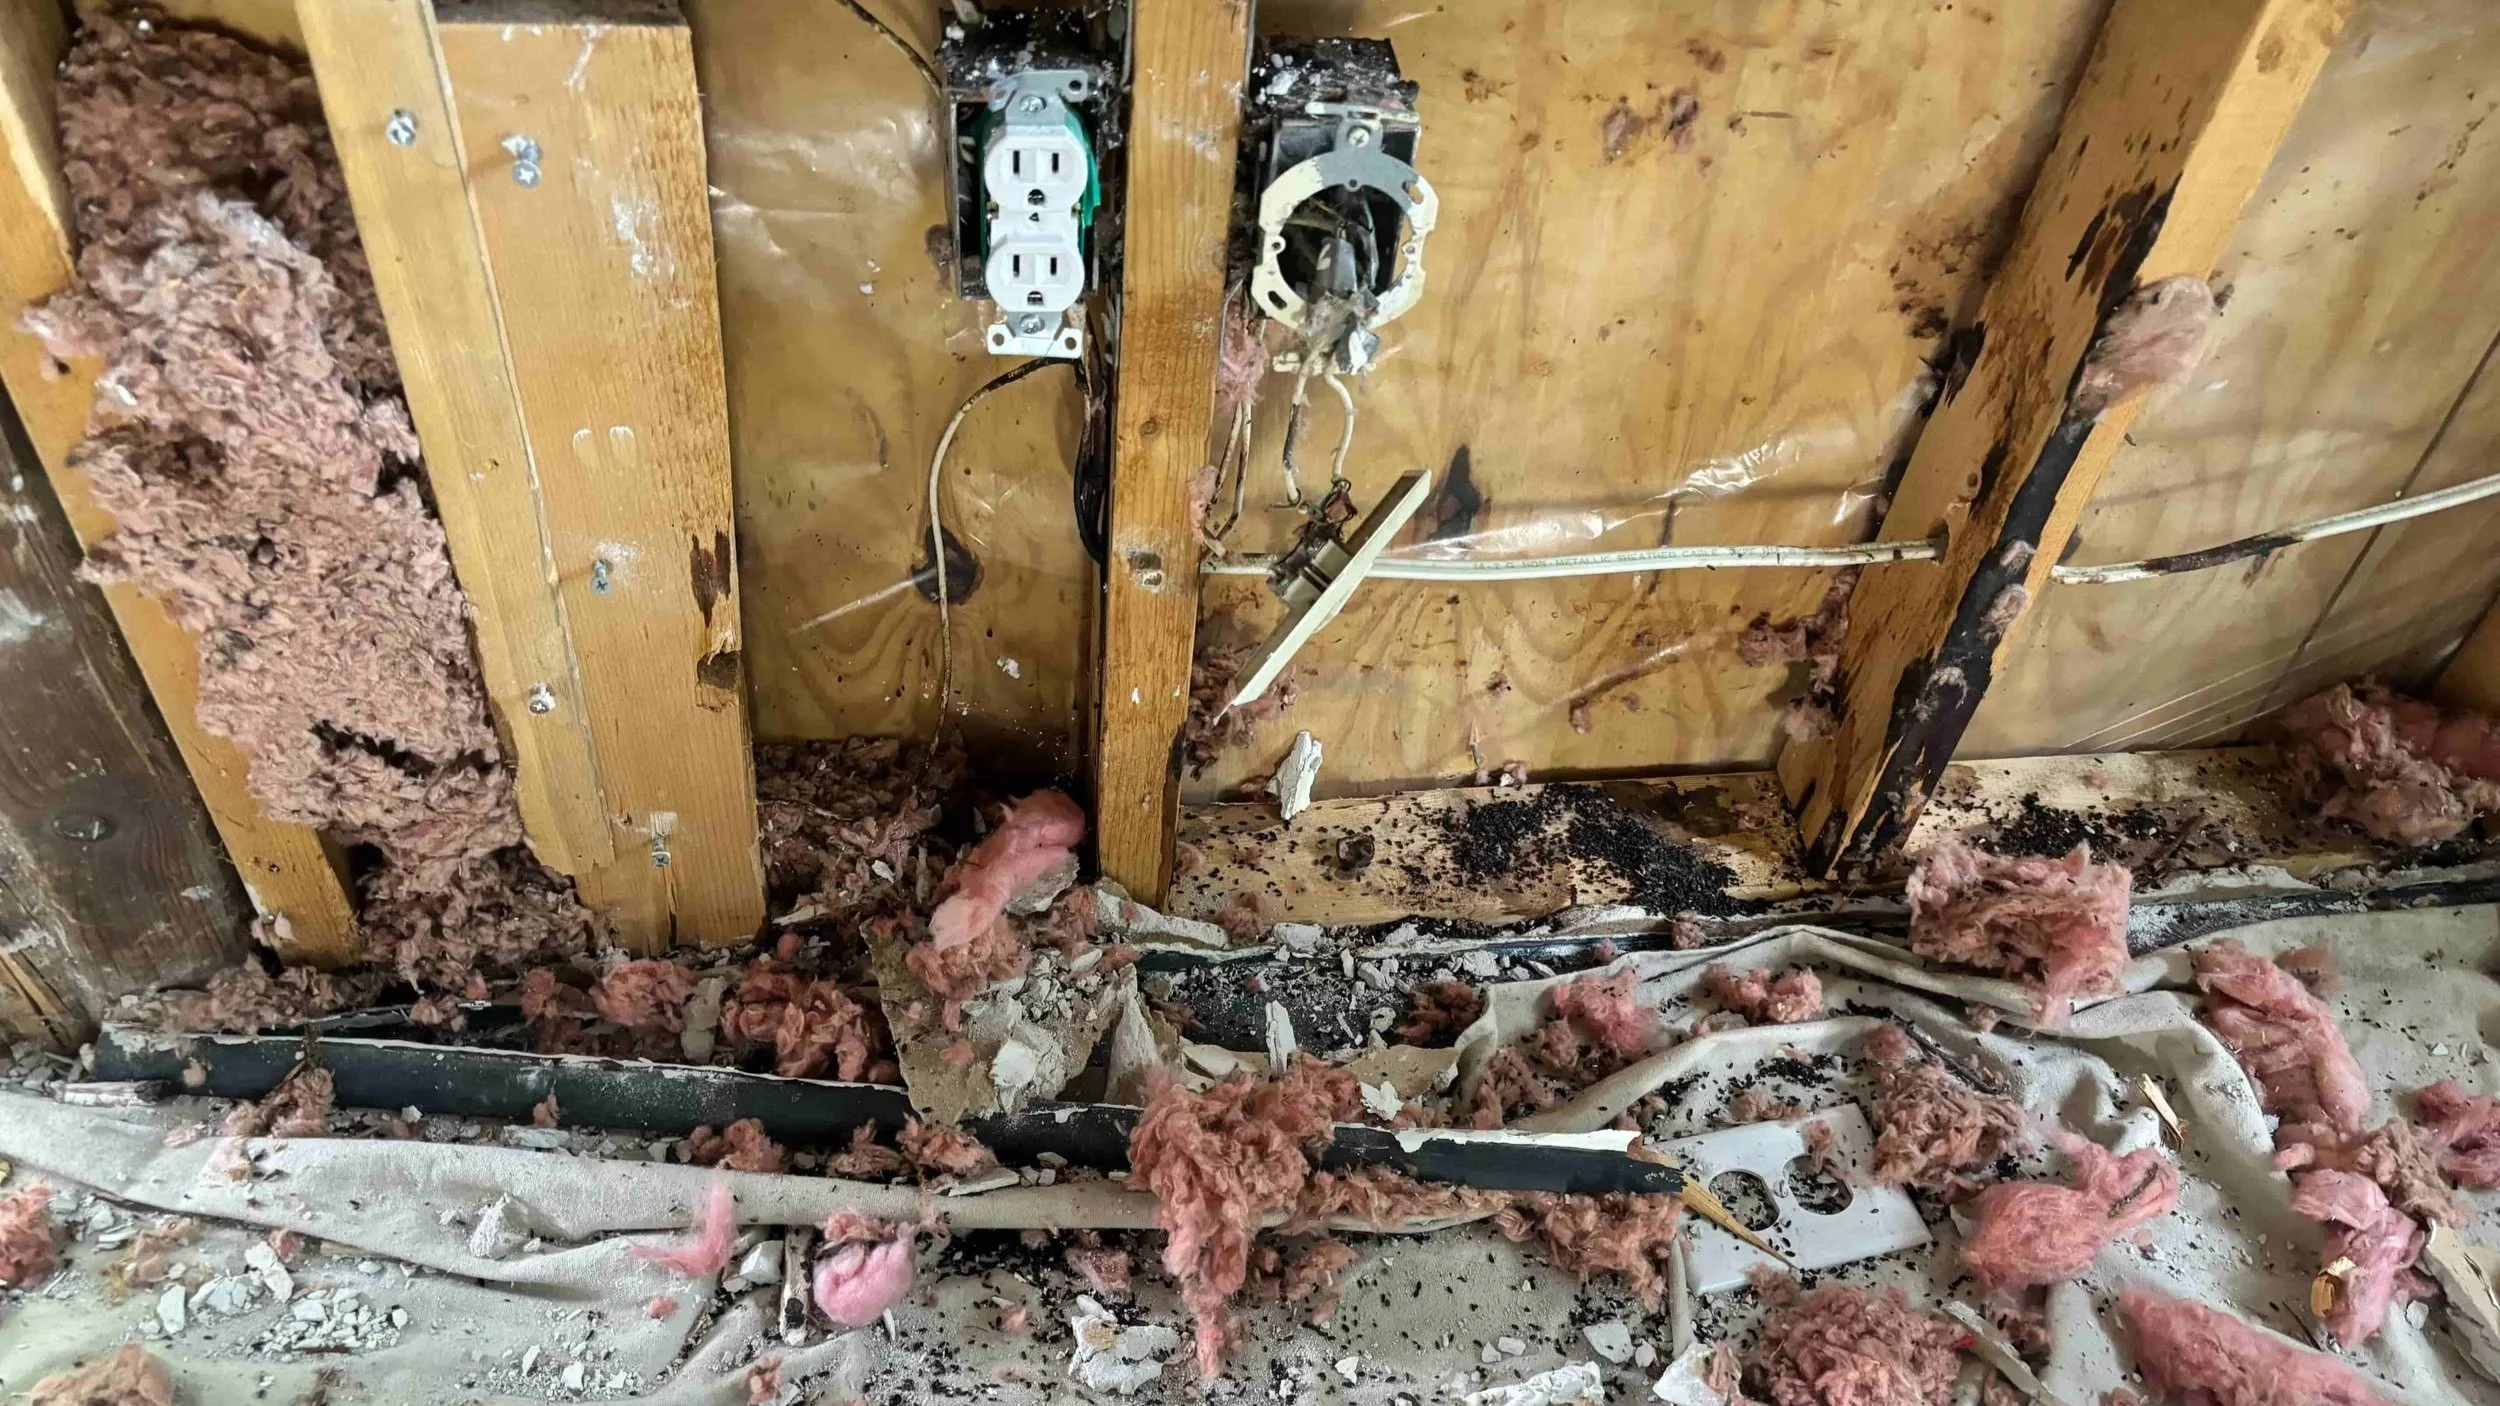
Nothing that elbow grease and a shop vac can’t solve though! All in a day’s work!
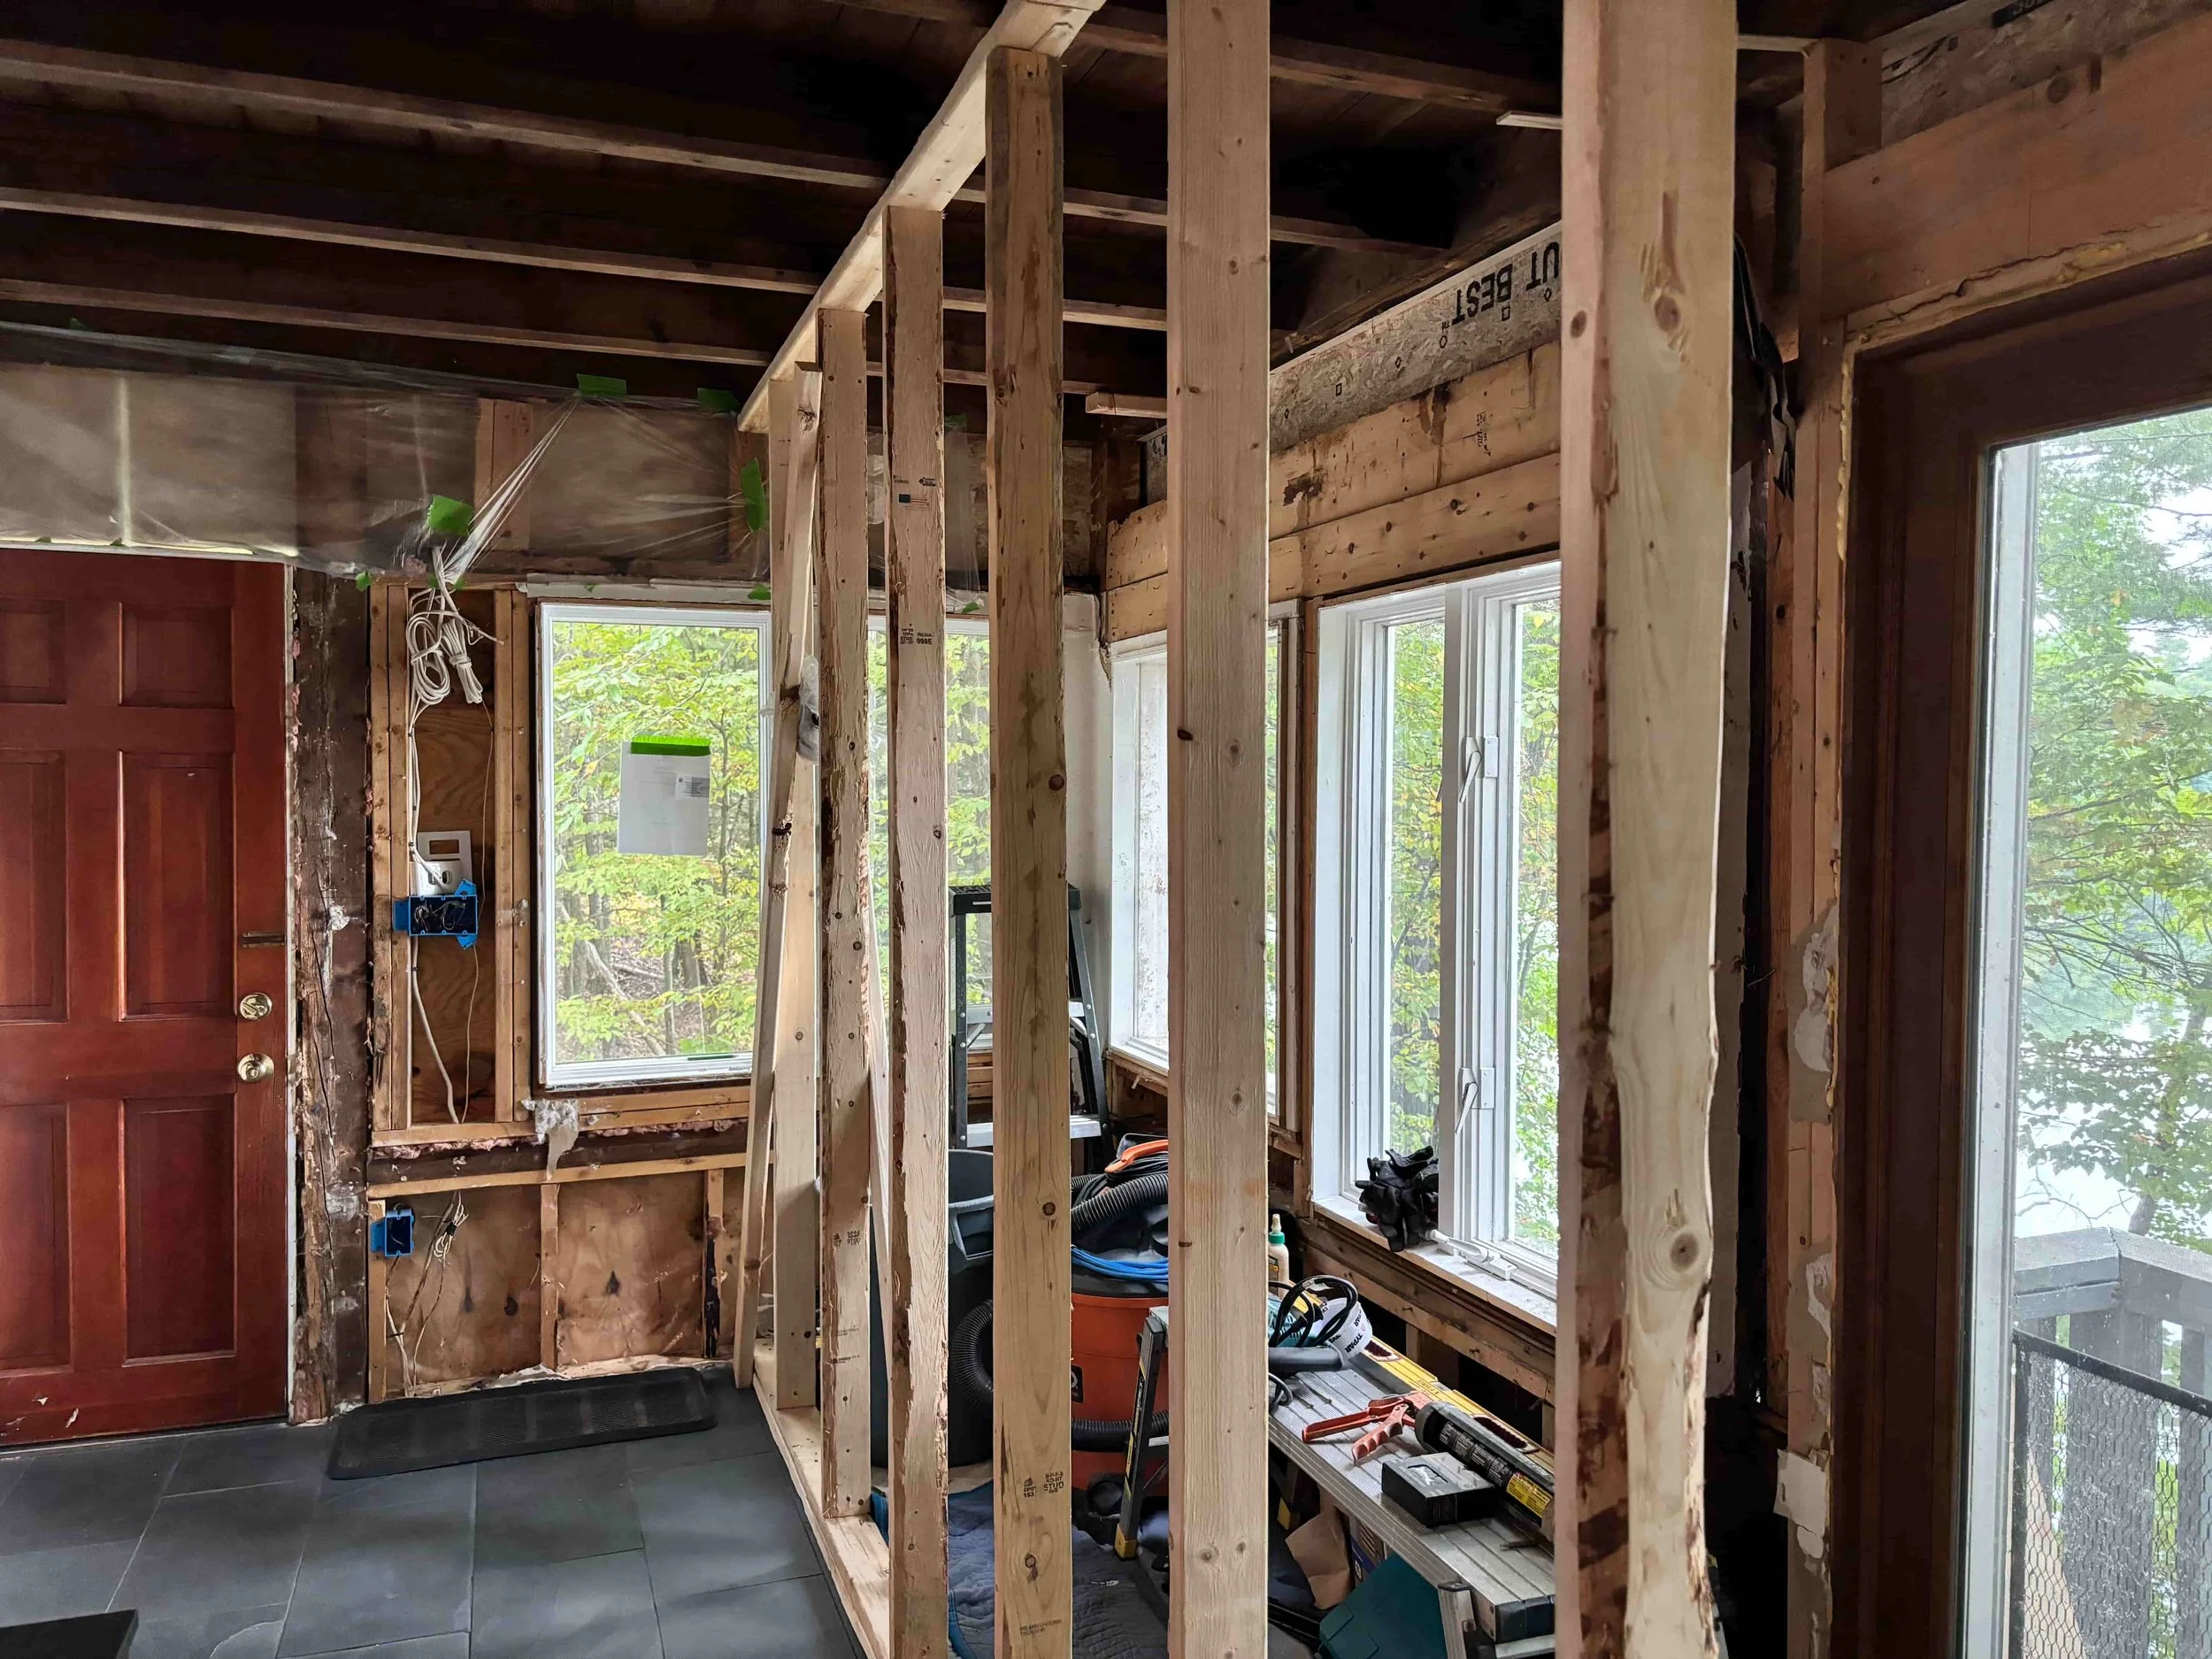
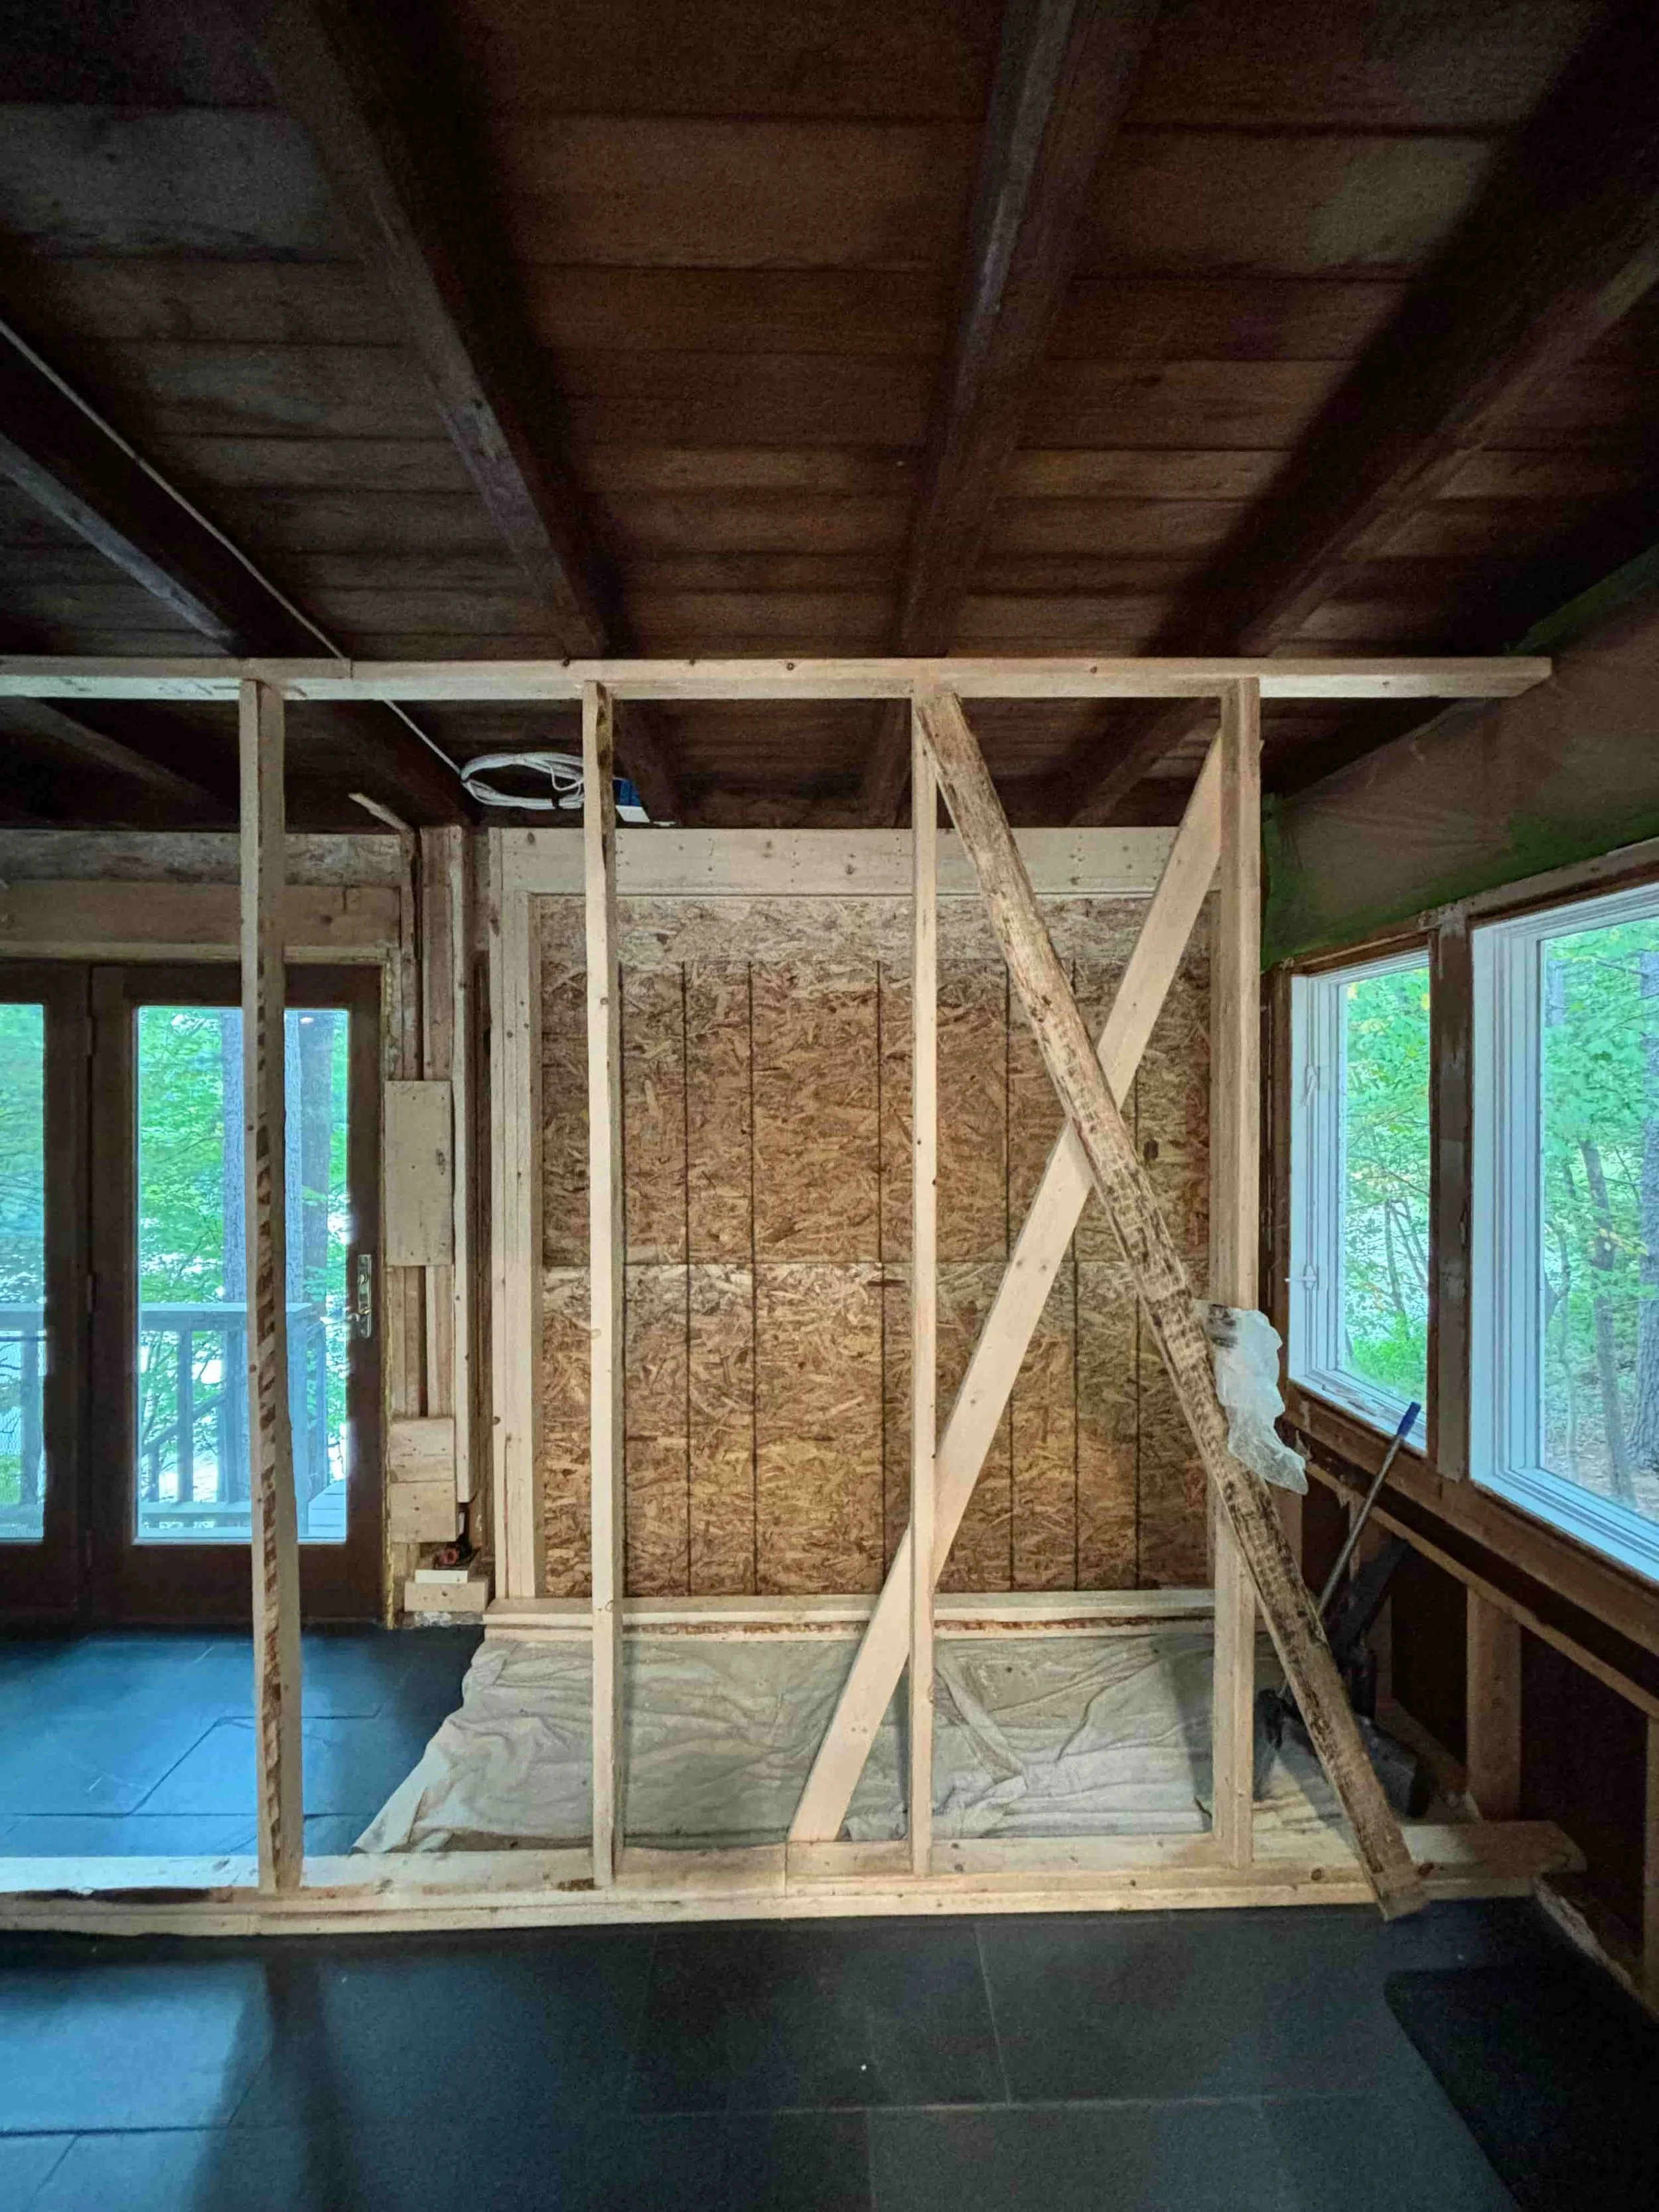
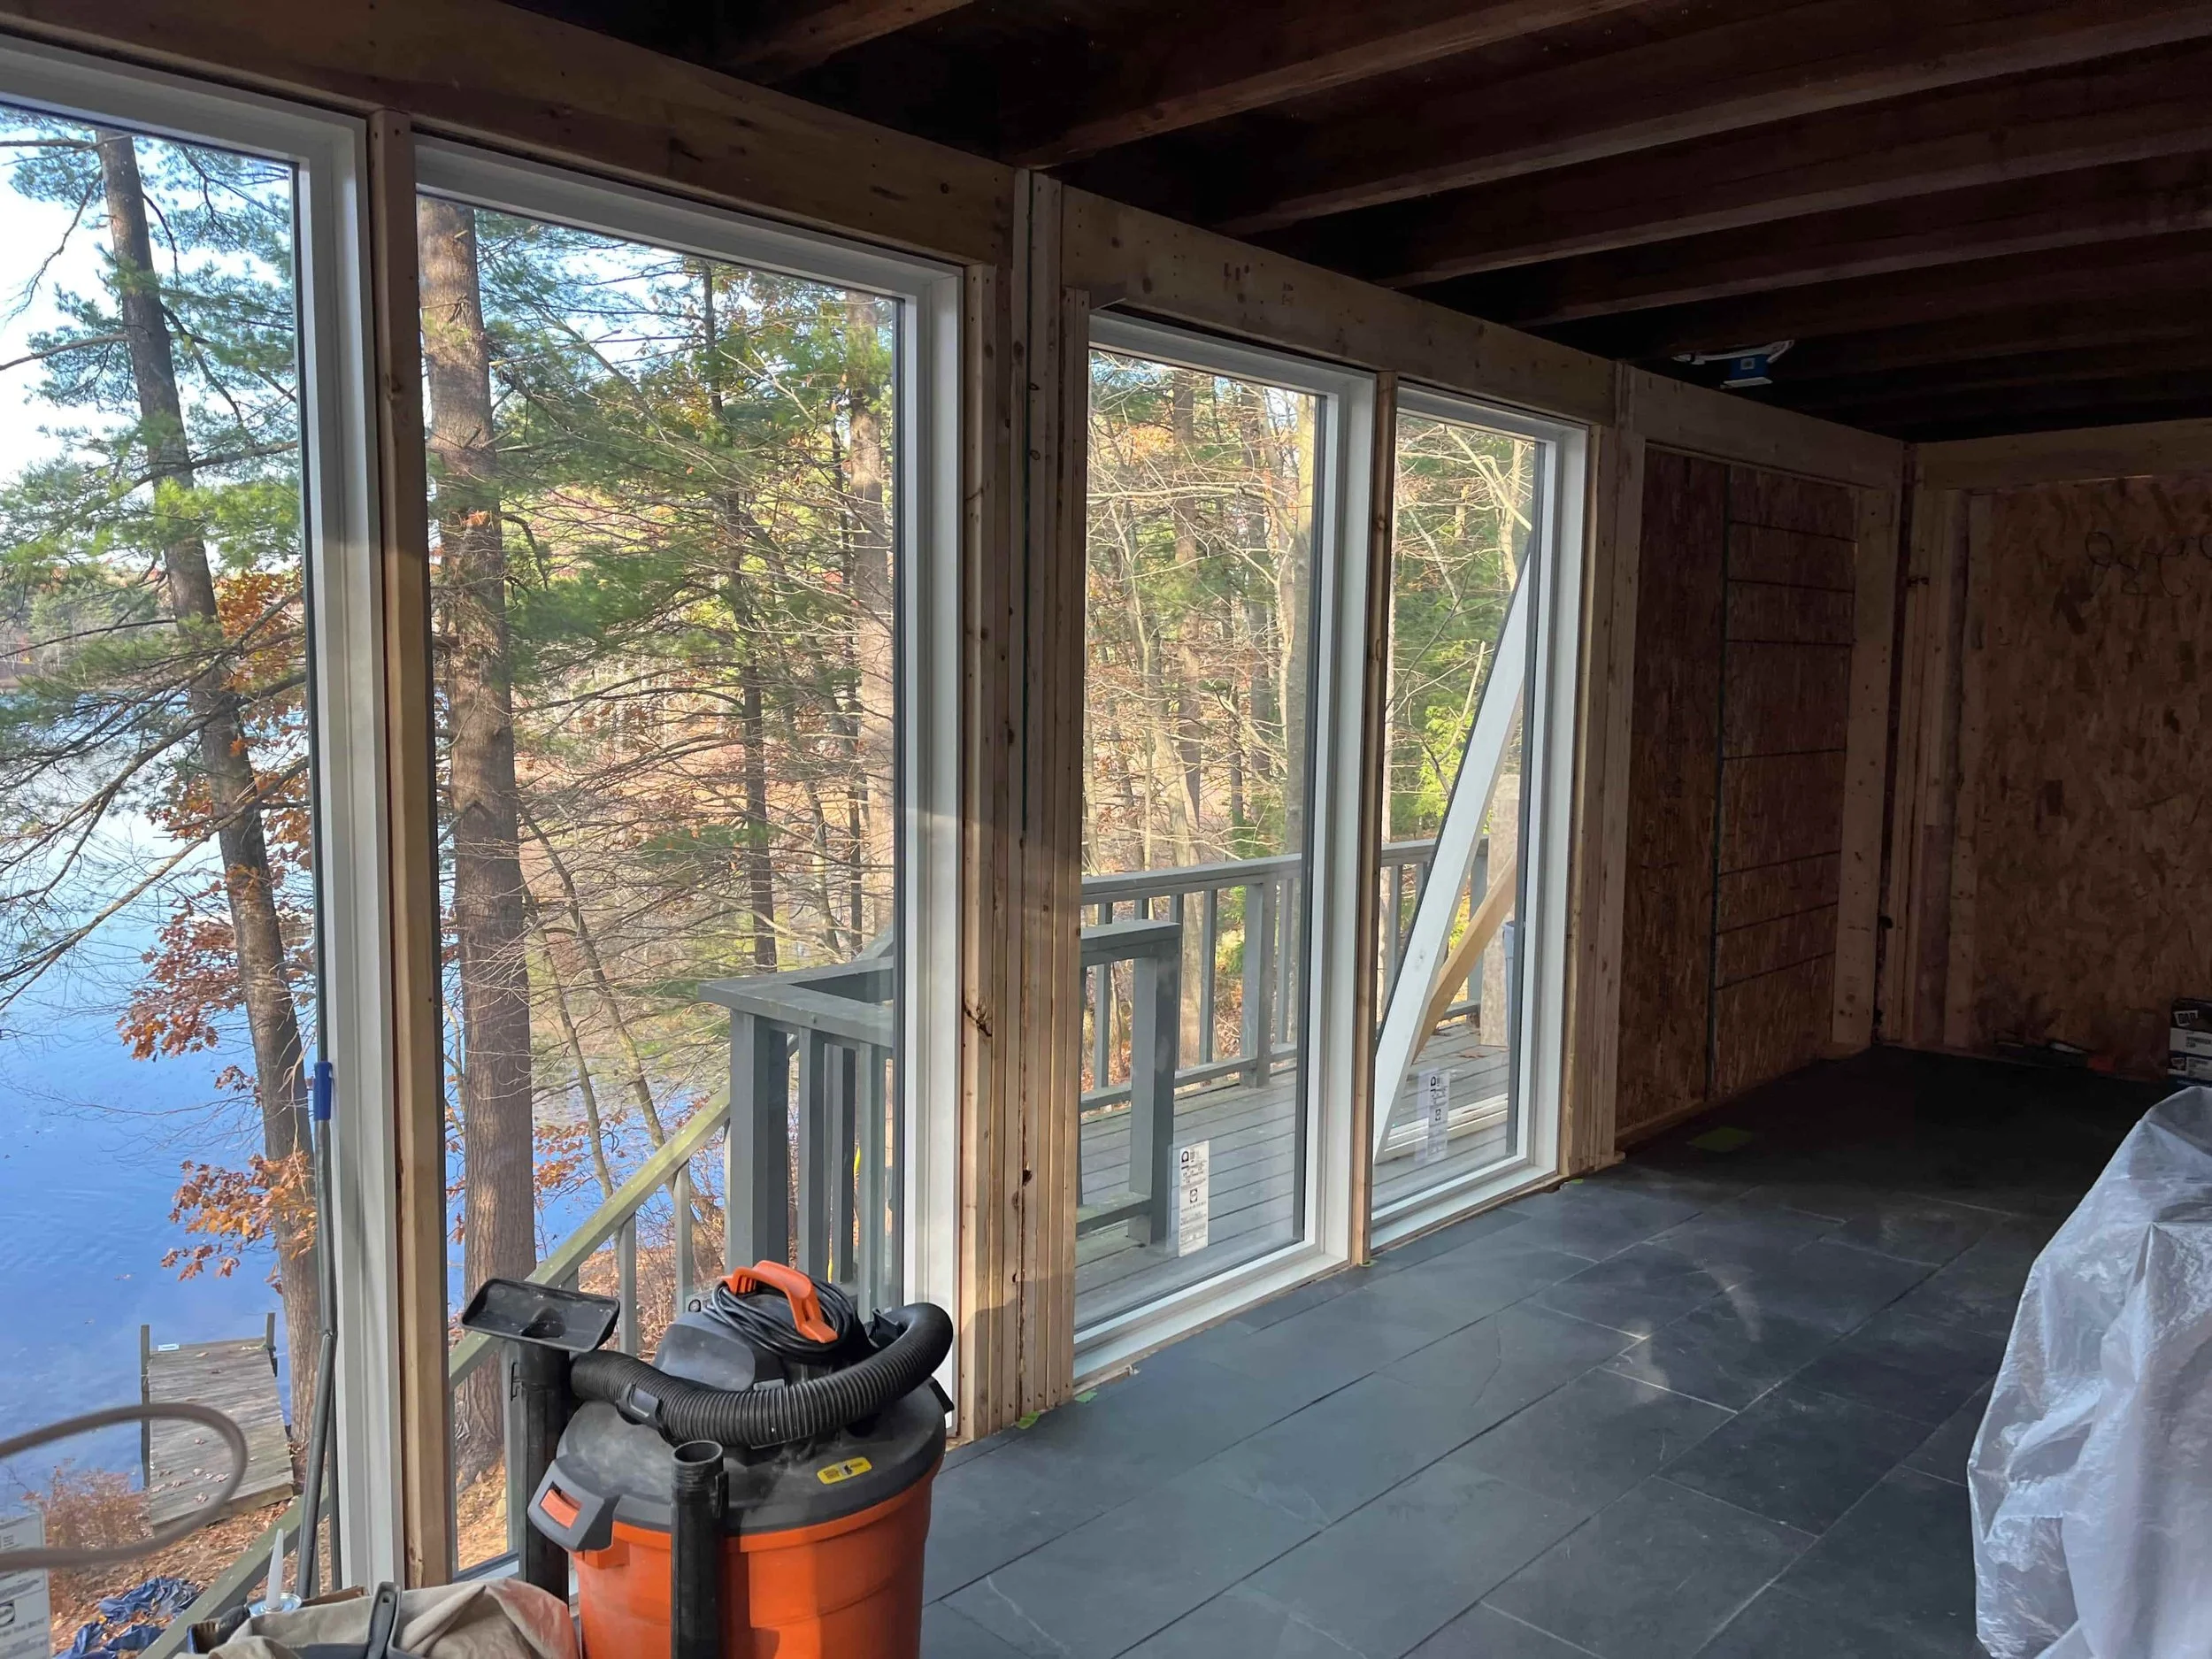
Step 4: Build a support frame
One can’t simply demolish existing framing when it’s on the structural perimeter of the house.
A temporary frame has to be first added about 2 feet away to bear the weight of the house before demolition can happen.
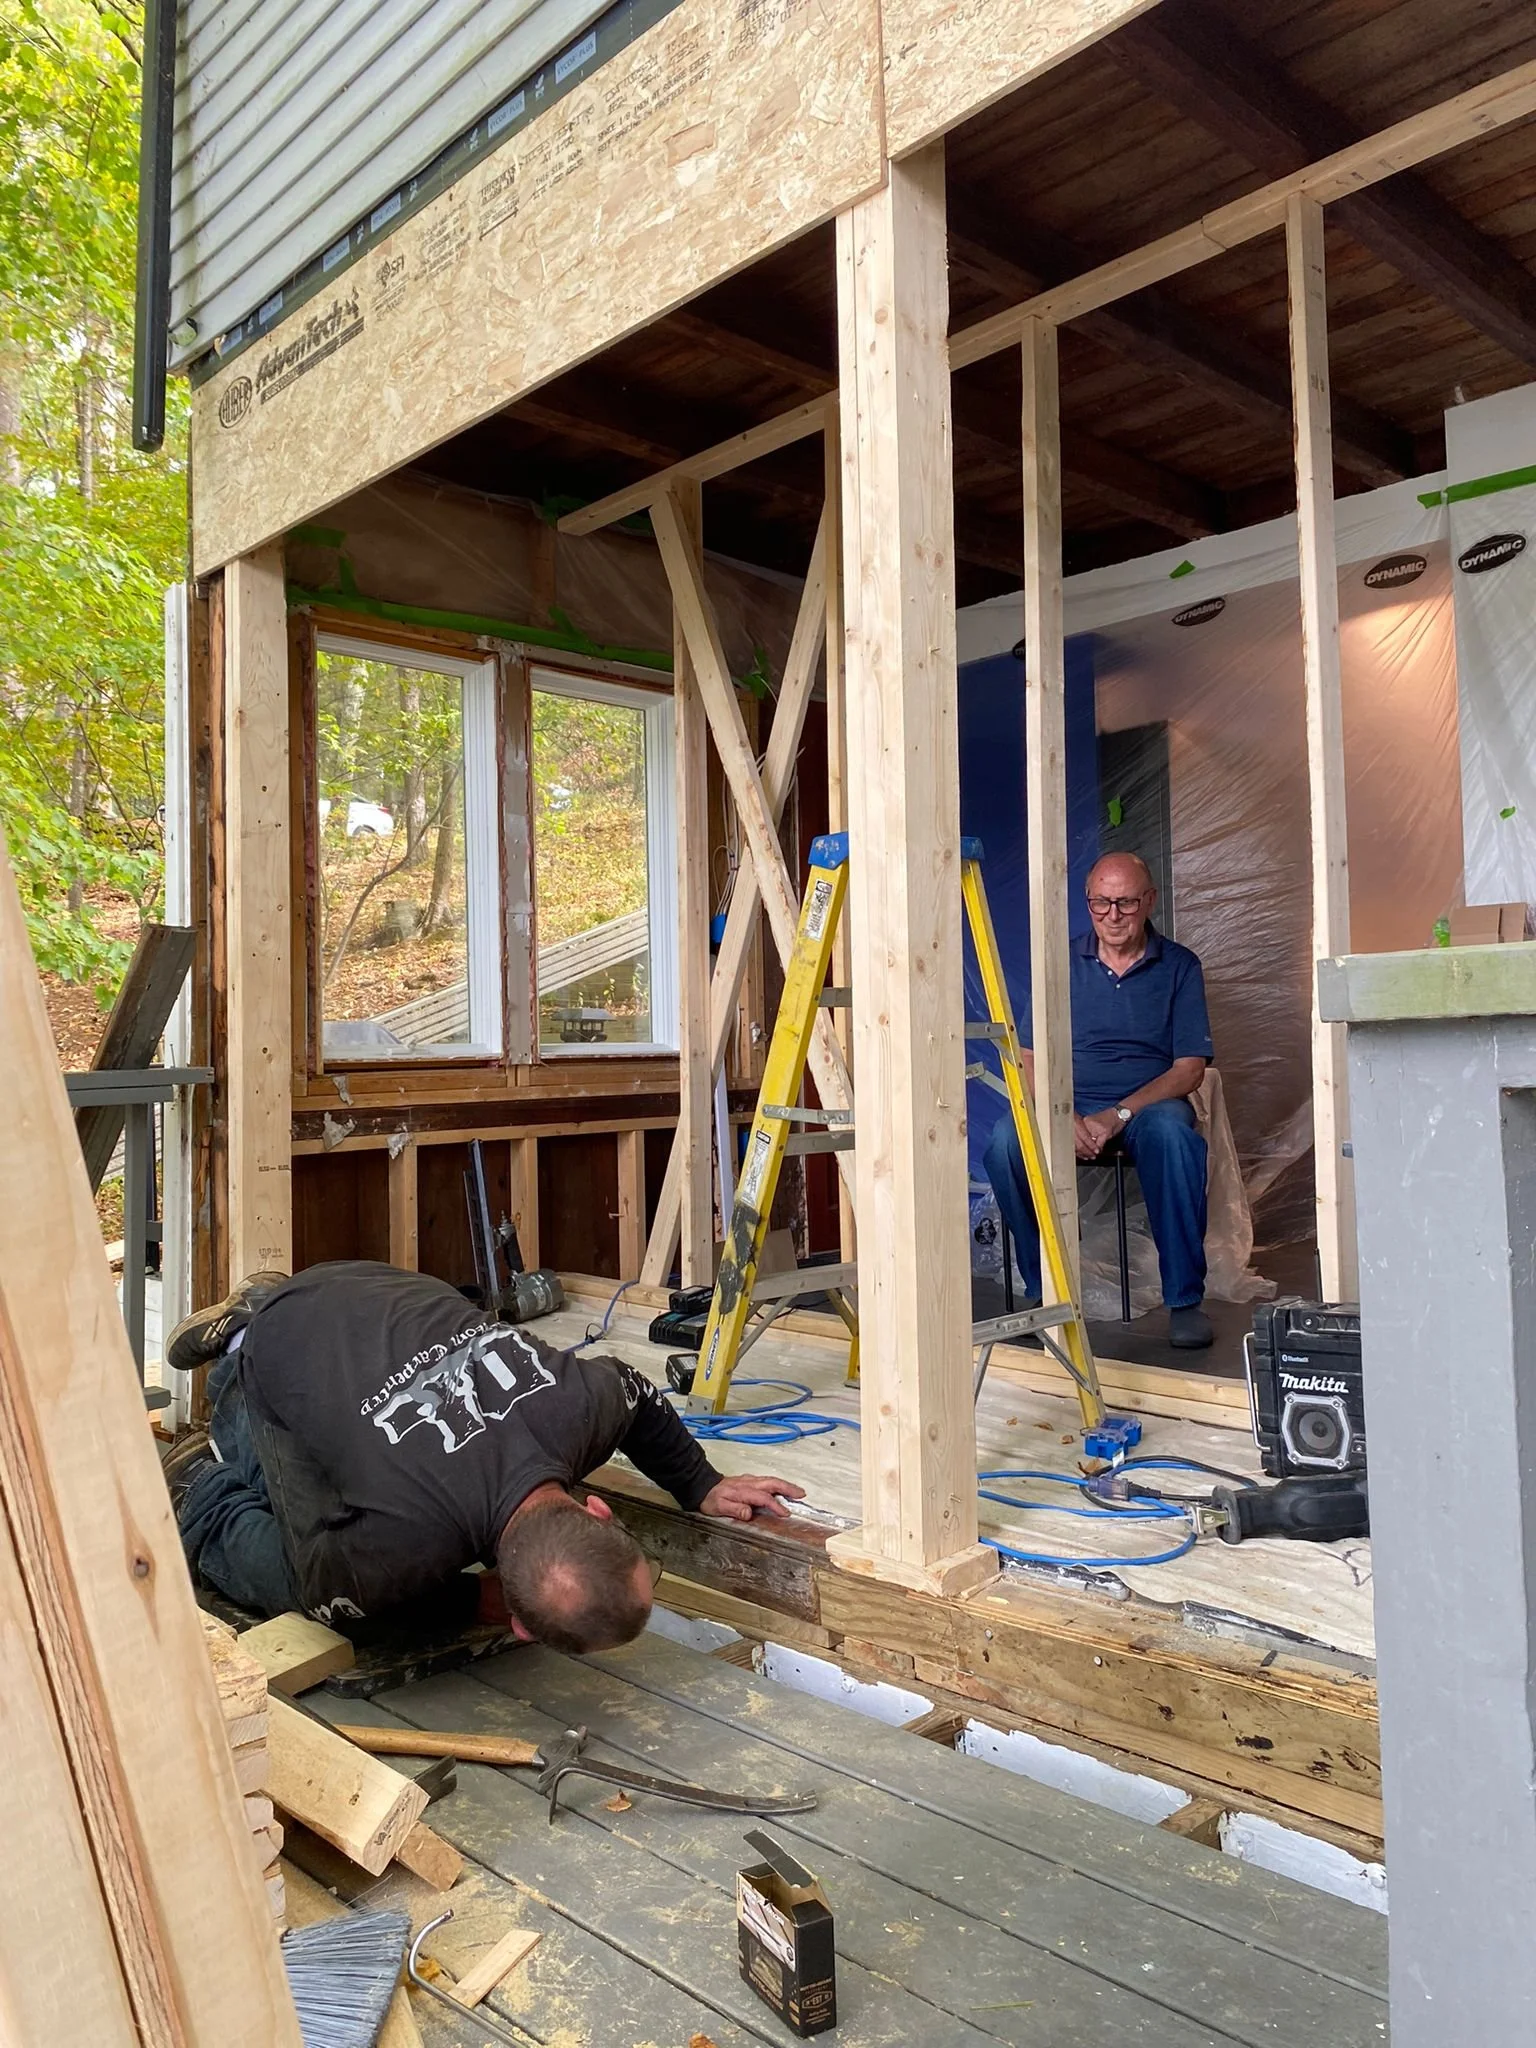
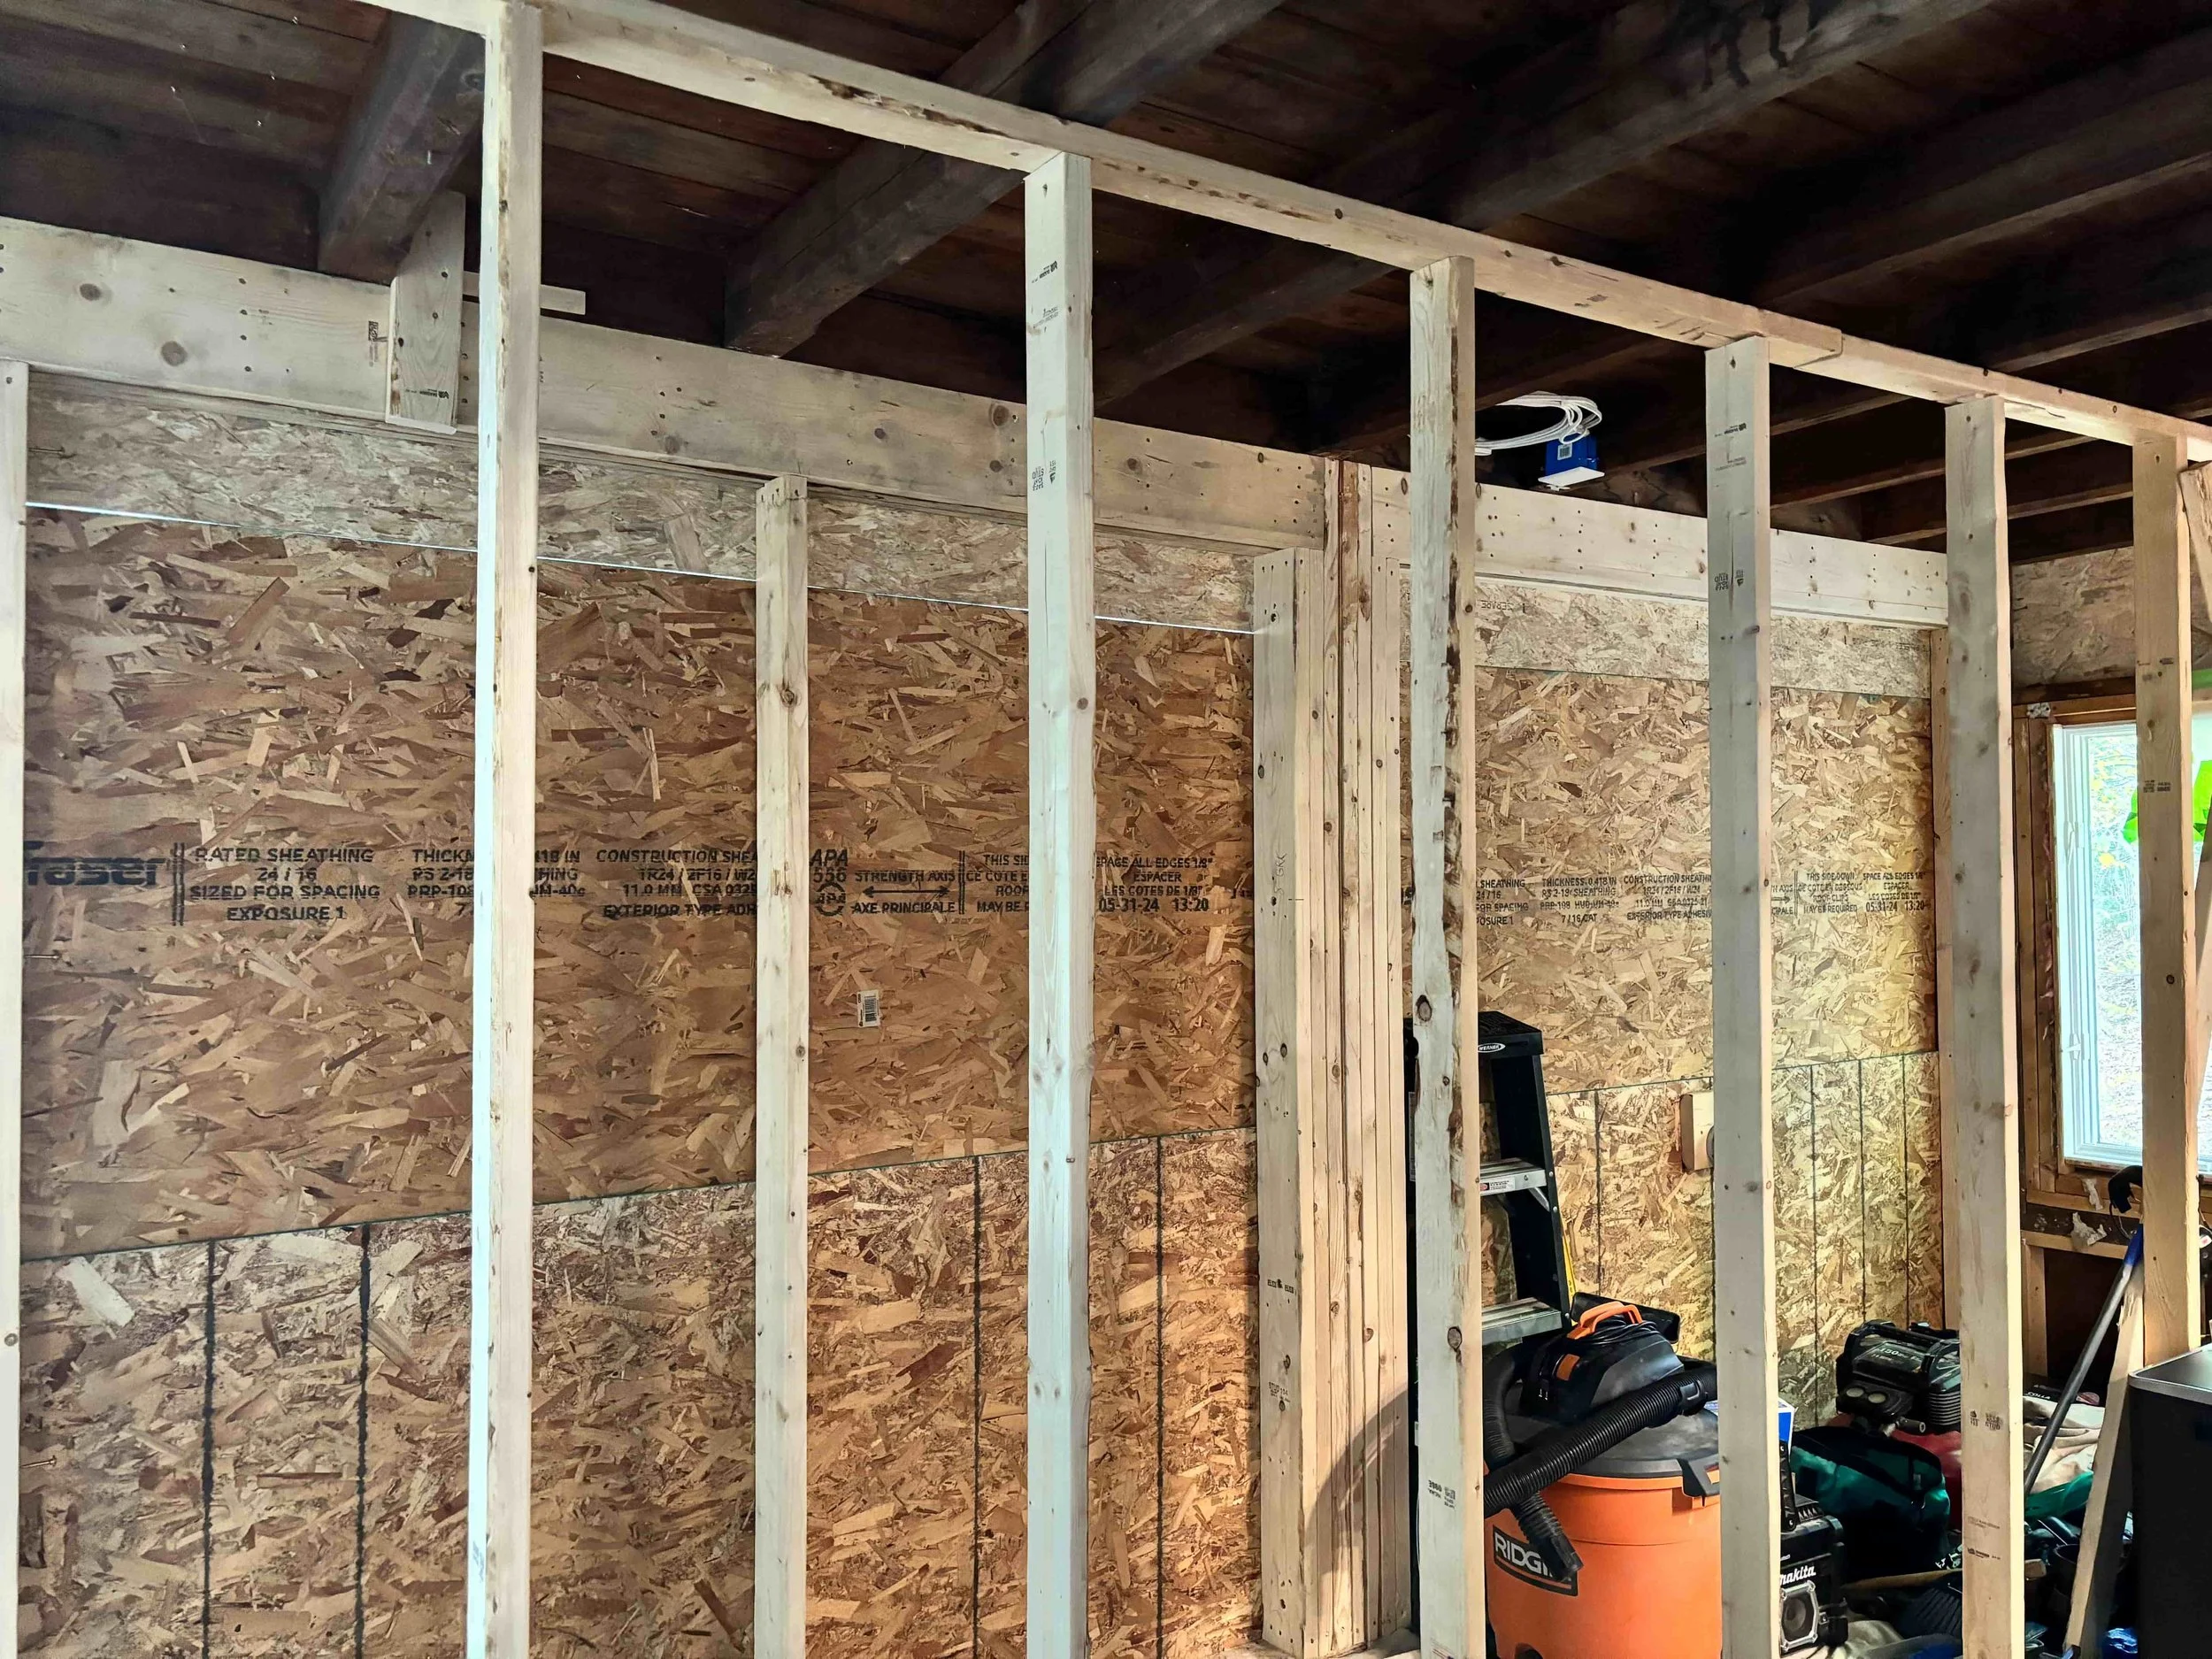
Step 5: Demolish and Rebuild structural frame for new floor-to-ceiling windows
The structural framework had to be rebuilt in five sections. After each section was done, it was boarded up.
That also meant that as things progressed, we got lesser light and fewer views in the house.
It was depressing as hell.
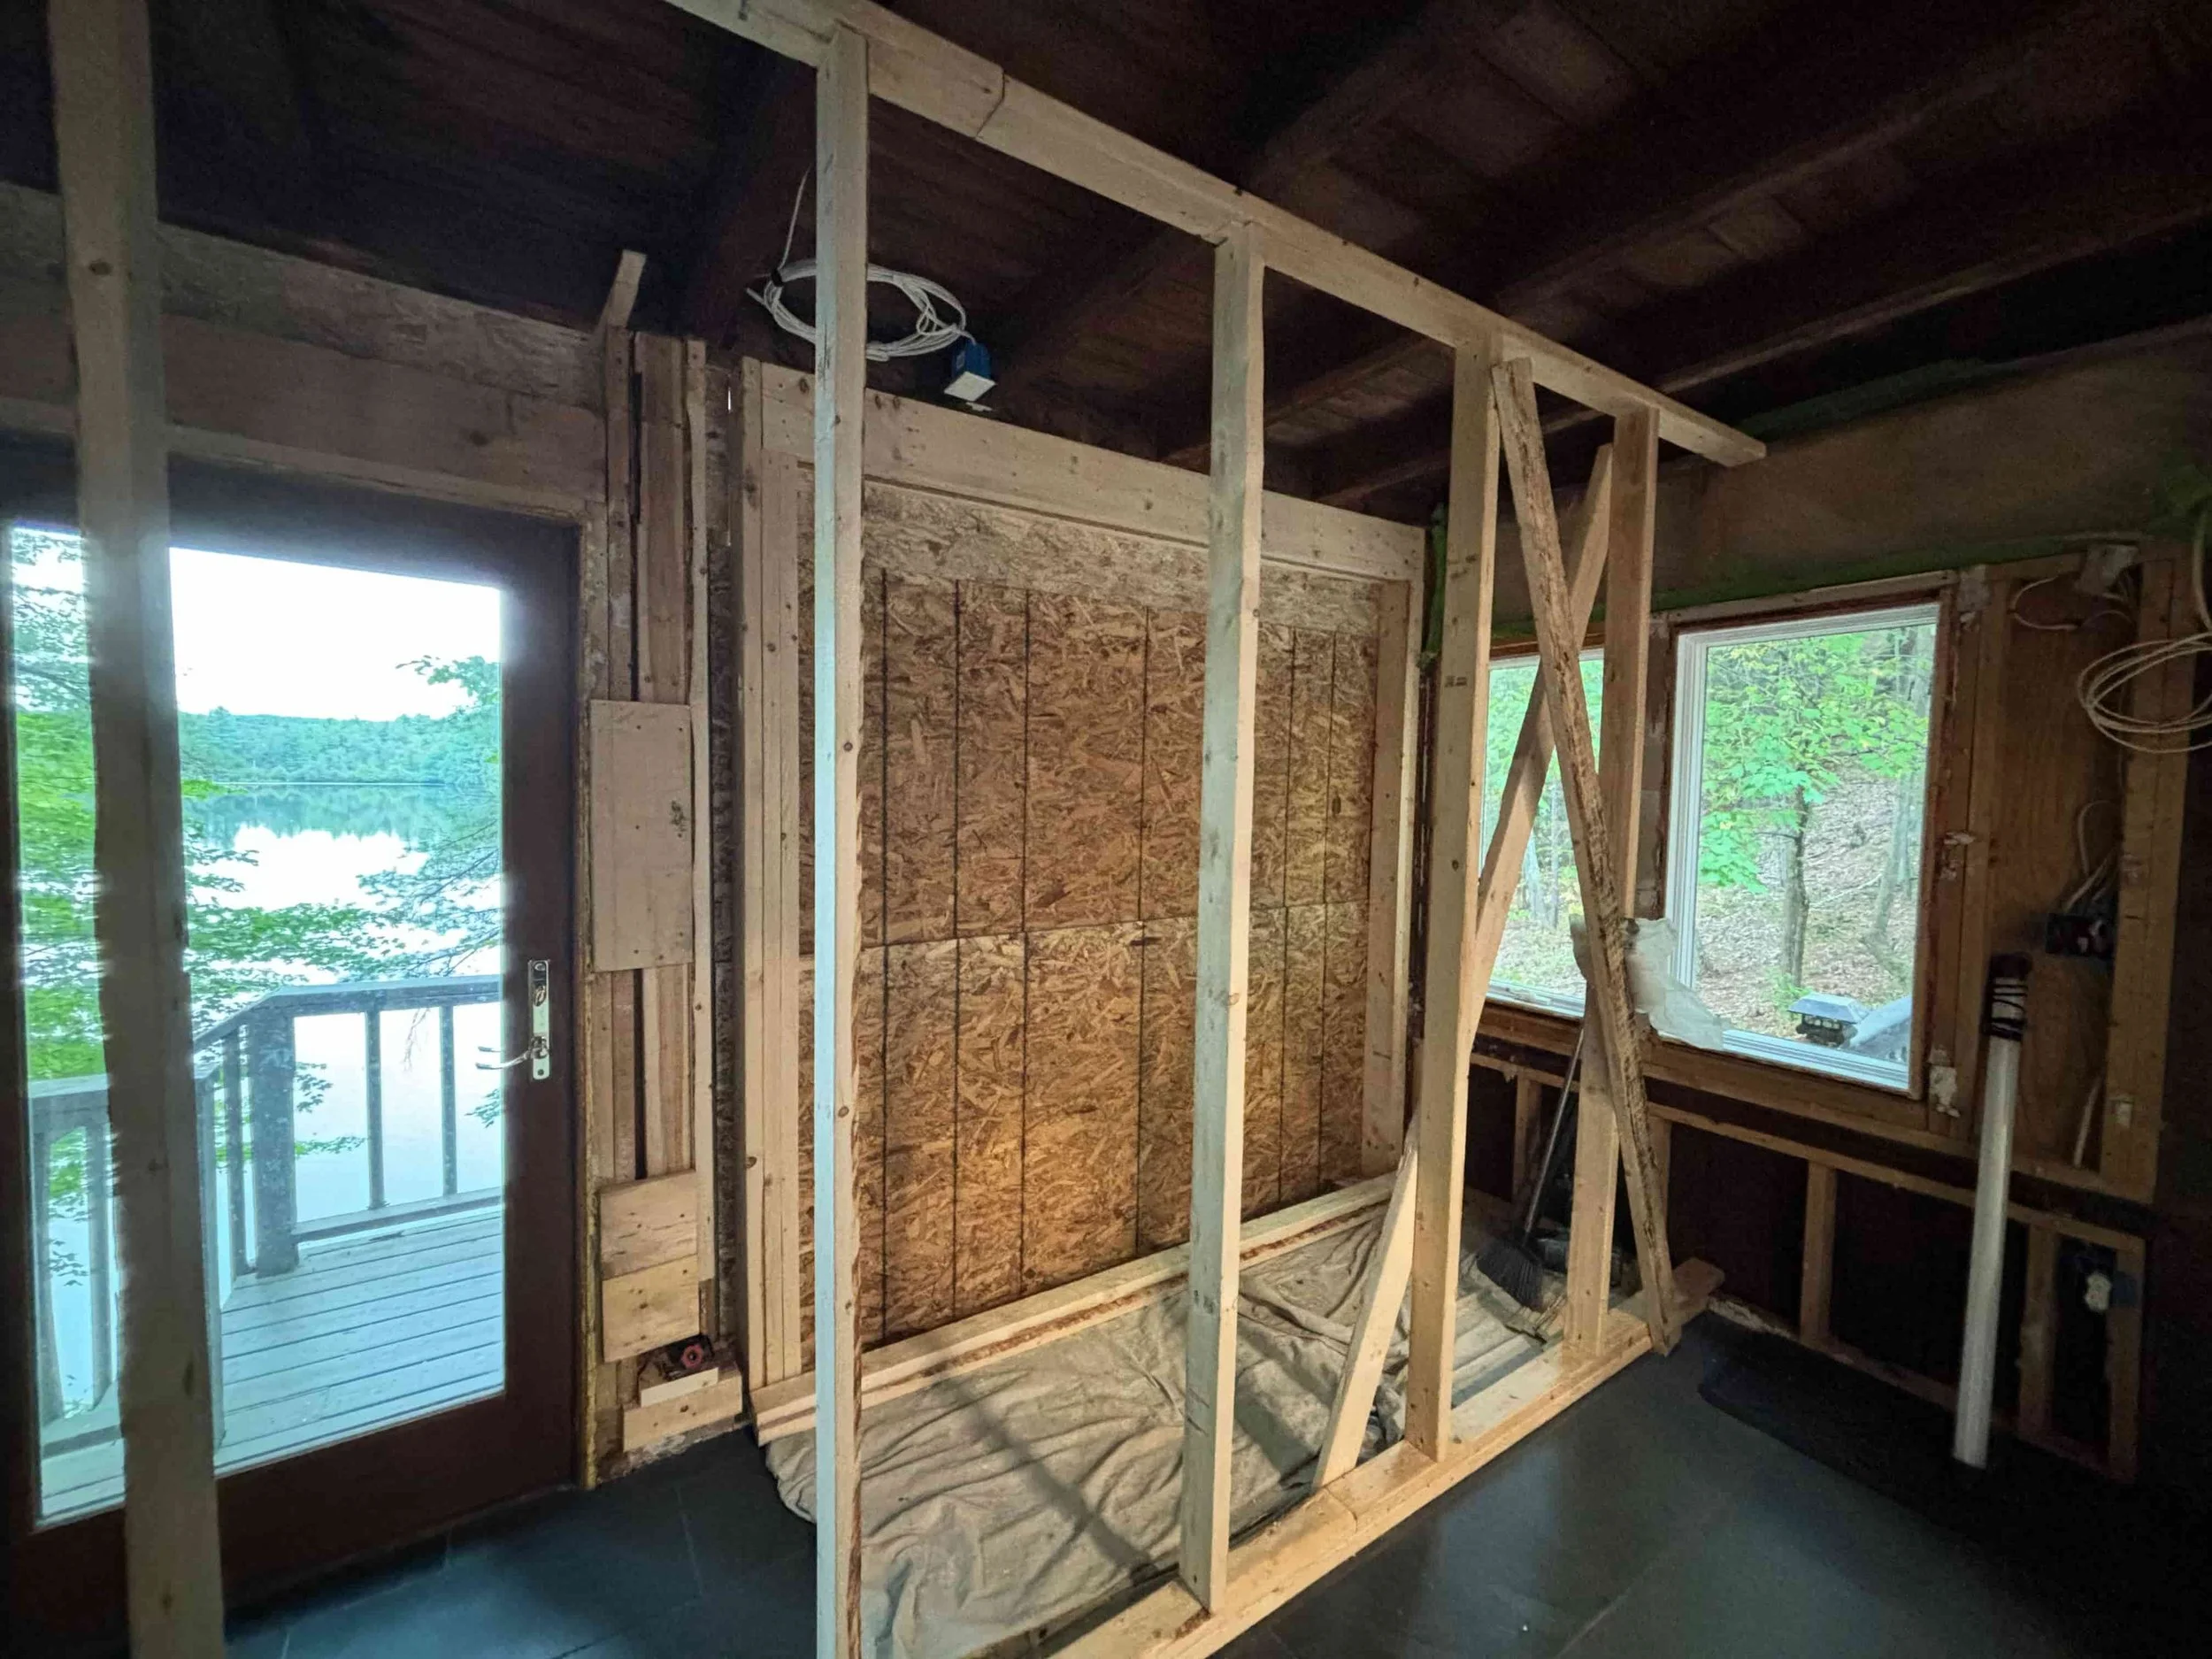
Section 1 done and boarded up.
We were happy when our contractors showed. Their presence meant that the boards could be taken down and we could be let out of house-jail.
Yay, light and fresh air!
That also meant no light and fresh air on weekends.
In case you’re wondering “why couldn’t new windows be put in as soon as a section is done?”, the answer is: because structural work has to be inspected and signed-off by the building inspector before the next steps can happen.
The support frame was taken down once the front section was complete.
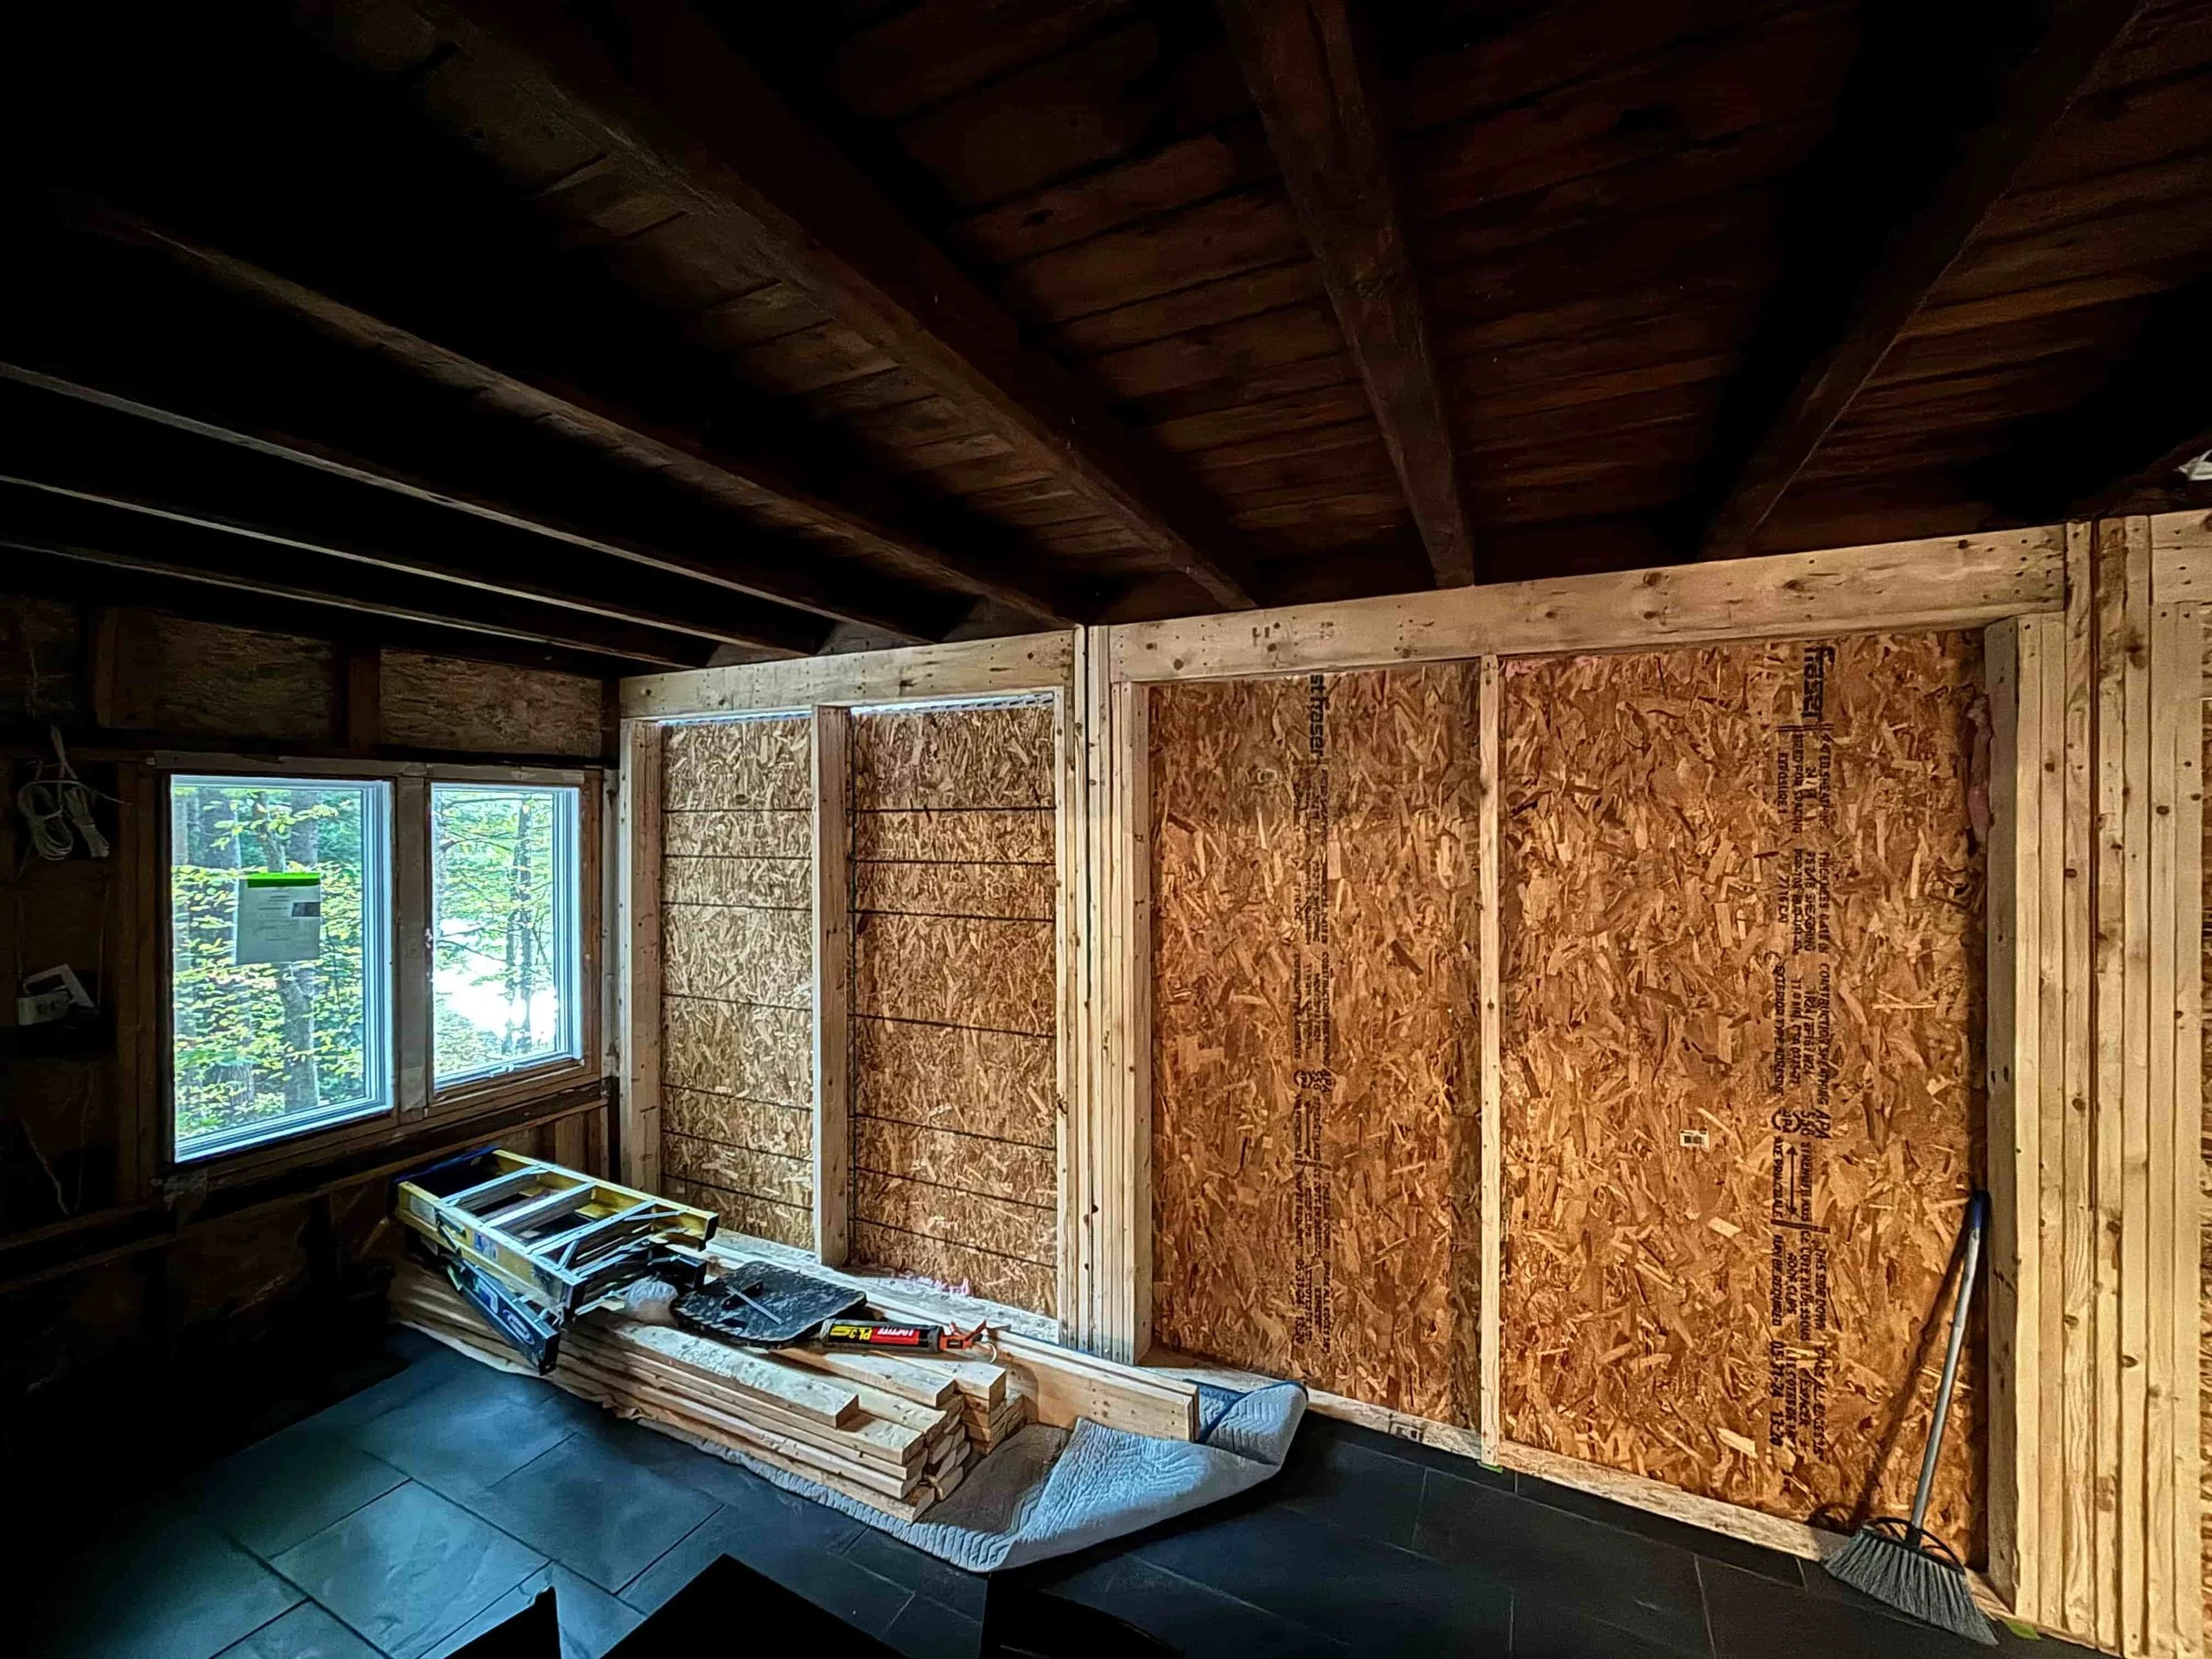

We did eventually plunge into total darkness.
Suffice to say, this phase was the most trying of all phases.
It captured just how tedious renovating an old house is: nothing is level, everything had to be precisely measured and cut, and everything took a lot longer than expected.
Step 6: Get structural work approved by building inspector
Call up the town’s building inspector to schedule the review.
Structural work has to be signed-off before insulation and drywall can proceed.
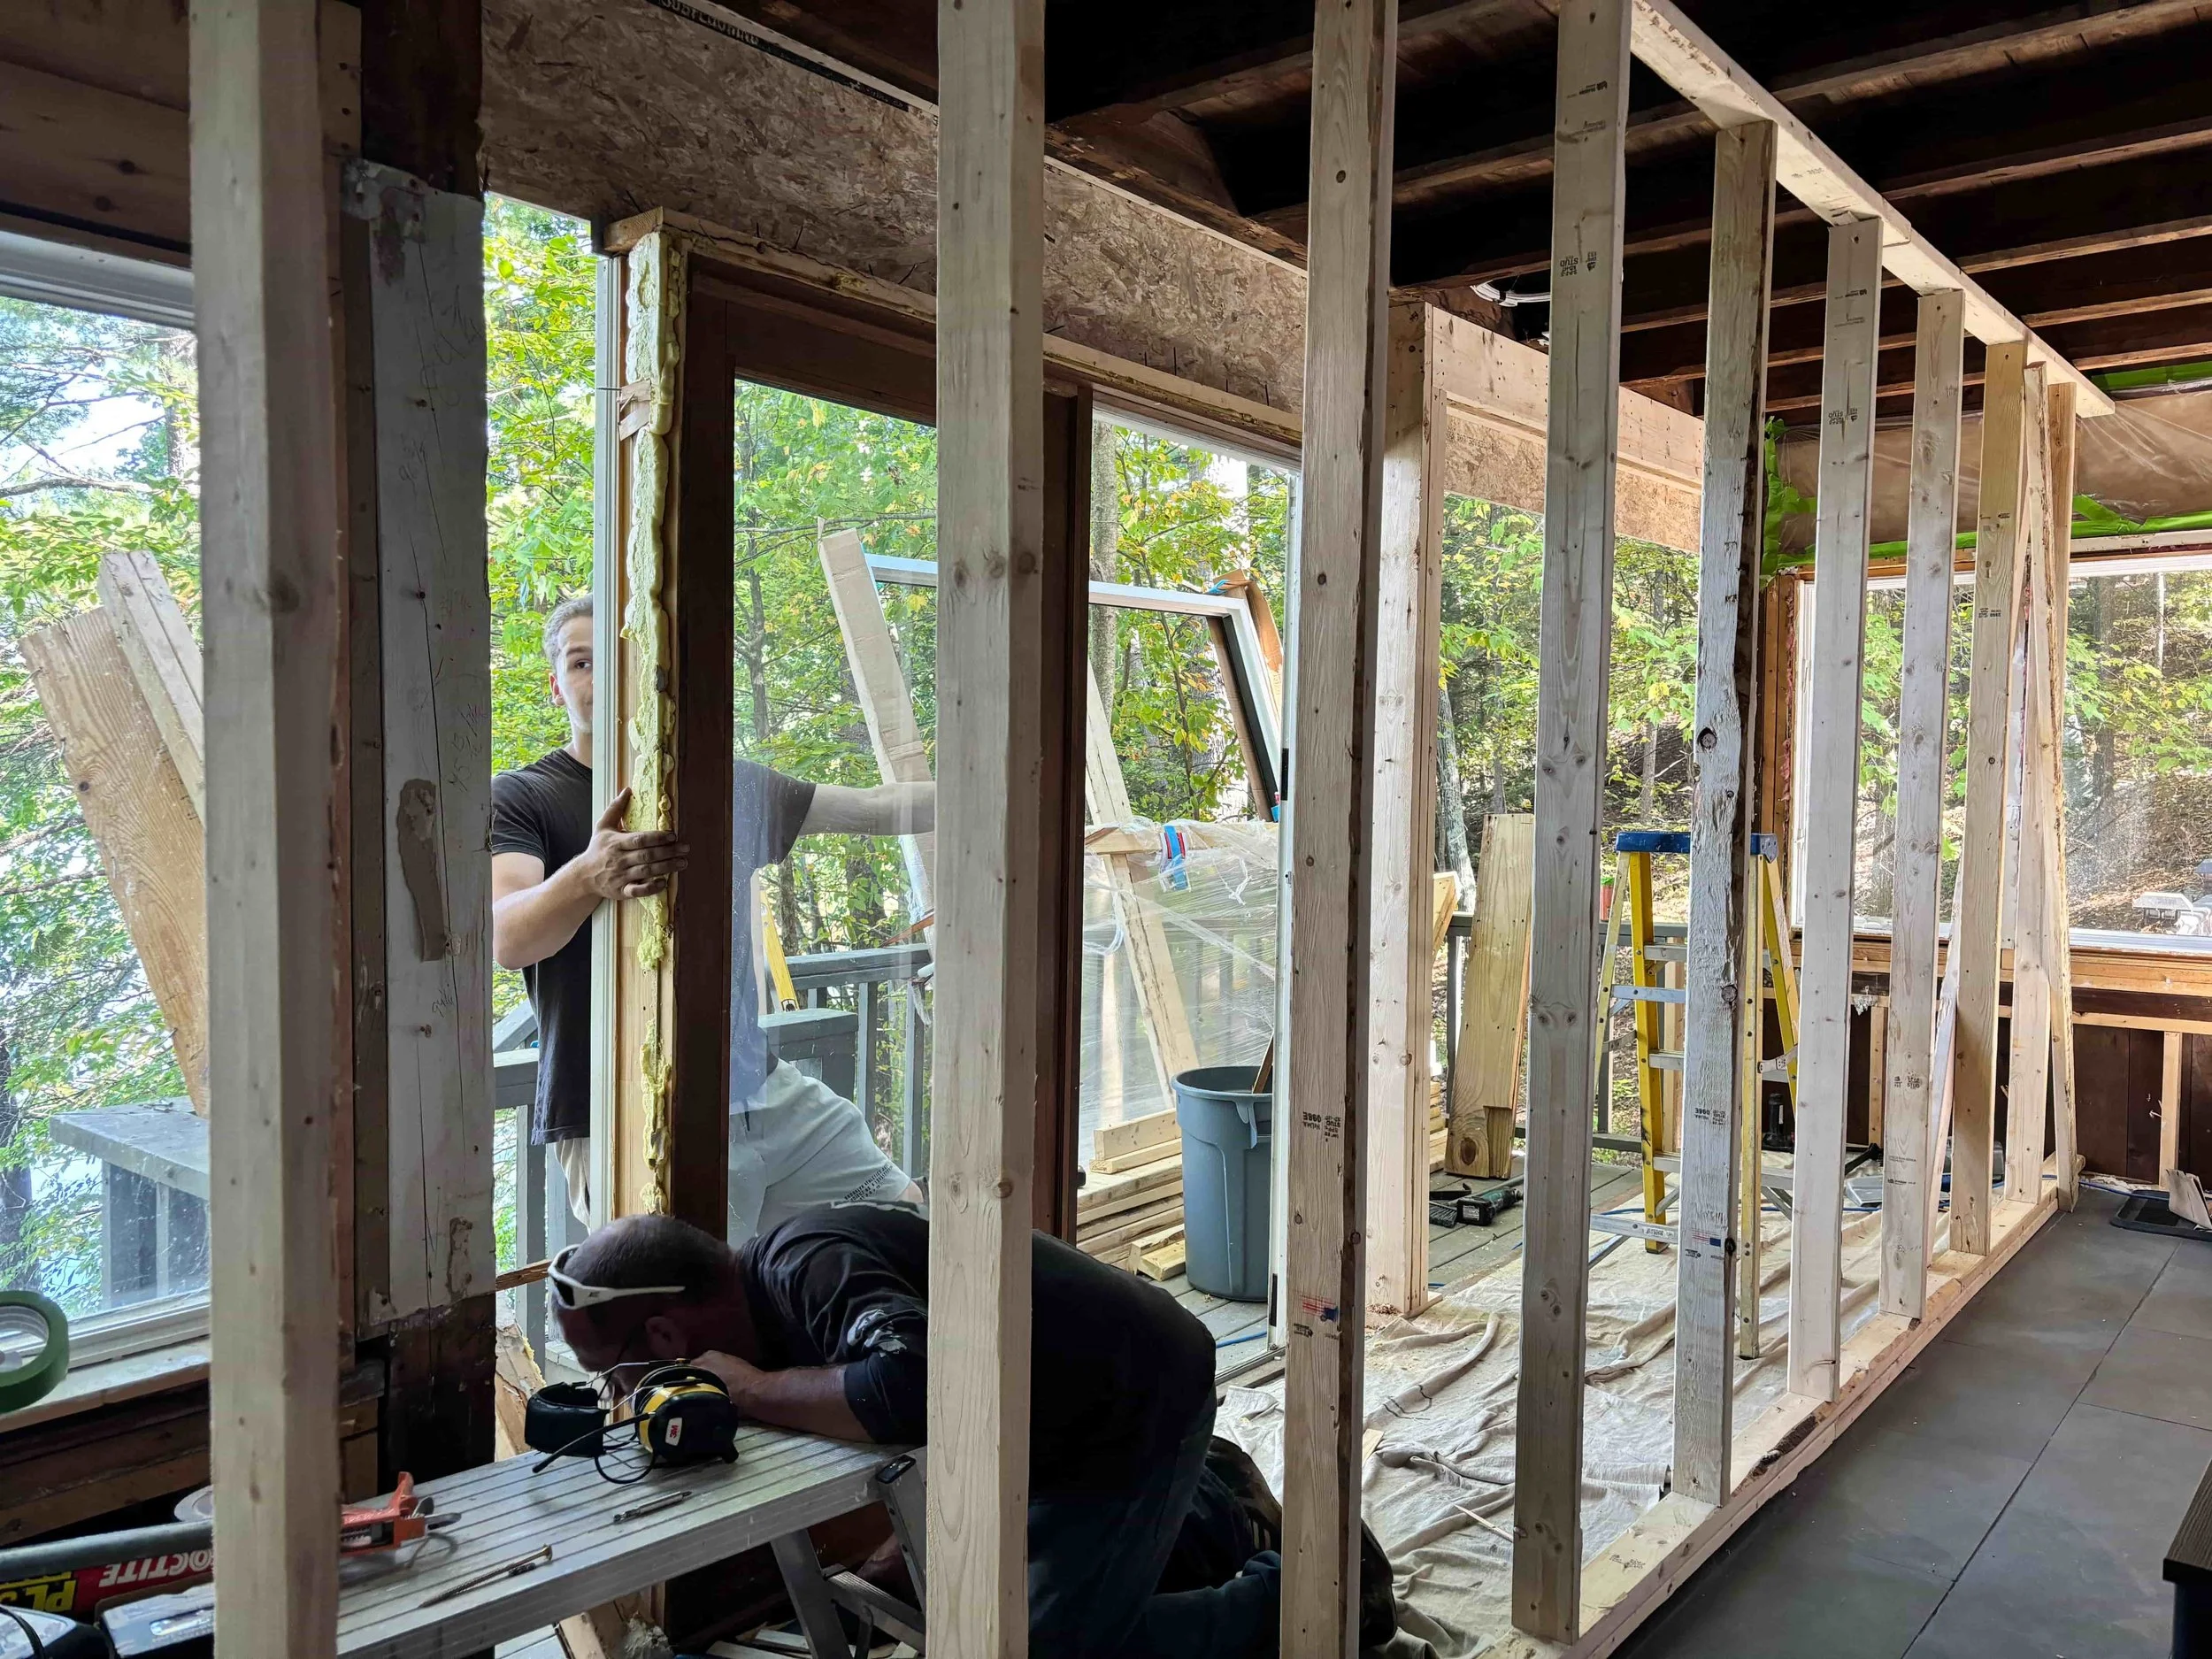
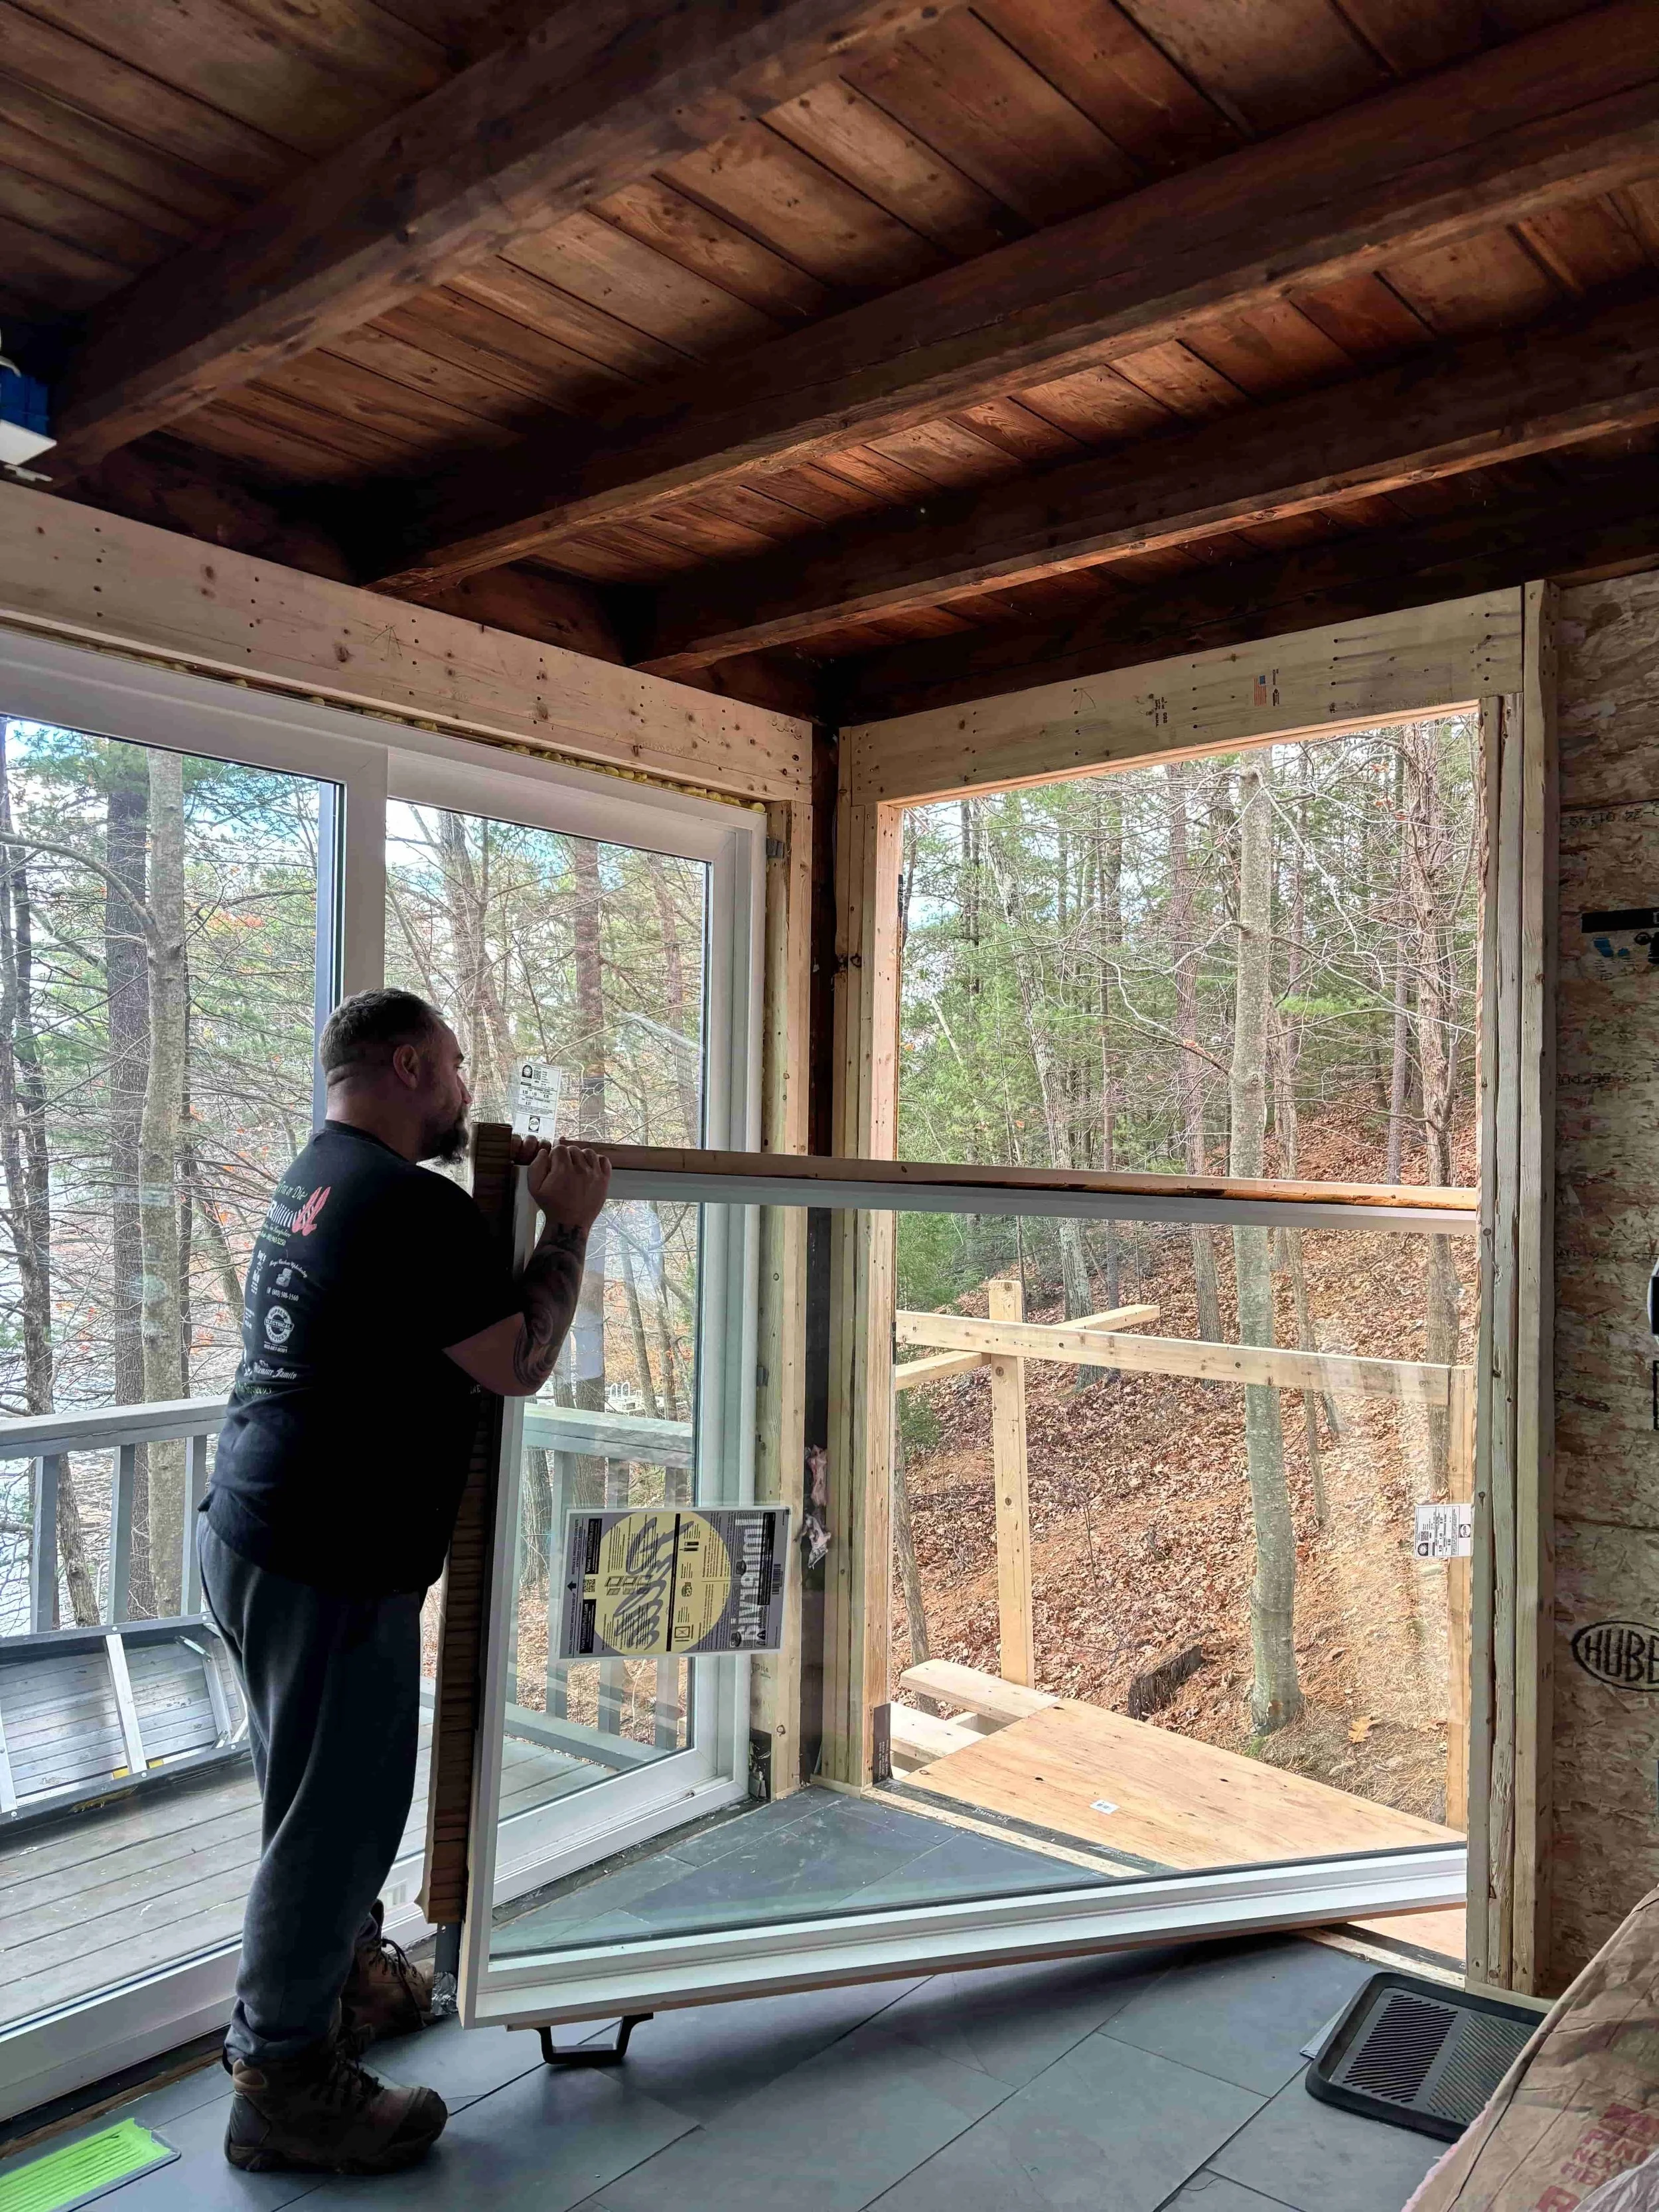
Step 7: Install floor-to-ceiling windows
Out of the darkness into the light. We were blind, but now we see.
Cue hymn.
Step 8: Complete electrical work
Our outlets and switches had to be shifted since prior wall space had been replaced with glass.
We also took the chance to install some recessed lights in between the beams.
Step 9: insulation, drywall, drywall corner bead, joint compound
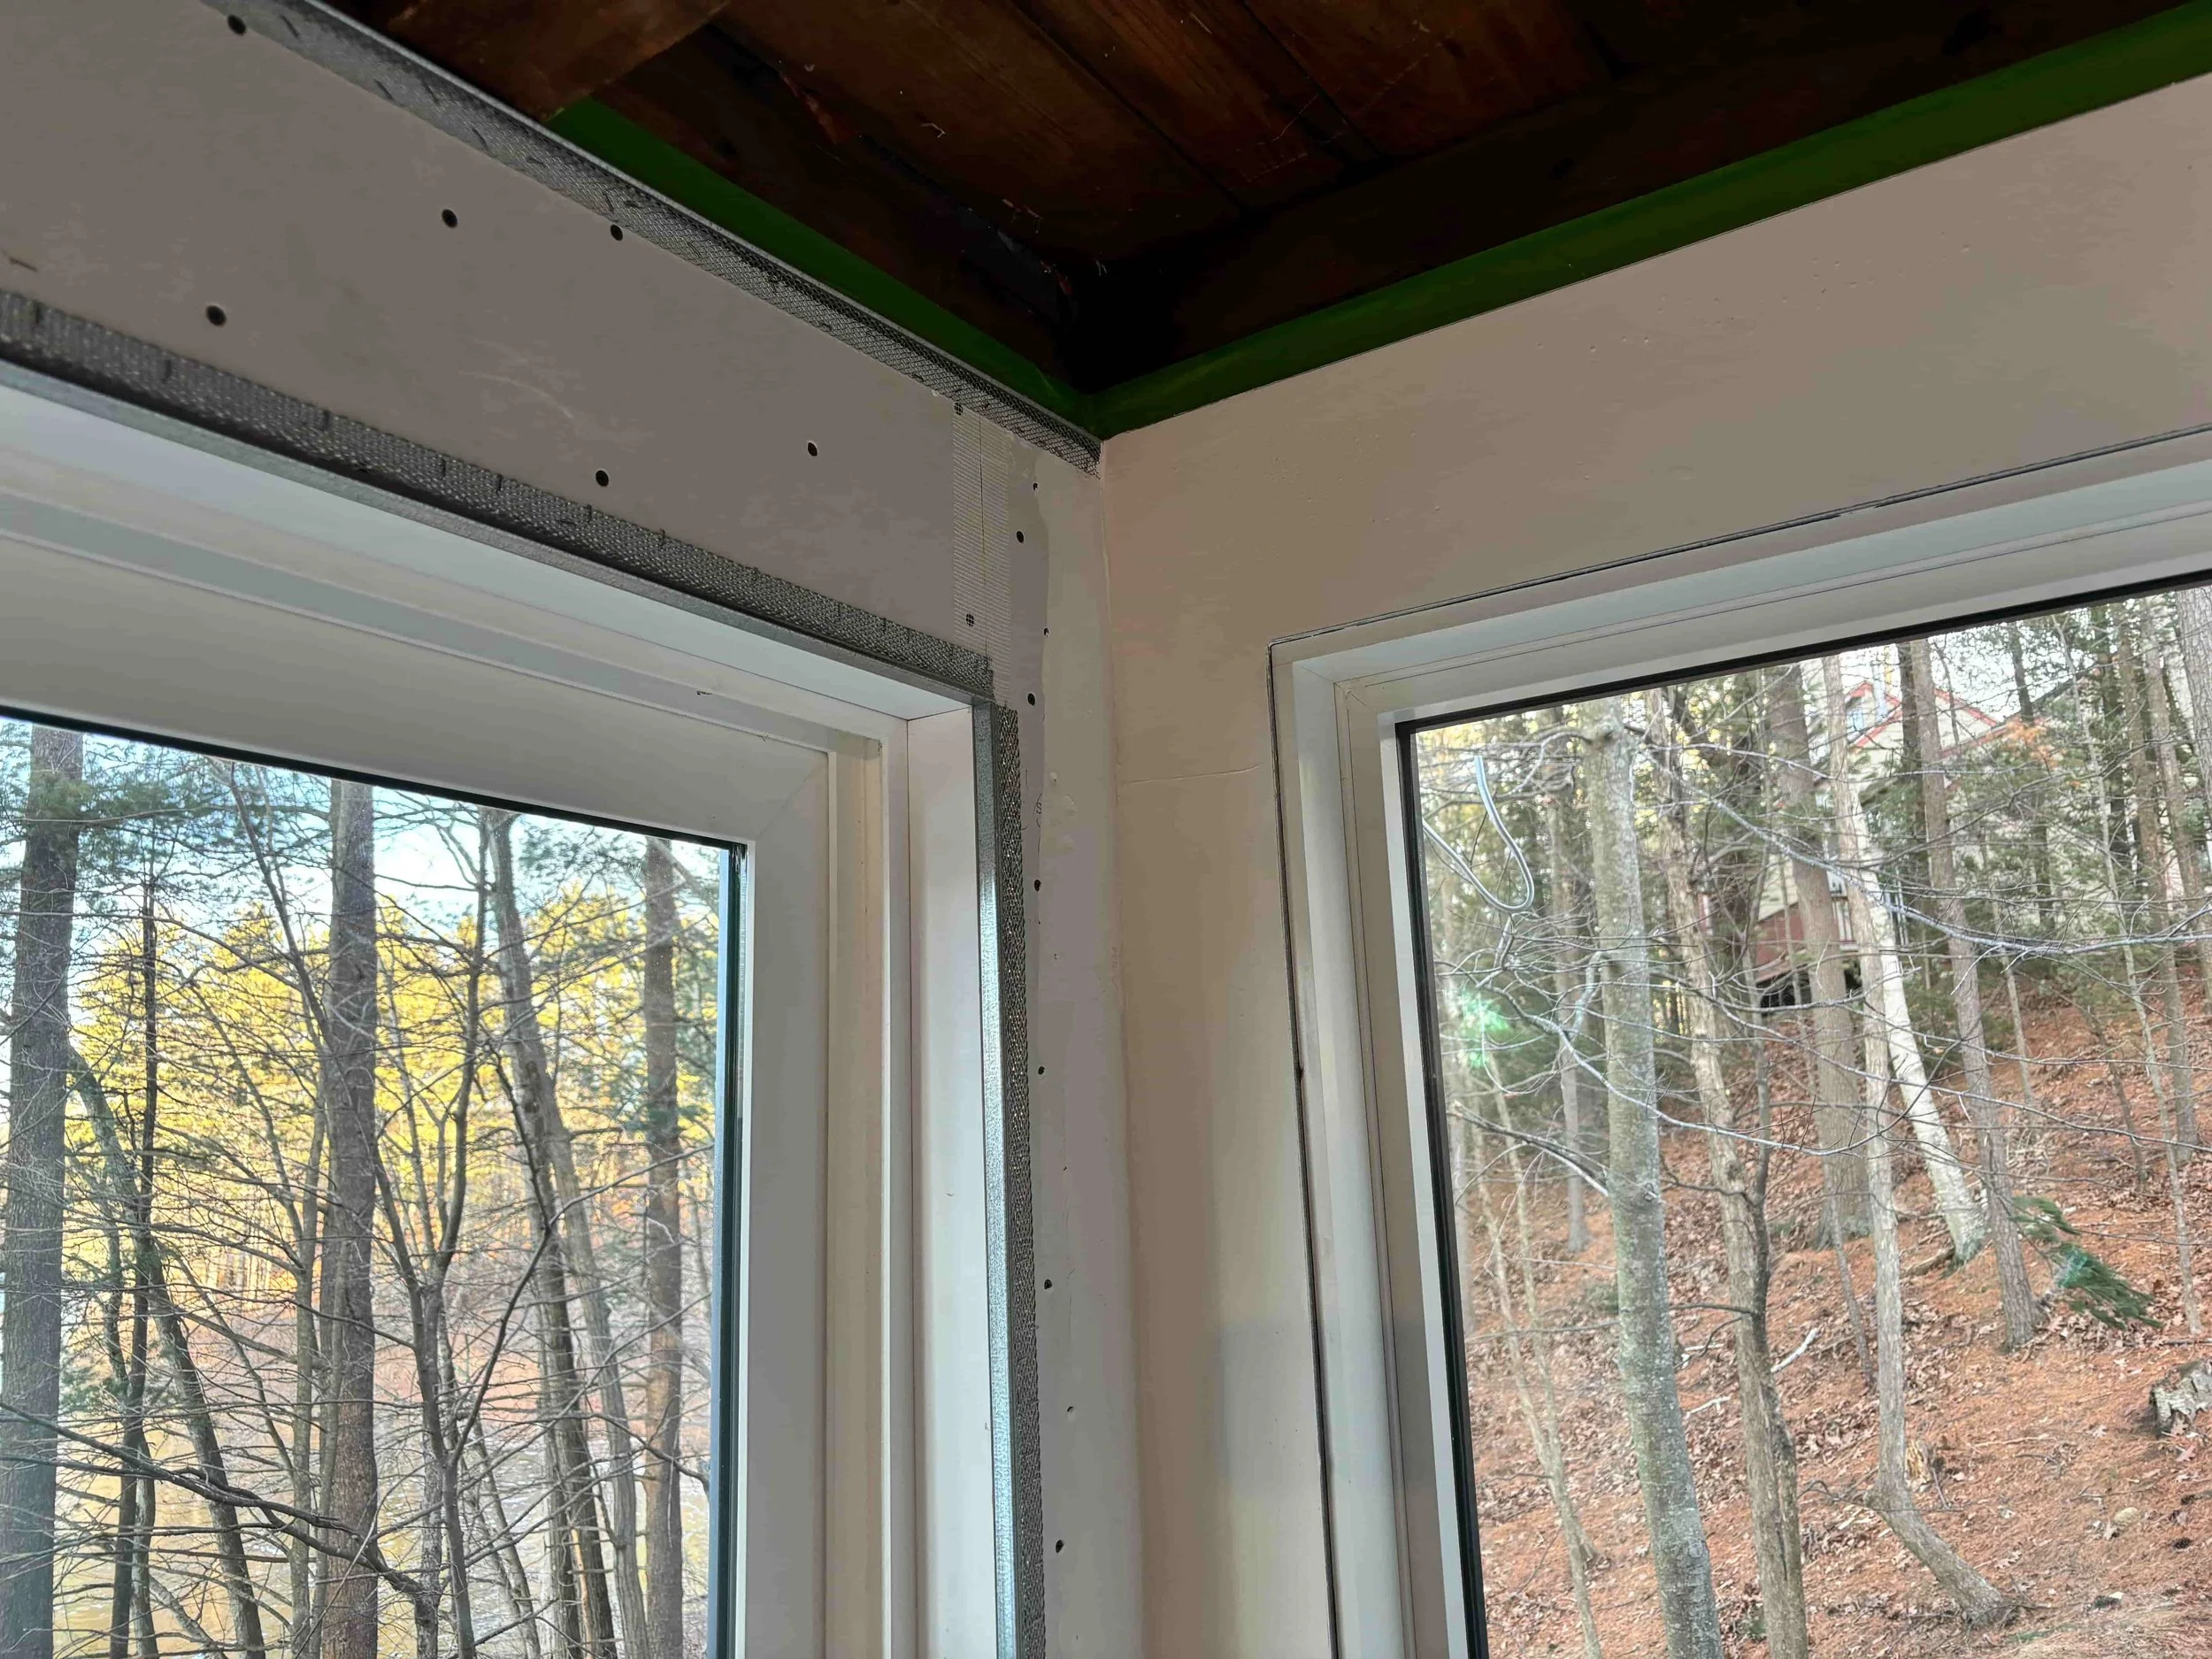
We wanted a seamless appearance so we decided to finish these windows without a trim.
Here’s my contractor, Dave, securing drywall.
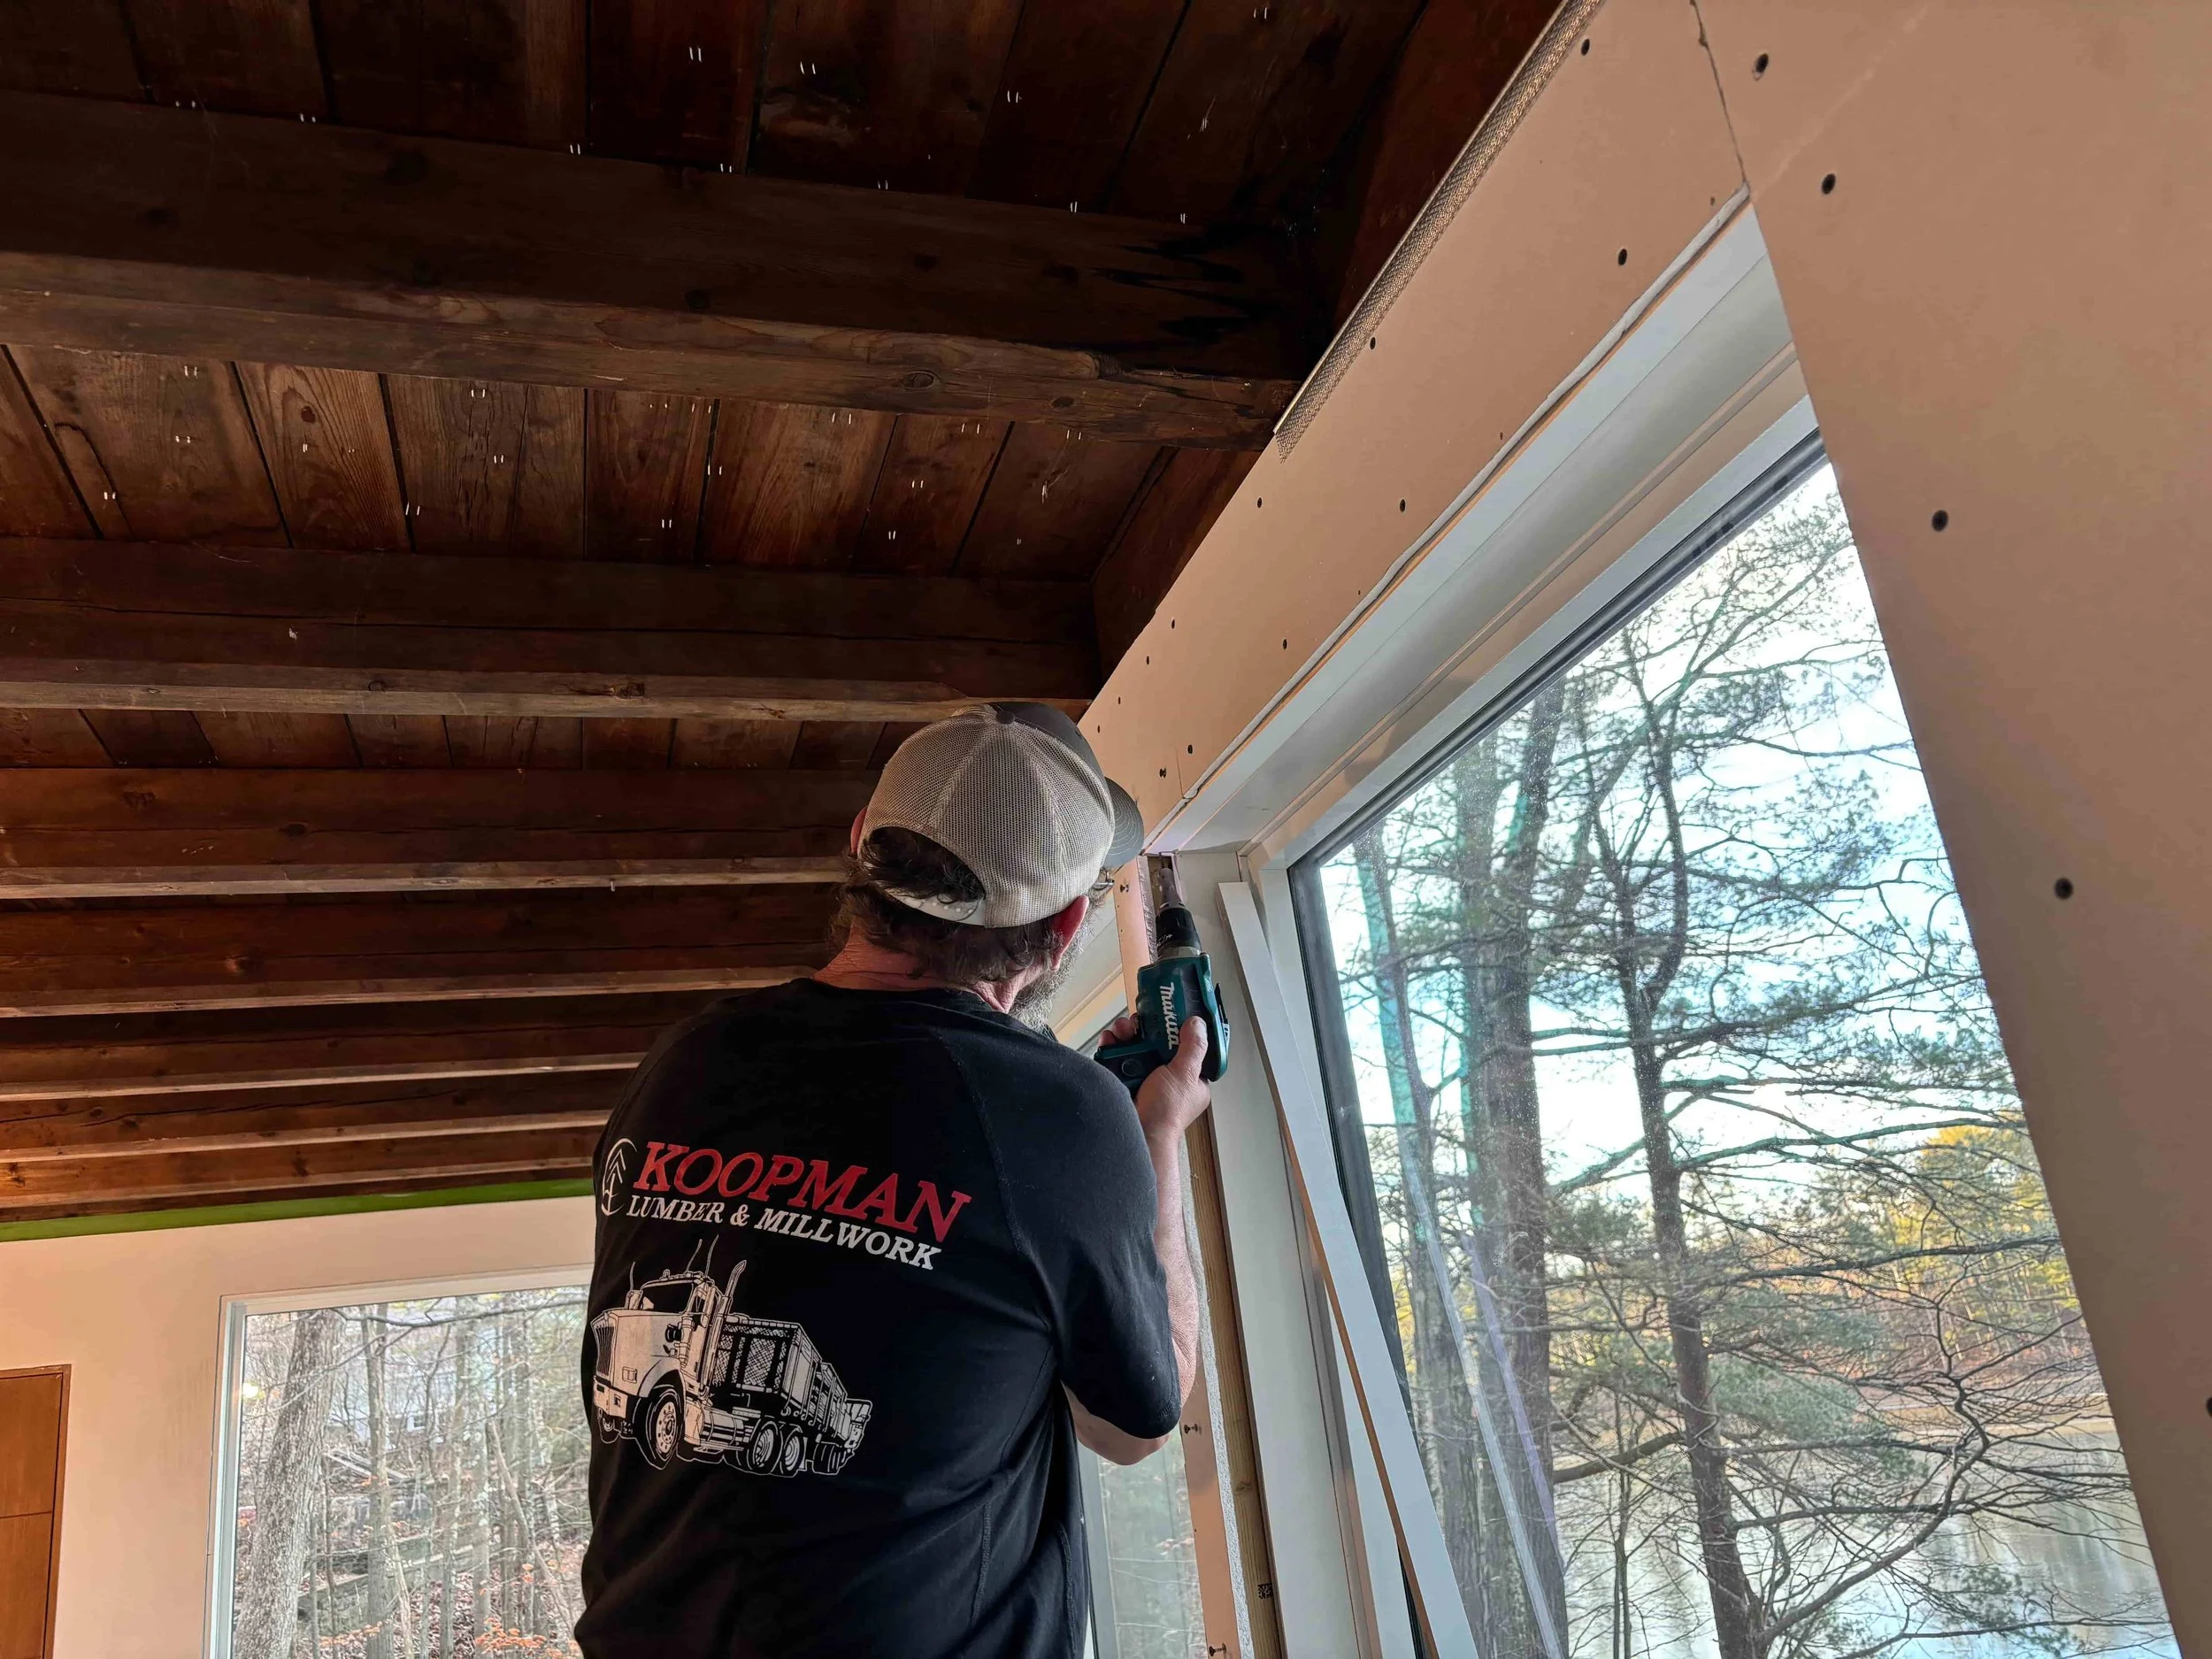
The metal thing that you see is called a corner bead. It’s added to the rough edges of the drywall to give it a smooth finish.
Once done, joint compound goes over everything.
Step 10: Permit sign-off and paint!
Always paint last!
Work by:
Contractor
Dave Lundgren Custom Carpentry
Windows
Pella