How to do a custom kitchen remodel? A step-by-step guide to gutting and building a custom kitchen.
My custom kitchen remodel started in March 2022 and ended in January 2023.
Yes, it was too unnecessary long. Hence this better-late-than-never post about how to execute a custom kitchen remodel, because boy do I have tips for you.
I would say though, going through this kitchen remodel changed my life. No, I’m not talking about “finally having my dream kitchen”. I’m talking about the life lesson I’ve been taught by living through 4 months without a stove and eating microwaved foods only: I came out of that with better eating habits. Where before I would throw a Trader Joe’s frozen meal into a microwave at least 5 times a week (no hate to TJ, I still love you), I now do that maybe once a week only. So thank you, kitchen remodel, for teaching me about the value of a proper home-cooked meal.
Read on for my step-by-step guide to a custom kitchen renovation project!
Step 1: Decide if the current layout stays, or goes. Sketch your ideal layout.
Much like my bathroom renovation, the first step is to get the blueprint nailed from the start. This is the layout stage, so don’t get stuck on details at this point. Think about flow.
How would you ideally like to operate in the kitchen? Sketch your ideal layout on paper.
This was our kitchen:
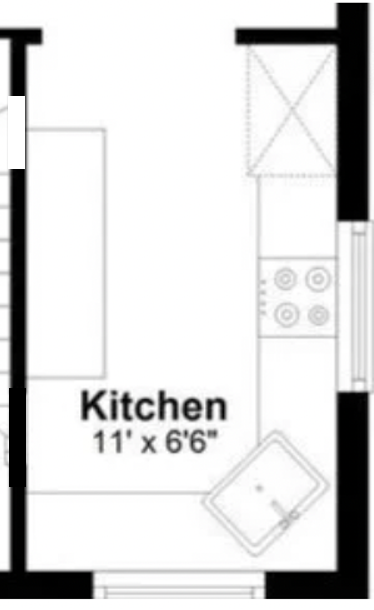


We hated everything about it, top reasons being:
Operational flow. One would take items out from the fridge, wash it in the sink at the corner, lay prepped foods to the right before bringing it to the left where the stove is.
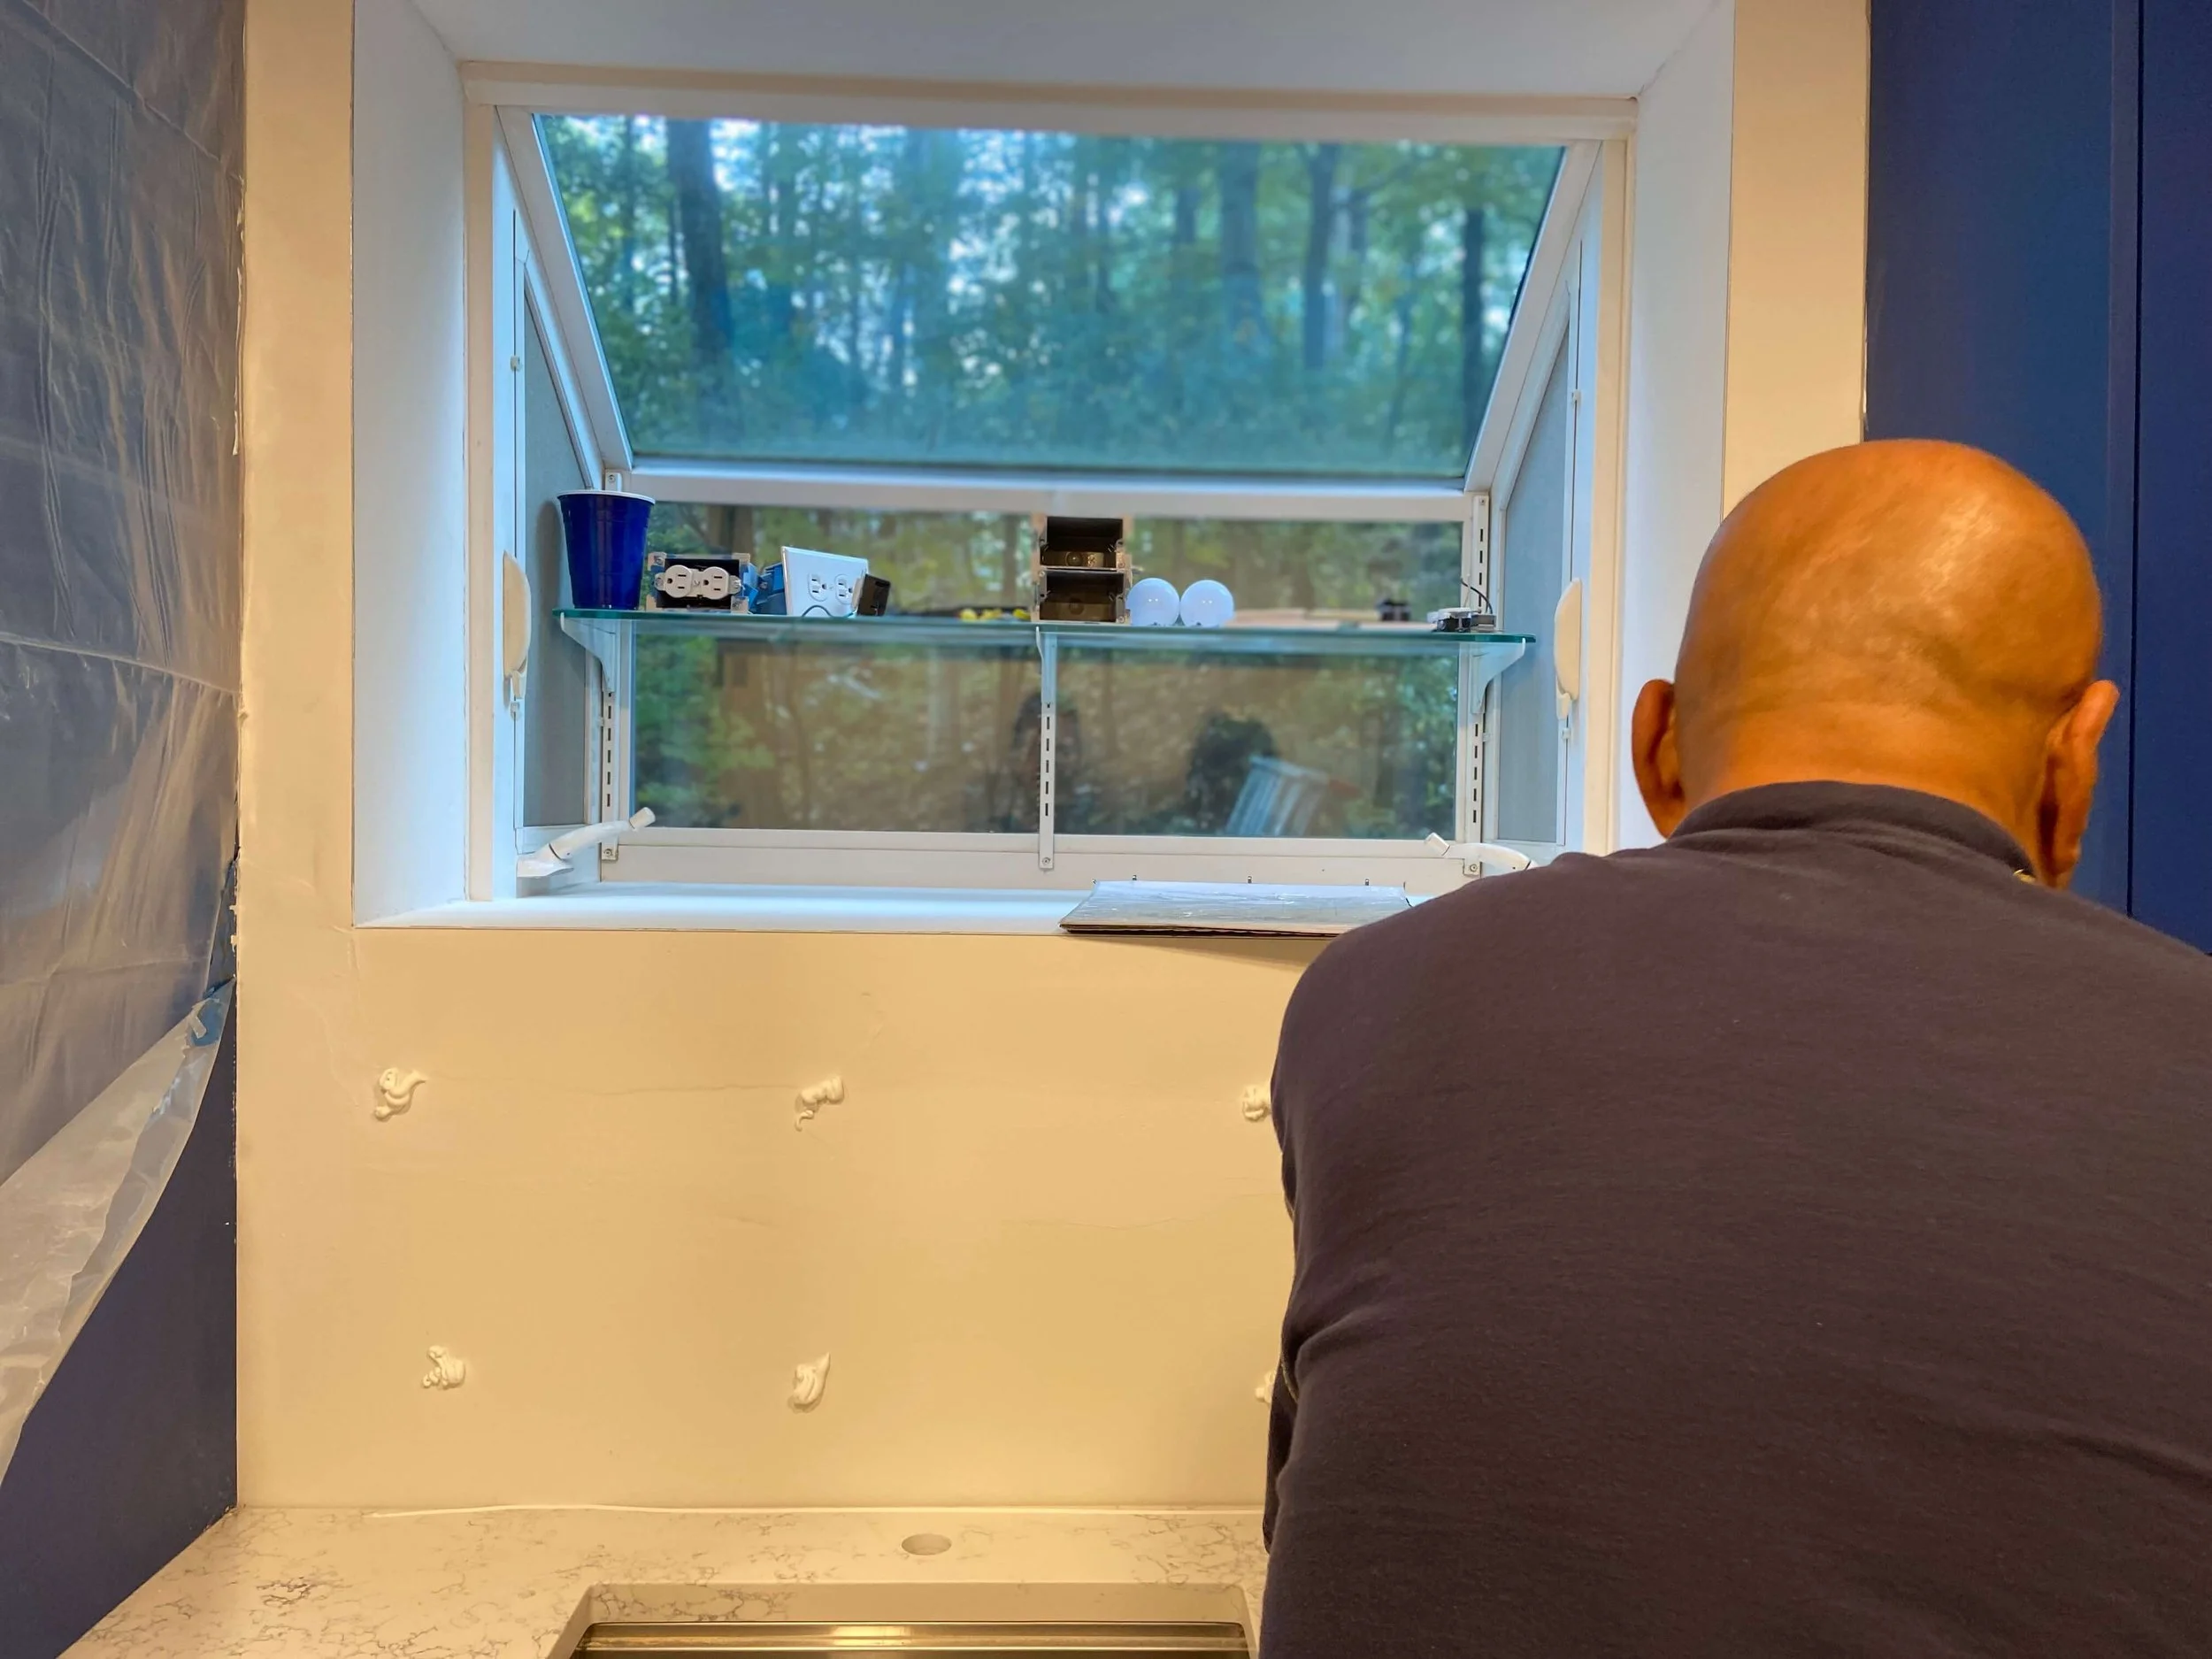
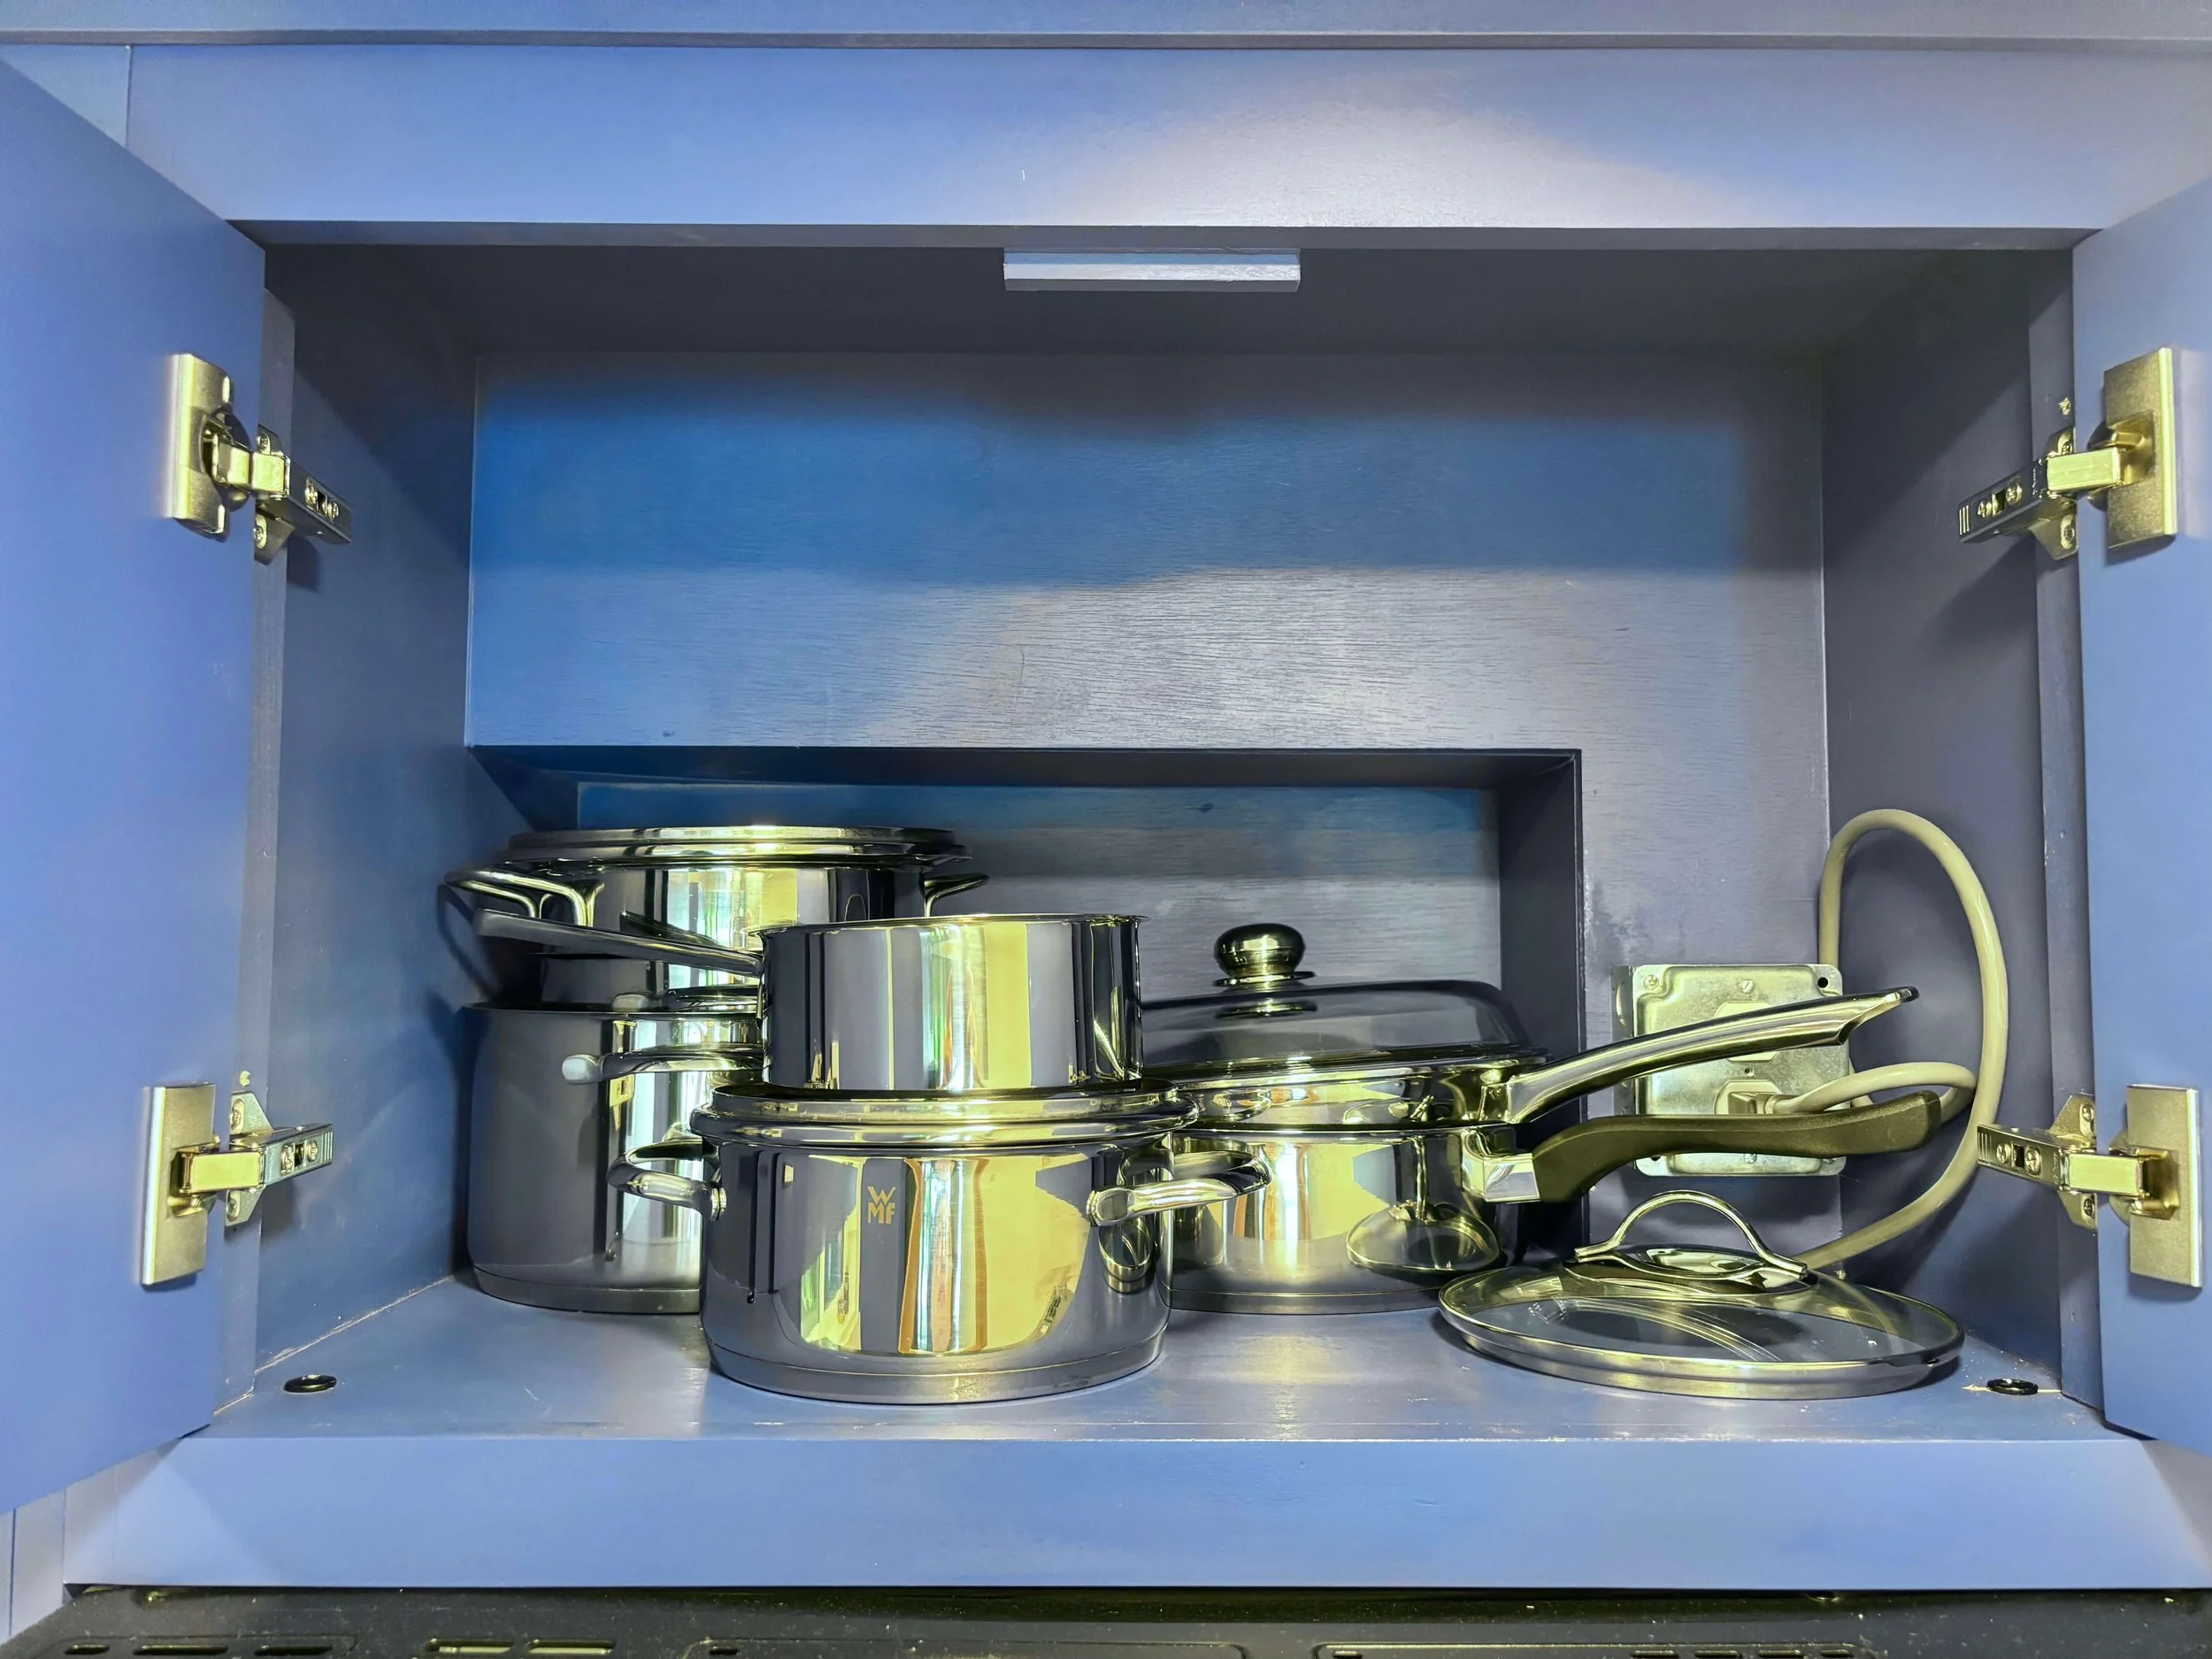
Cabinet space. The slim cabinets along the wall served no meaningful purpose other than making the kitchen feel narrower. We had to use the space in the garden box window for our pots and pans which made the space look even more cluttered.
Lack of a vent hood. No one likes a home smelling like Eau de Yesterday’s-Food.
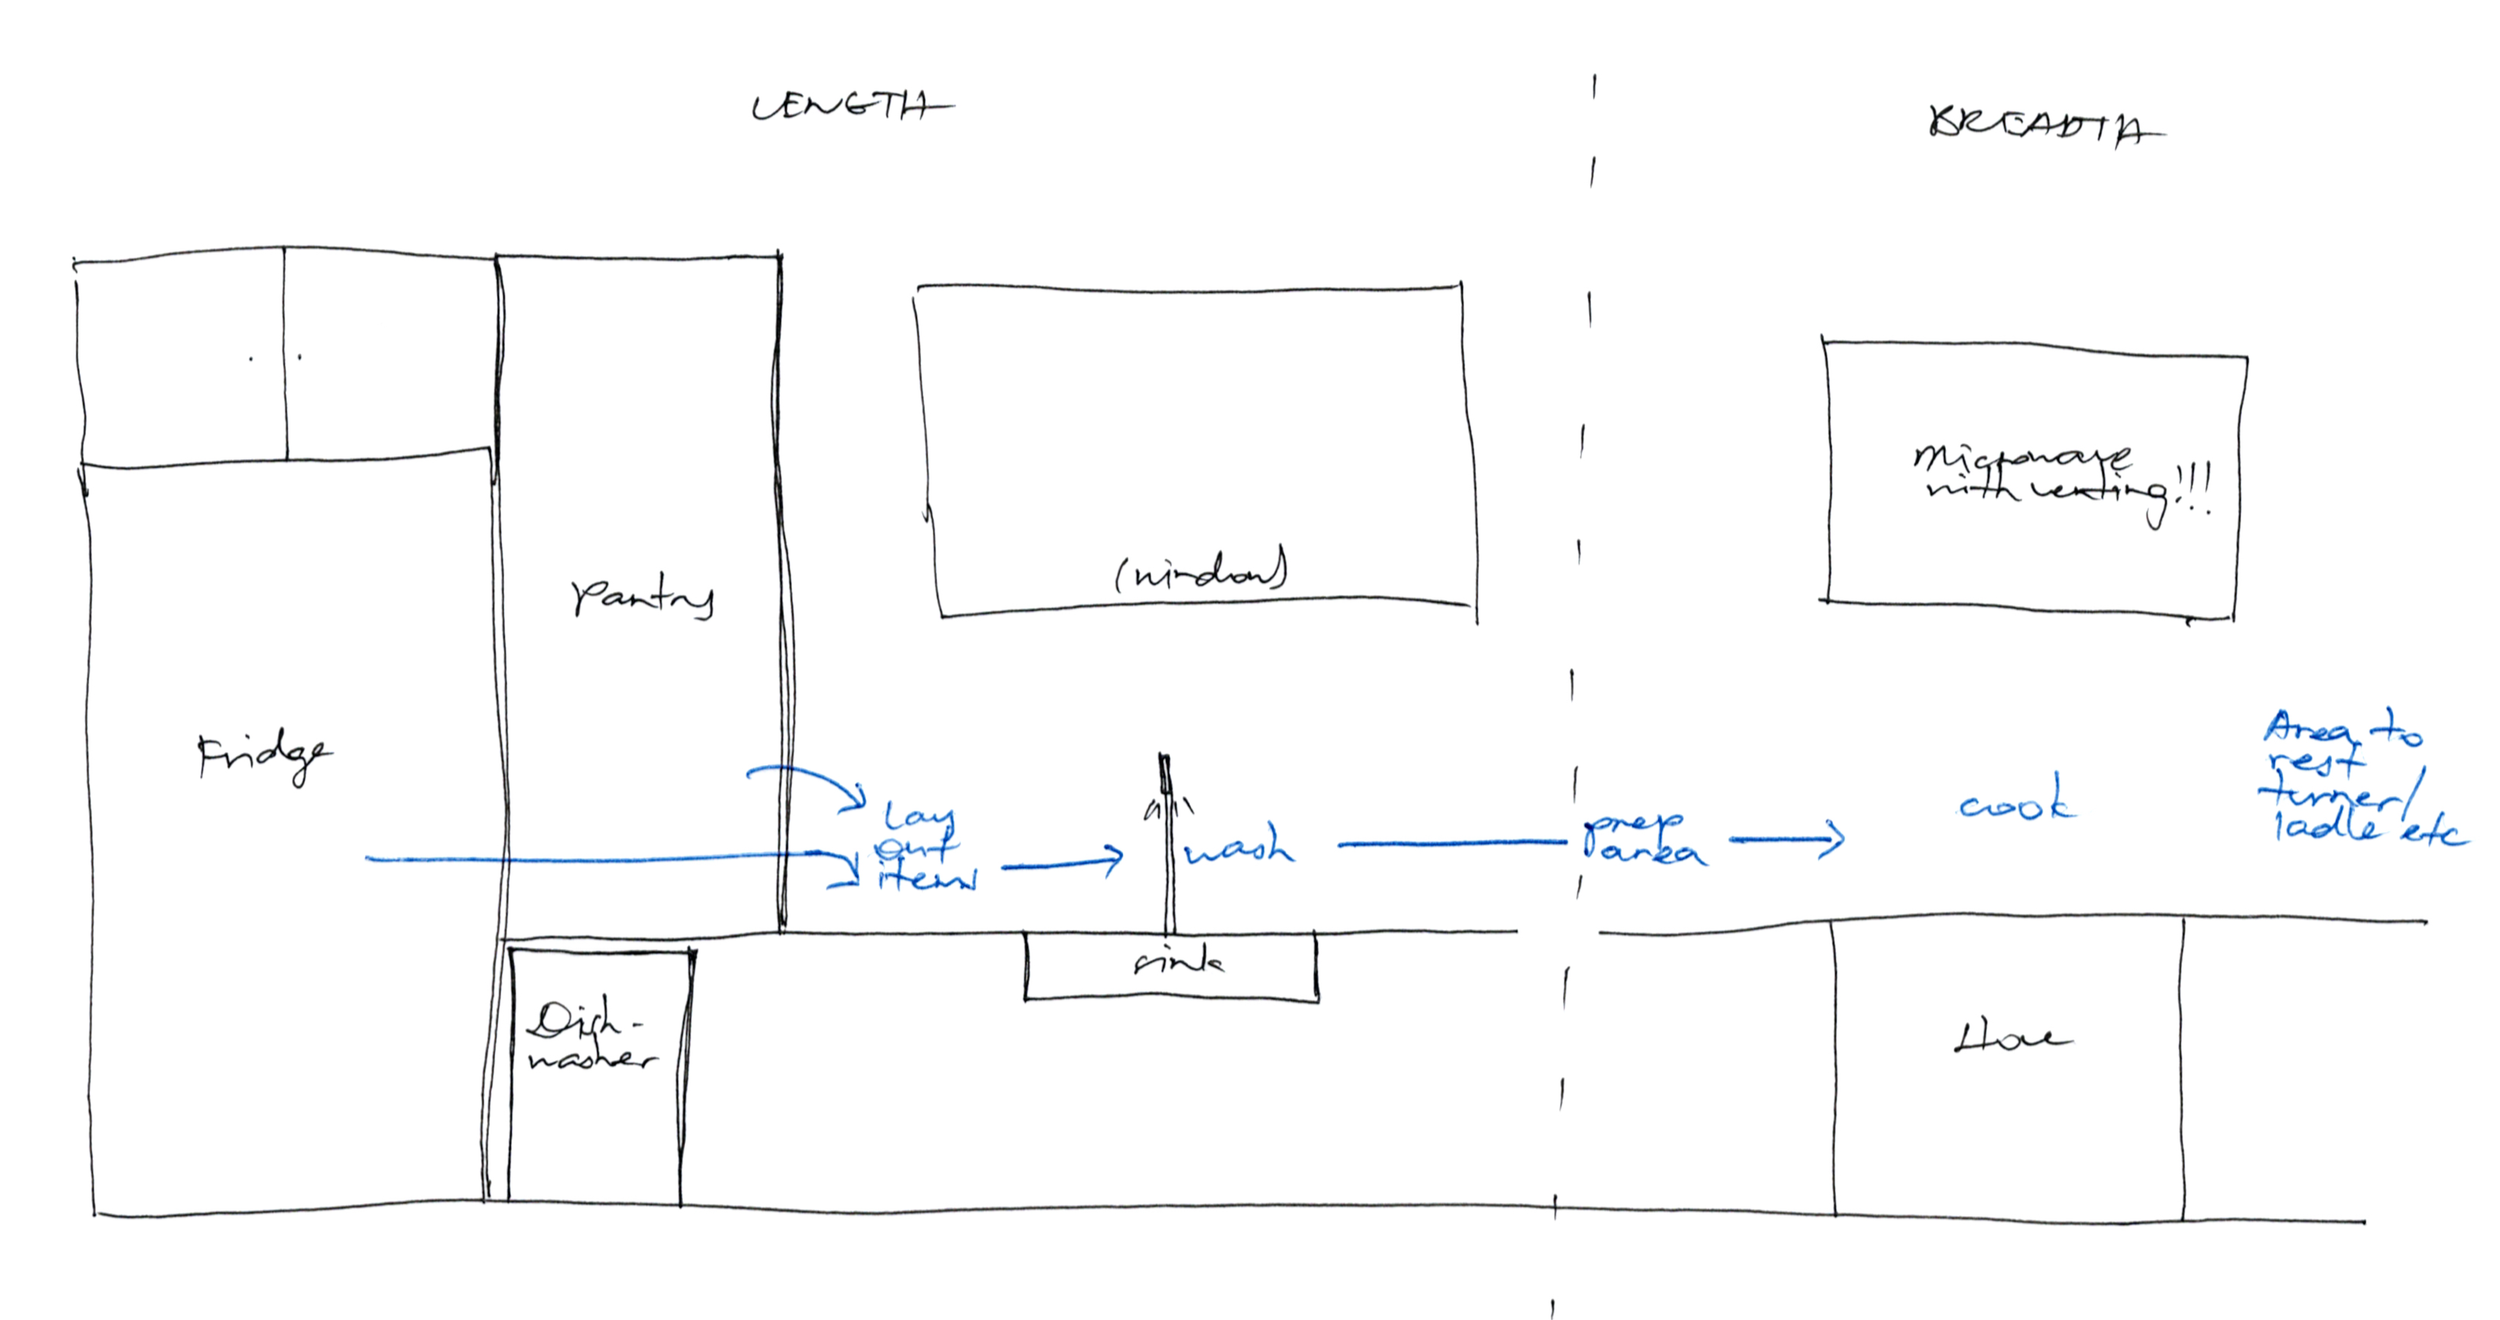
Sketch to the bare minimum, without need for accurate measurements. Just get a high level overview of flow at this point.
Here’s what I mean:
Step 2: Decide on a General Contractor’s involvement.
If you’re thinking of hiring a General Contractor (GC) because of the need to pull a permit for your kitchen renovation, take a pause here. As a home owner you can pull a permit by your own.
Yes, homeowners can act as their own GC! (I have done so for my window renovation project which involved structural modifications - article for another day.) So if you think you know enough, or have friends/family who have experience to guide you, go ahead and take charge.
We hired a GC in this case because we knew there was going to be too many people involved for us to coordinate the project, plus, we wanted to lean on a professional’s experience to help anticipate challenges with such a small kitchen- there’s literally no room for mistakes.
We discussed the scope of project with our GC and agreed on his involvement on everything except getting appliances and installing custom kitchen cabinets and backsplash.
Step 3: Bookmark your kitchen appliances and run plans with kitchen cabinet maker.
Note I said “bookmark”, and not “order”.
You don’t want to order immediately because at this juncture you don’t know what’s your ETA on completion. New kitchen appliances generally come with a 1-year warranty. If you order too soon, your warranty may run out before you’ve had adequate time to test your appliances.
Just pick your appliances online and look at the spec sheet for dimensions. Then, map it out on your sketch for an understanding of how much remaining space there are for cabinets.
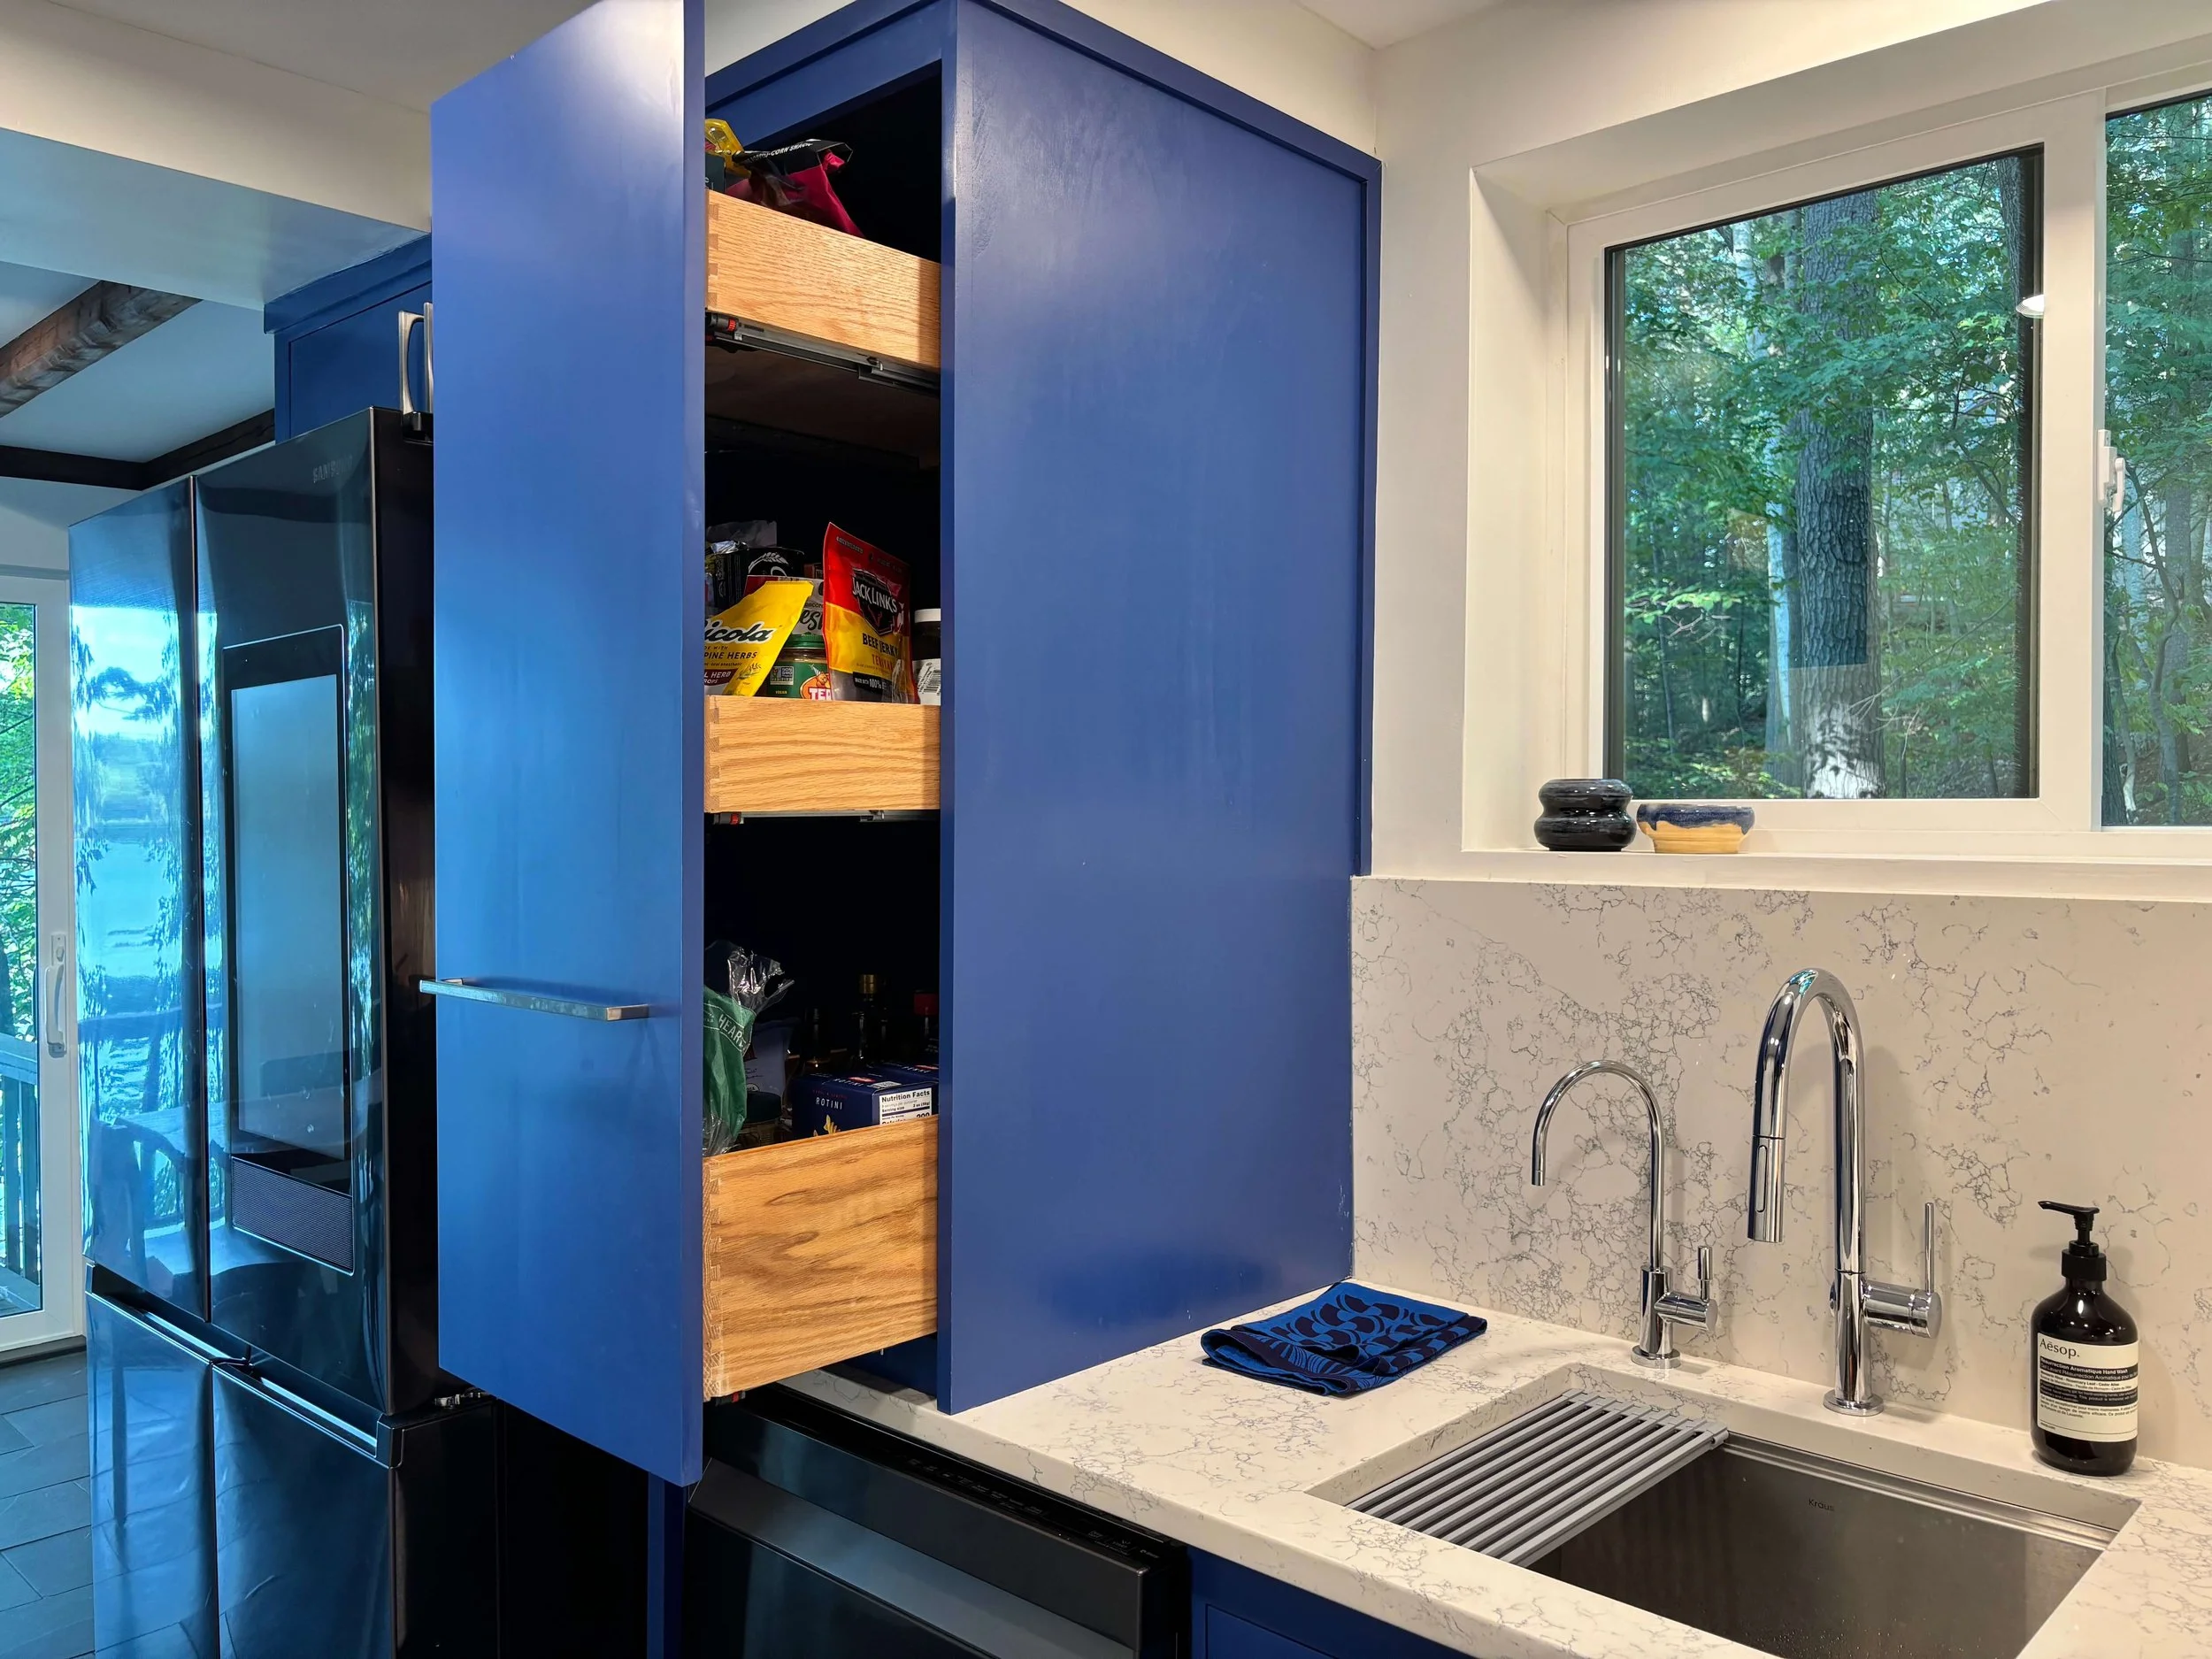
Run plans with cabinet professional. We had to go with a custom cabinet maker because the tight space means that standard pre-fab cabinets don’t sit well with the space we have. Also, we wanted to incorporate a pull-out countertop-to-ceiling pantry. Every inch counts in a small kitchen!
Iterate placement until you’re satisfied.
Here're sketches that our custom cabinet maker gave:


Ask about timeline for delivery. Getting a timeline would help your GC plan for the start of kitchen demolition.
Then, run this layout plan by your GC and get advised on whether or not plumbing and electrical works could be executed precisely. If they can’t, go back to the drawing board with your cabinet maker.
Step 4: Time to get detailed: Bring out the mood boards and inspirational photos!
Now that you’re done with the bones of your kitchen, it’s time for the fun part! 🥳
Here’s when you get to decide on the kind of bells and whistles and look that you want in your kitchen. Prioritize any feature that has got to do with plumbing and electrical work first, because those need to get done while the walls are open.
Plumbing: Do you need a pot-filler? Does your refrigerator need a water line for its dispenser?
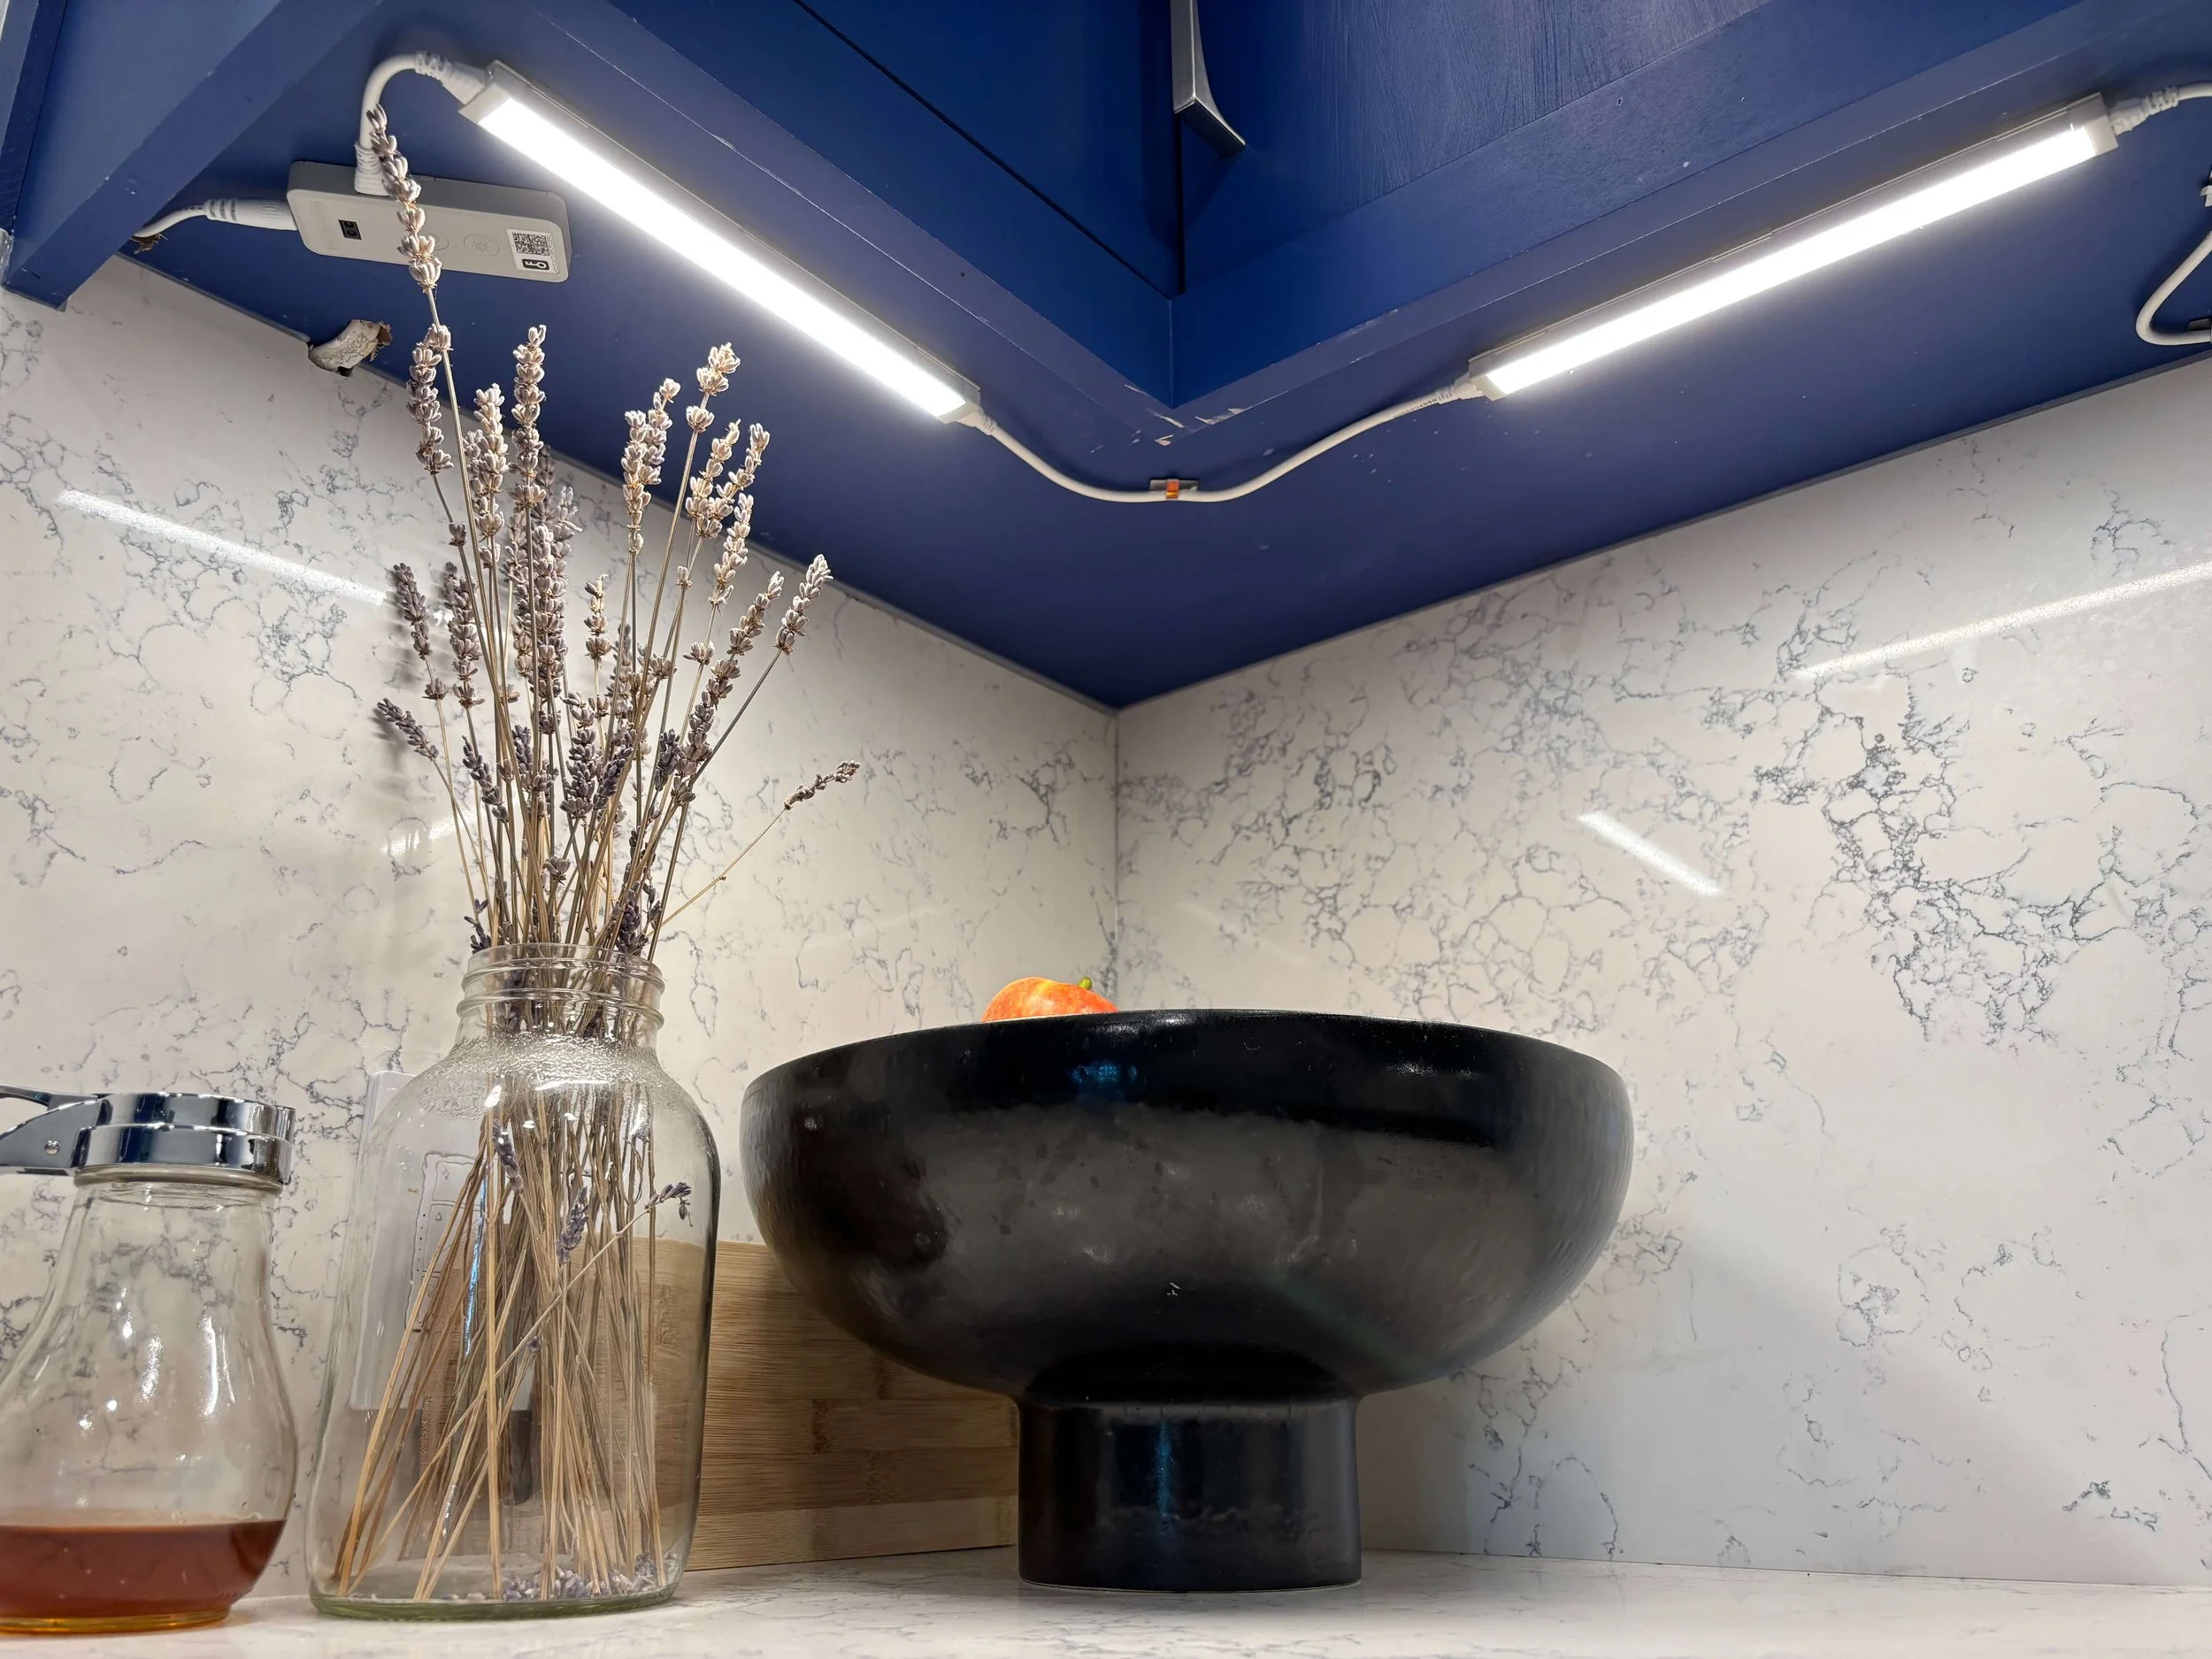
Electrical: Any accent lighting? Do existing lights remain where they are, or moved? Do you need an outlet to be installed in a particular area so that you could have a coffee machine?
Countertops: Stone or composite? Full backsplash or 6 inches?
Sink: Single, or dual? Top mount or under mount?
Color theme?
Given that I’ve seen enough kitchens as a real estate agent, I didn’t need any inspirational photos. My husband and I agreed on 2 things:
No white or brown kitchens. Our kitchen needs to be a cheerful space because we both do not like cooking and could do with a mood-booster.
Inset cabinet doors for a contemporary look. Not shaker.
Do not make any decision that would impact the dimensions of your cabinets unless you’re ready to go back to the drawing board in Step 3.
Once you’re done with the details, you could sign off on your cabinets and mark a time (or holiday sale) to buy your appliances.
Step 5: Pick your countertop material.
If the choice of your countertop material is a stone, you’d need to first decide on your fabricator. The fabricator is the company that would cut and install your stone countertop.
This is because the stone countertop industry is rarely vertically integrated, i.e. the supplier isn’t going to be installing your countertops. In fact, when you call to make an appointment to view stone slabs, they would ask “who is your fabricator” to make sure that it’s a name that they work with.
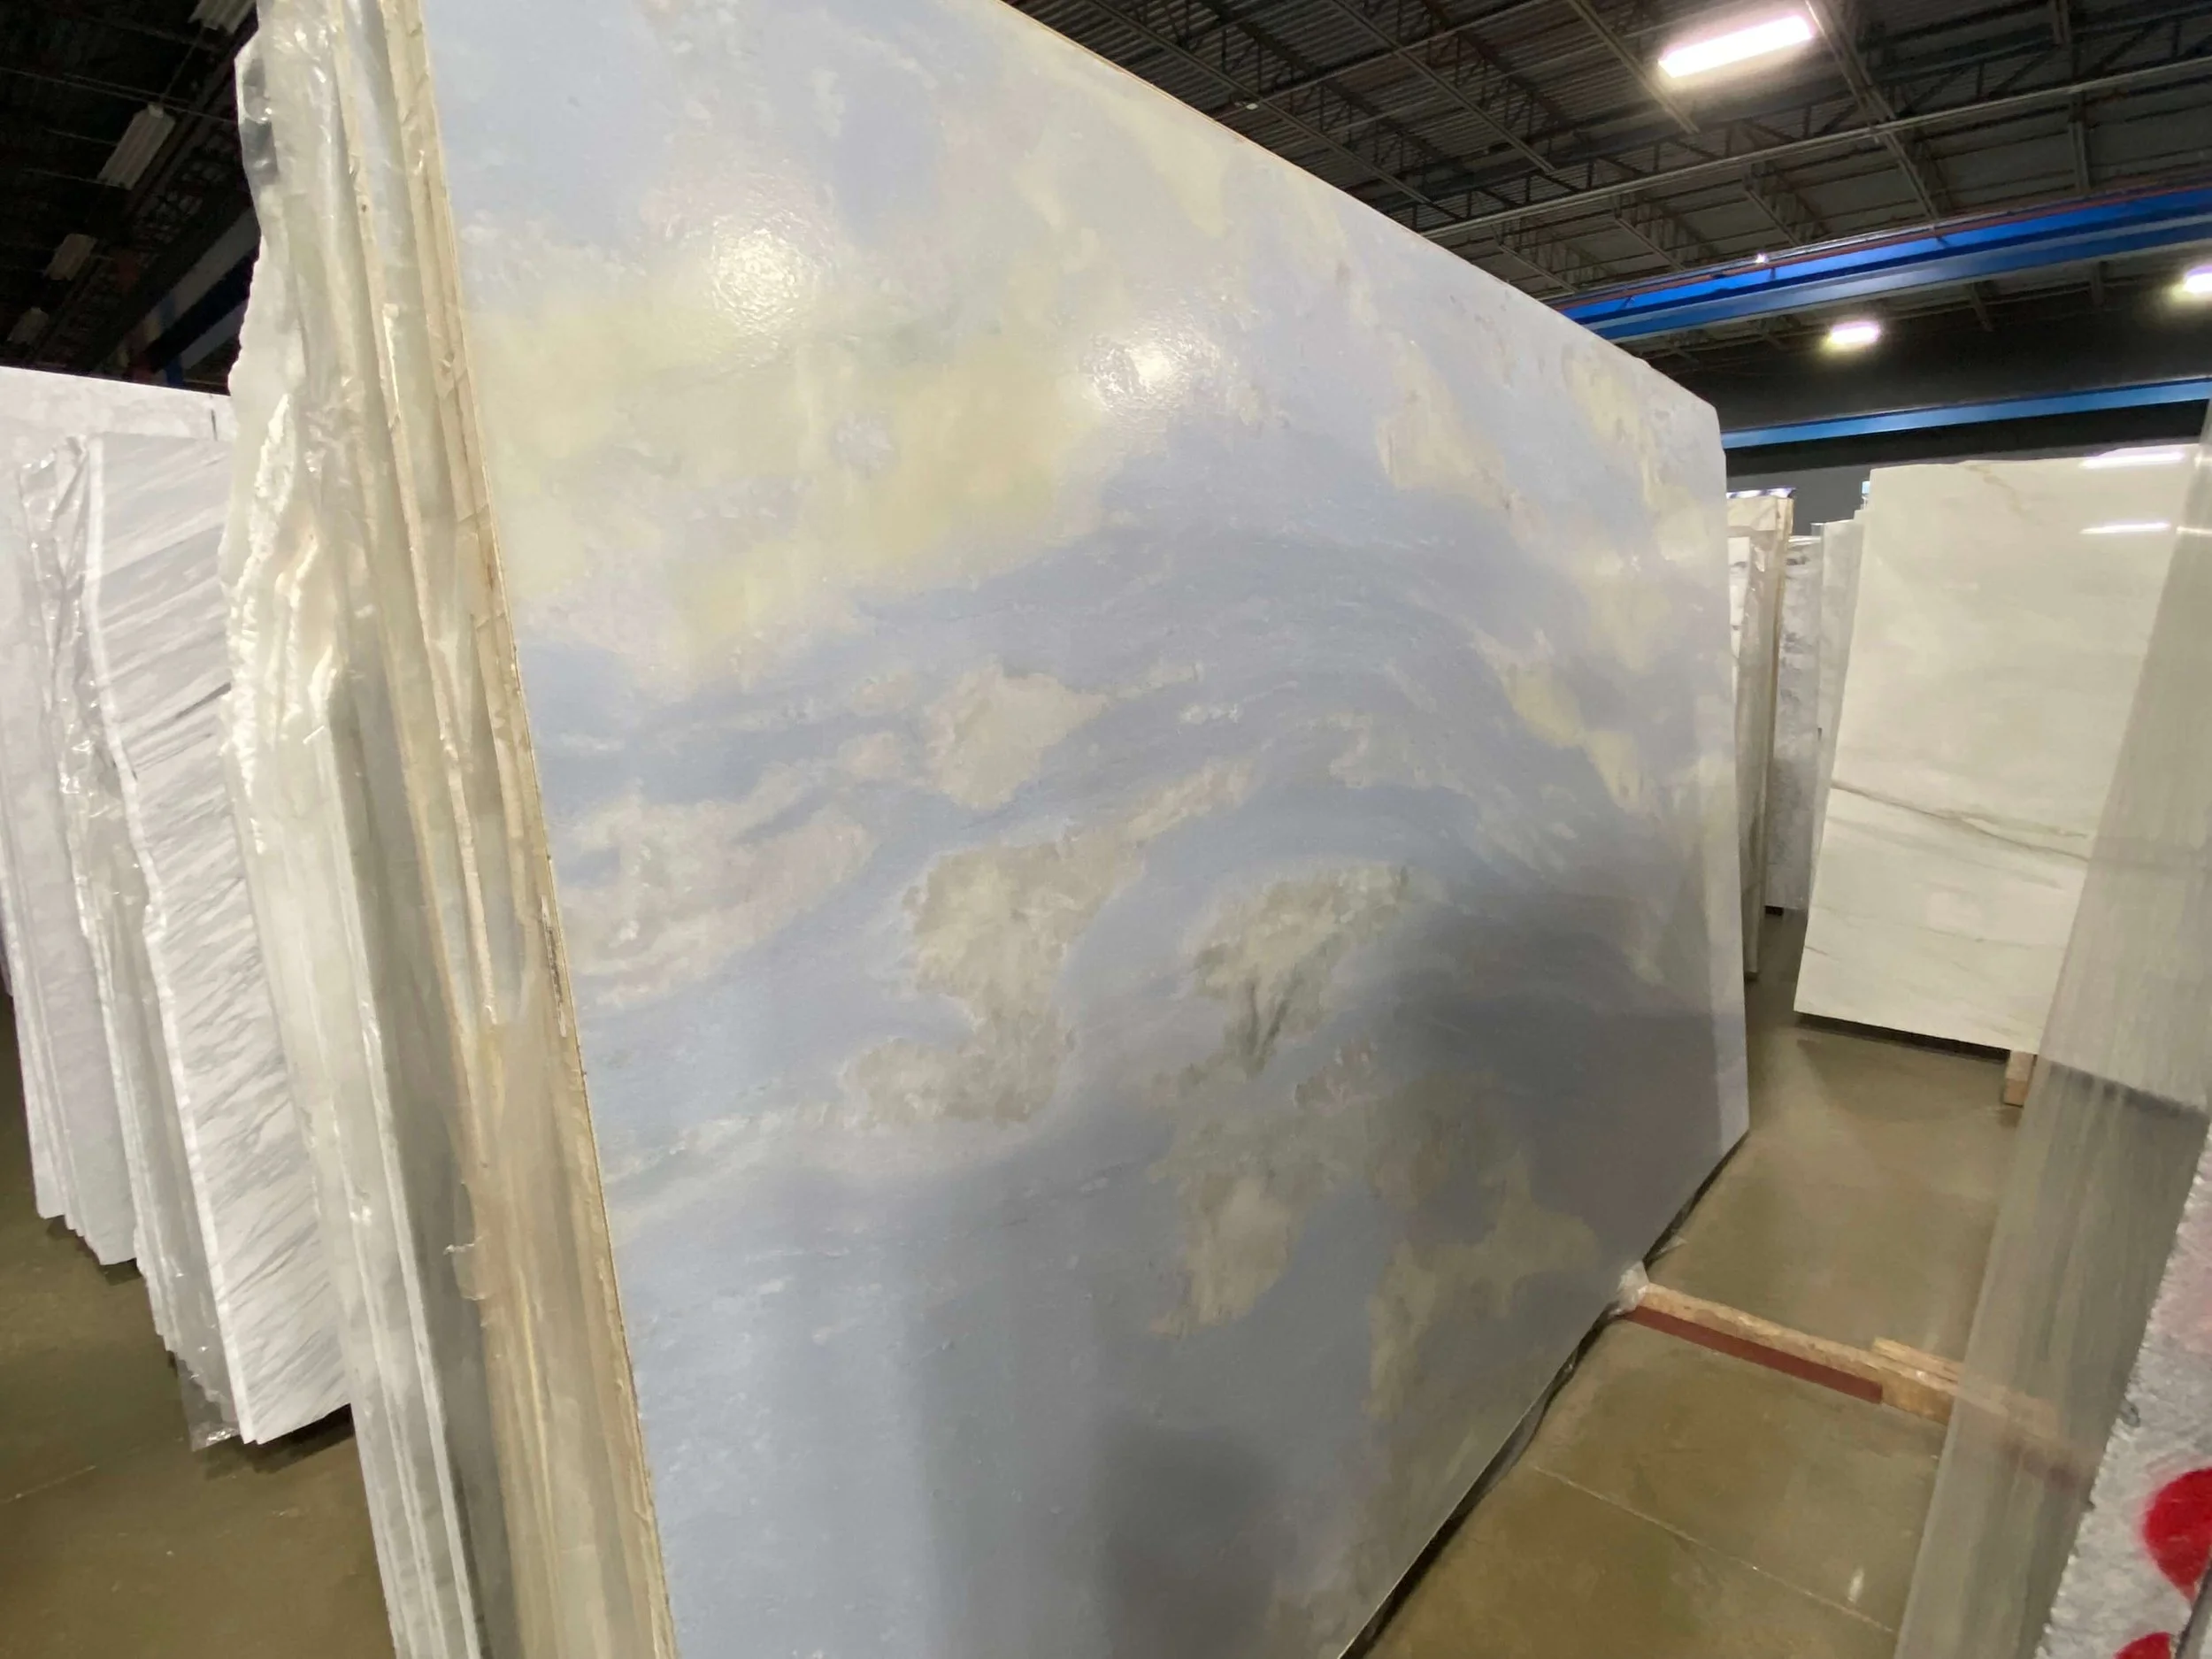
It was so fun to visit the stone suppliers!! Hands down my favorite part of this remodeling project.
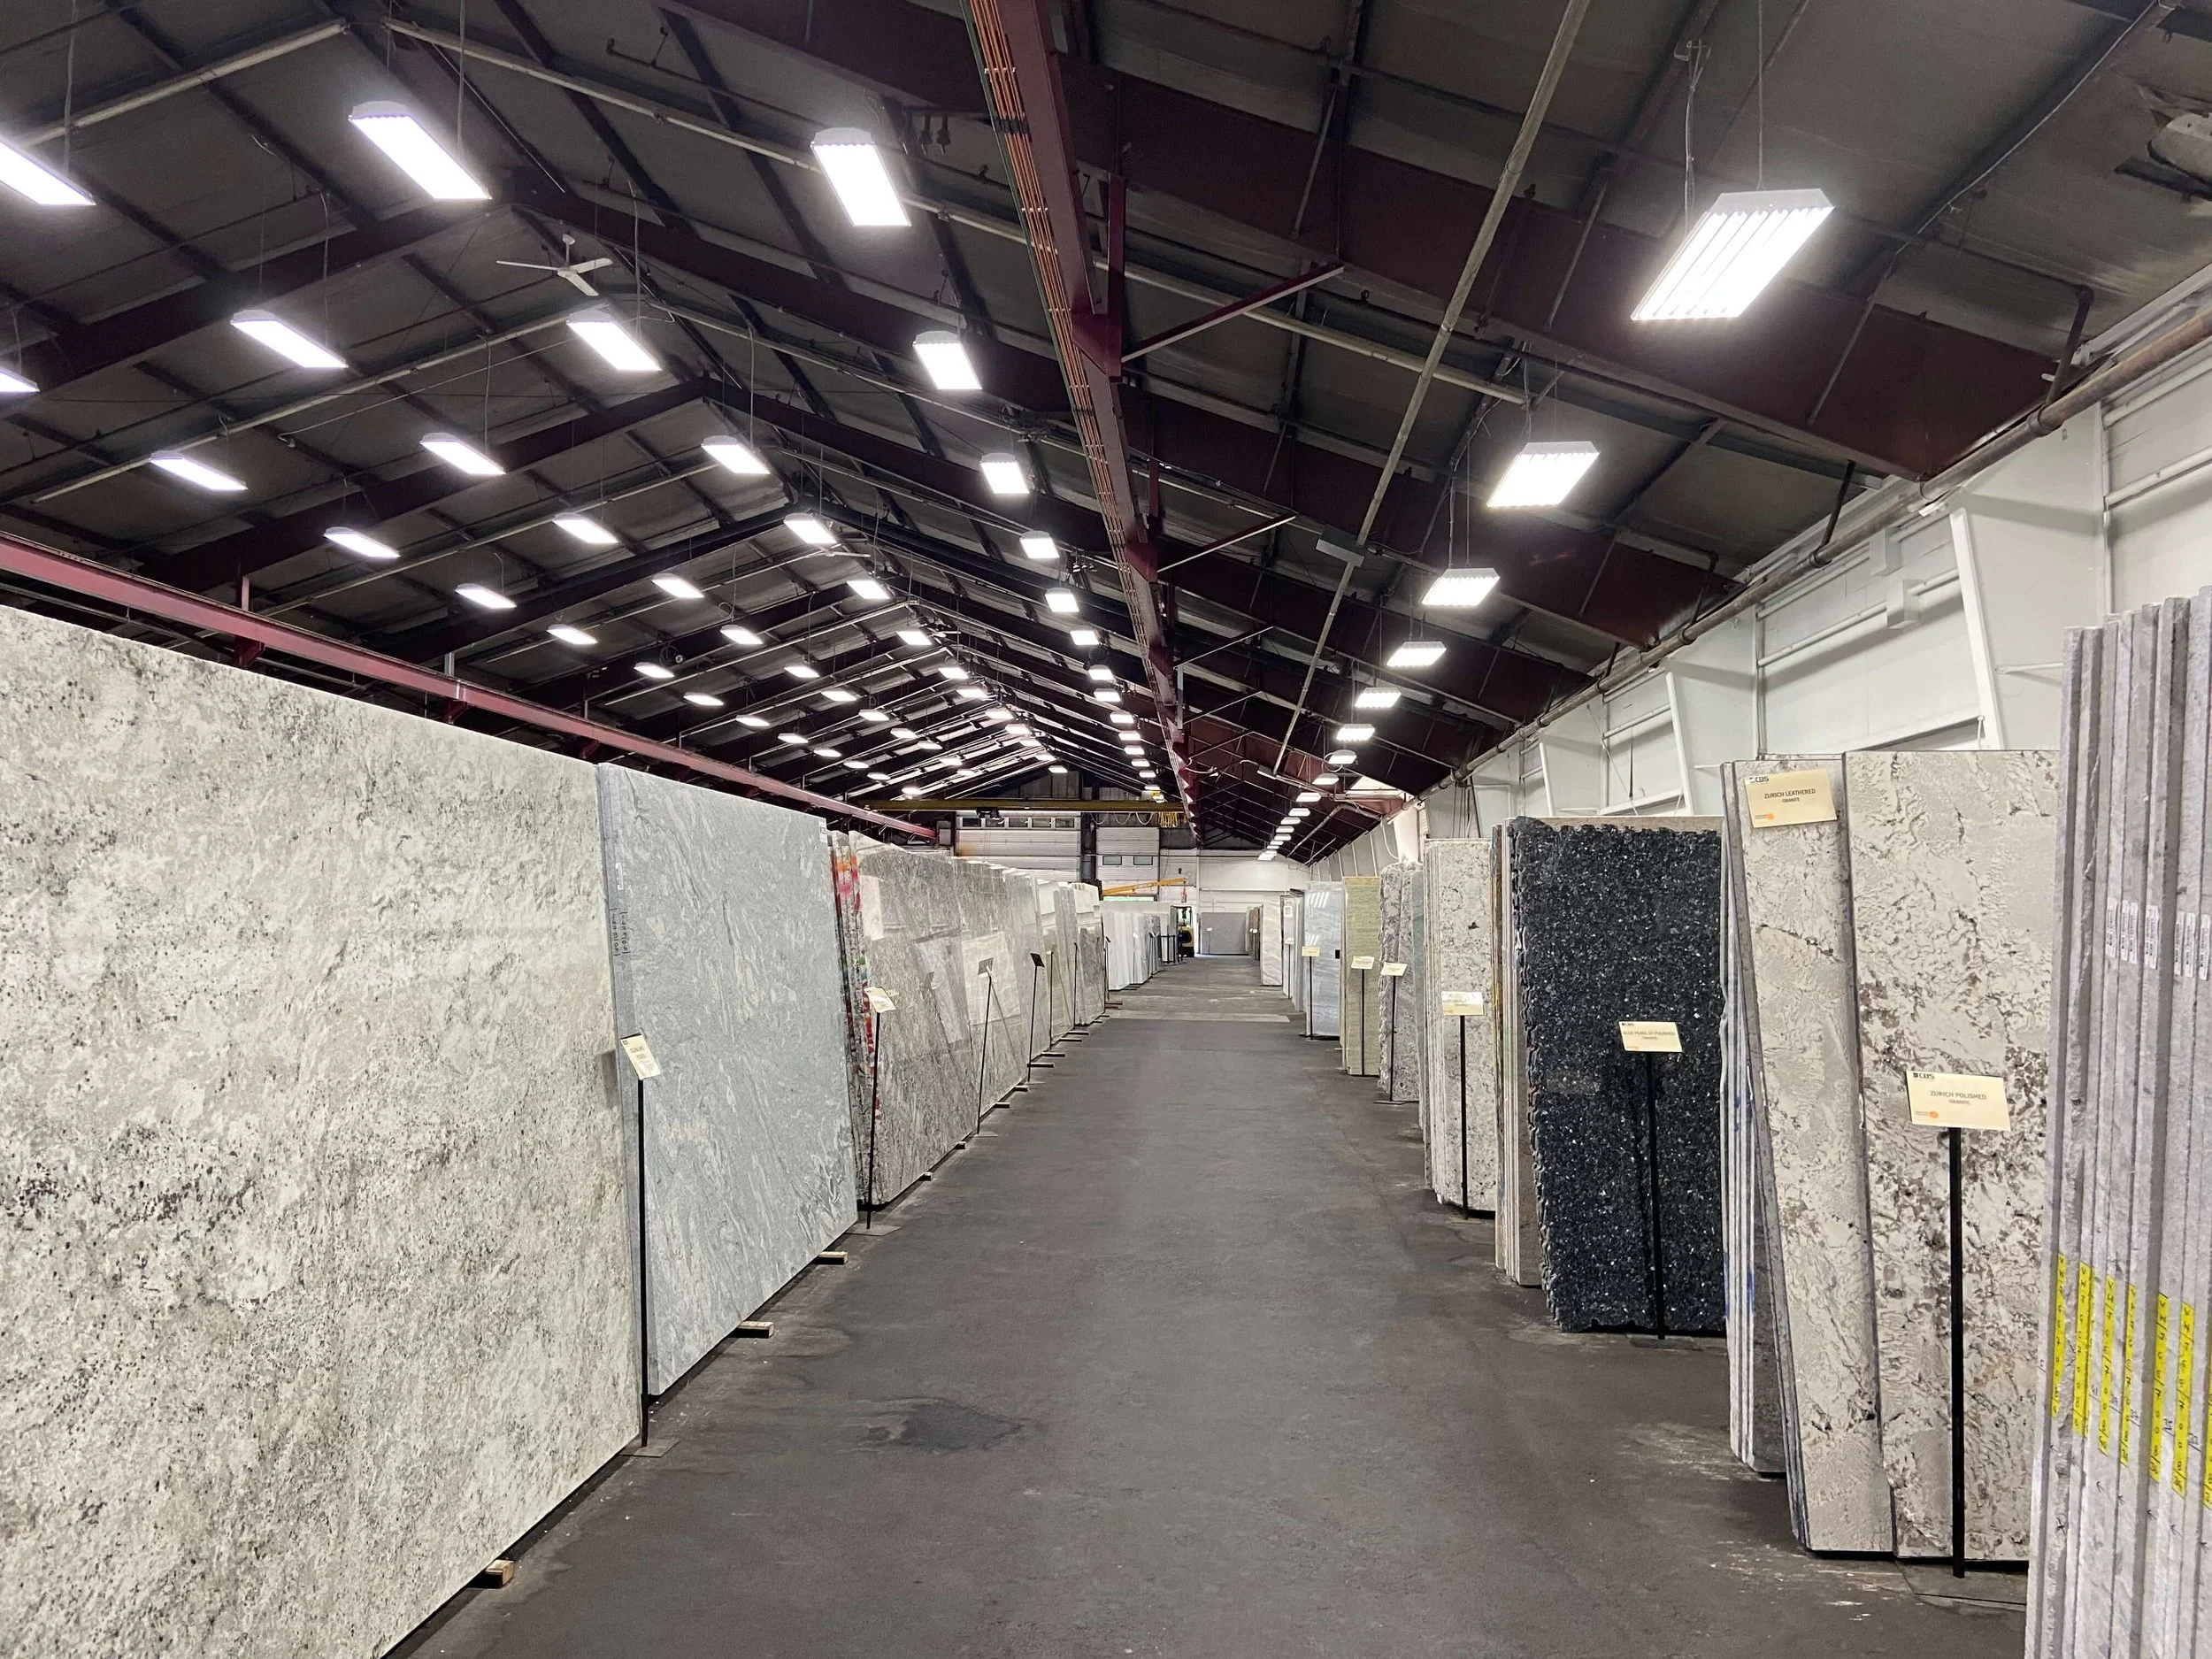
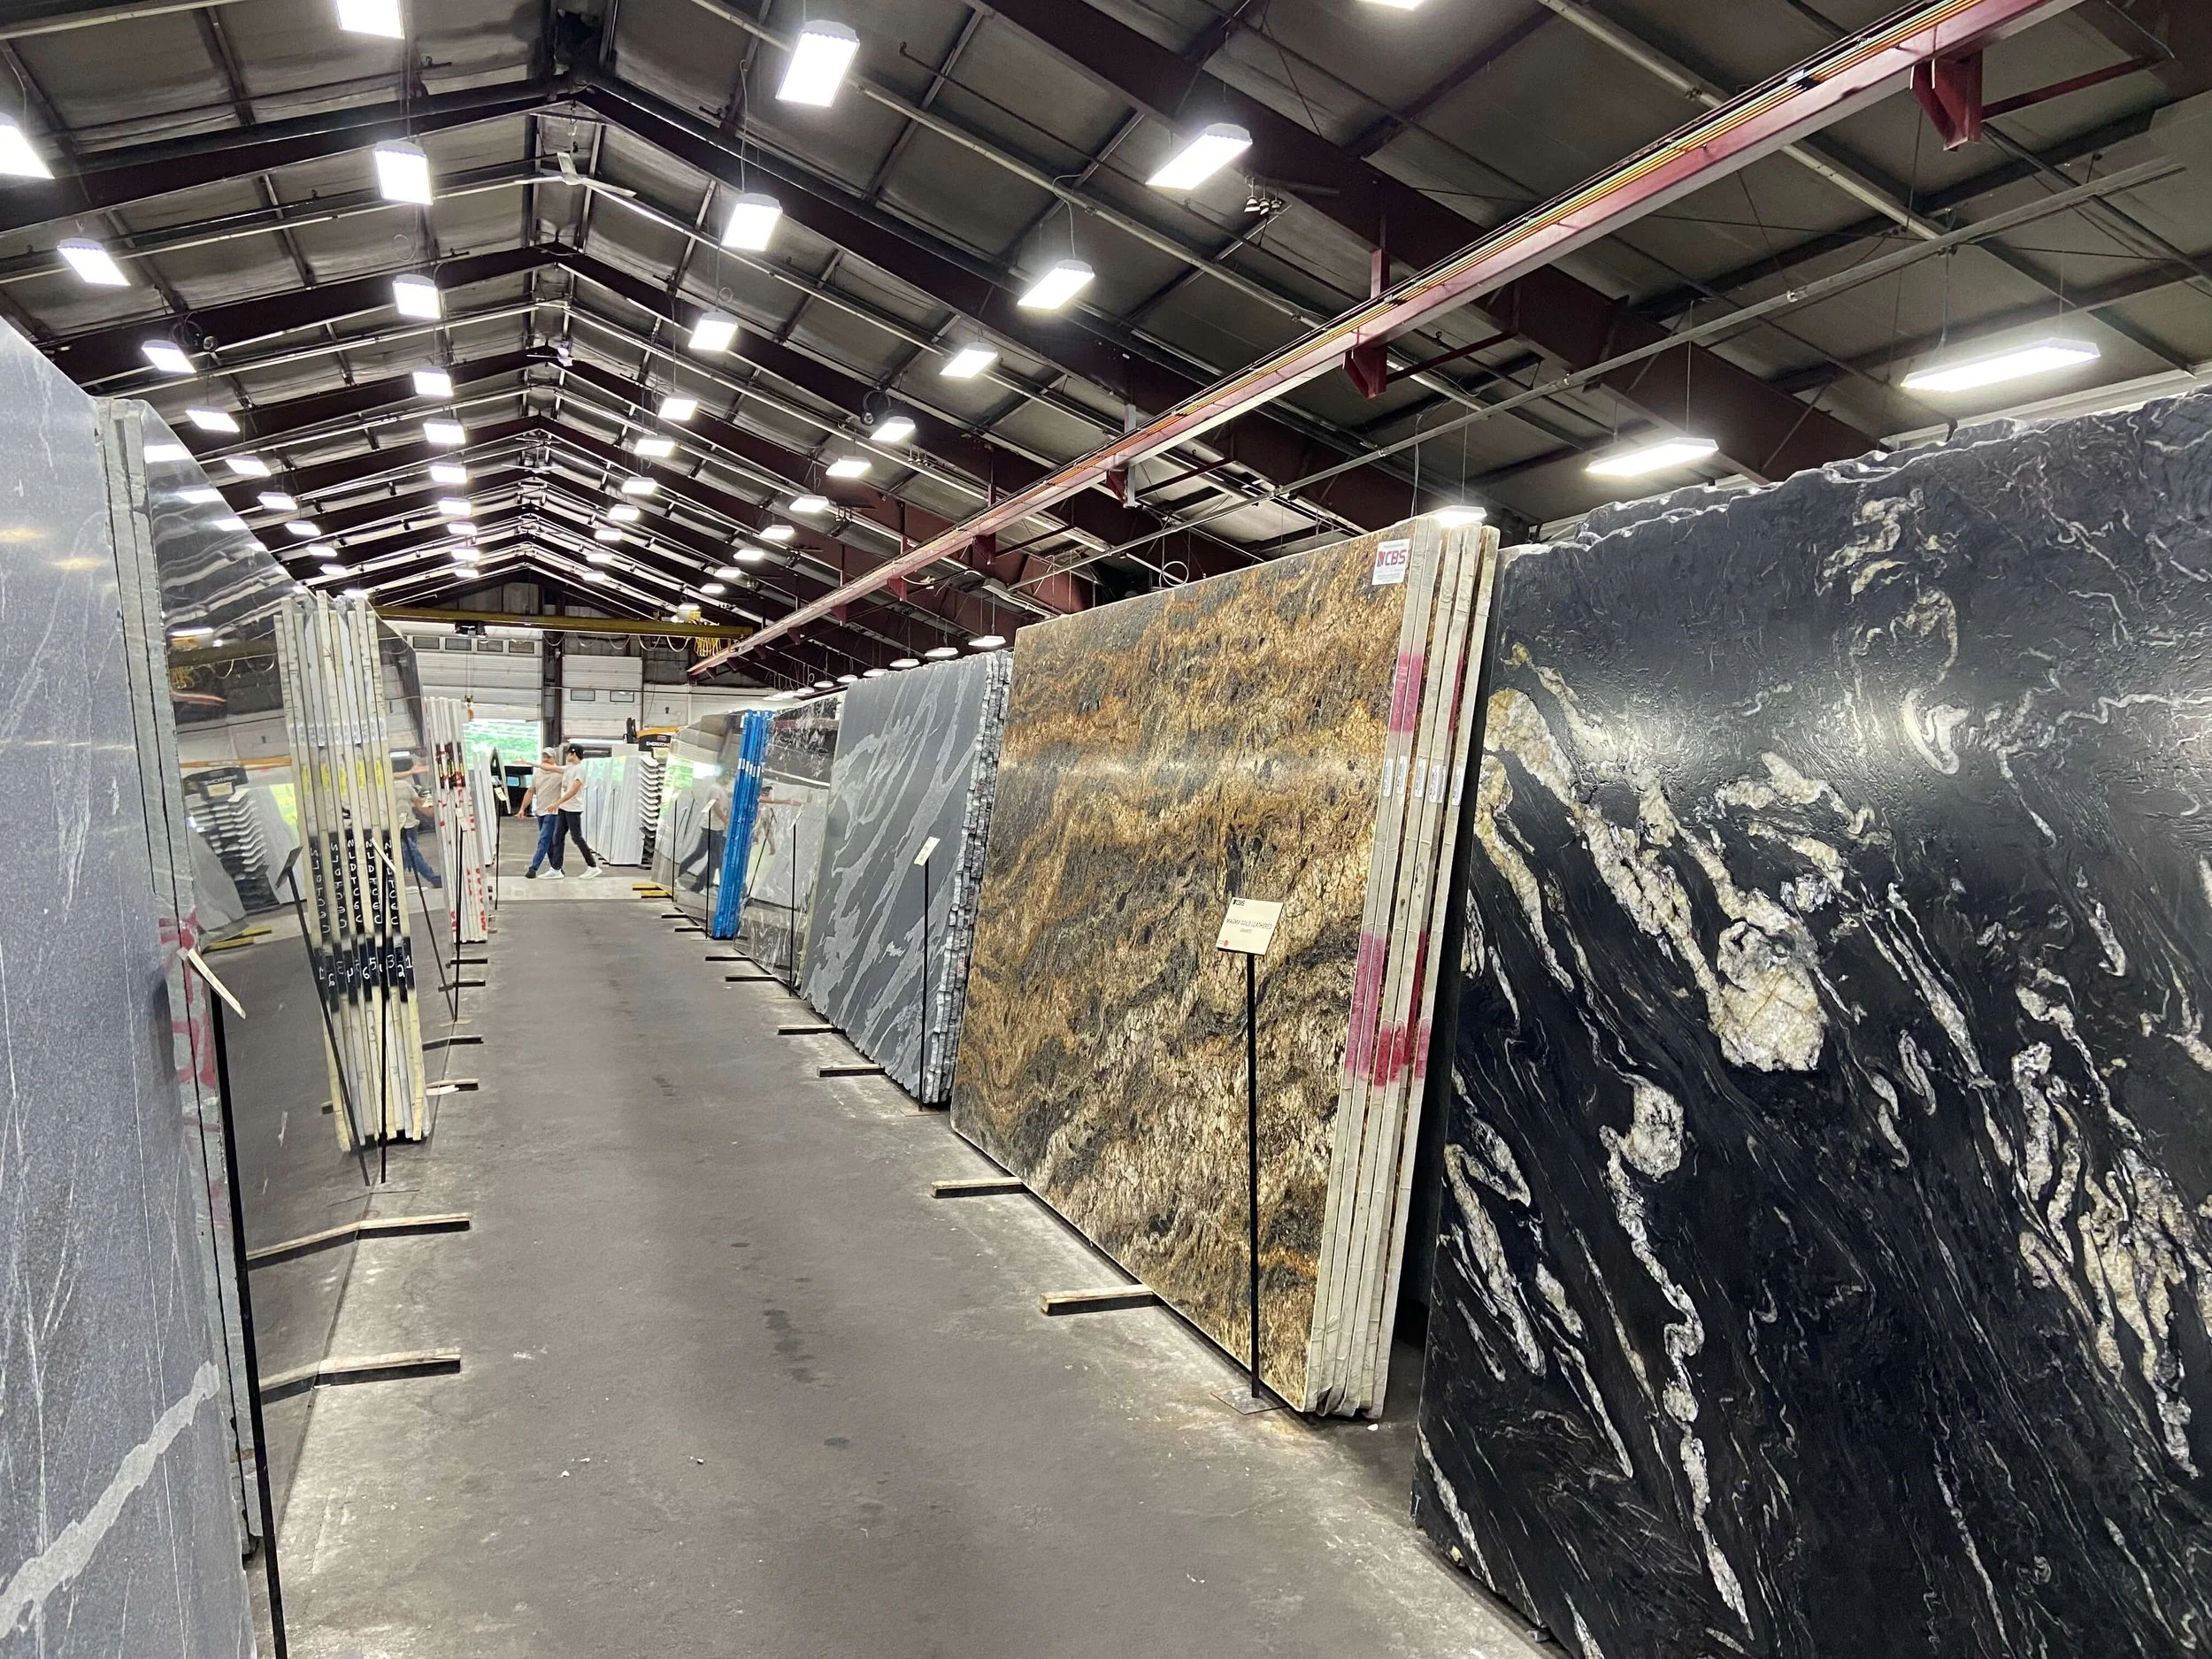
I had a great time at CBS Exotic Stones in Winchester.
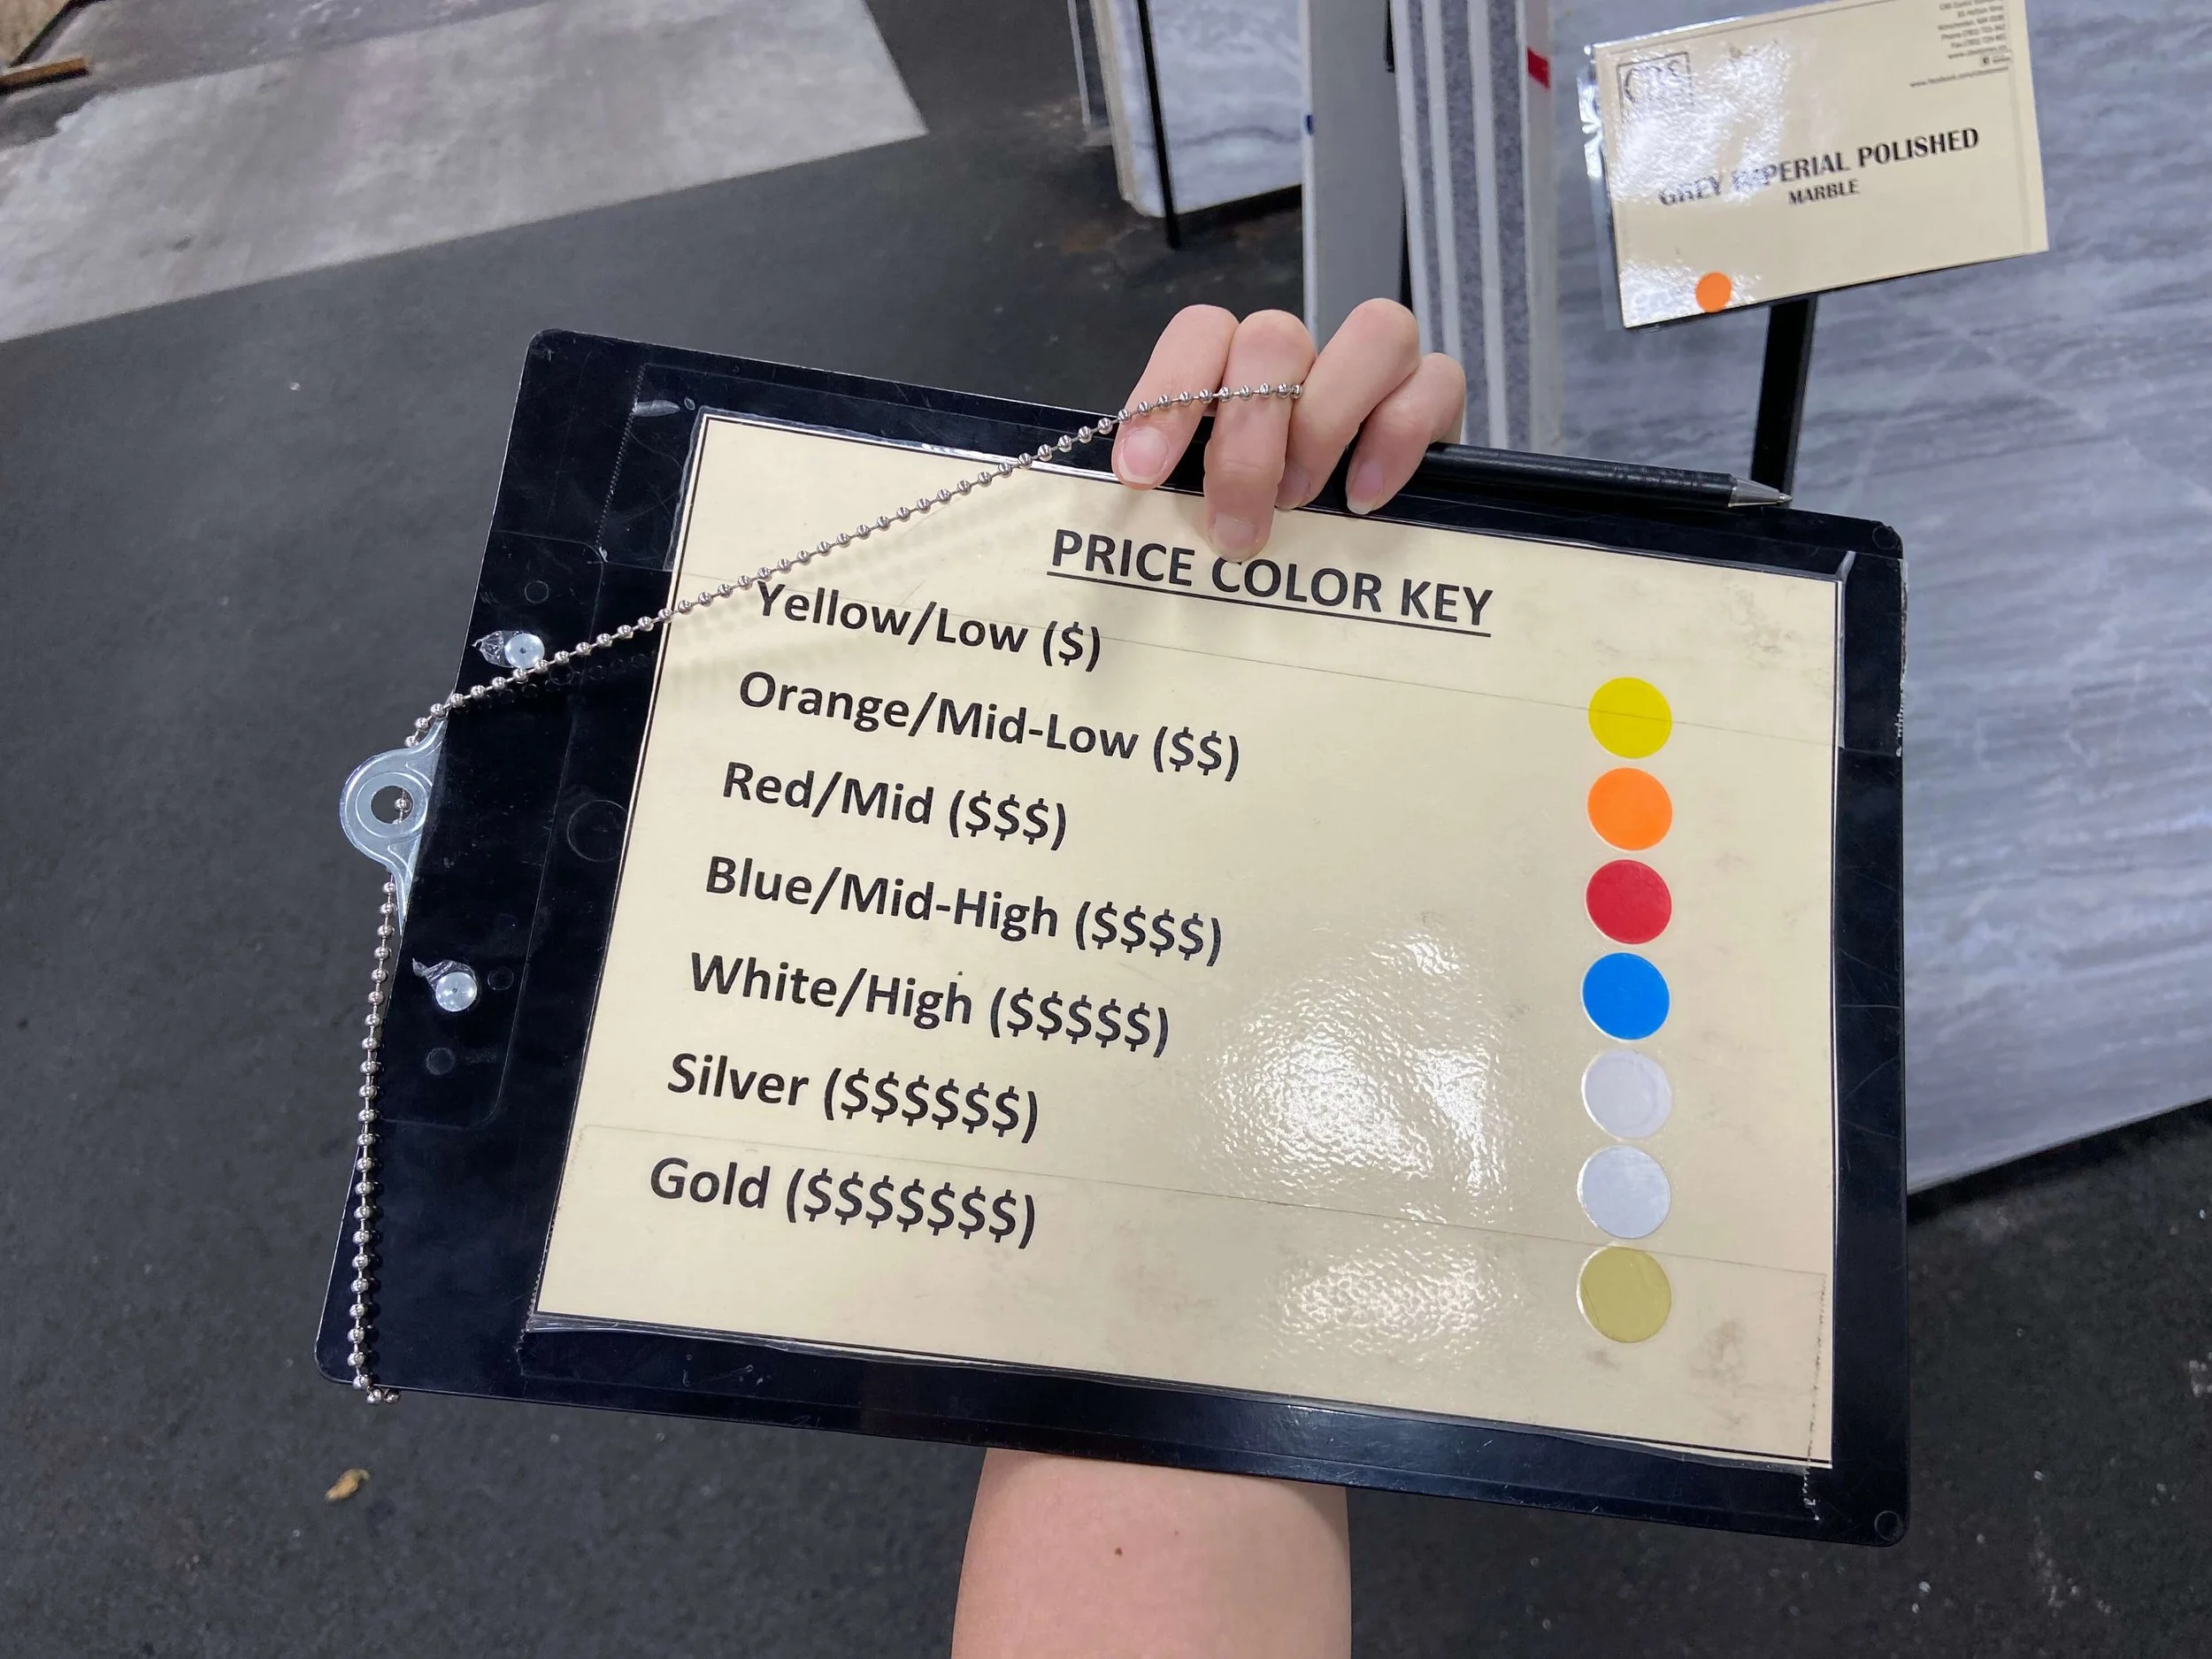
Though it wasn’t the place from which we eventually made our purchase, I found their customer experience the best - everyone was handed out this clip board with a piece of paper to note shortlisted slabs, along with this pricing legend at the back.
You’ll start to see pricing patterns after a while: granite is generally the least expensive, followed by simply engineered quartz, whitish marble, quartzite, then the exotics… which will be obvious. 🤑
Since we live on the waterfront, we wanted a piece with natural movement that feels raw and organic.
Here are some pieces that I really liked:


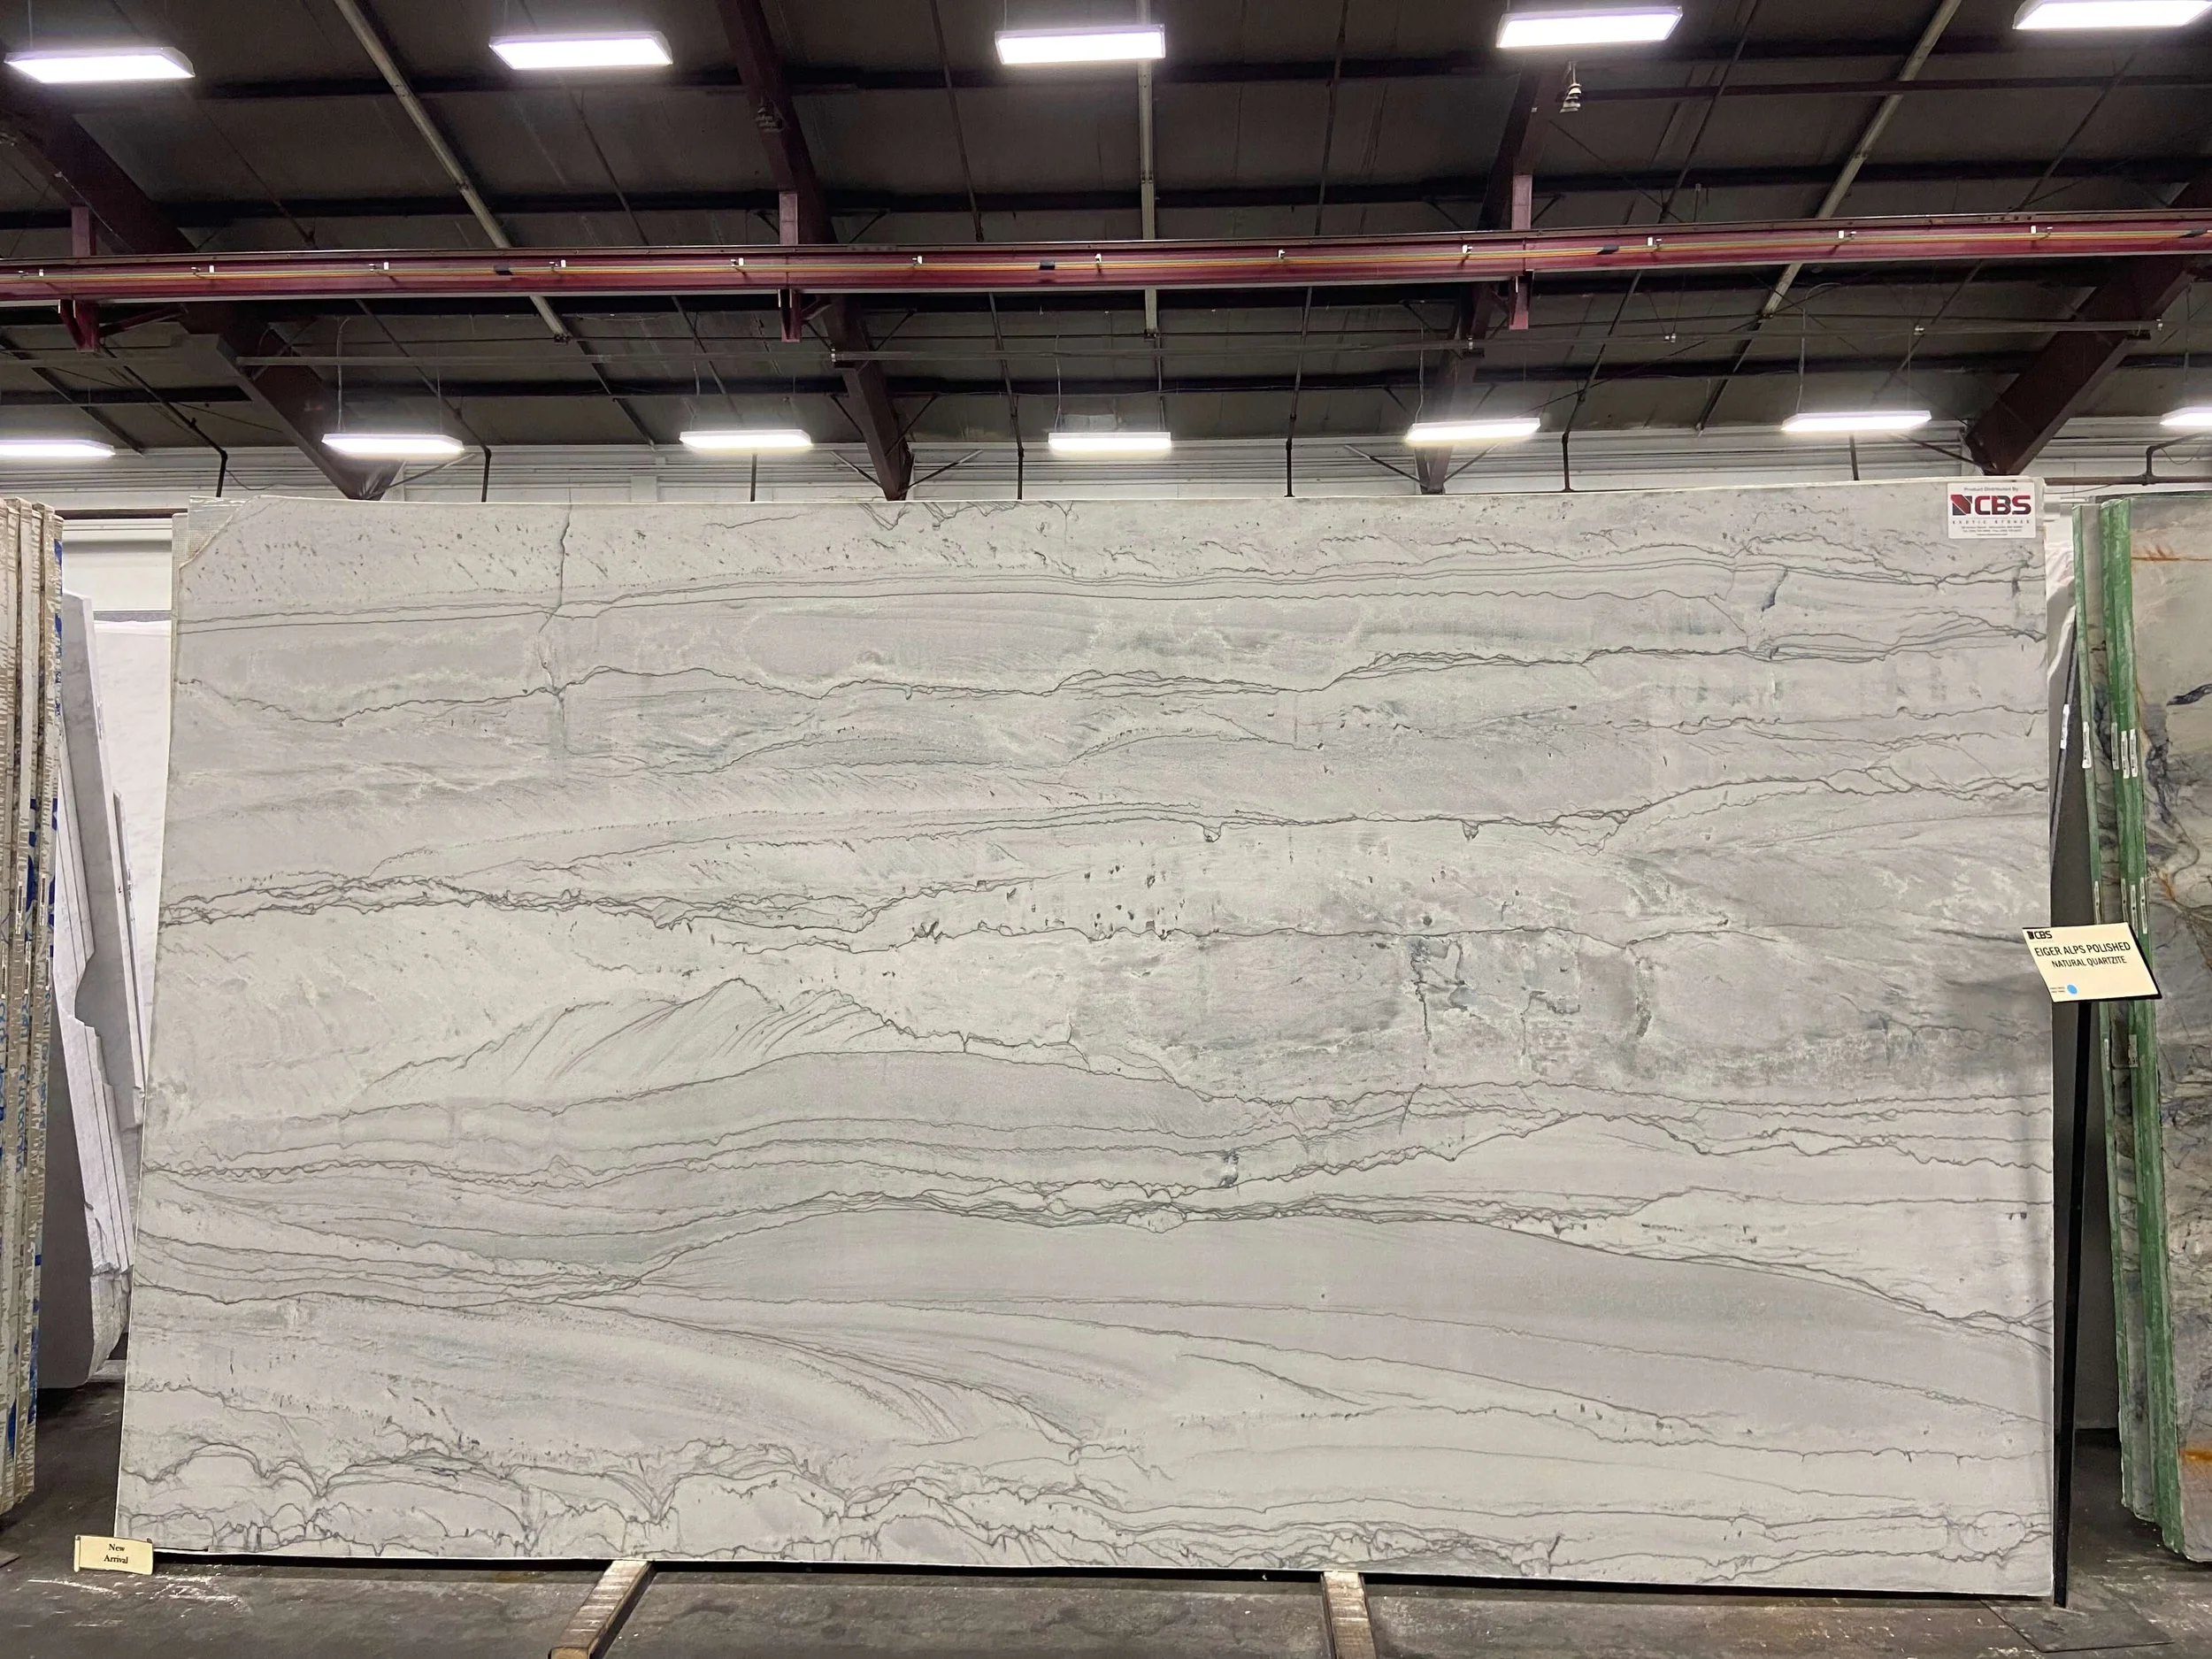
Eiger Alps Quartzite
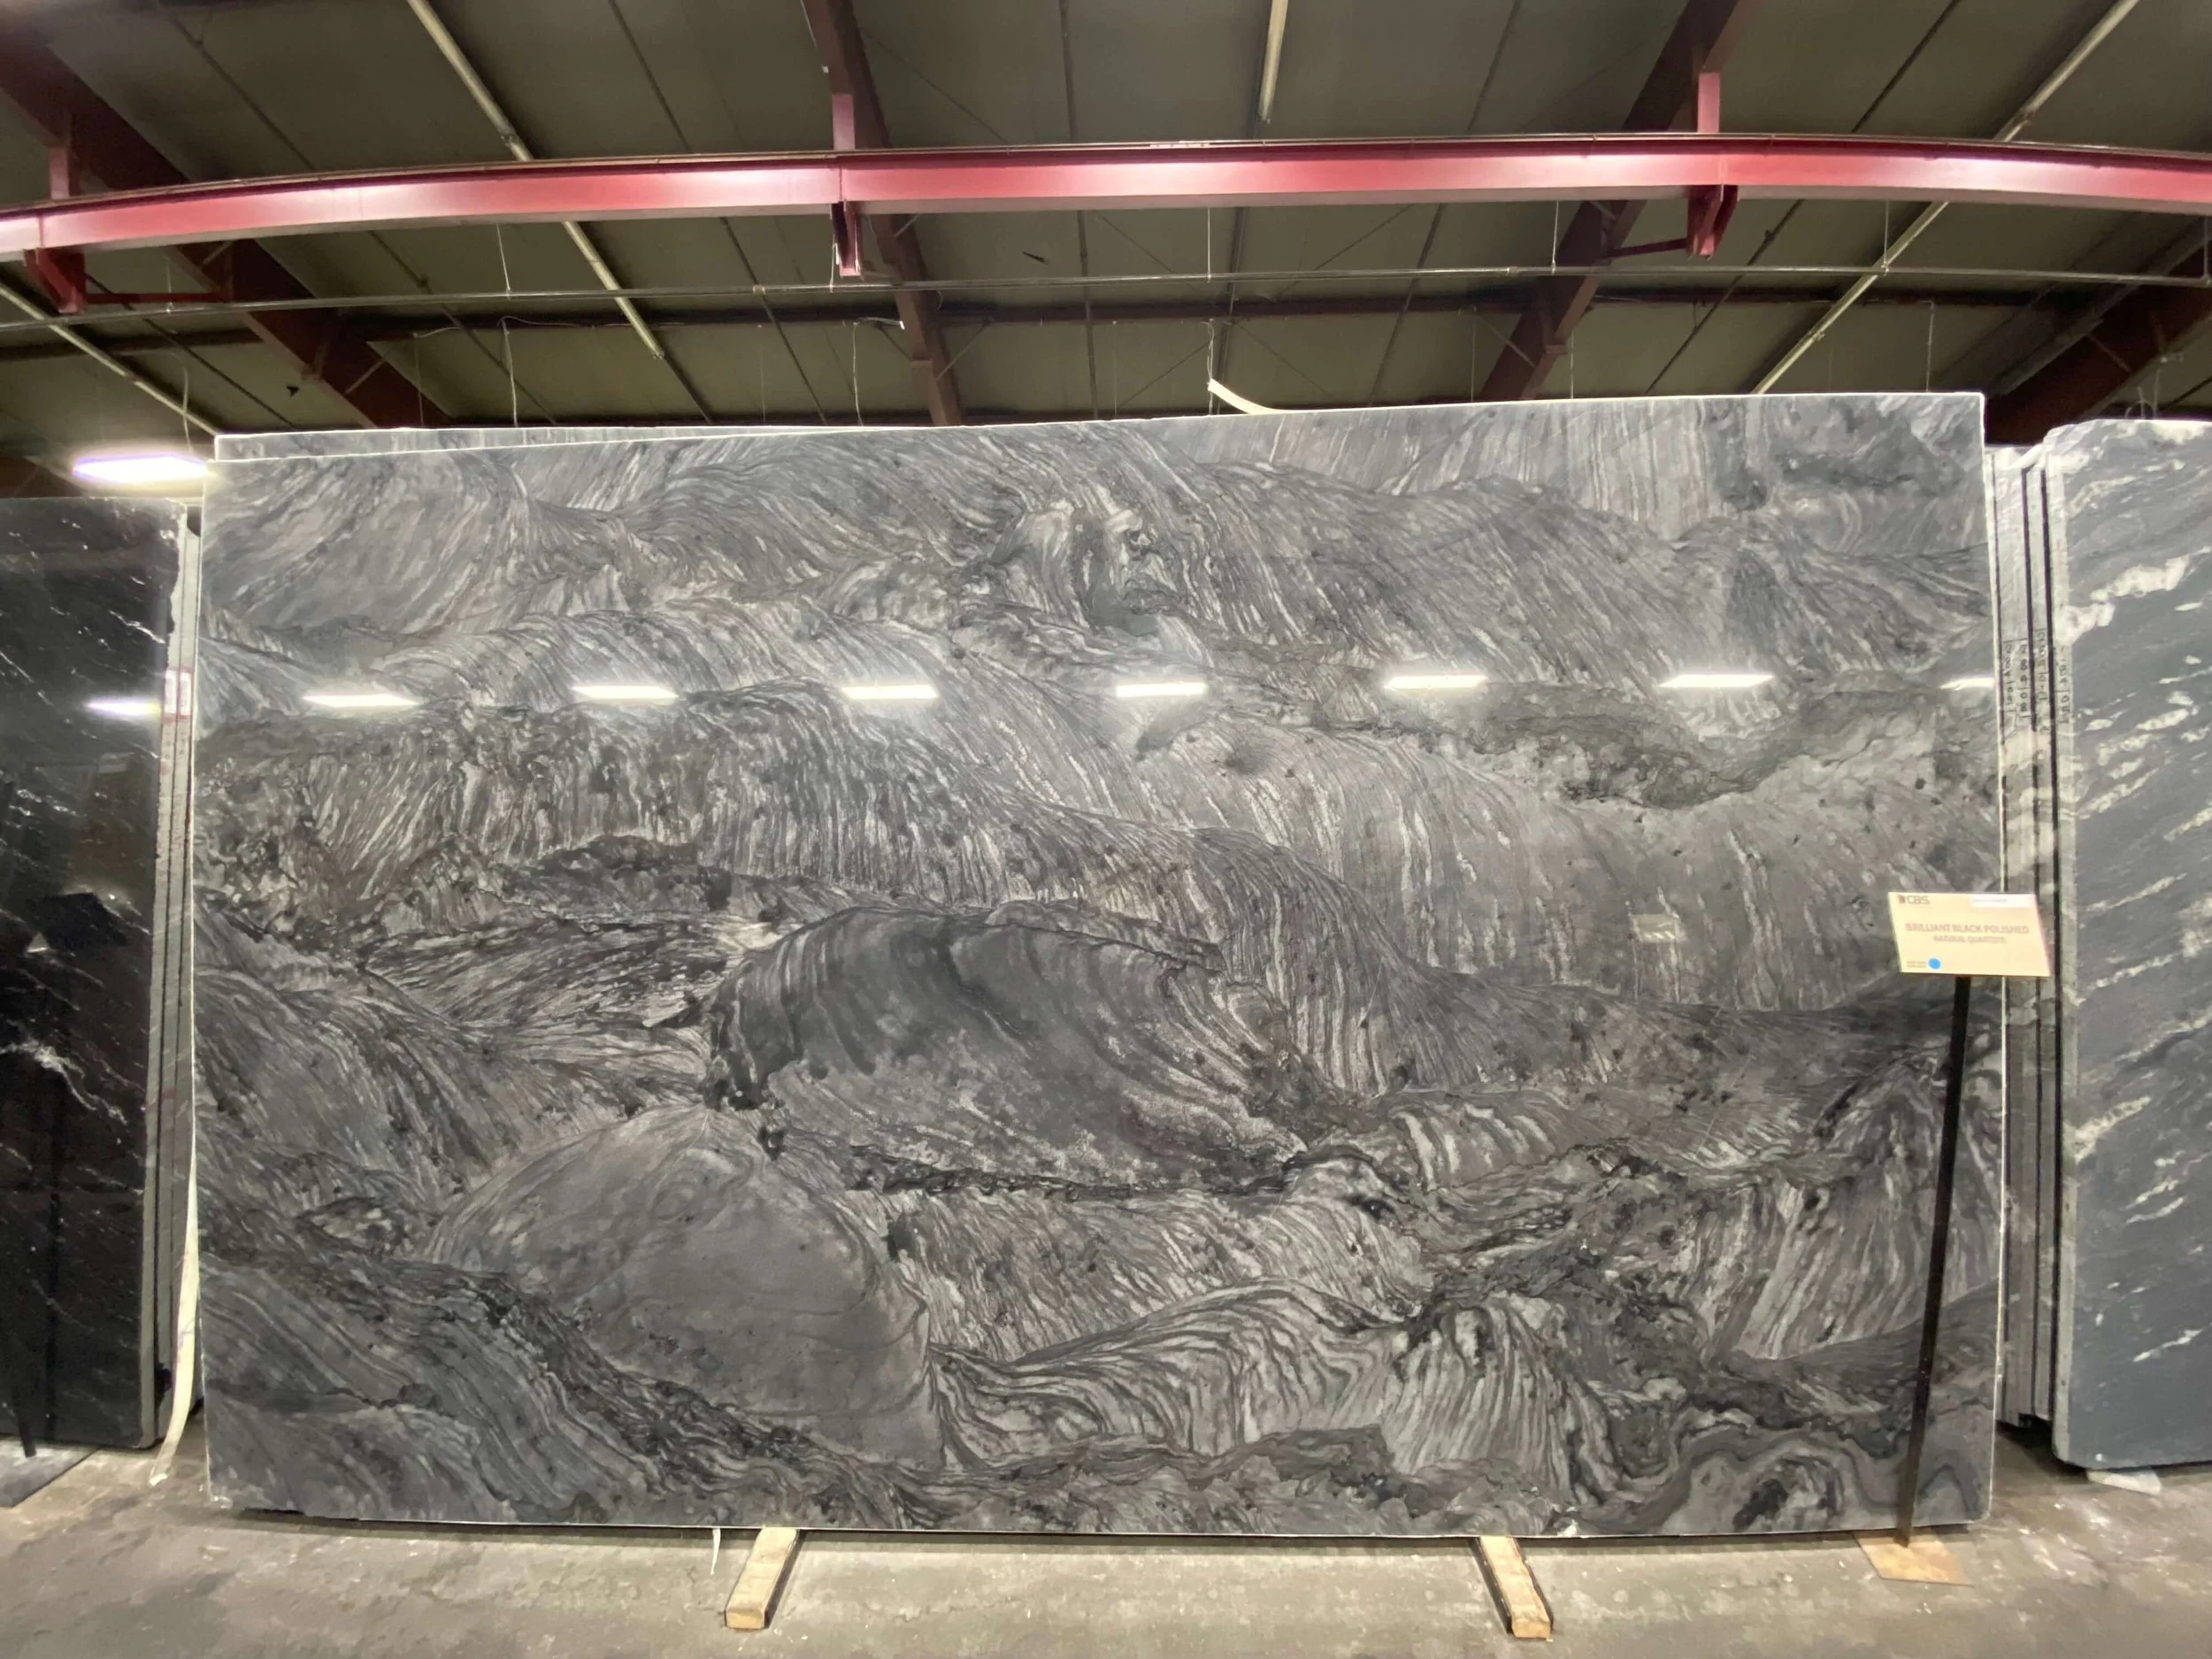
Brilliant Black Quartzite

Infinity White Quartzite
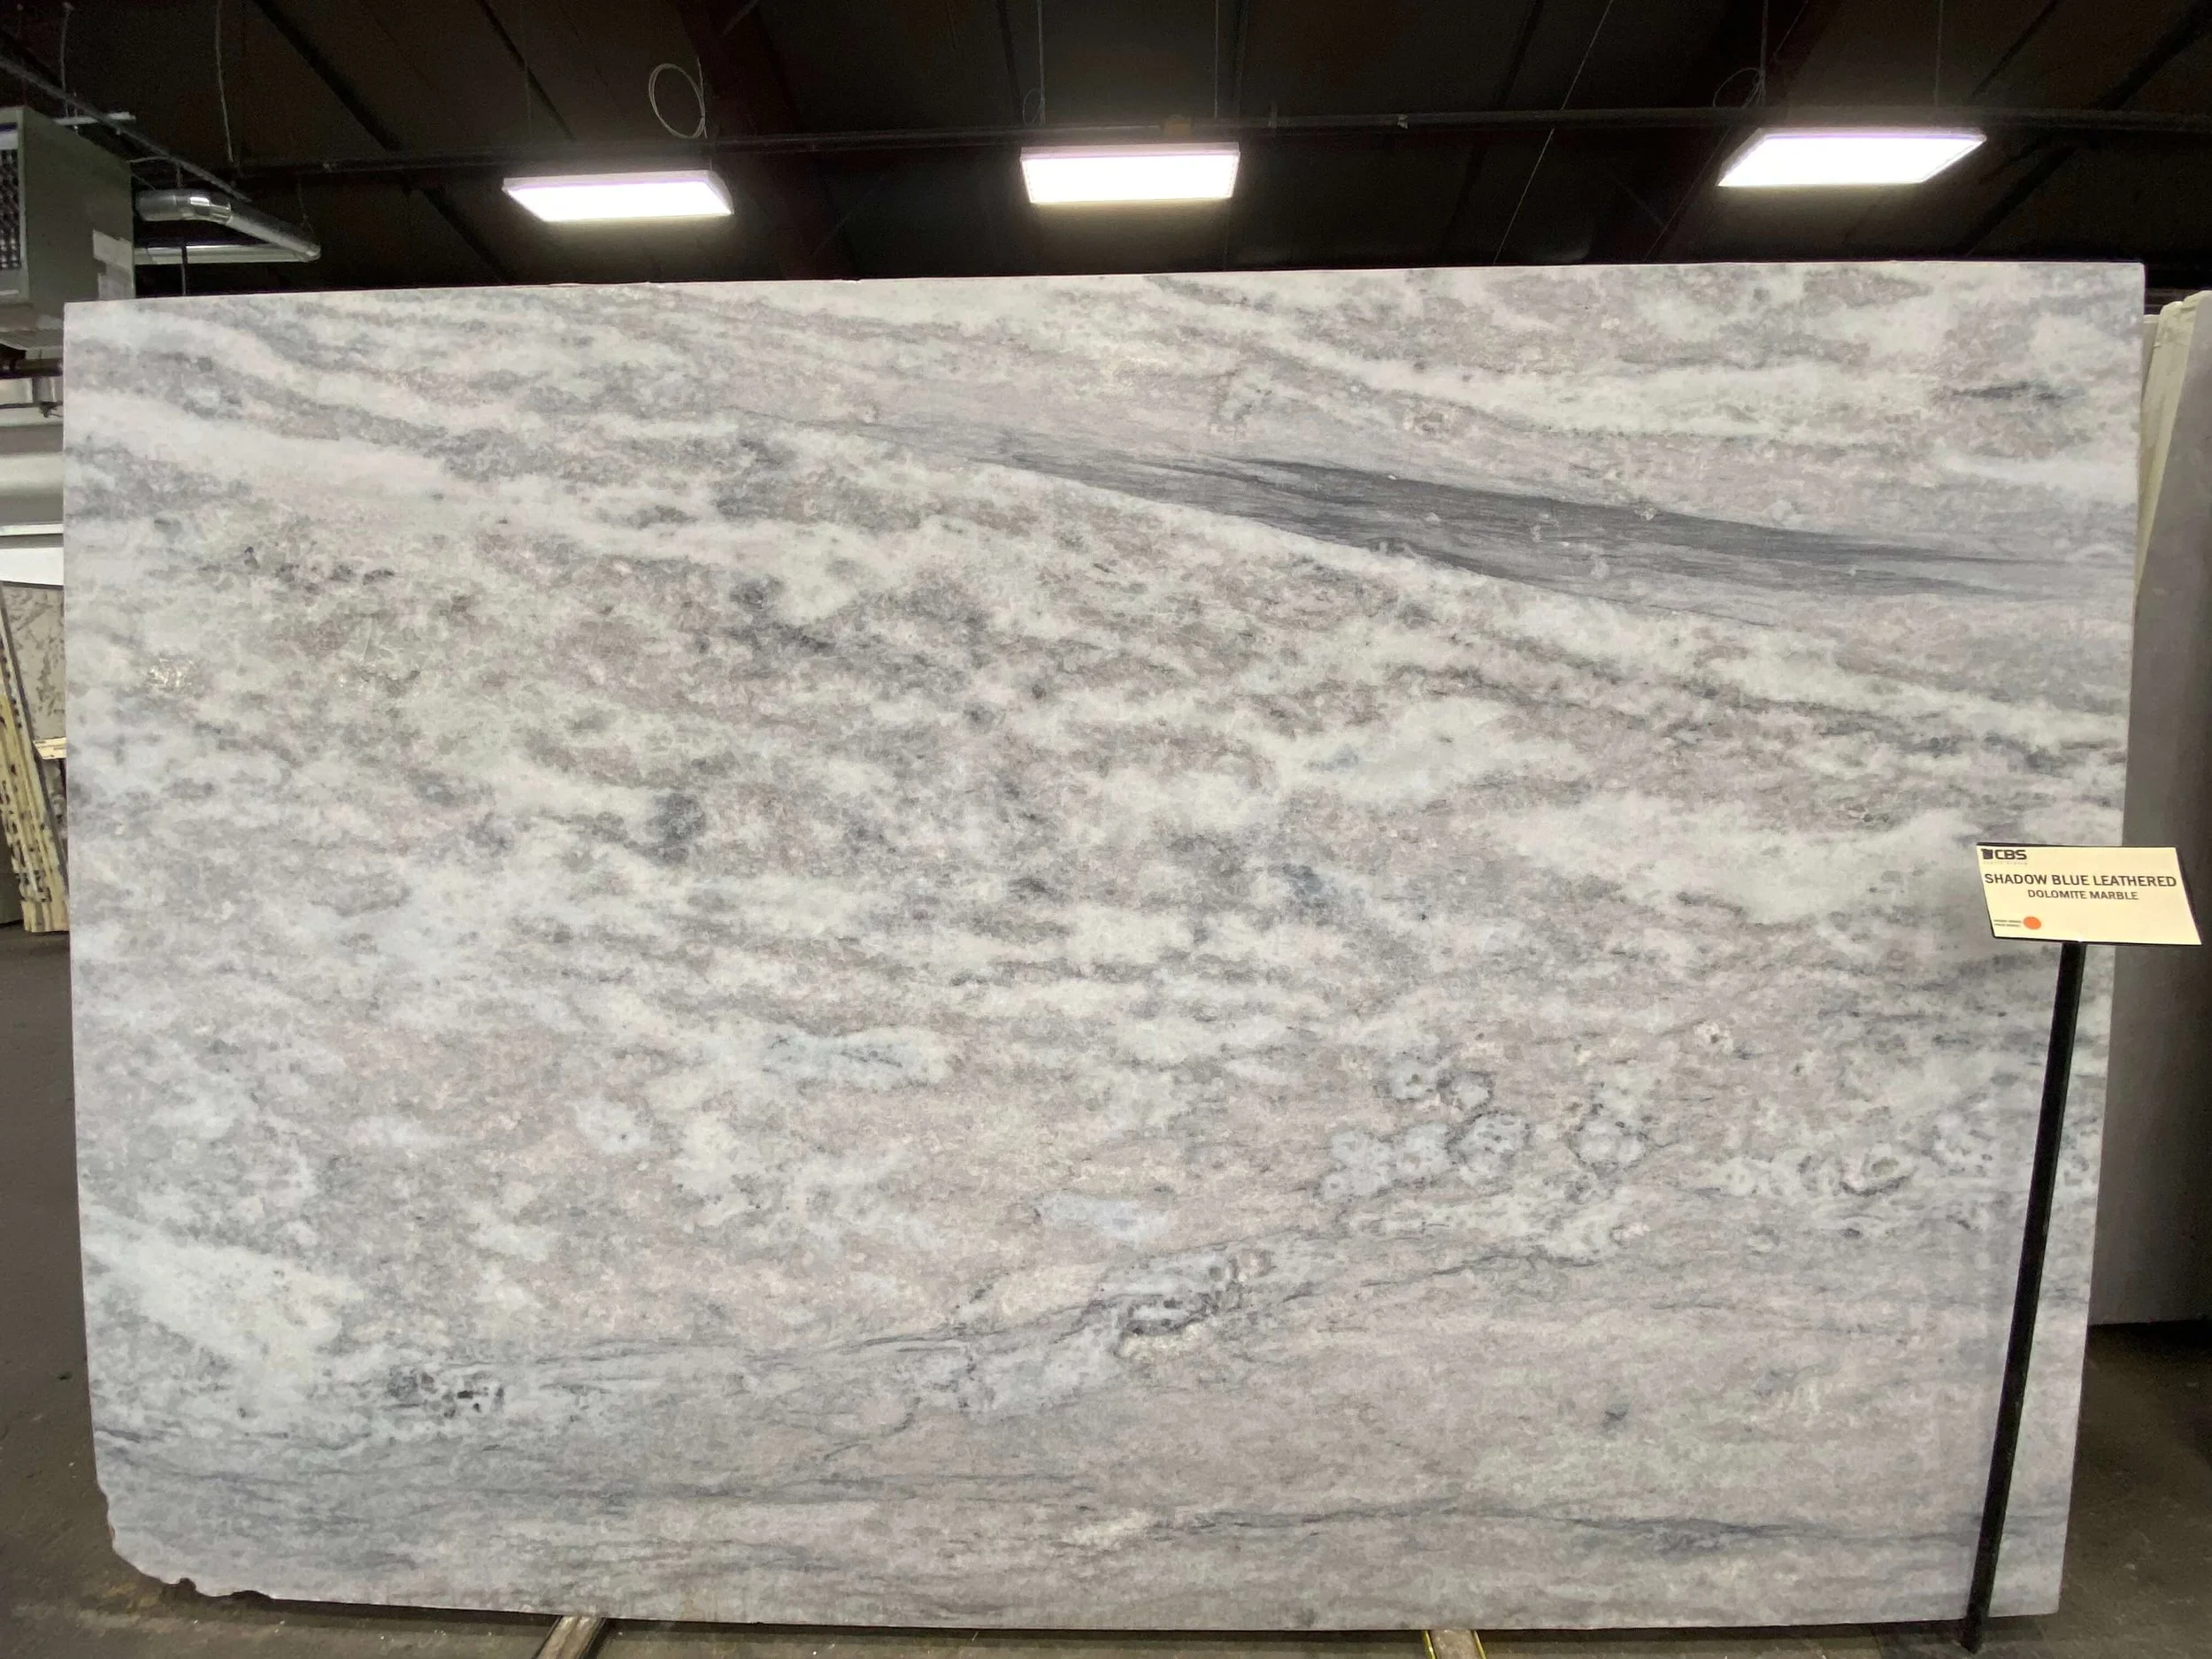
Shadow Blue Dolomite Marble
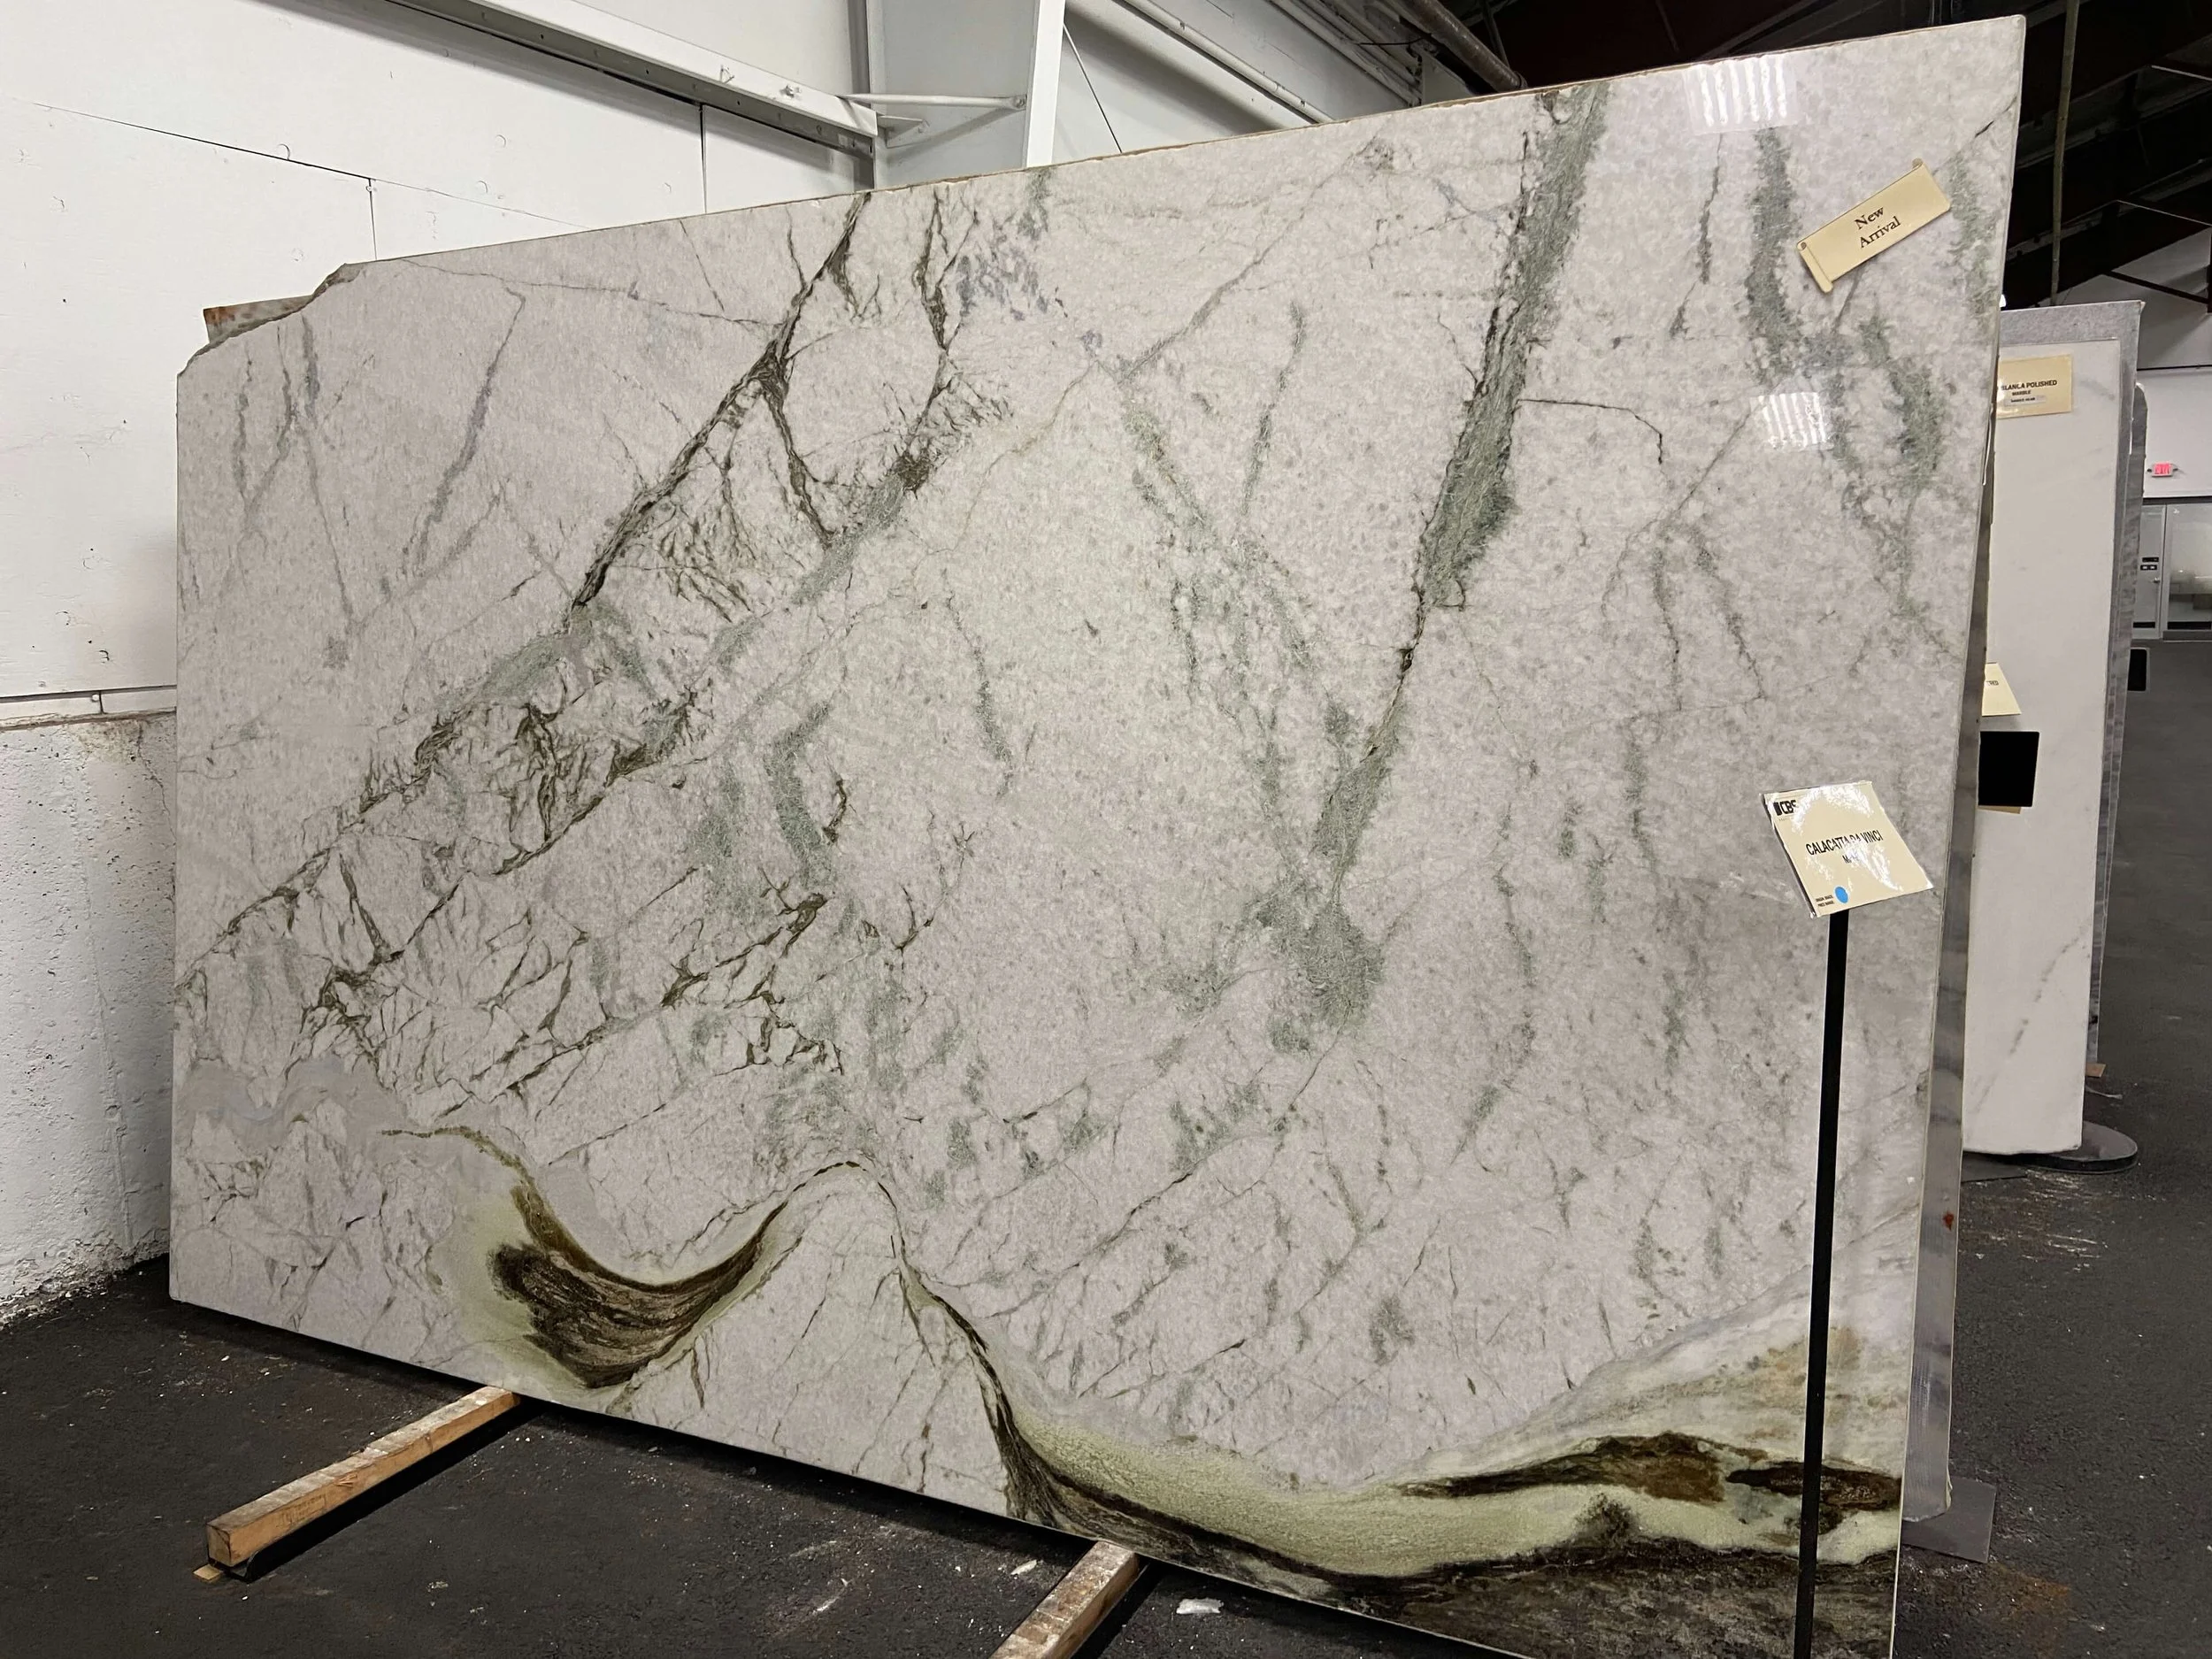
Calacatta Da Vinci Marble
I visited the warehouse with a firm belief that I would pick a quartz for its heat resistance and durability, but ended up with all these in my shortlist.
They were mesmerizing. I was mesmerized.
There were some that I simply stood and stared, captivated by the awe of movement and veining of the slab. One reminded me of the imprint of waves on black beaches, one of an artist’s brushstroke, and some simply made me behold the magic of elements over time.
We also visited Leamar Industries in Marlborough. Leamar’s warehouse felt like 4 times that of CBS’, with way more options for quartzites. The downside is that the slabs were closely placed which made it hard for a full fontal appreciation of the stone.
These were shortlisted from Leamar:
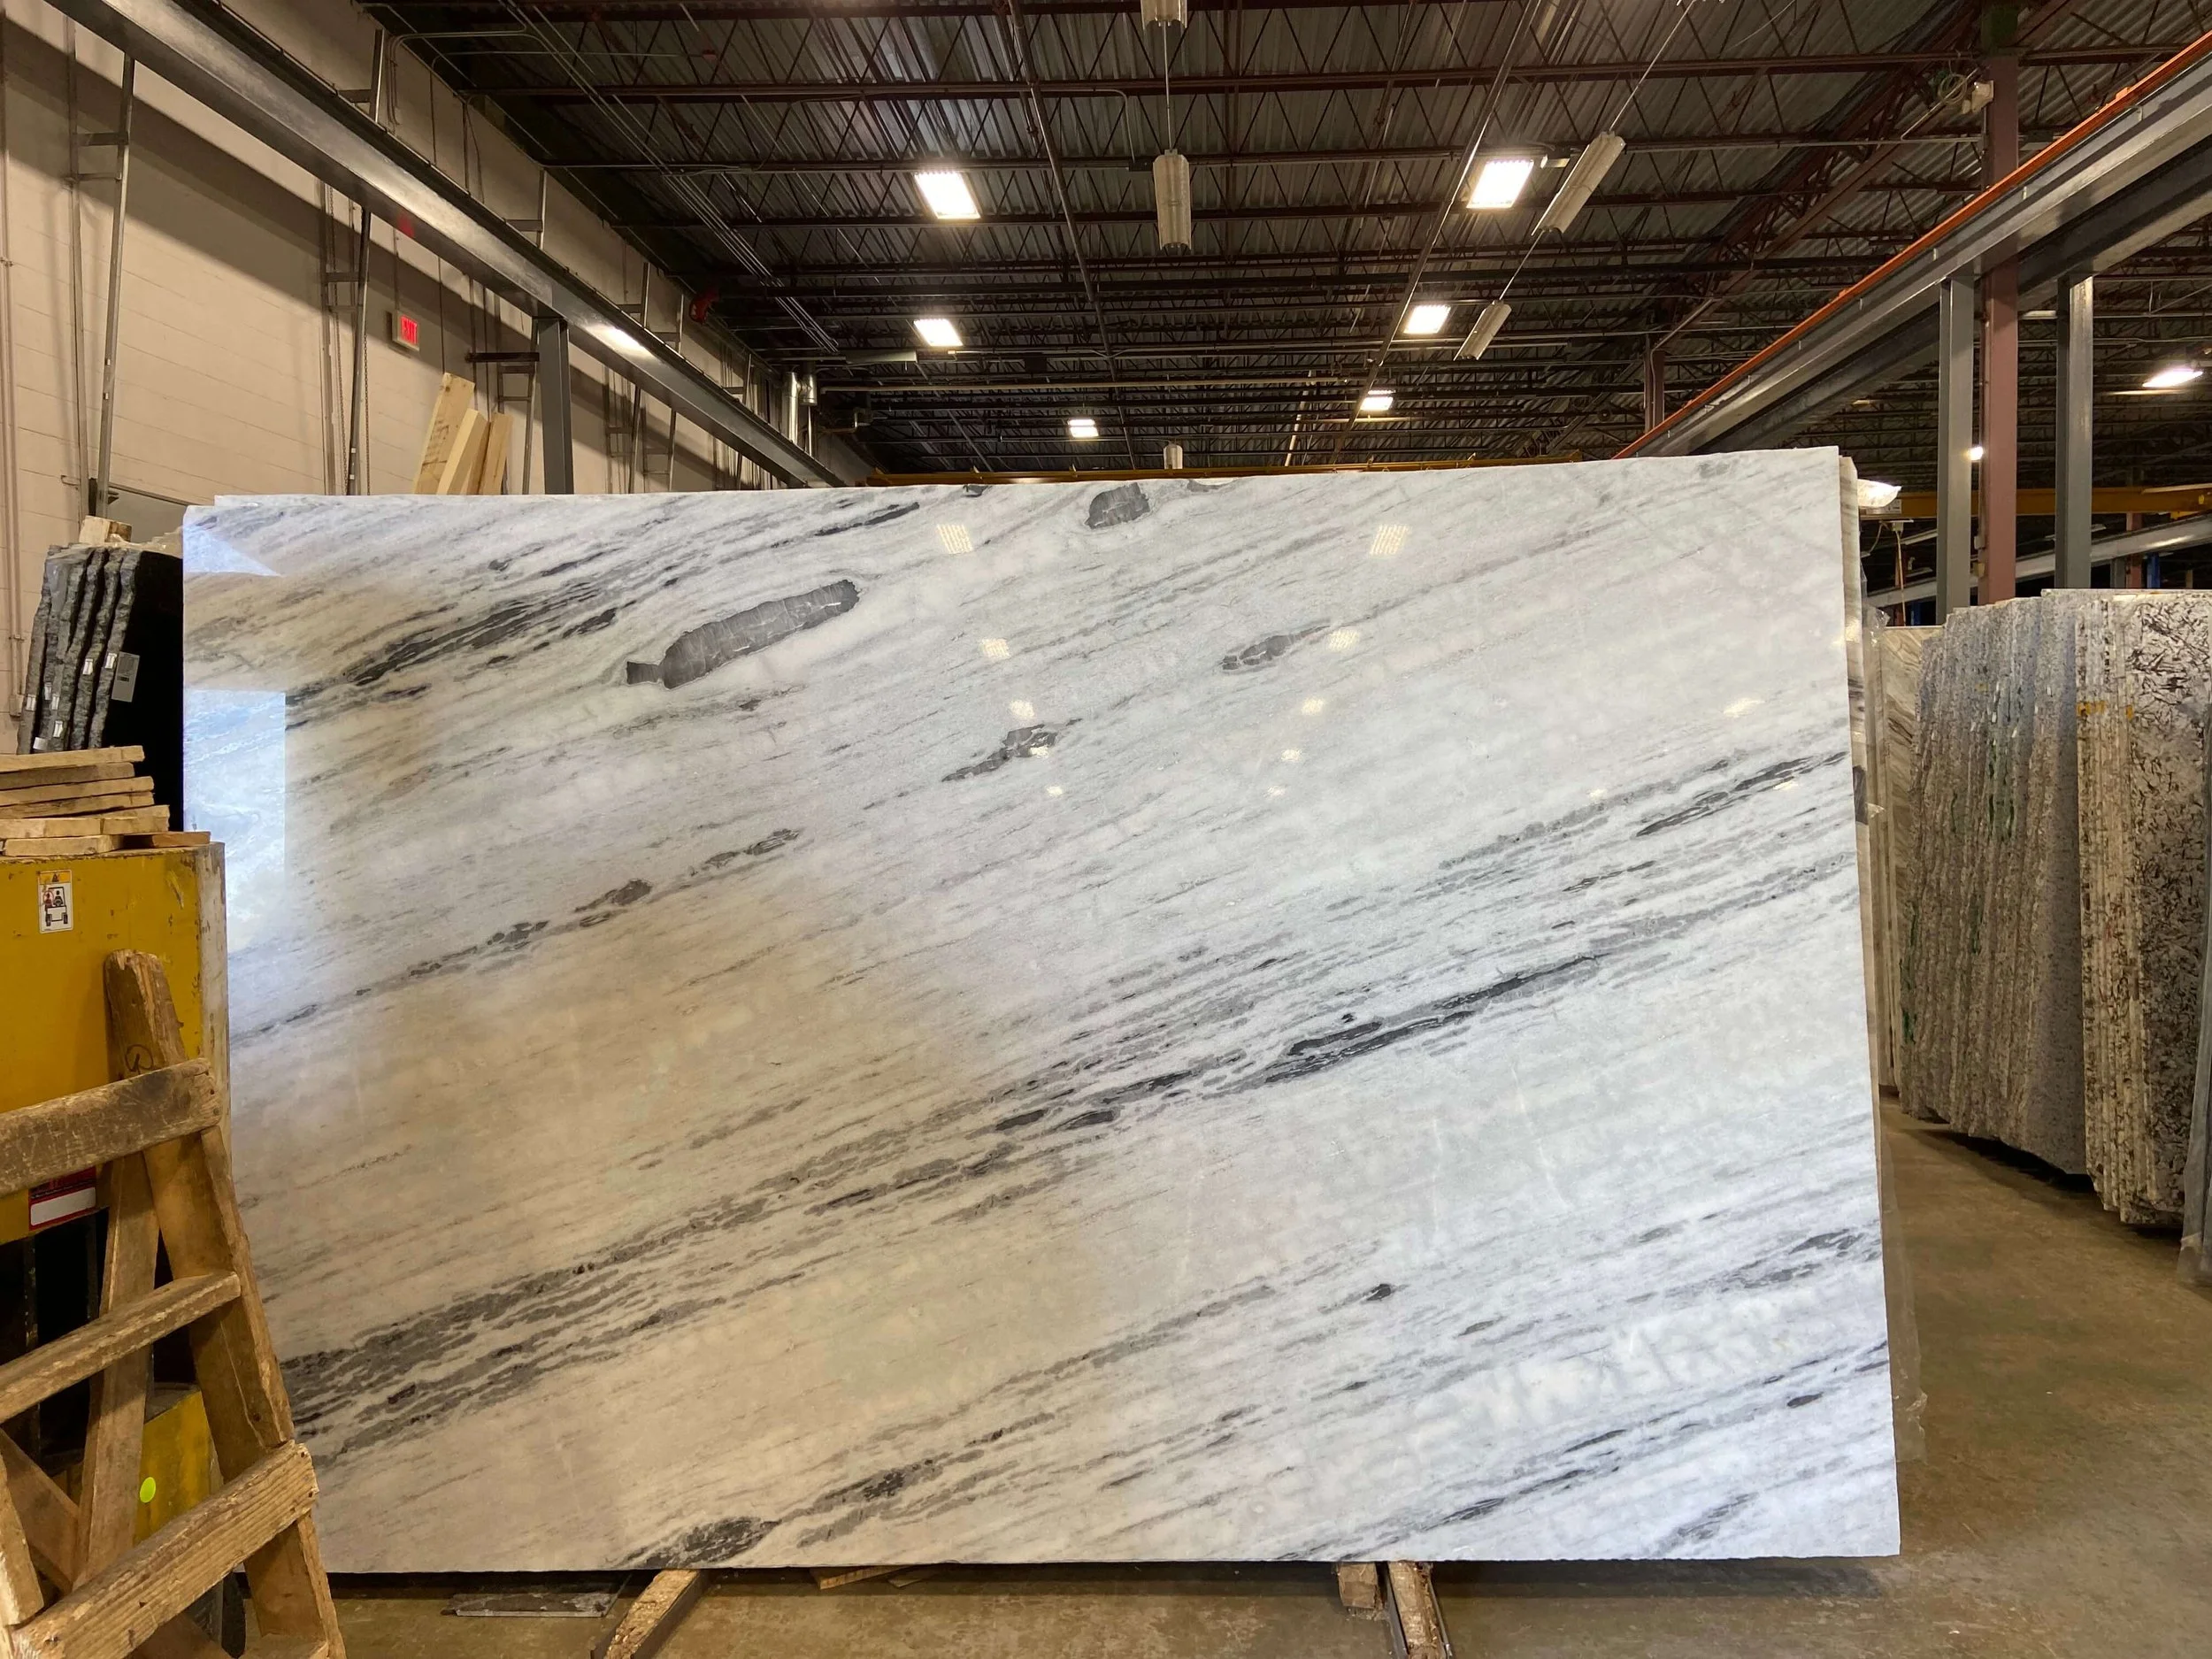
Blue Macaubus Quartzite
White Princess Quartzite
Blue Paradise Marble
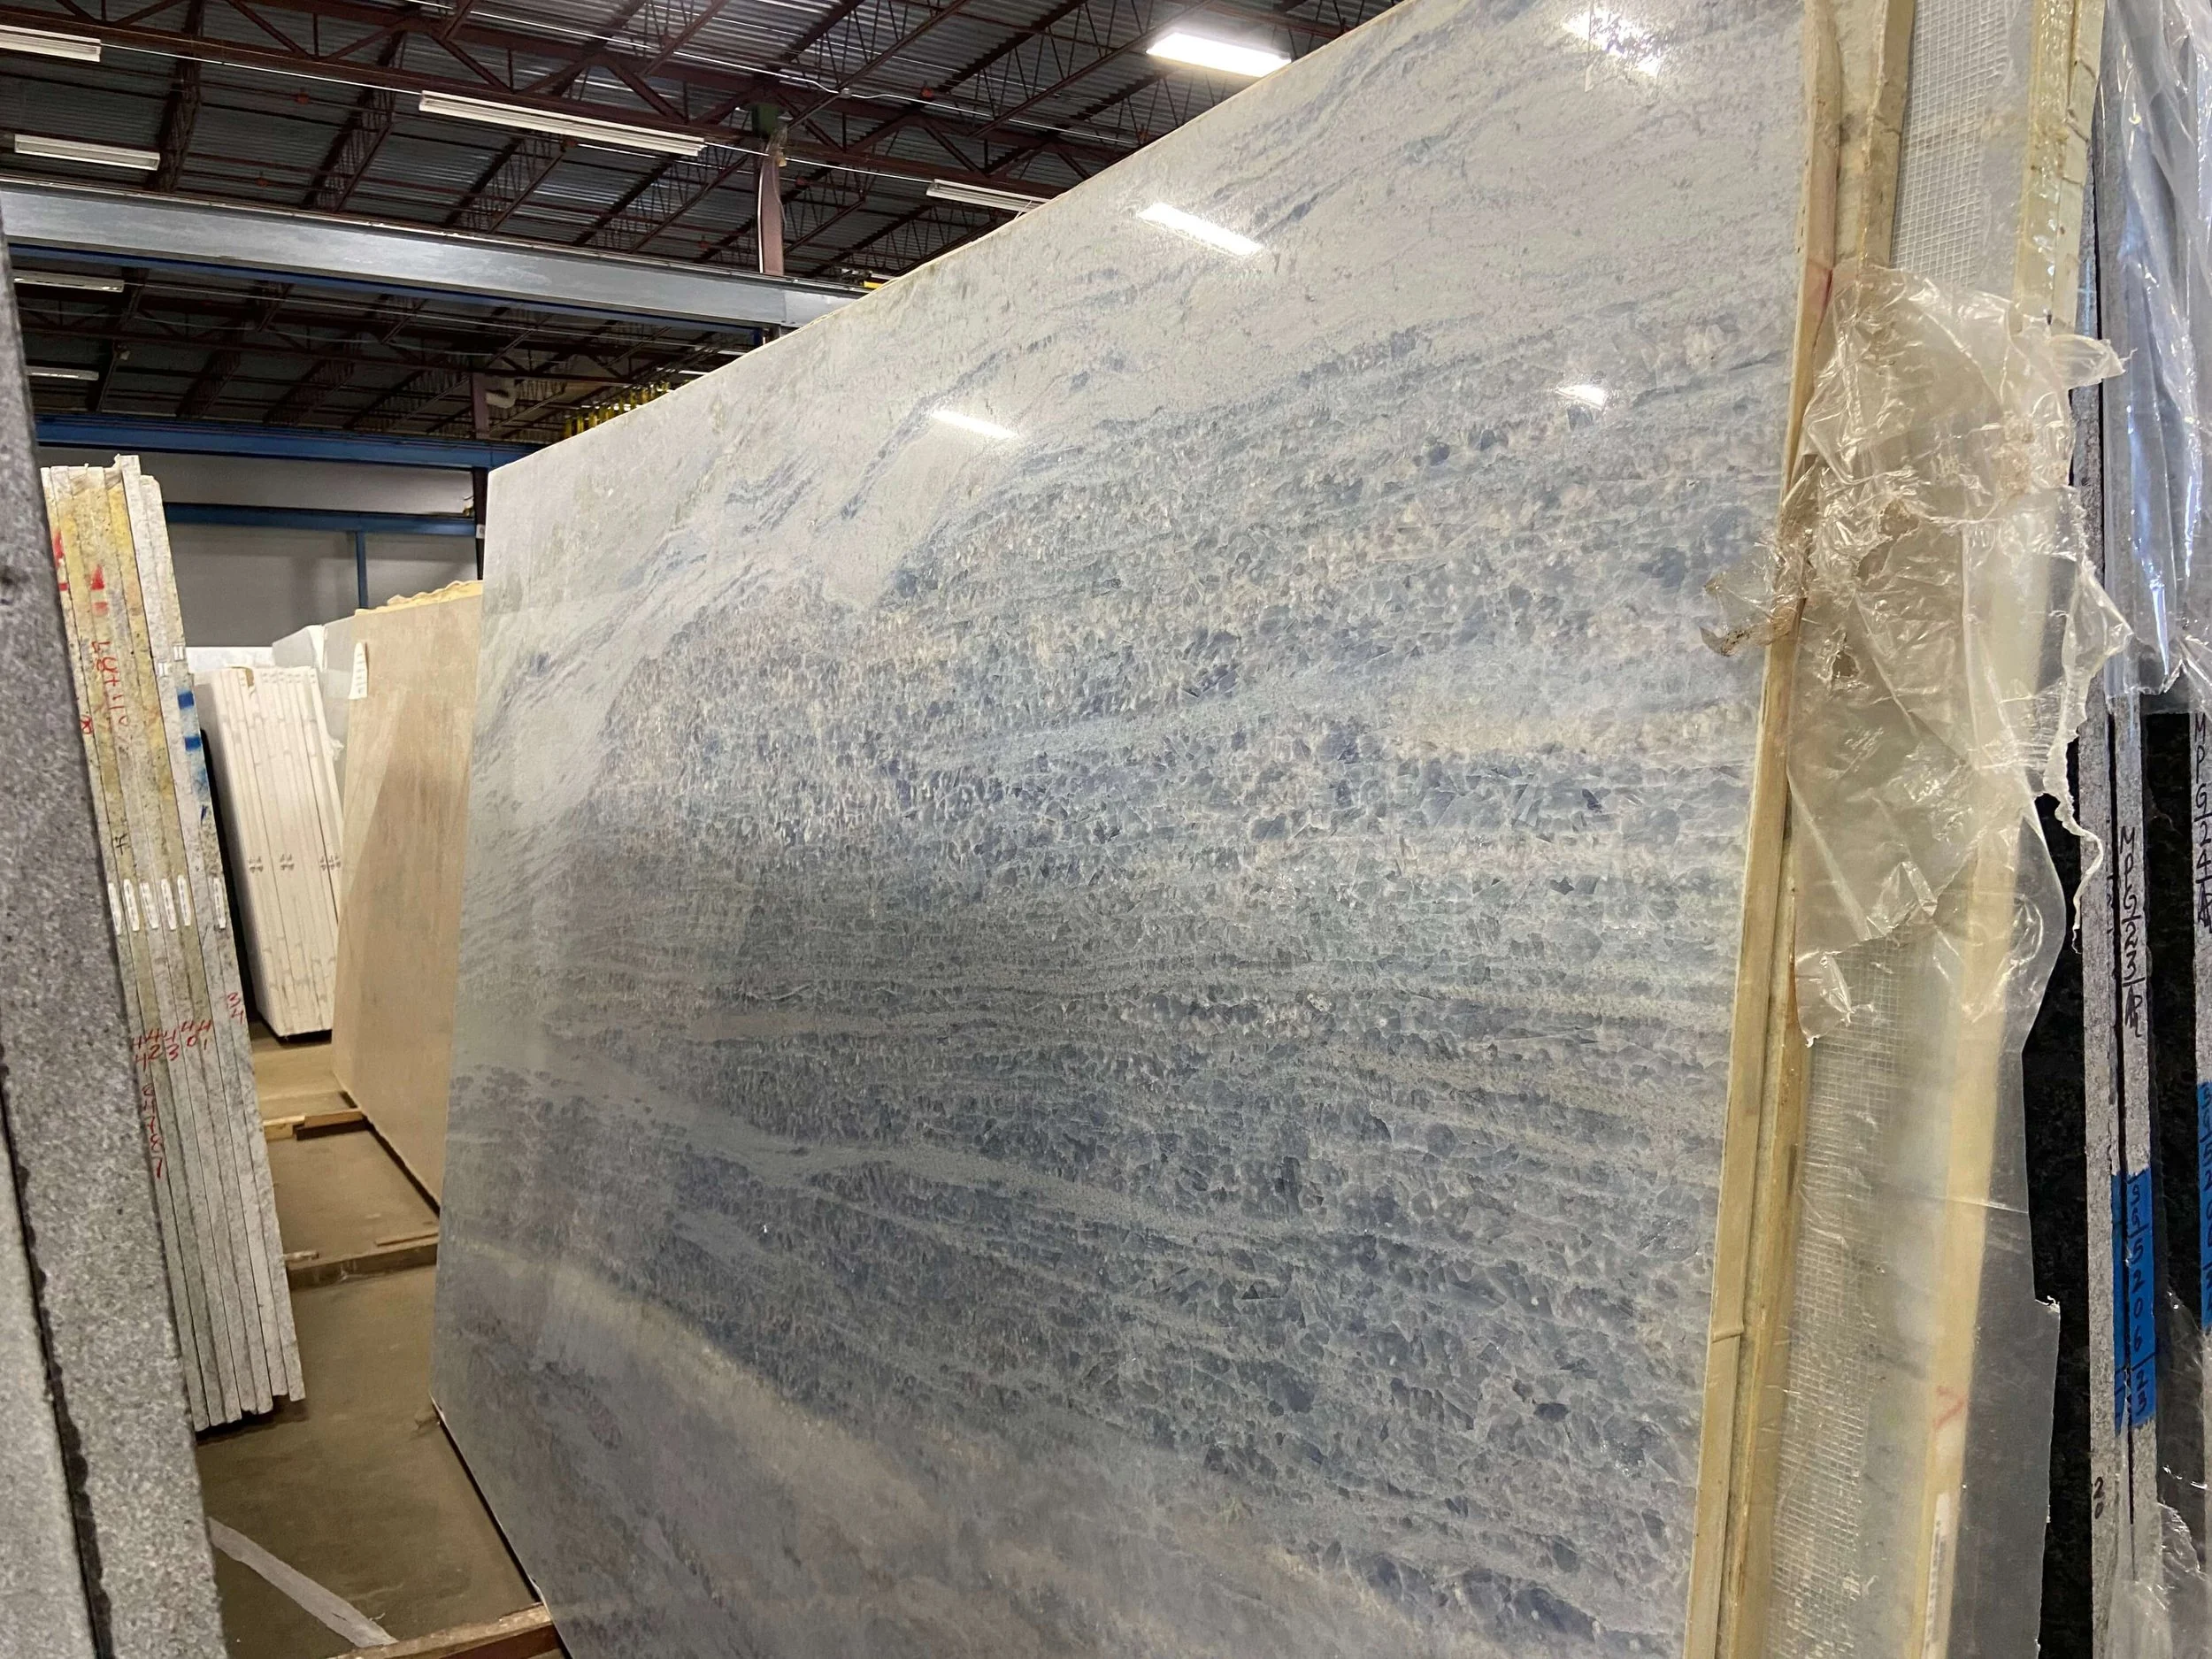
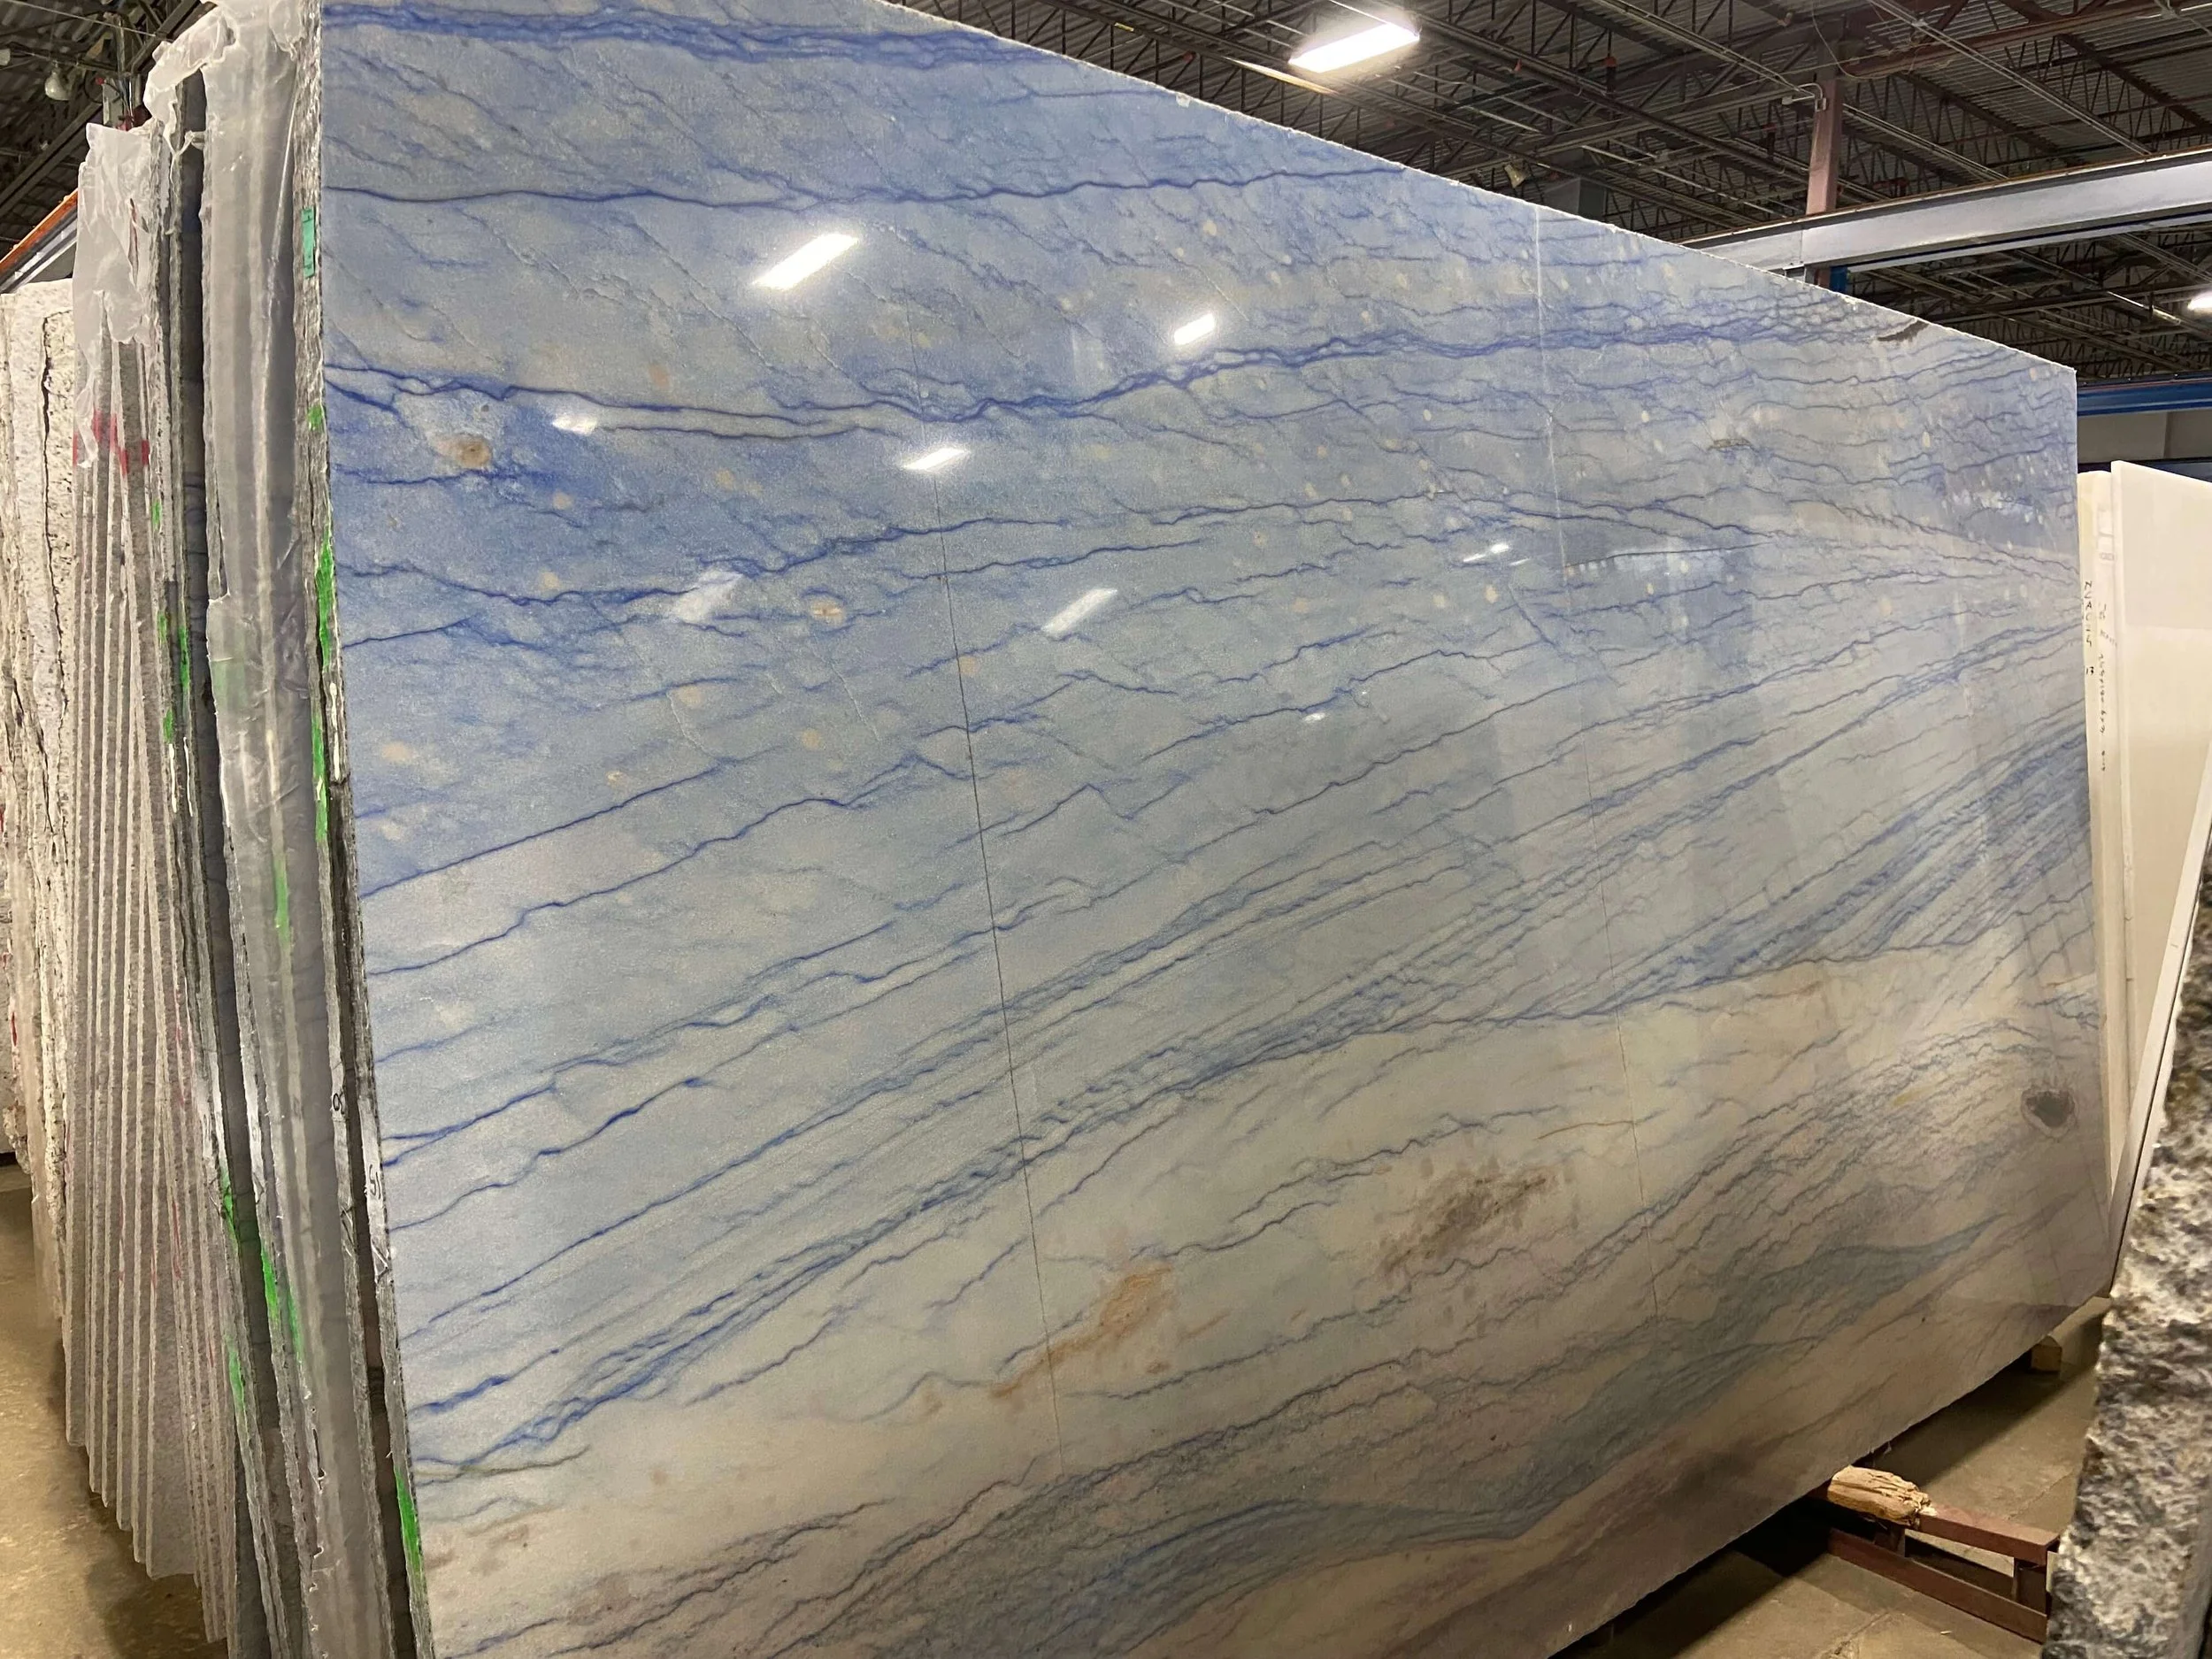
Iceberg Blue aka Cristalita Blue Marble

Our hearts were stolen by this Cristalita Blue above, which was seen in both CBS and Leamar. It was effervescent.
I remember one noting it as a marble, while the other termed it a quartzite. Uh, big difference! Marble etches with any kind of acid (ketchup, wine, lemon juice), but quartzite doesn’t, so which is it?!
It’s a marble. Sigh.
Oh, just so you know, that Blue Macaubus Quartzite was $22,000 per slab. I’ve seen entire bathrooms clad in it before and now understand the flex.
We settled on our purchase from Mass Granite out of Acton, a quartz slab with this pattern:
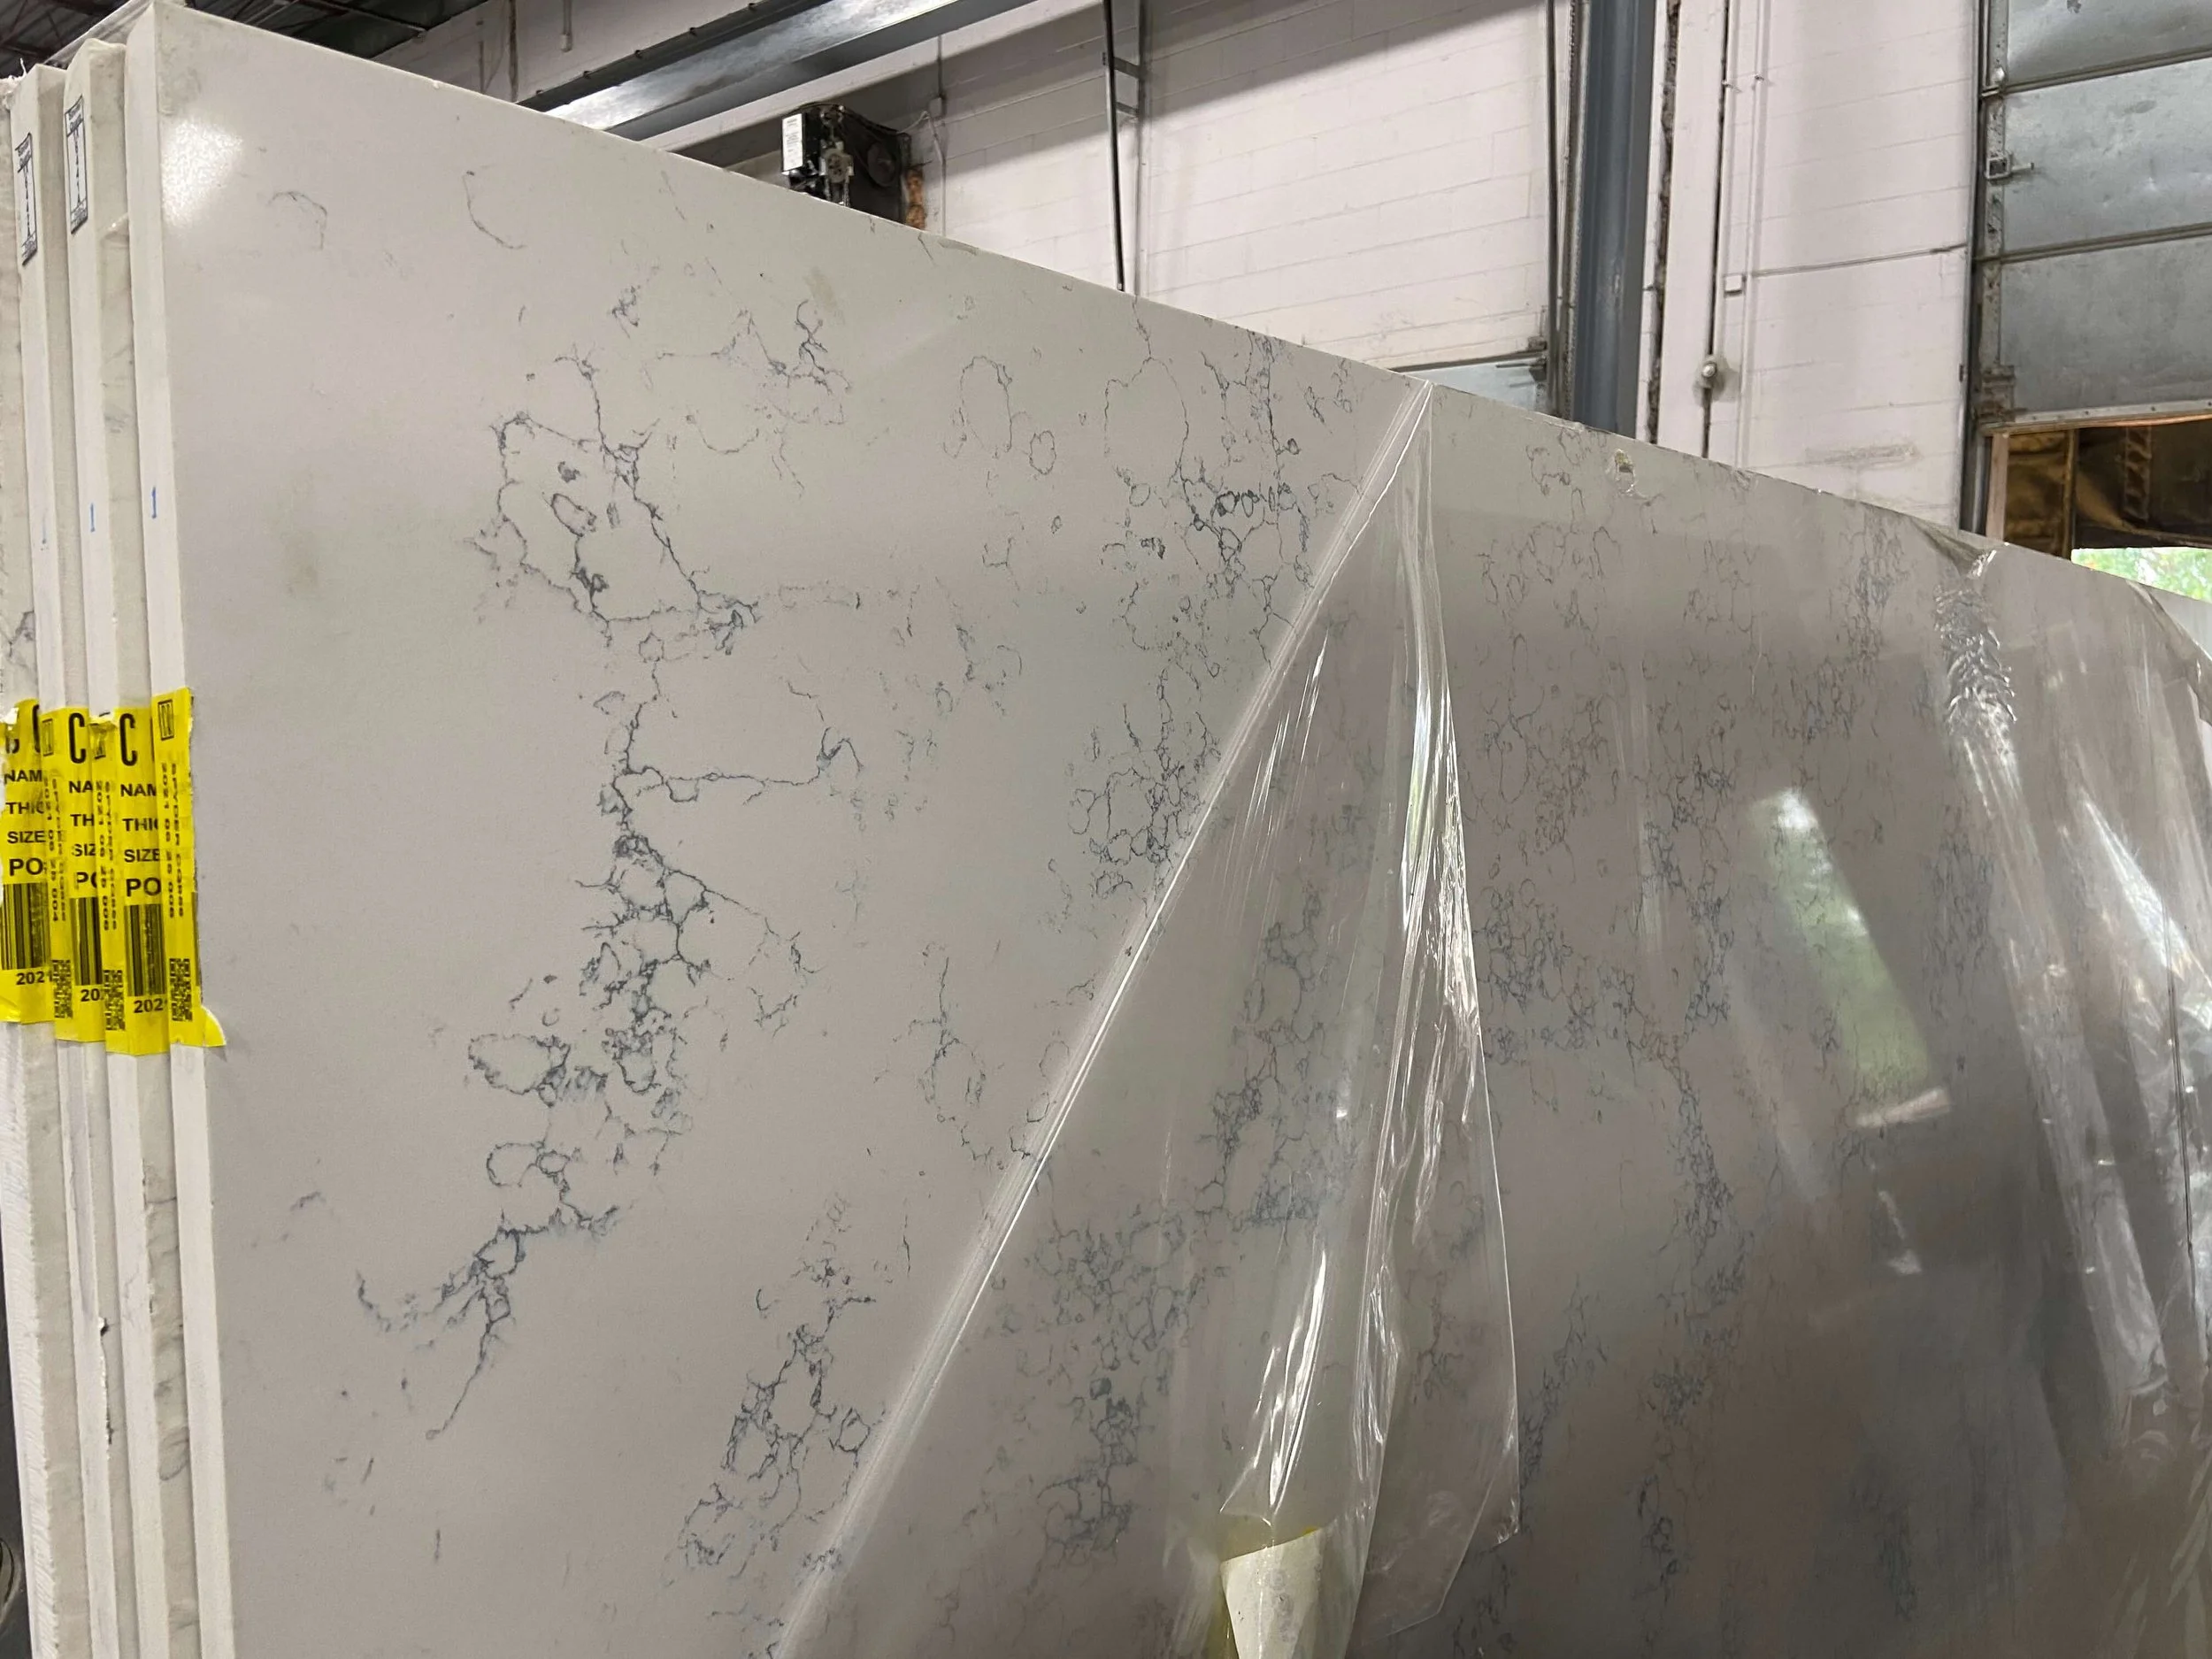
Spyder Blue Quartz
Mass Granite is notably a supplier and fabricator. It also didn’t hurt that Acton is a town adjacent to Littleton, which ended up with logistical cost savings.
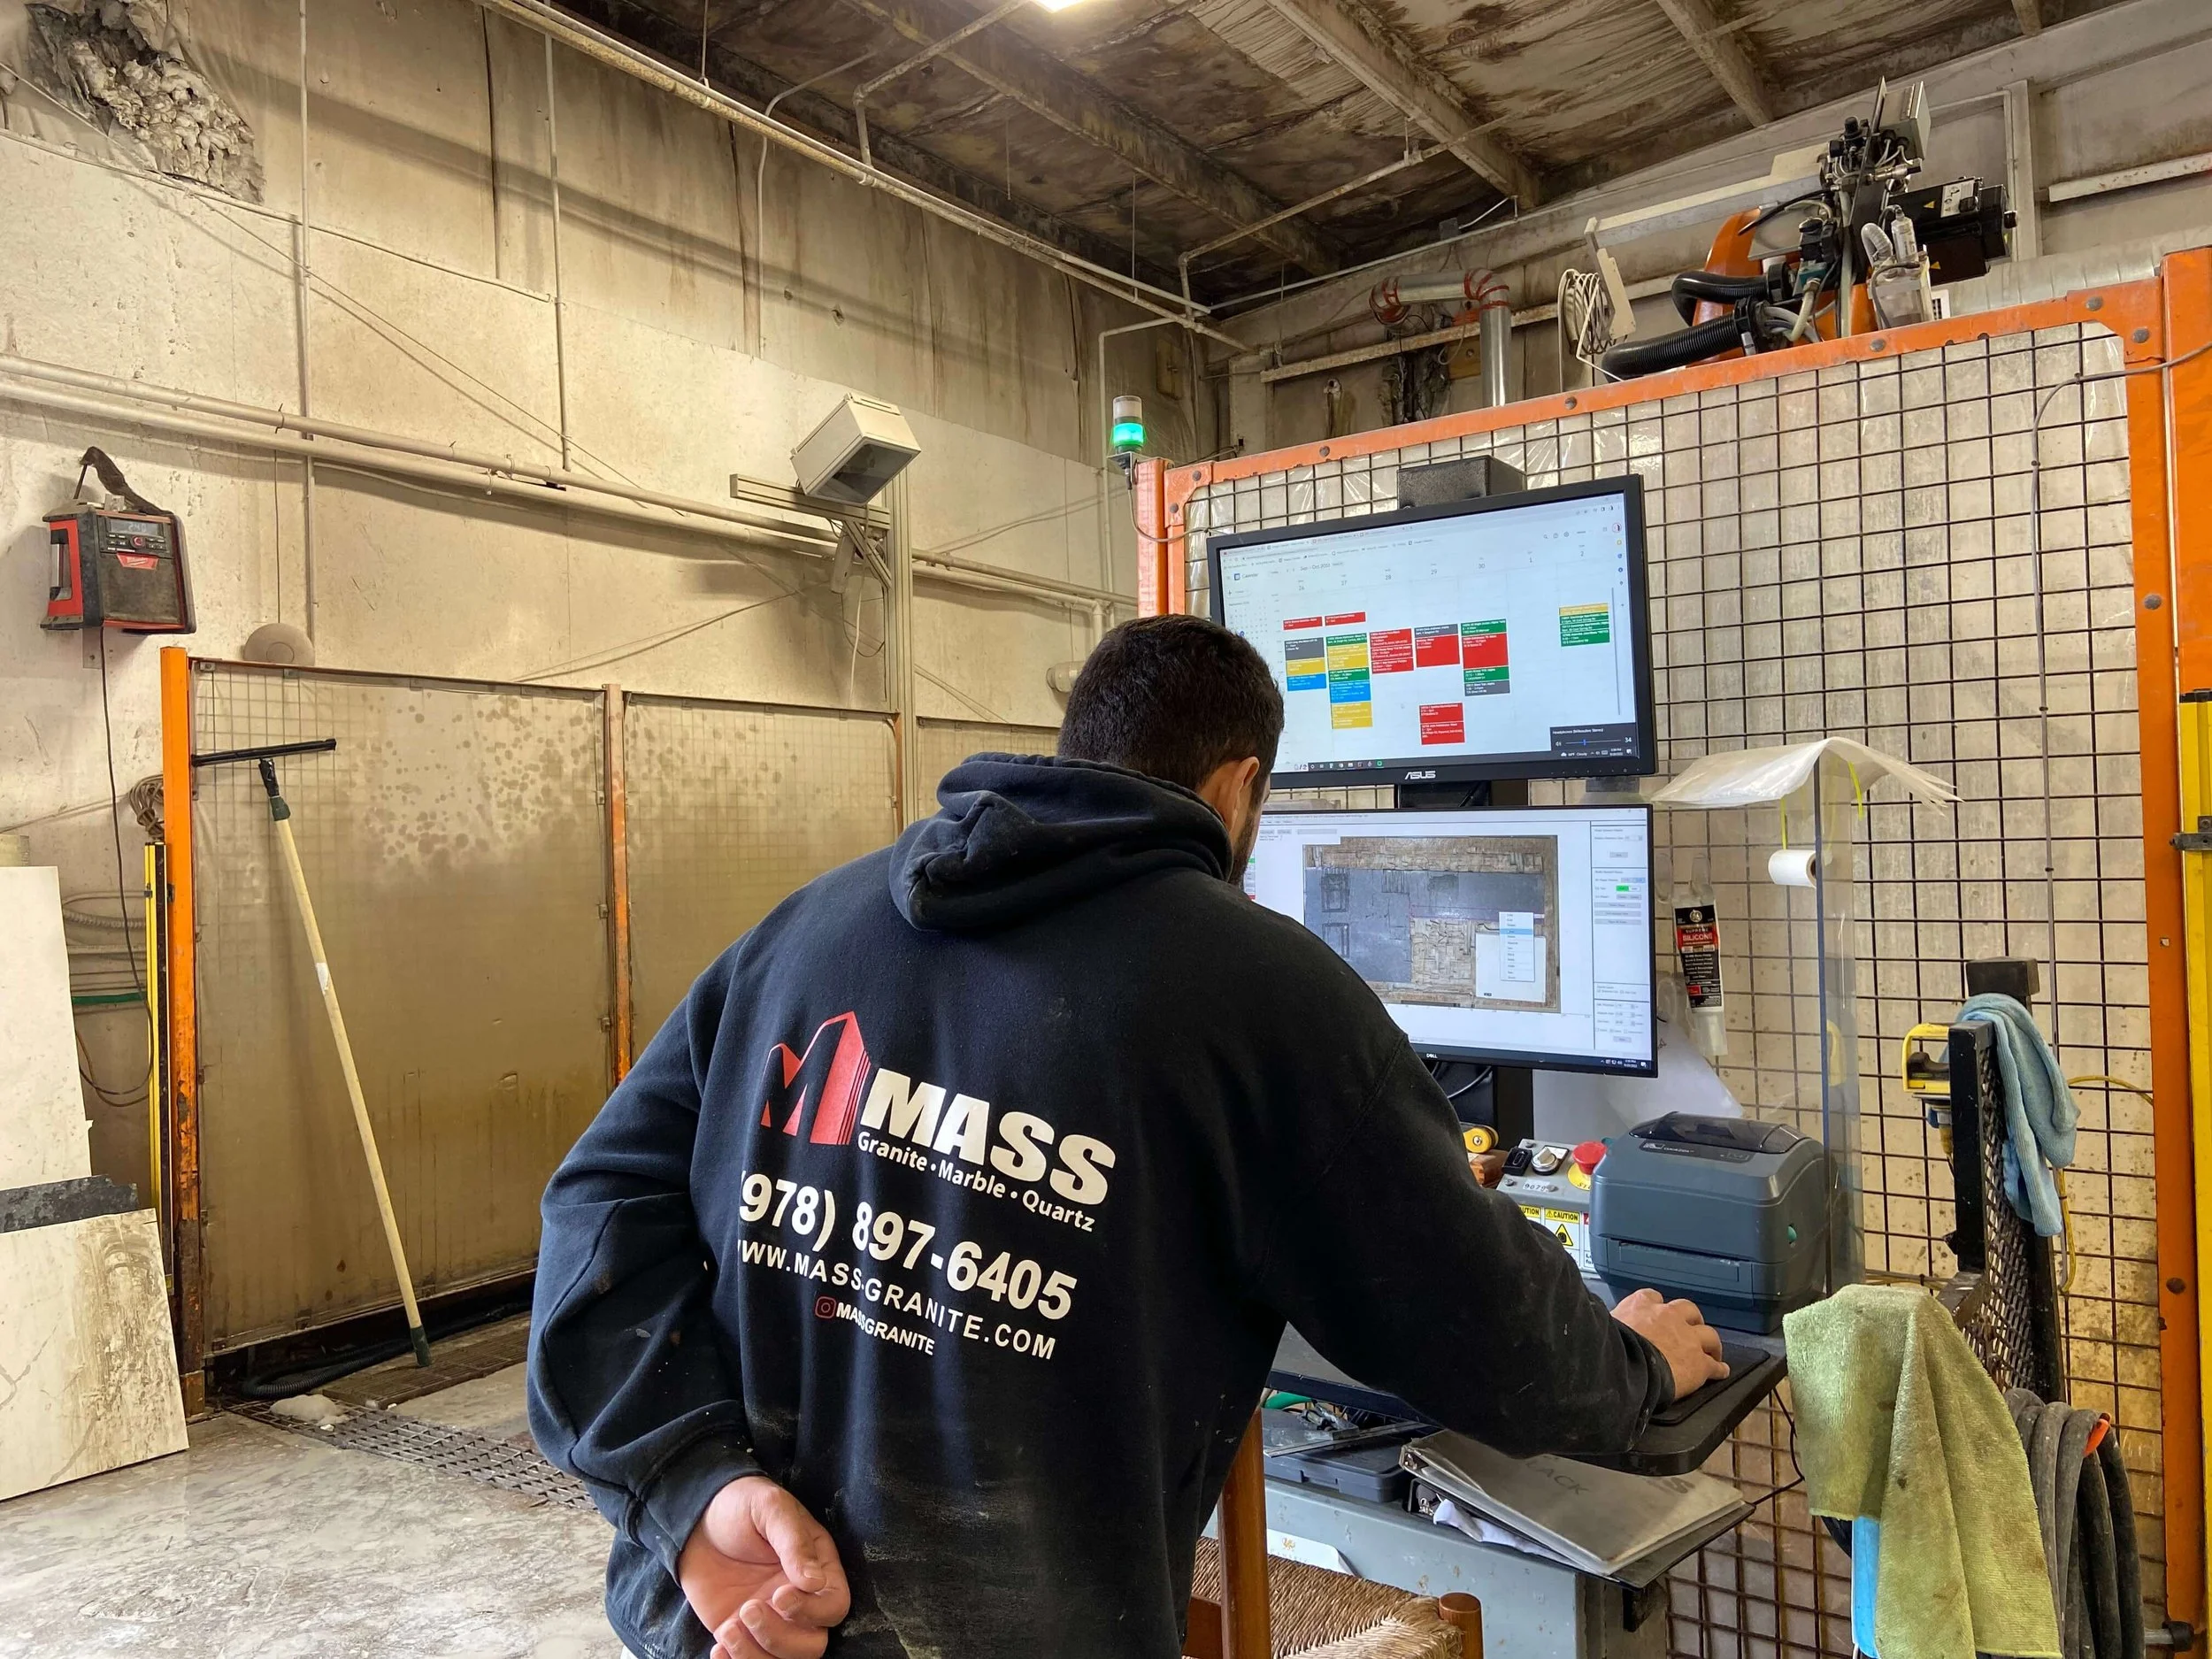
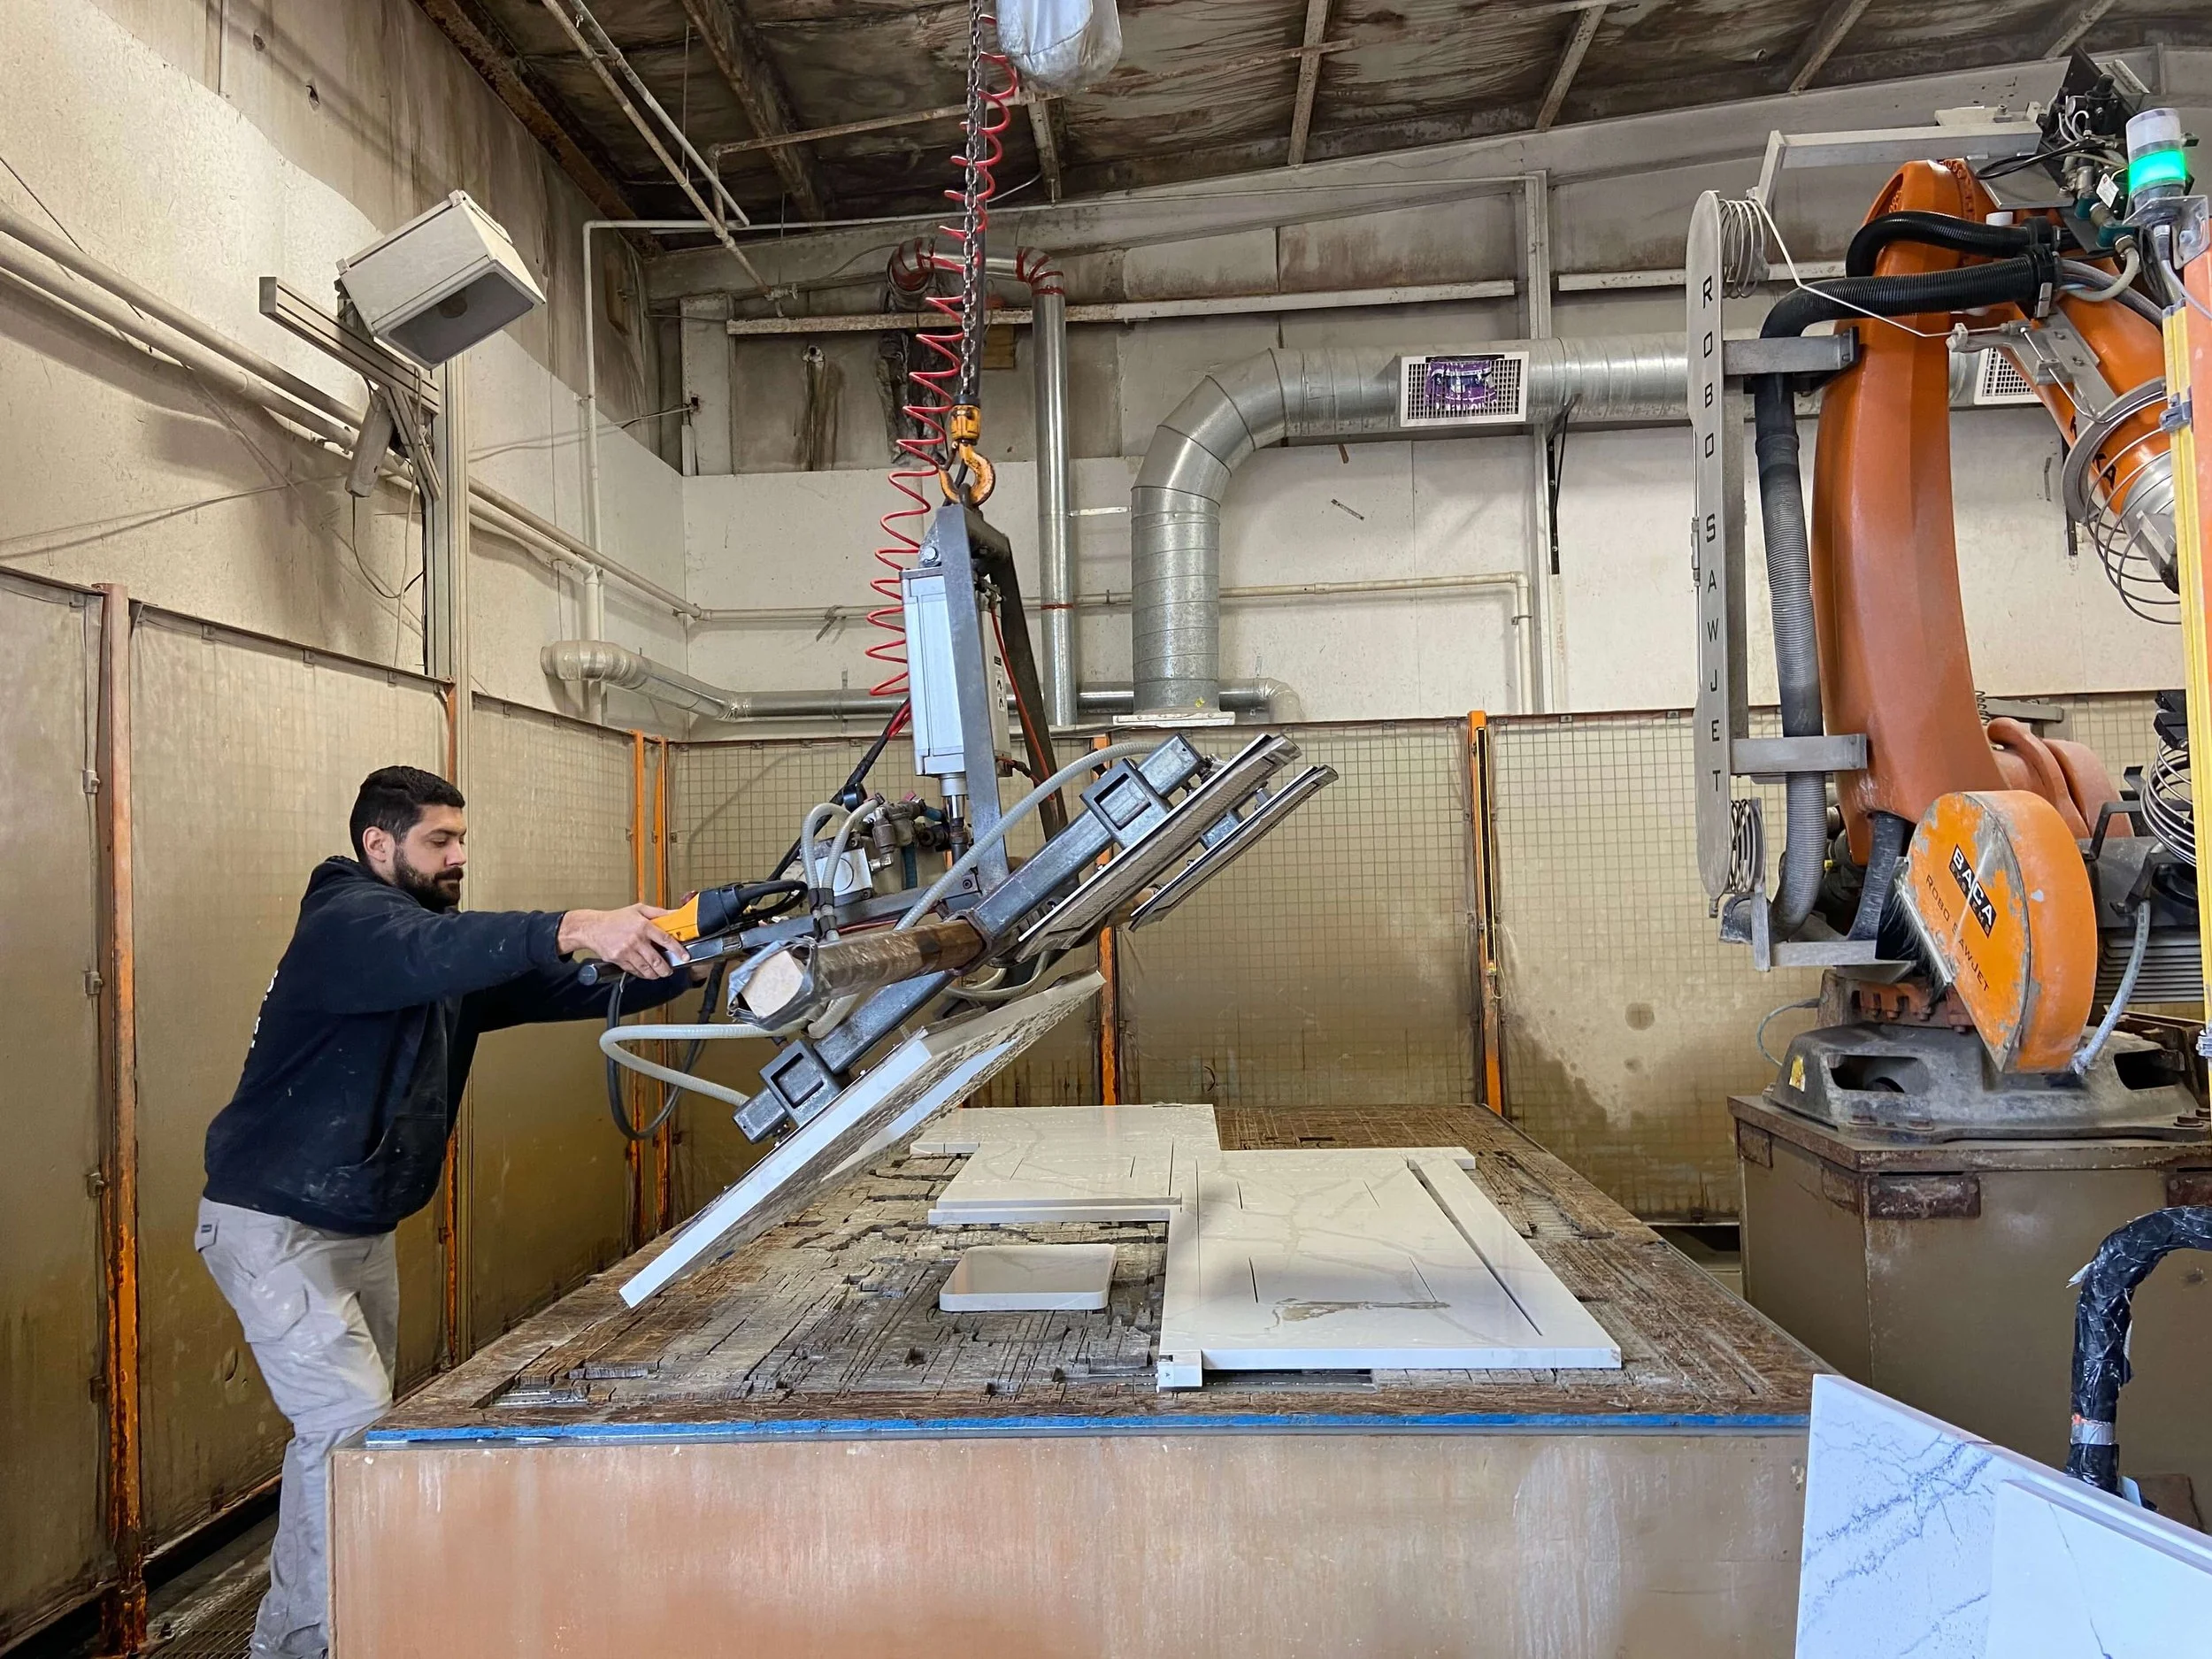
The owner was very kind to let me have a peek behind the scenes. Did you know that these stones are cut with water?!
Quick tip: If you’re looking for a small piece of stone e.g. for a bathroom vanity, you do not need to purchase the entire slab. Fabricators often have leftover pieces from another project that can be sold inexpensively.
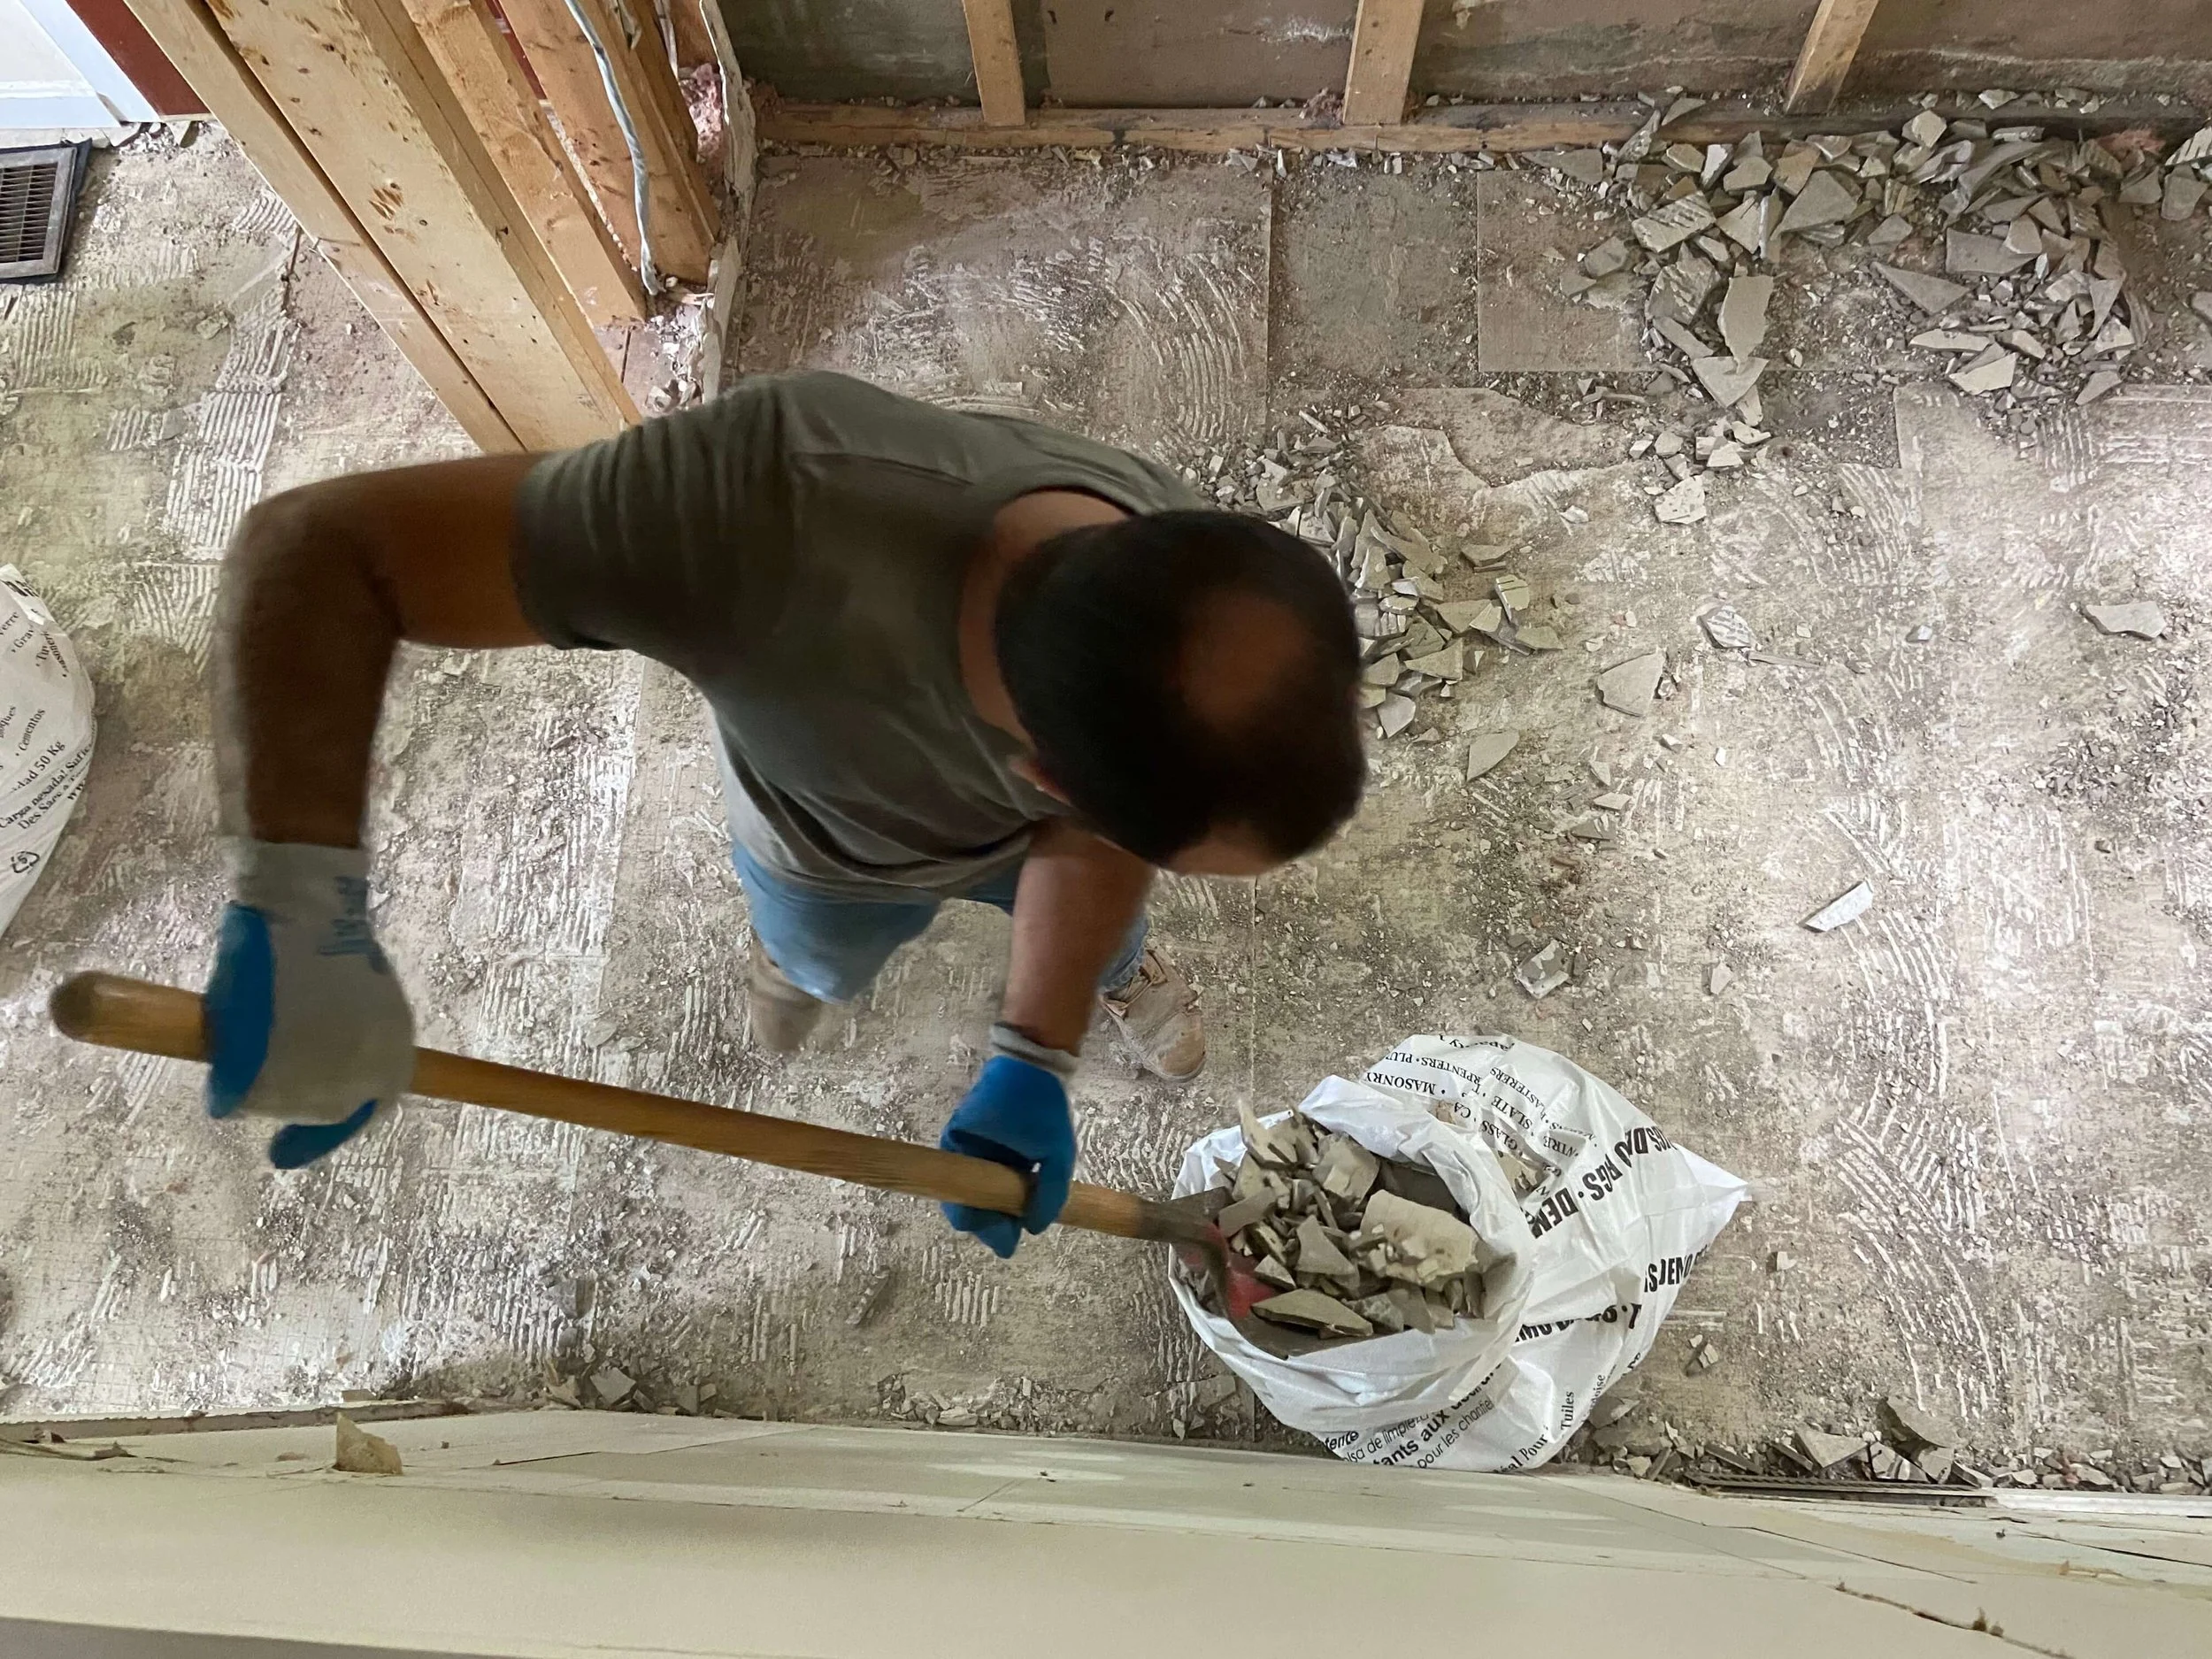
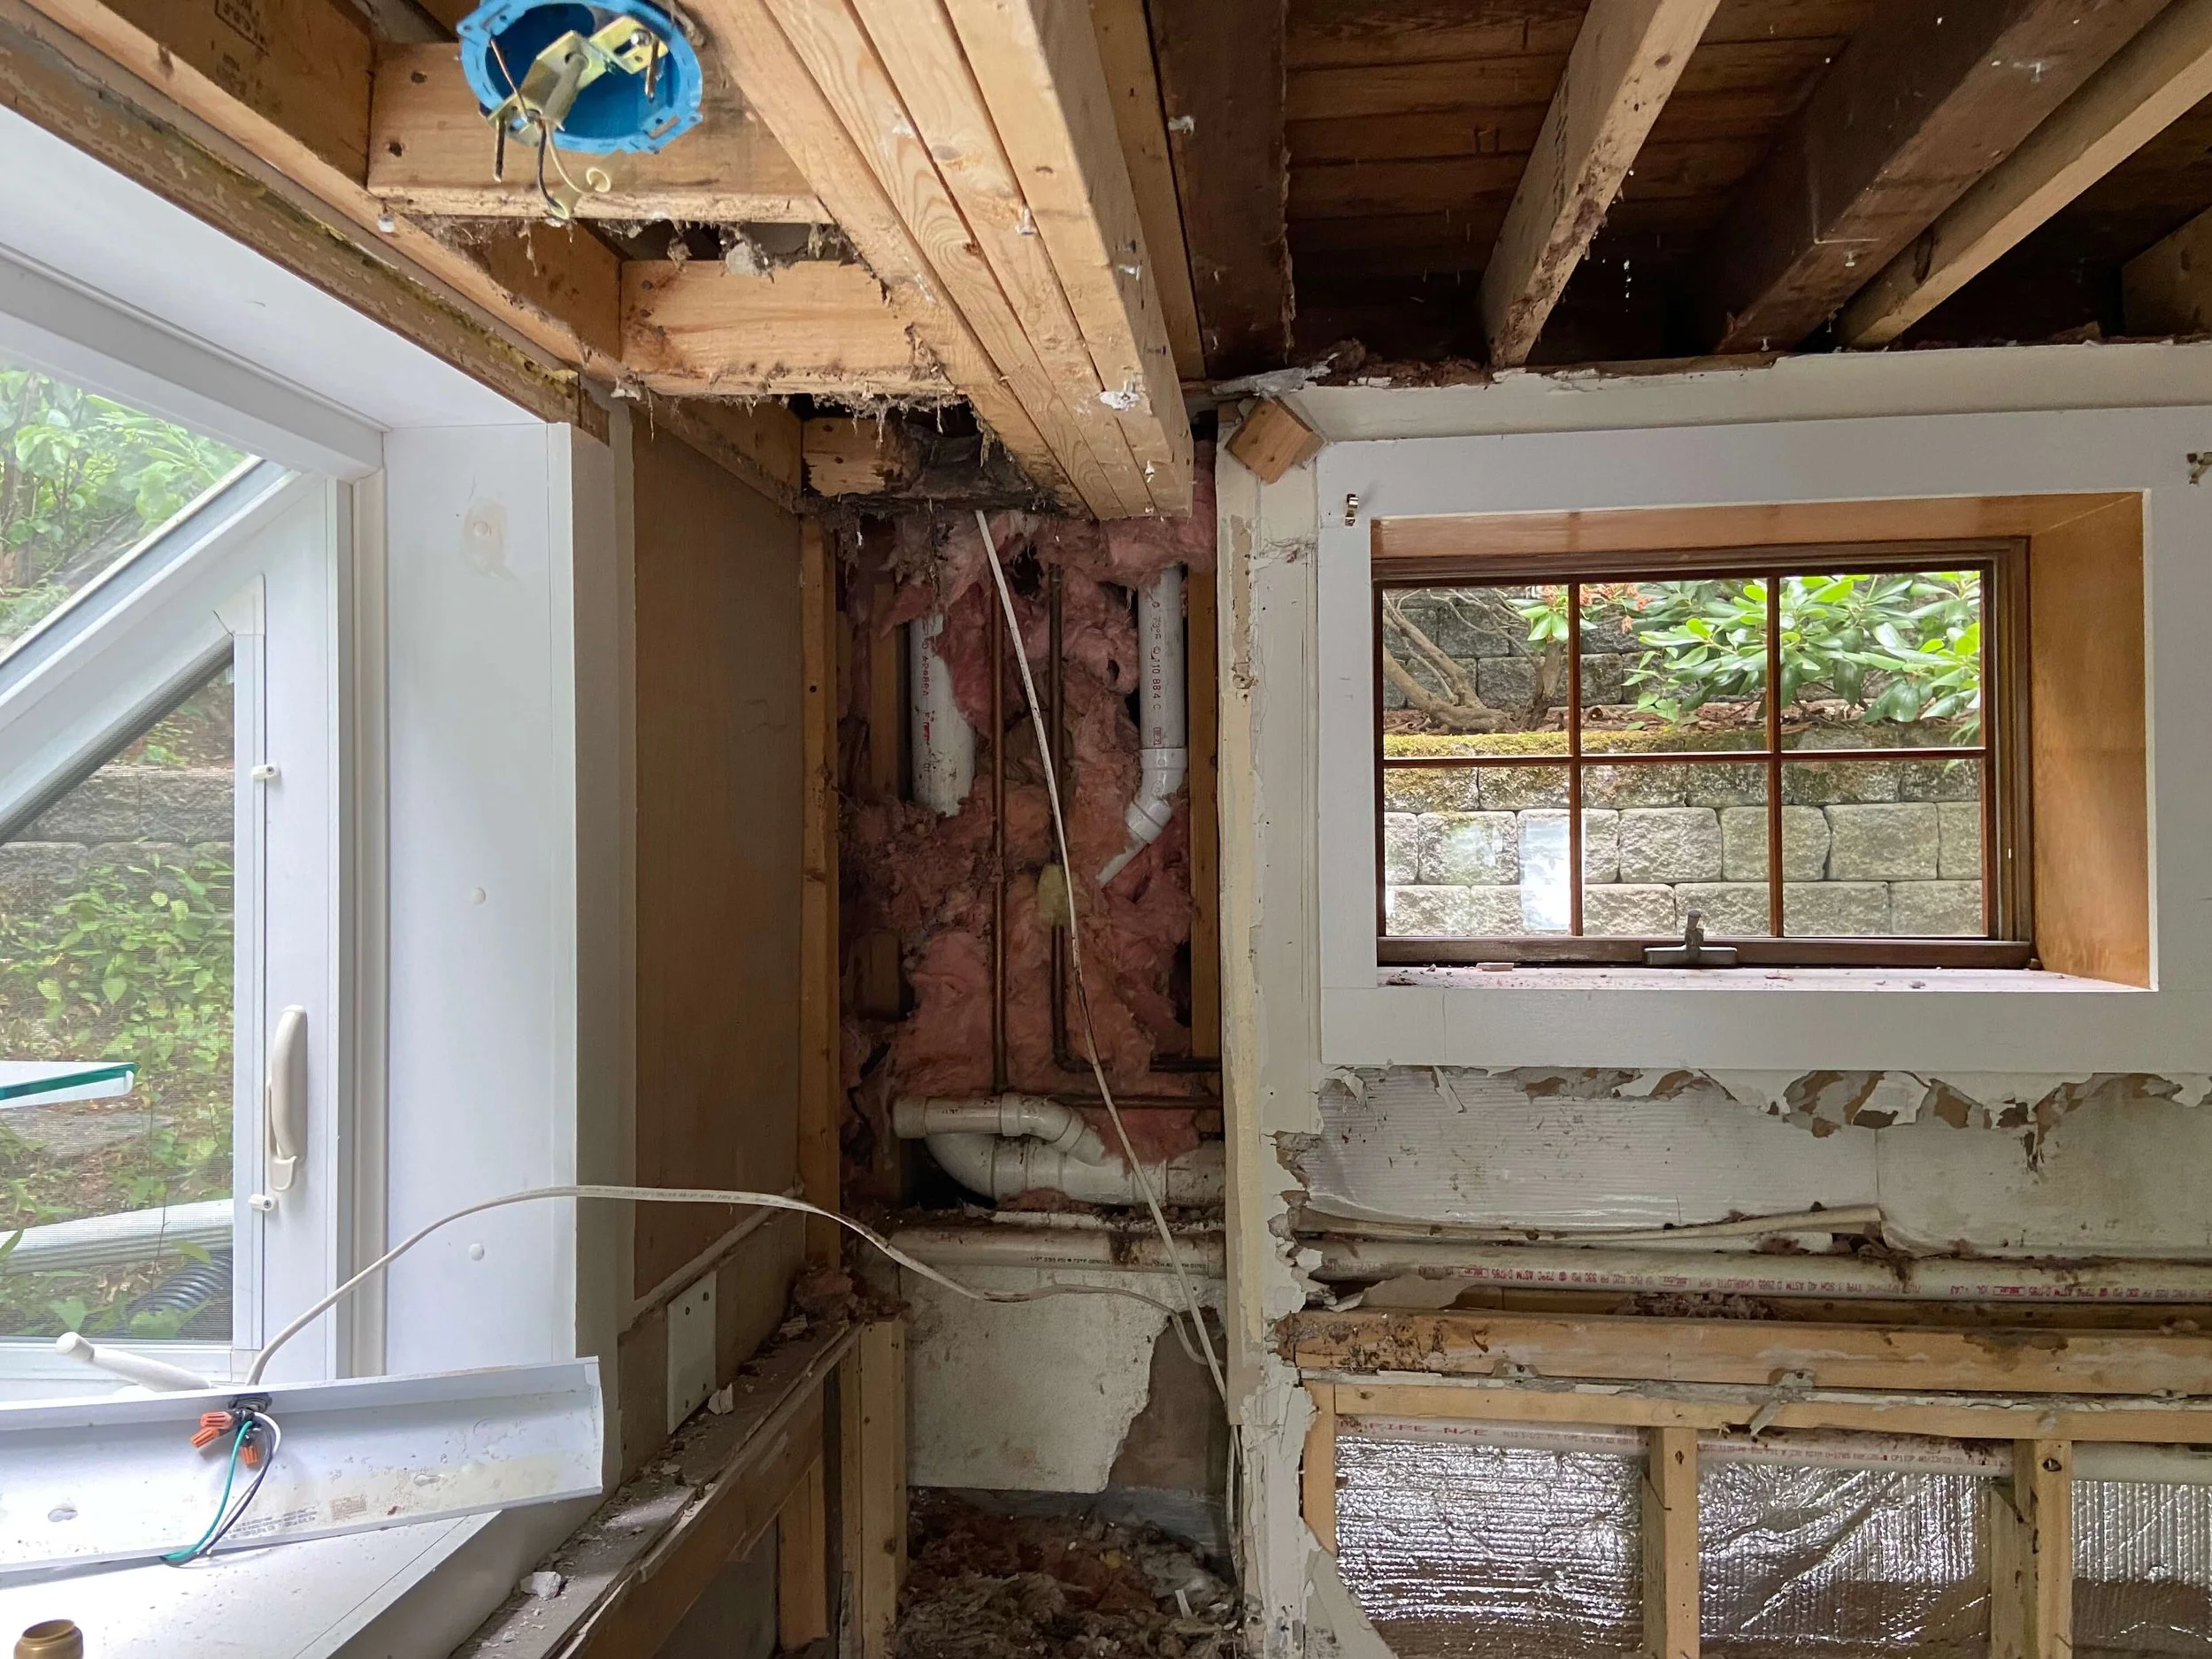
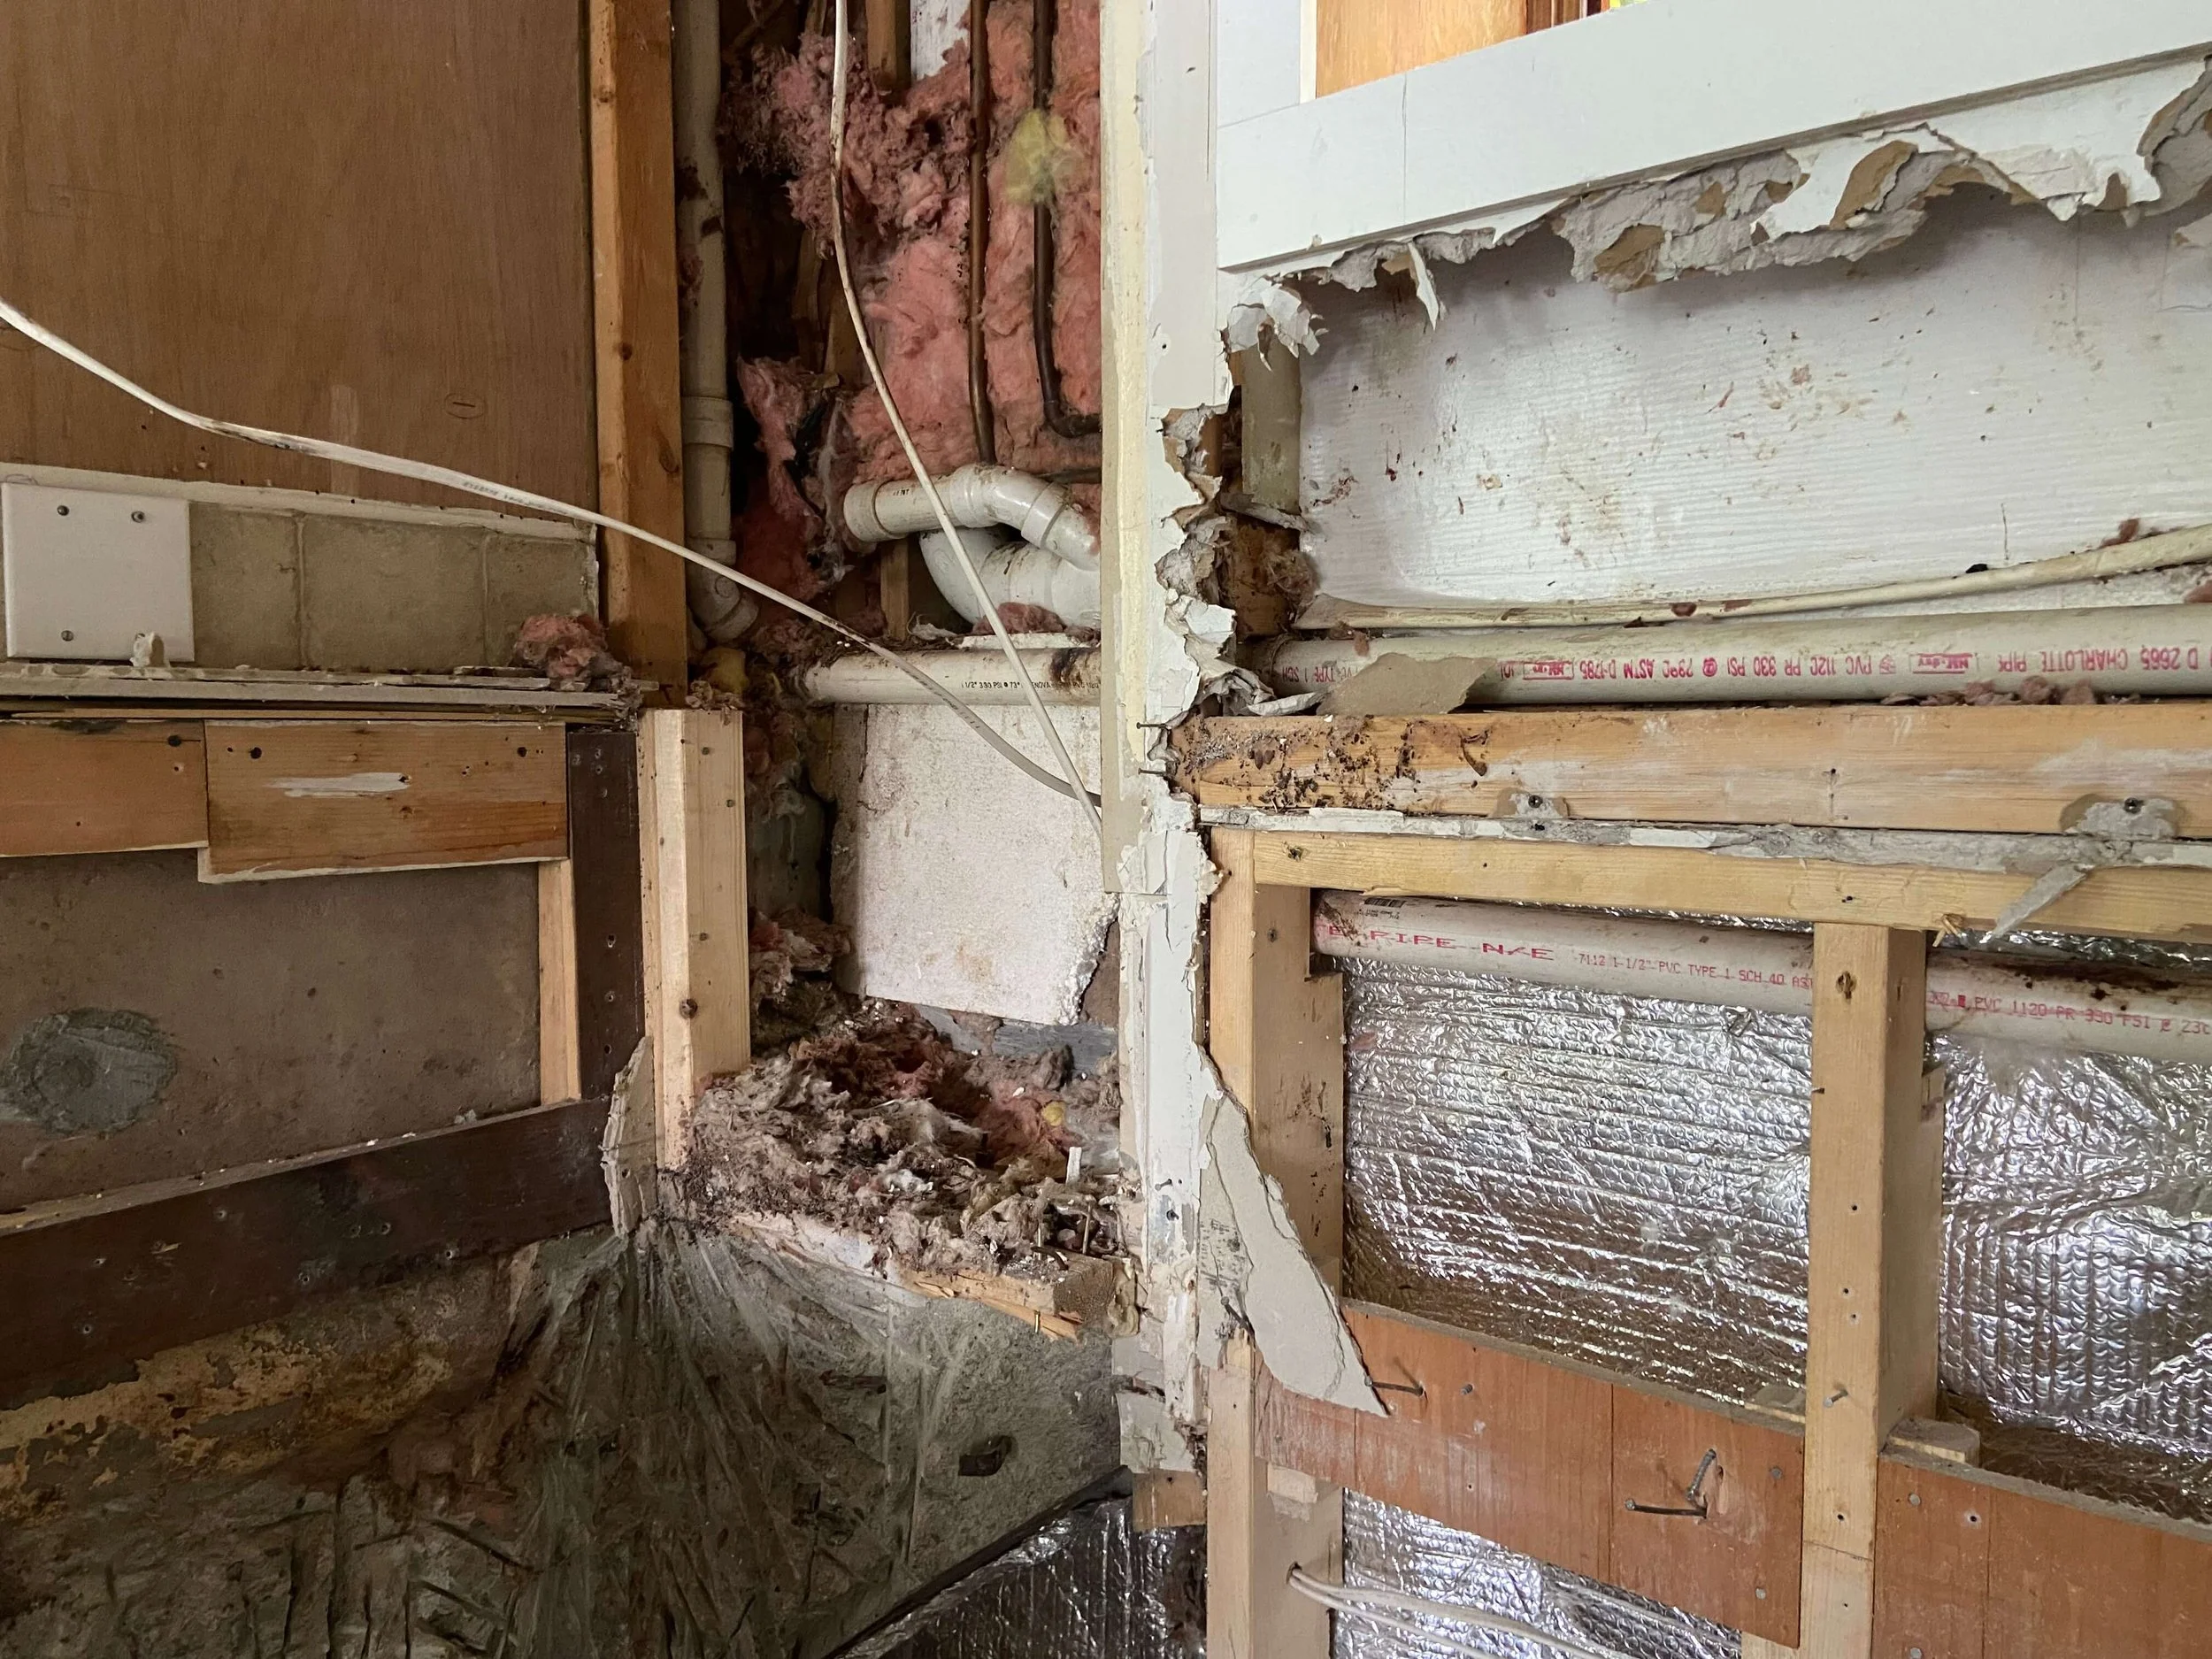
Step 6: Demolition!
Demolition day felt… momentous. I was really excited for what is to come.
Demolition takes no time. Force and clearance, all in a day. It’s the one day where you’ll see the biggest impact.
If you plan on discarding all old appliances, don’t forget to keep the fridge and microwave - you’ll need it for survival.
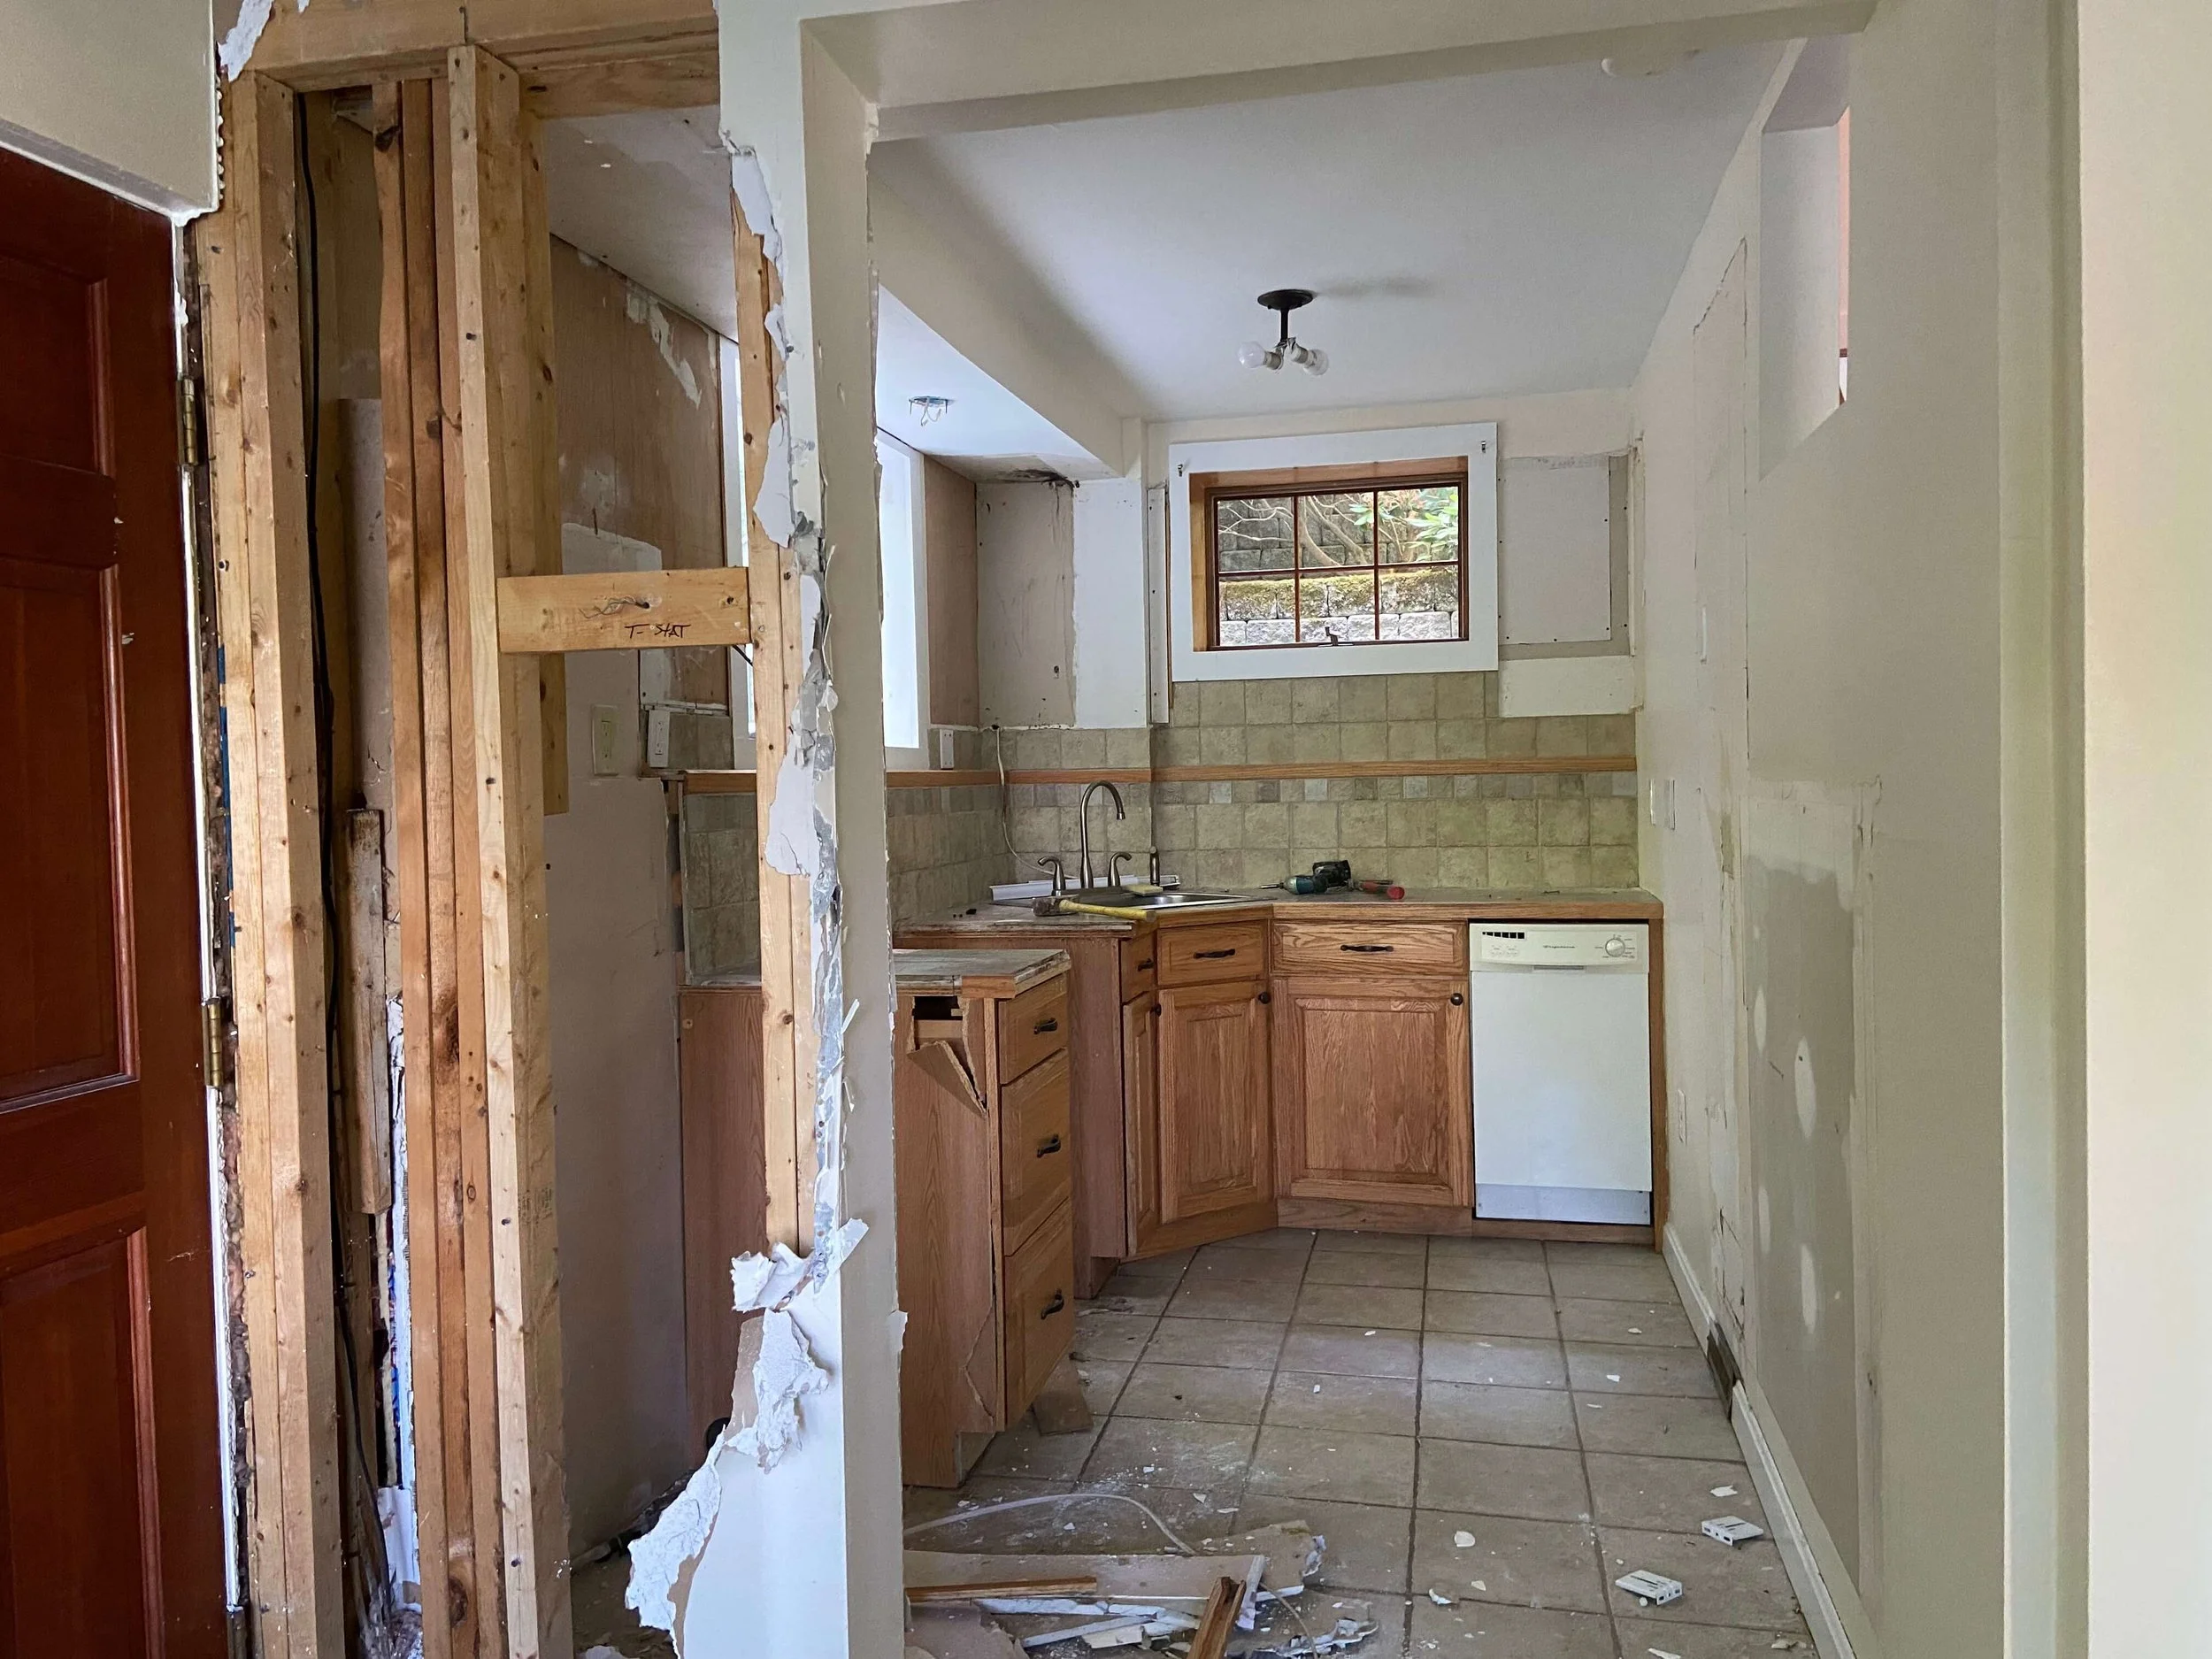
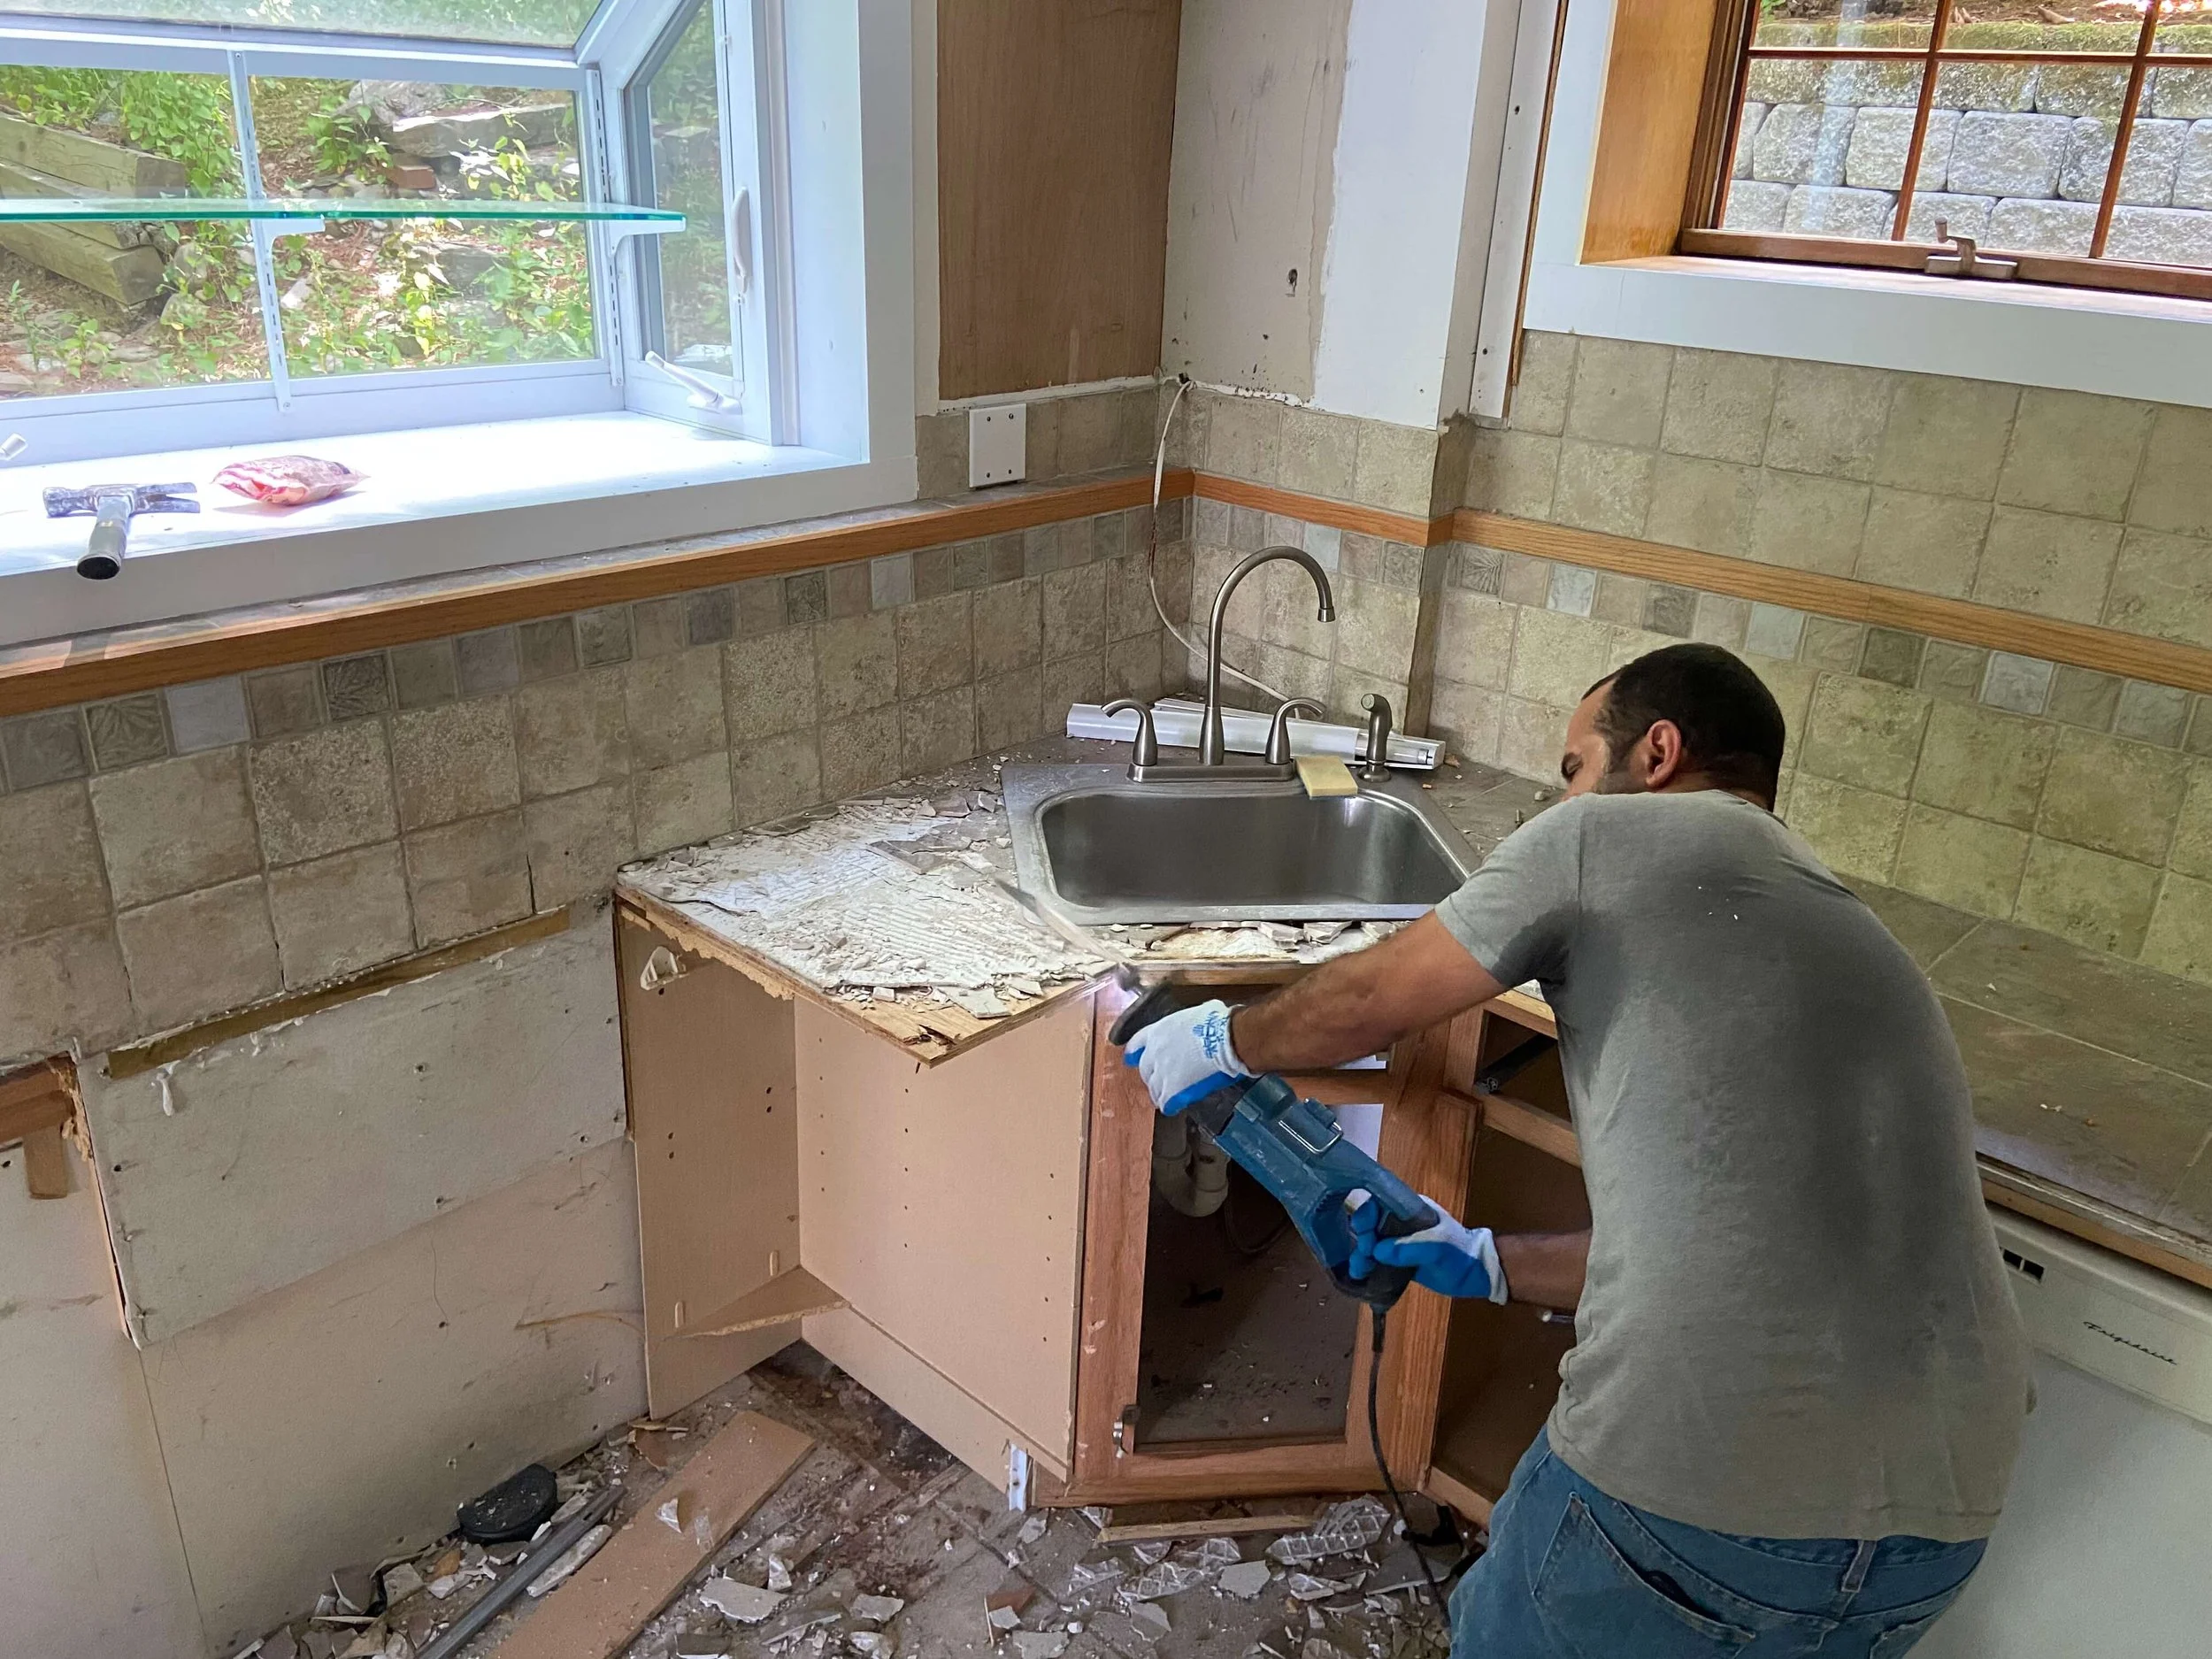
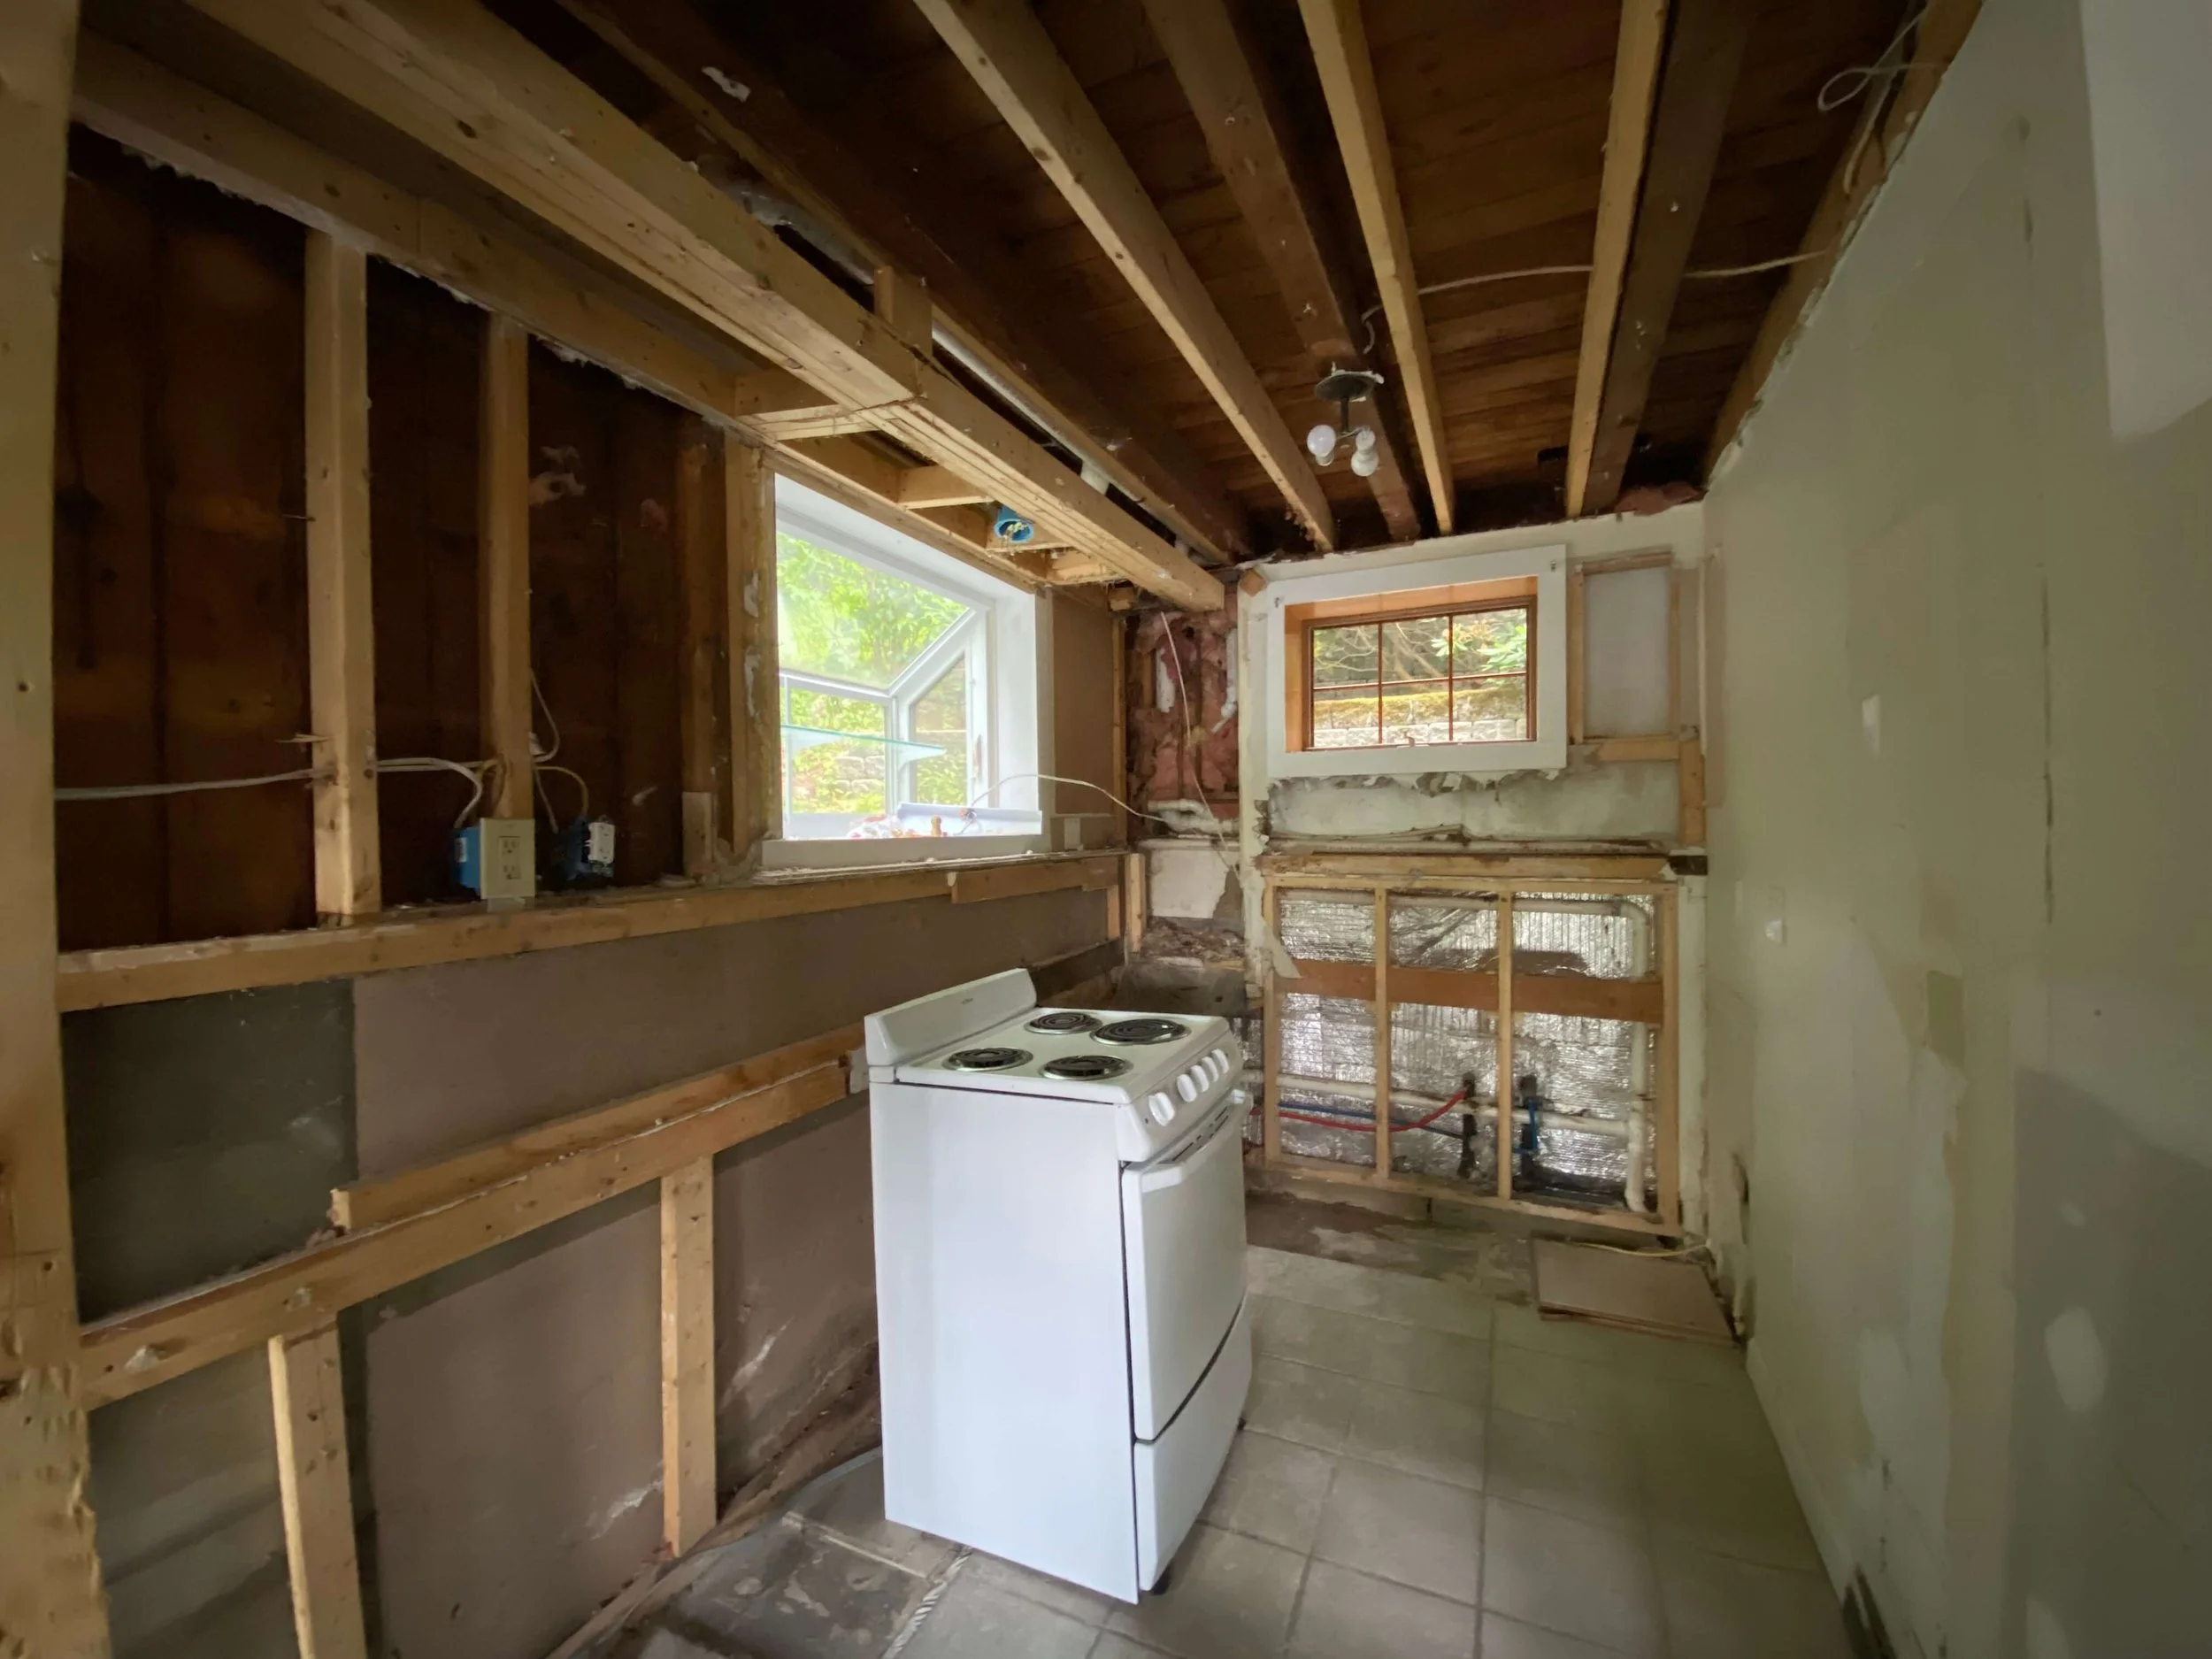
We found rodent damages behind the walls.
No surprises there, on the contrary I was really glad to have this opportunity to right the wrongs.
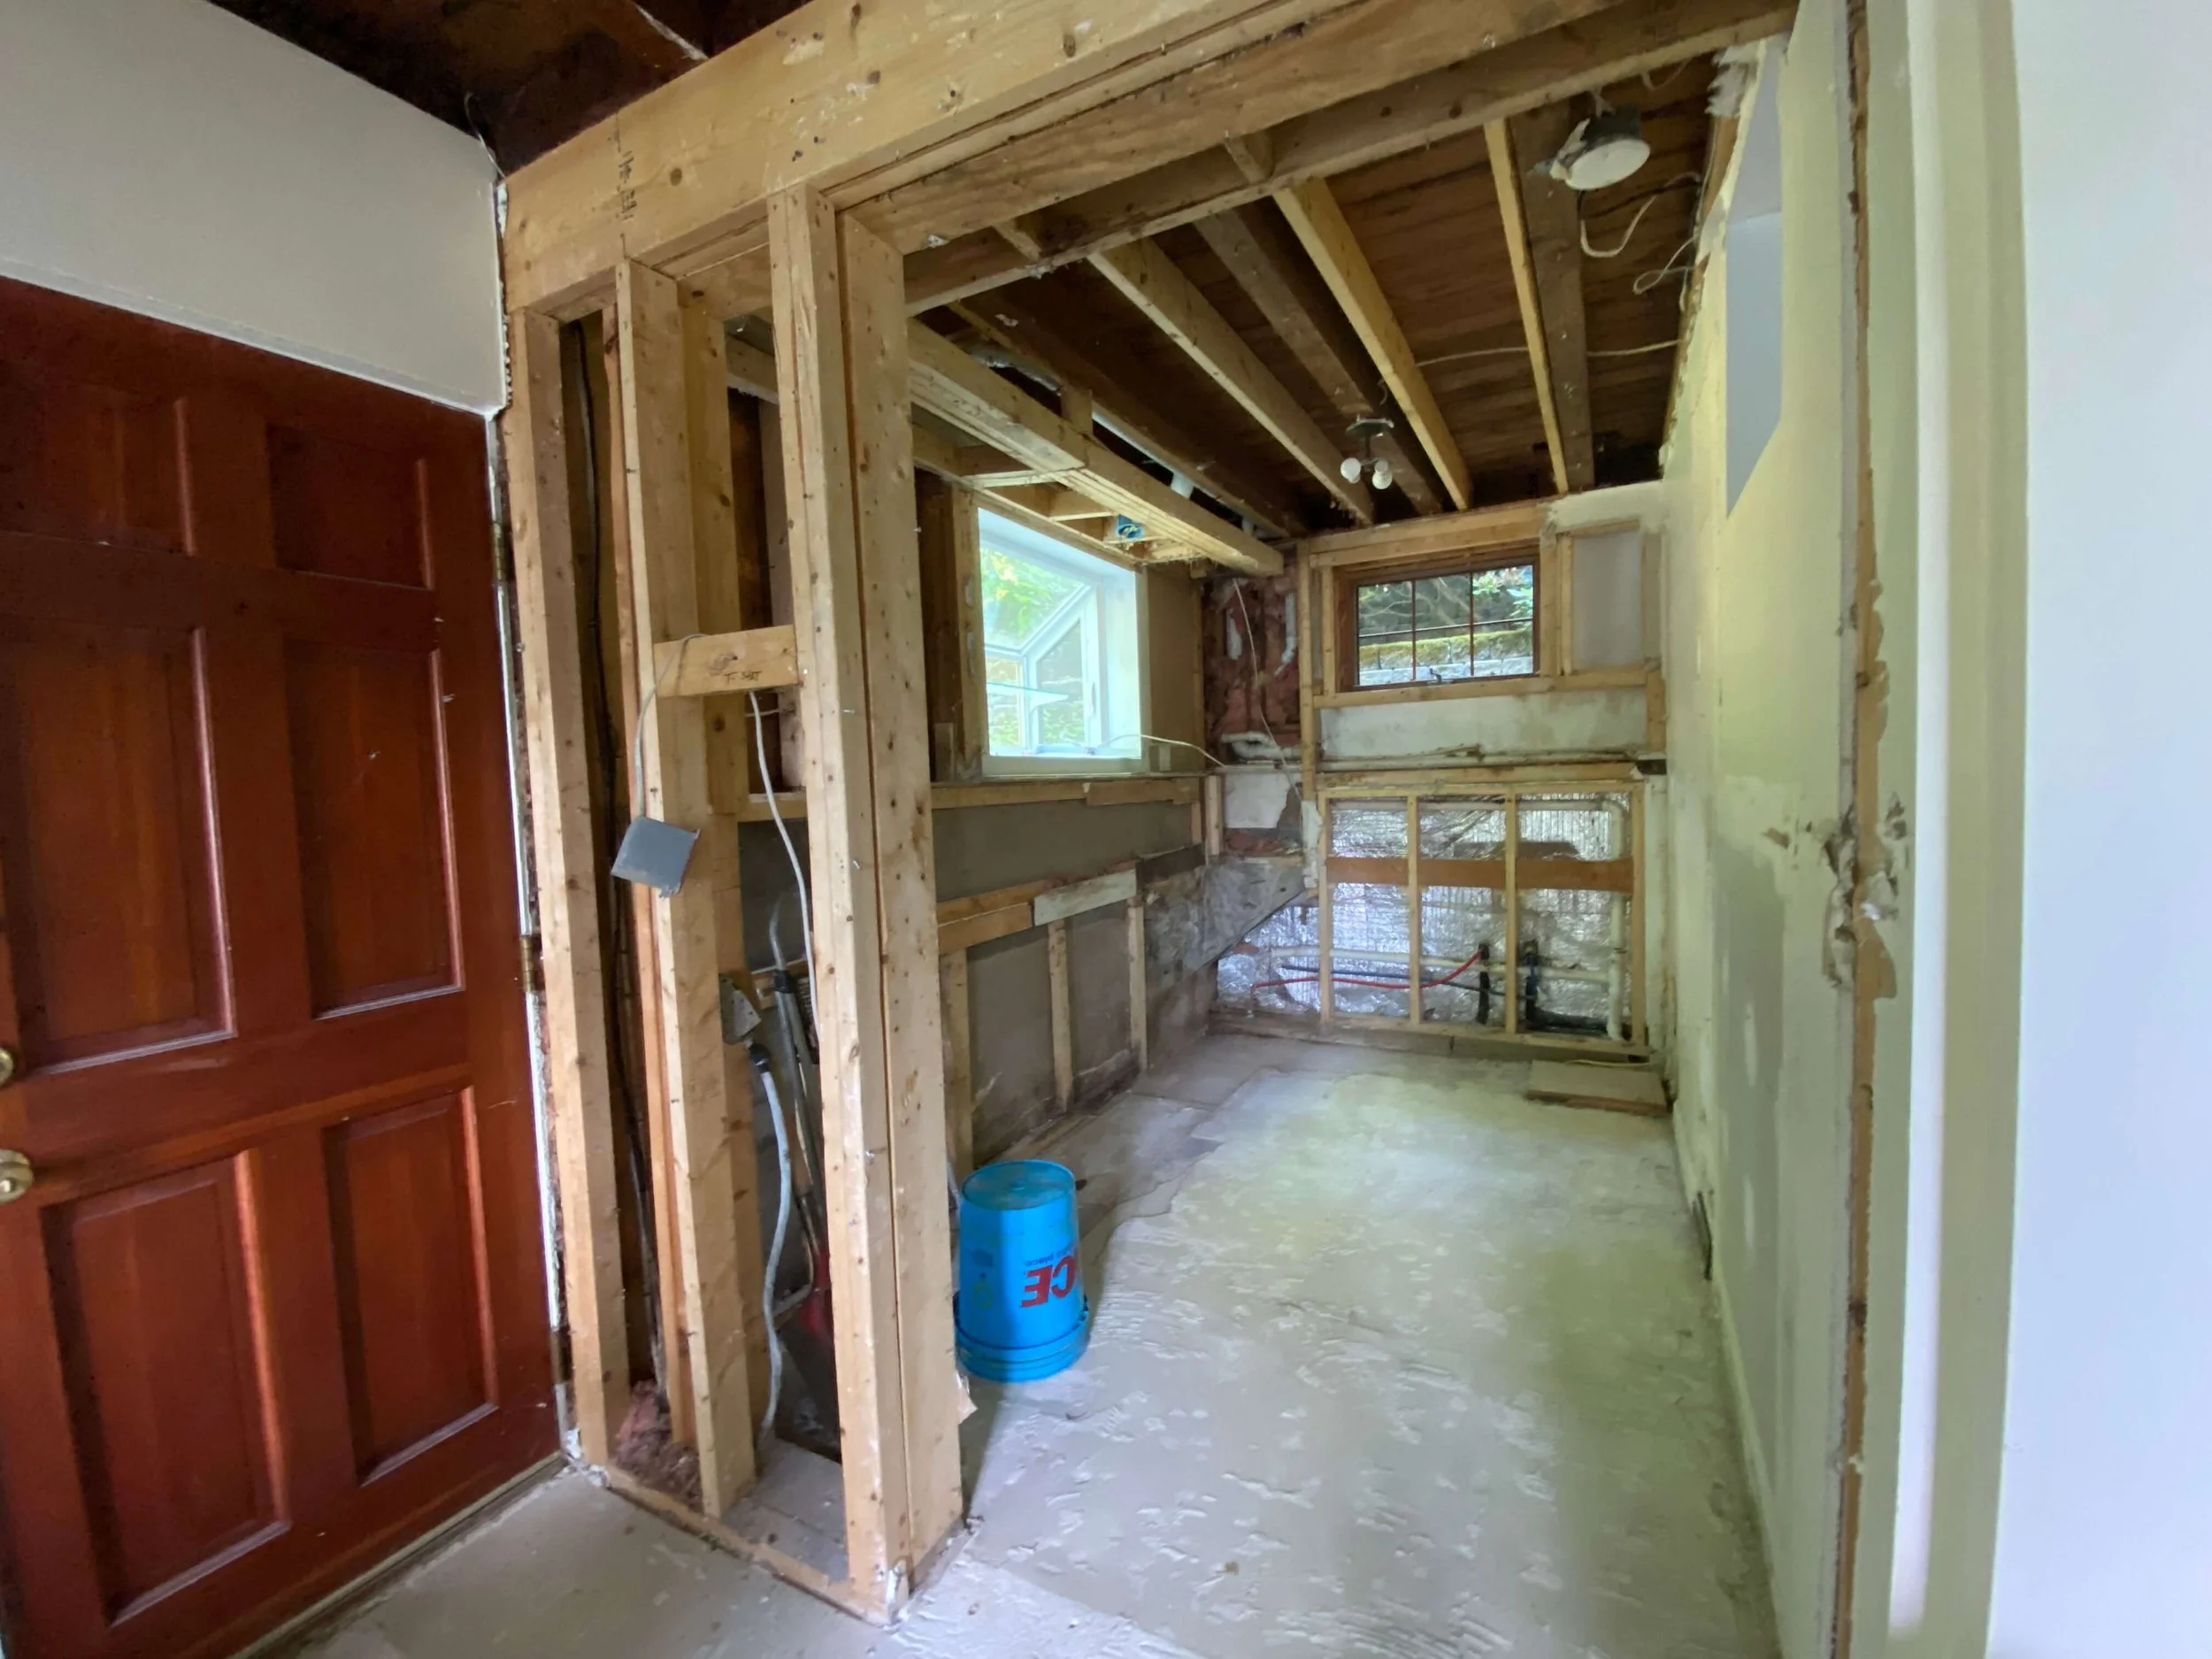
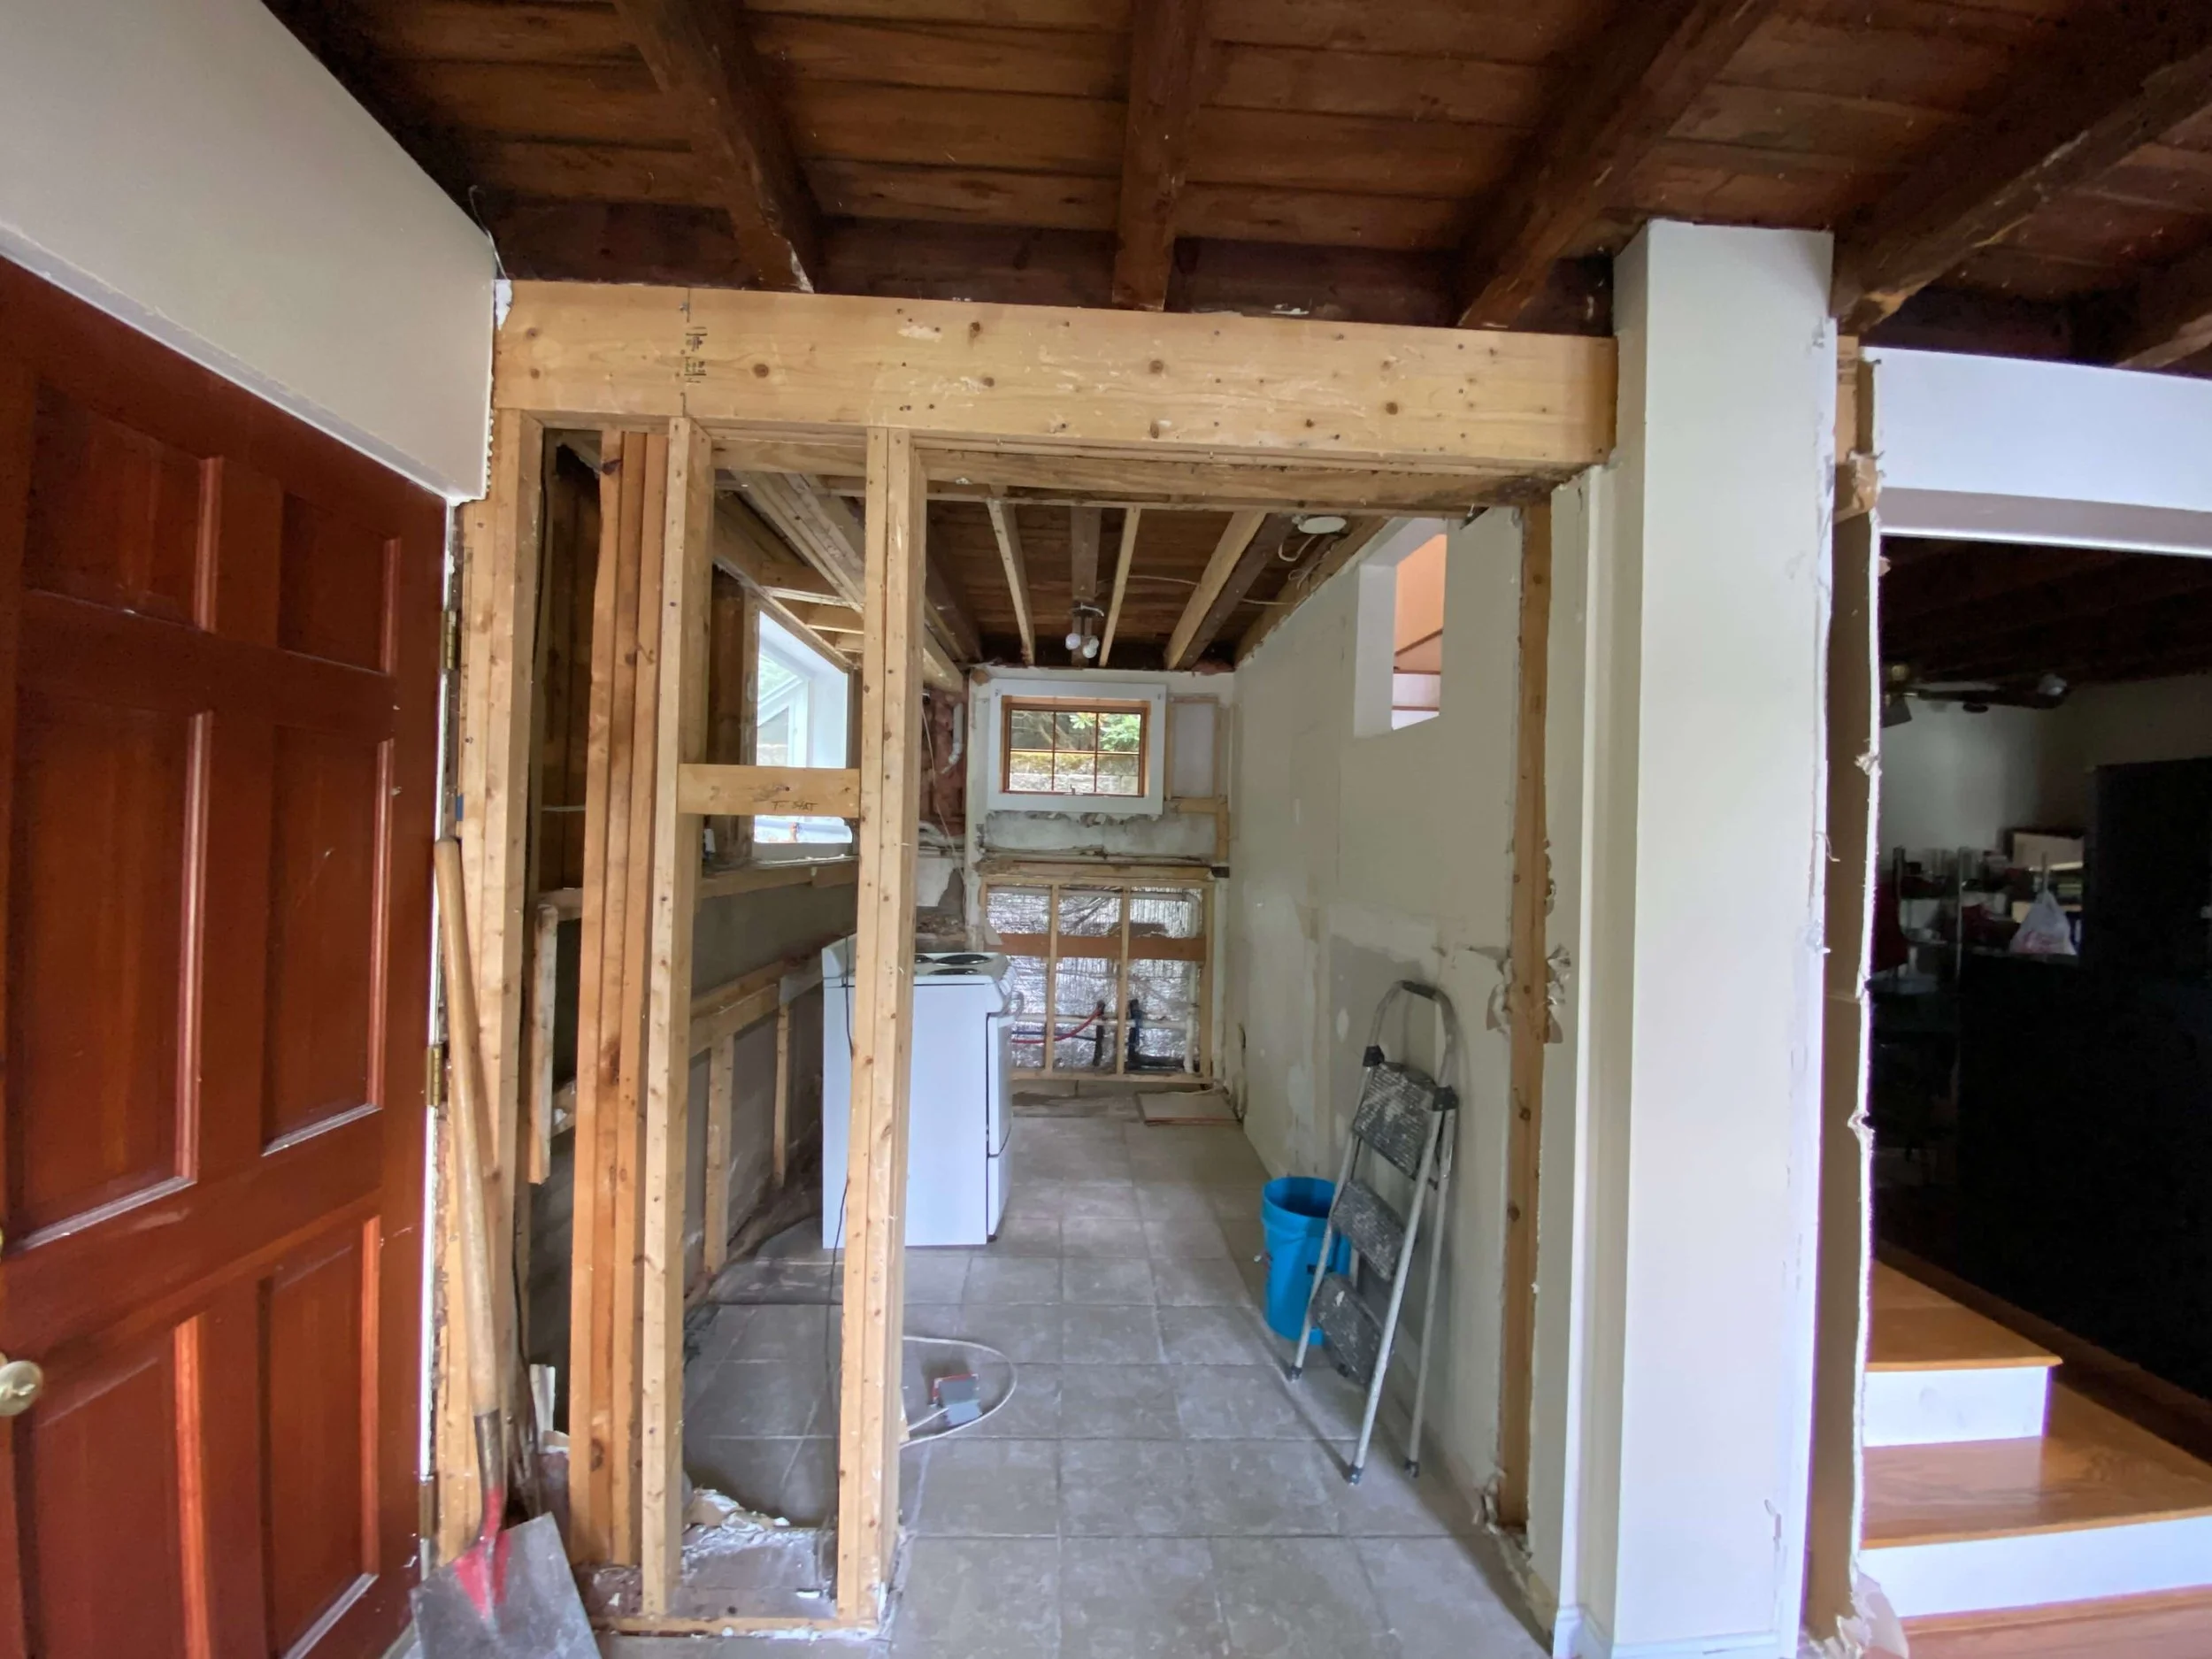
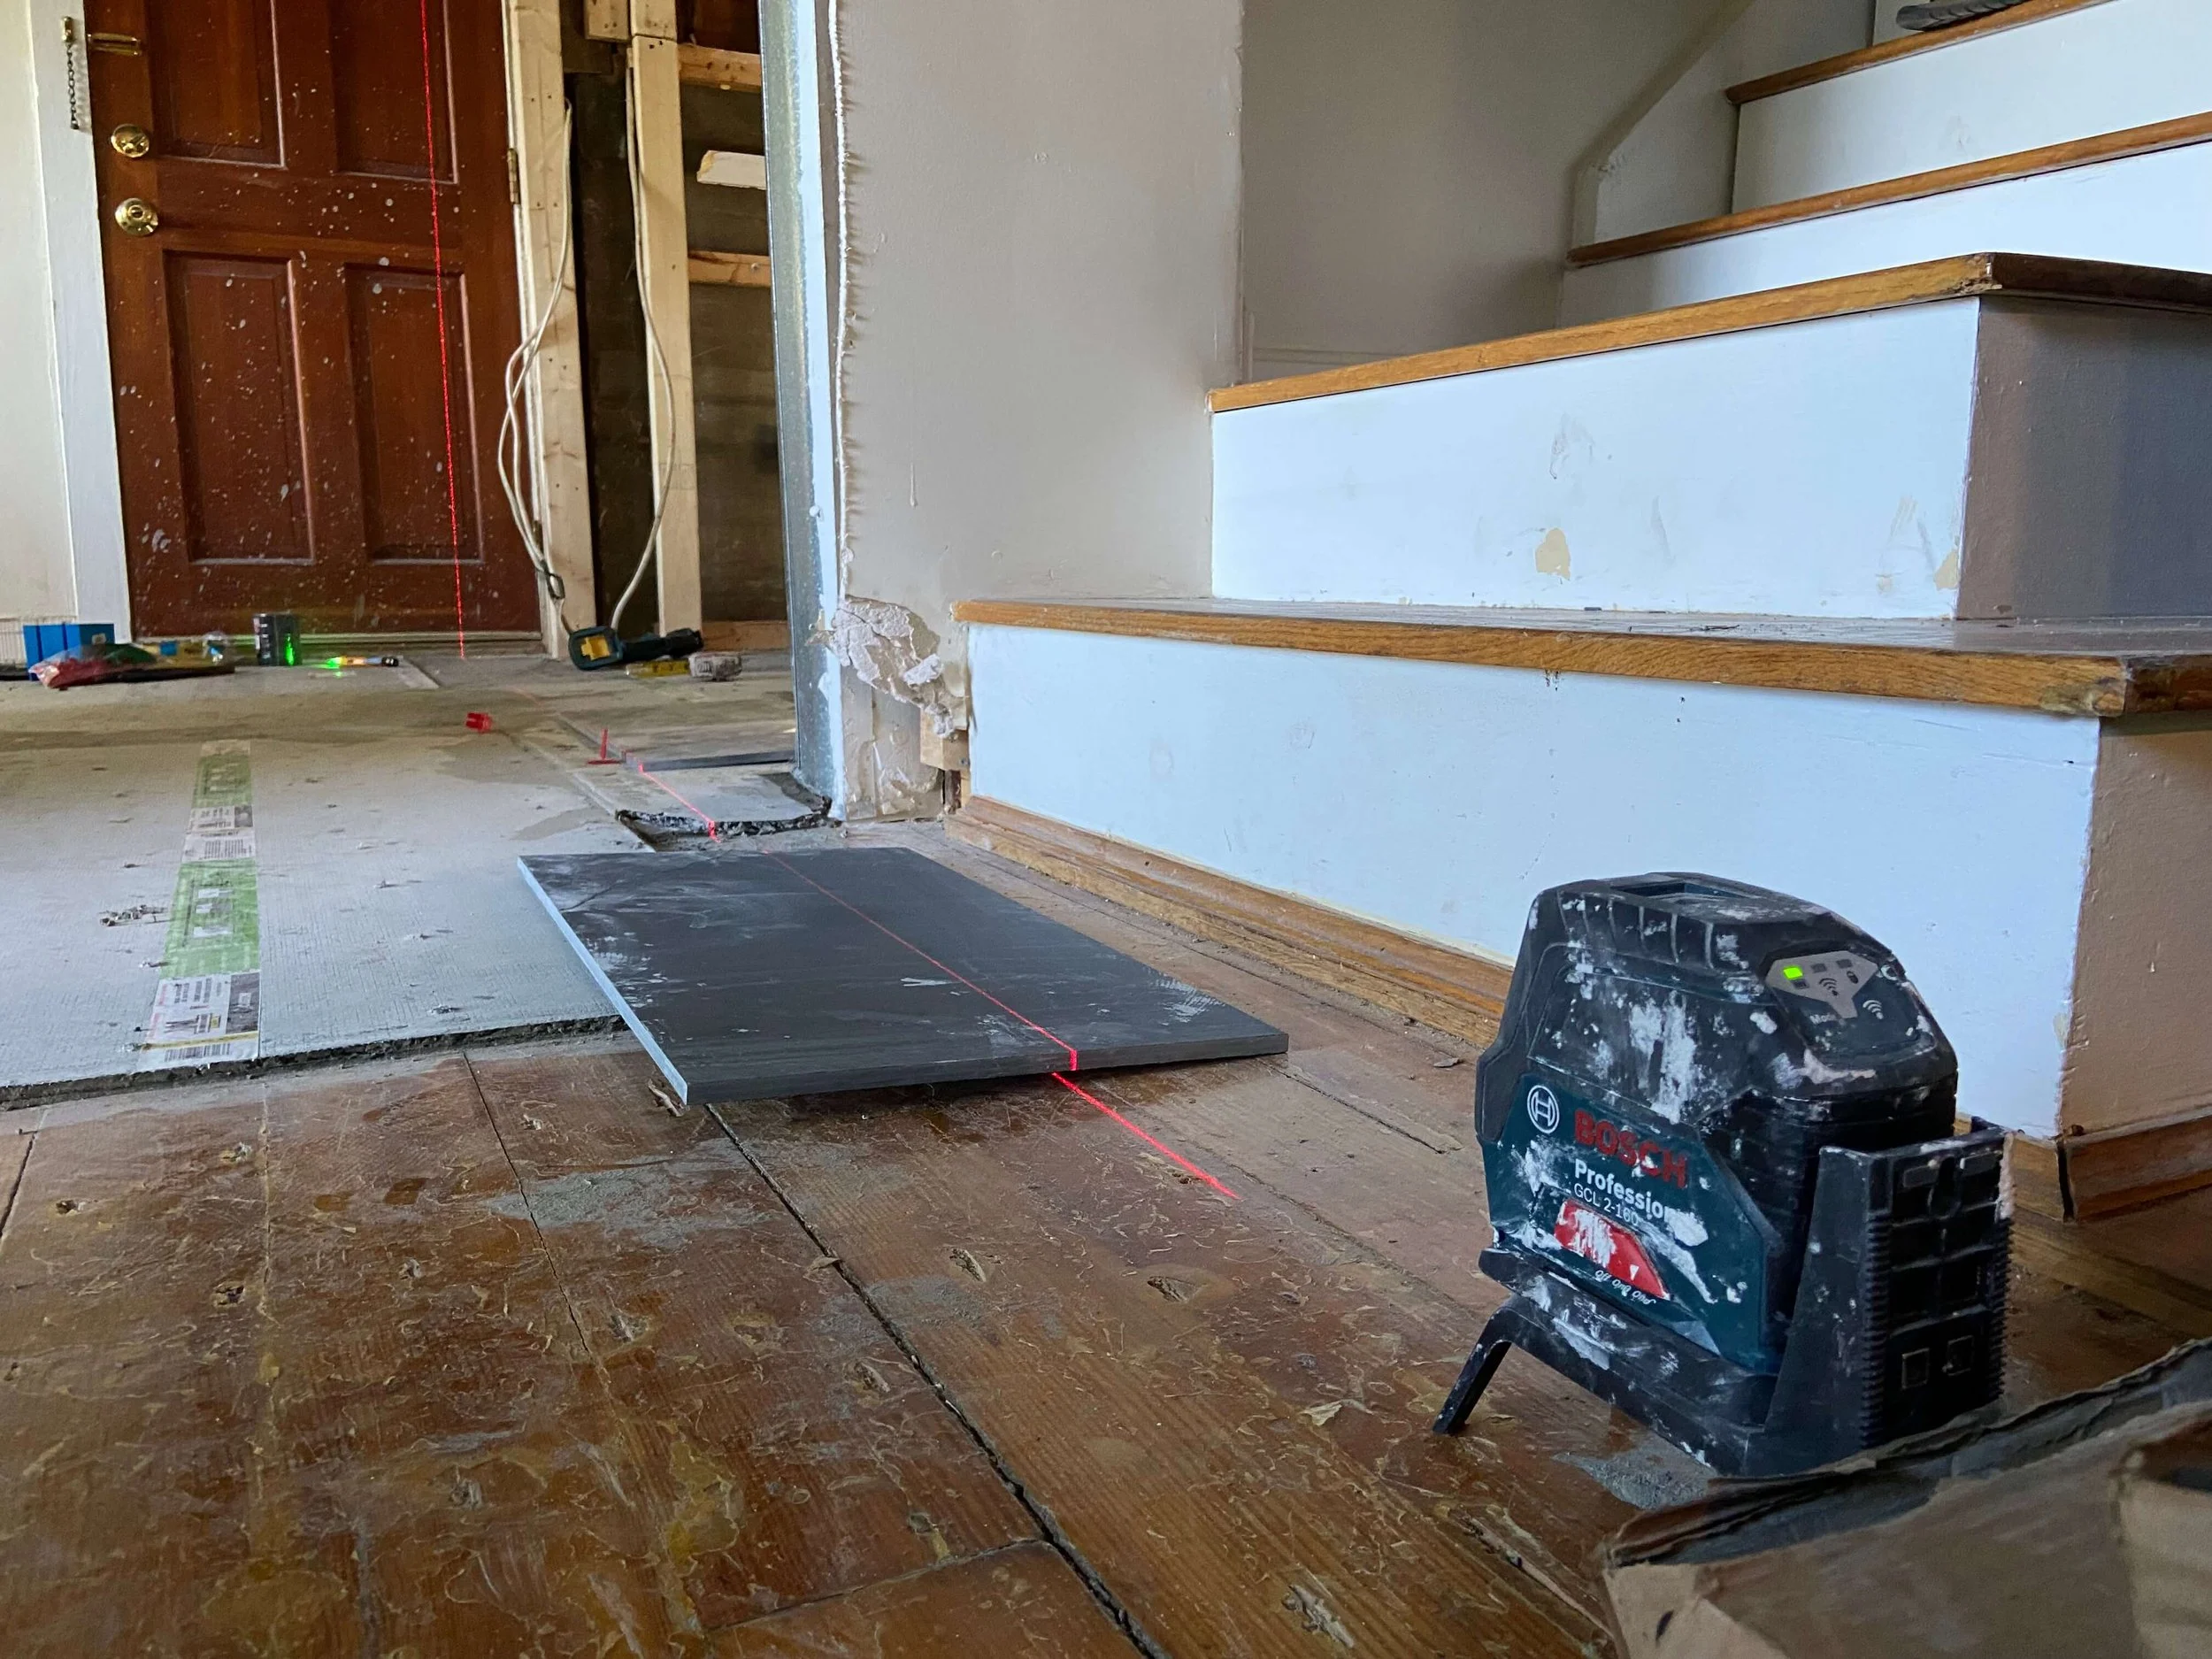
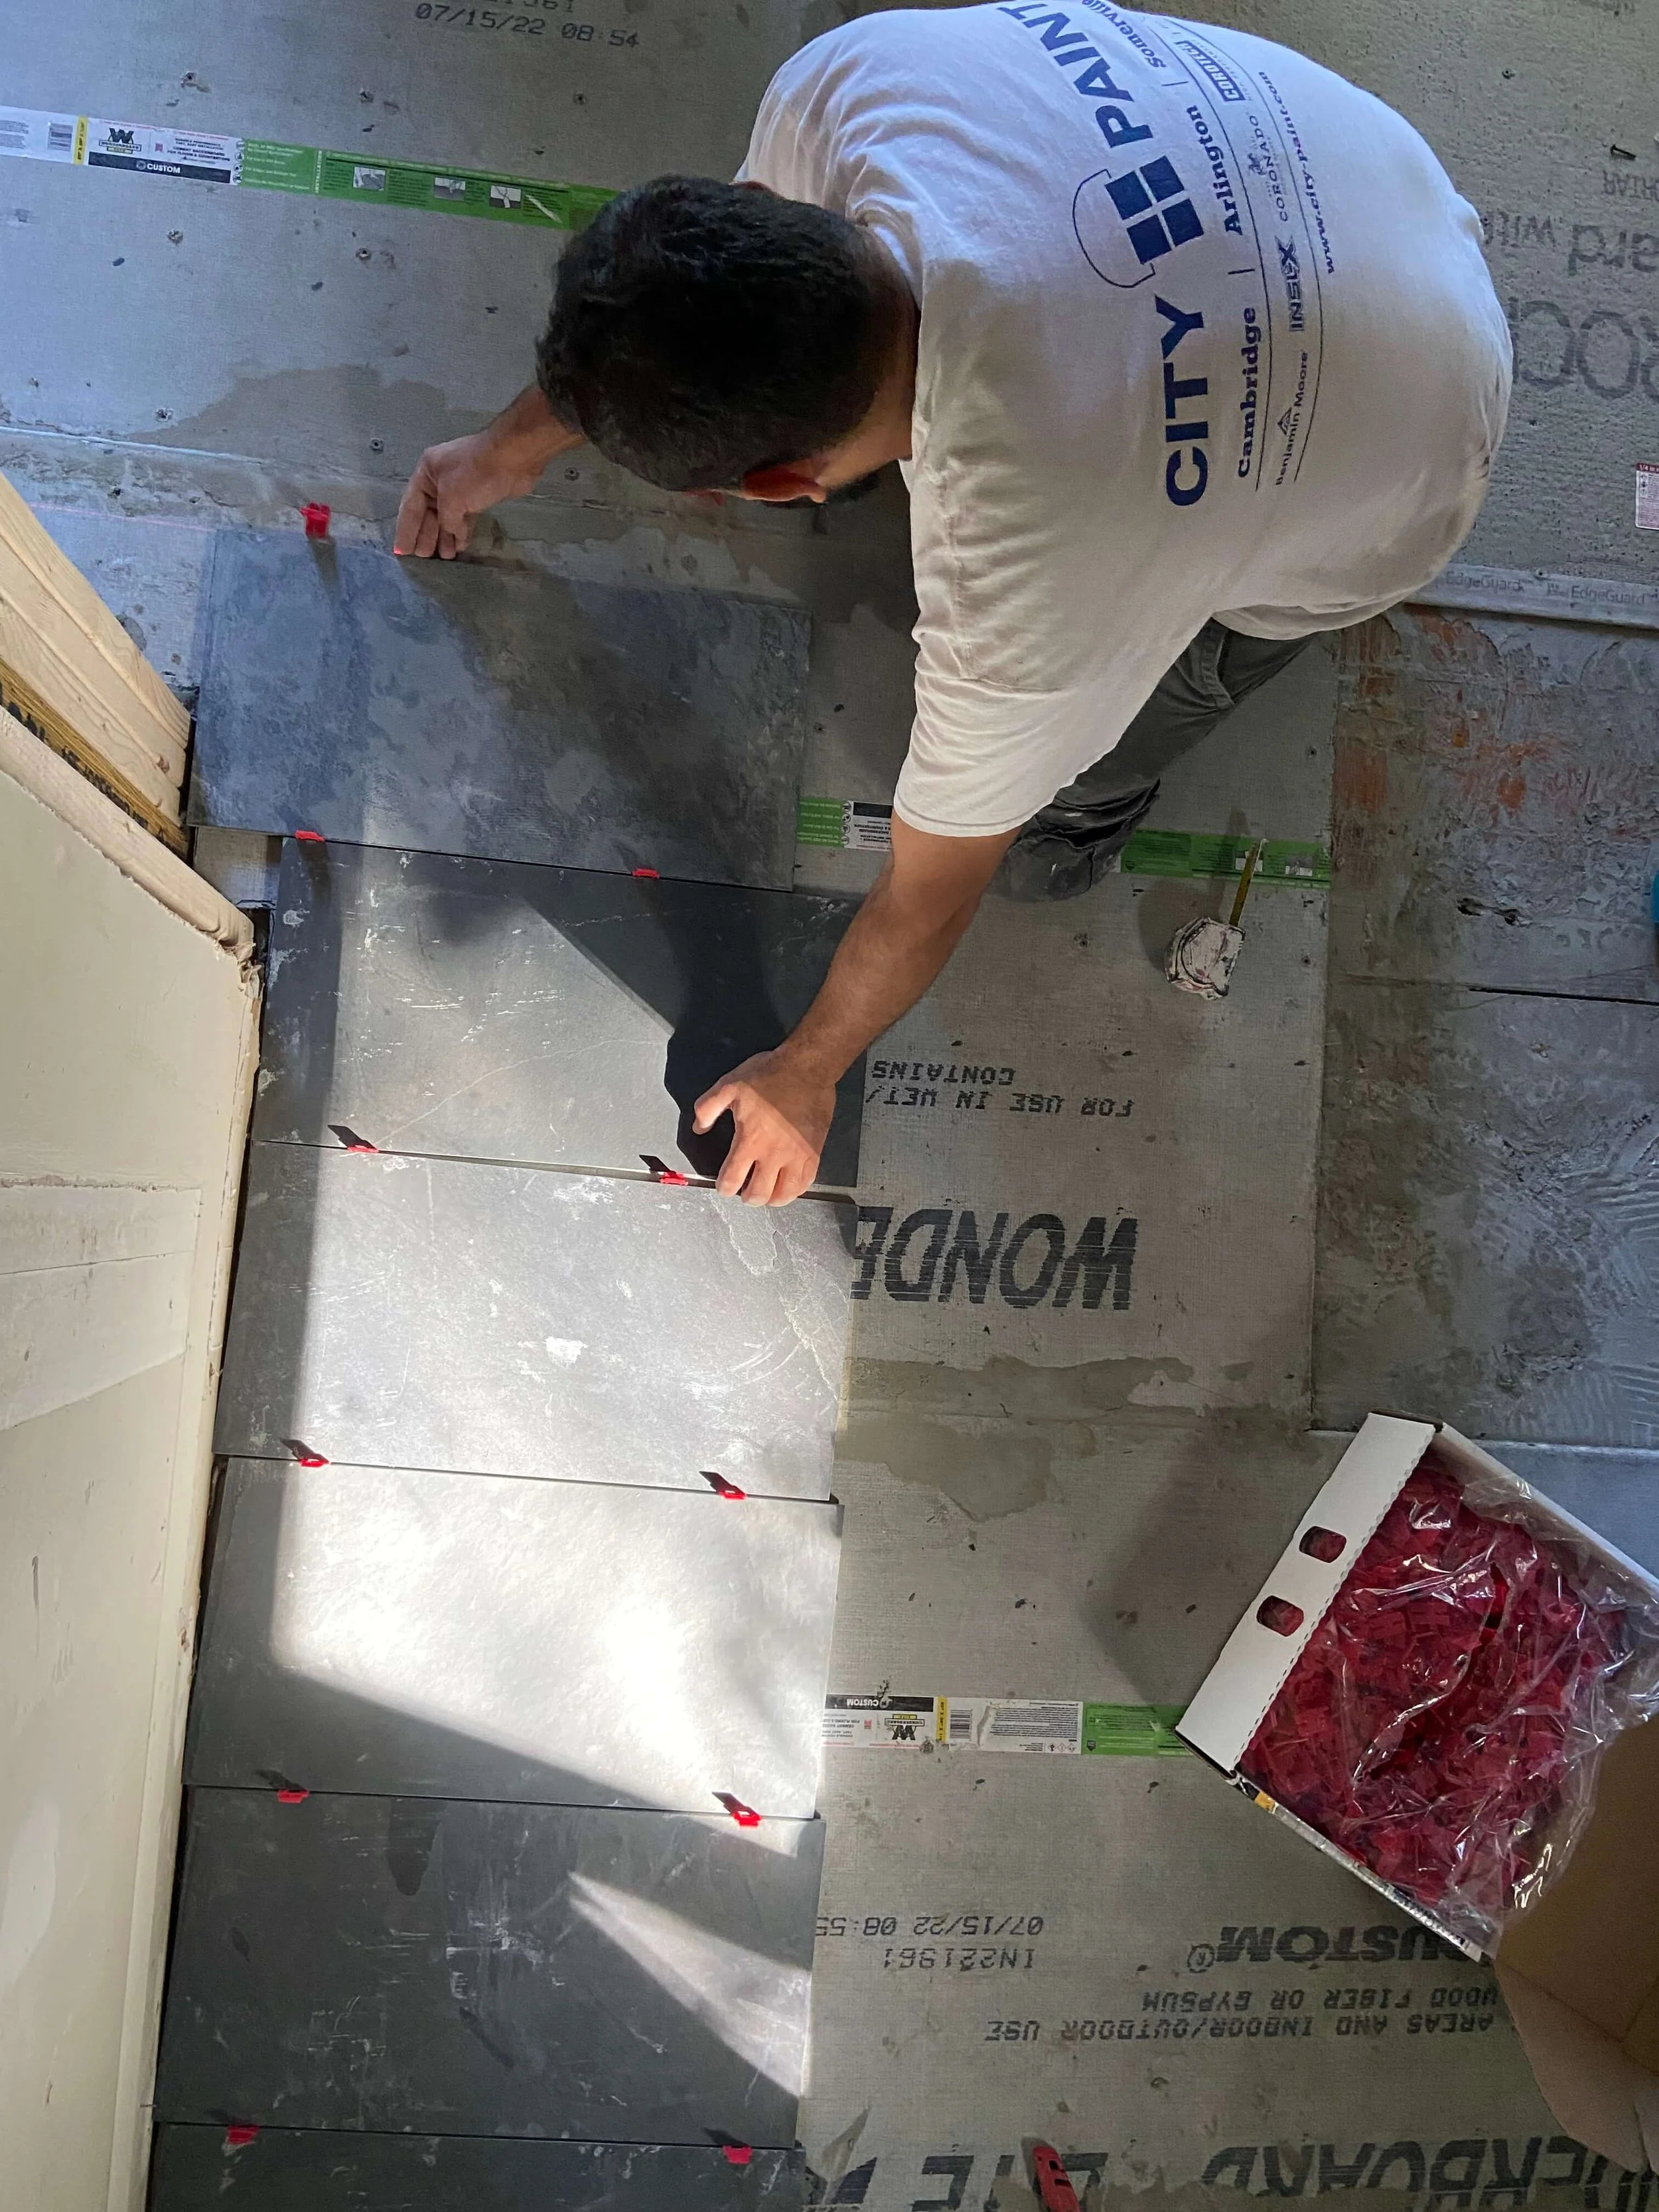
Step 7: Install new framing, rough plumbing, rough electrical (and flooring).
Here’s when rotted frame gets replaced, new plumbing lines are installed and new electrical wires are run.
Depending on the type of flooring that you’ve planned, it could be installed while plumbing and electrical works are being done because these take time.
Tiles take much longer than hardwood flooring because they are much more labor intensive and there’s a wait time to dry between the layers.
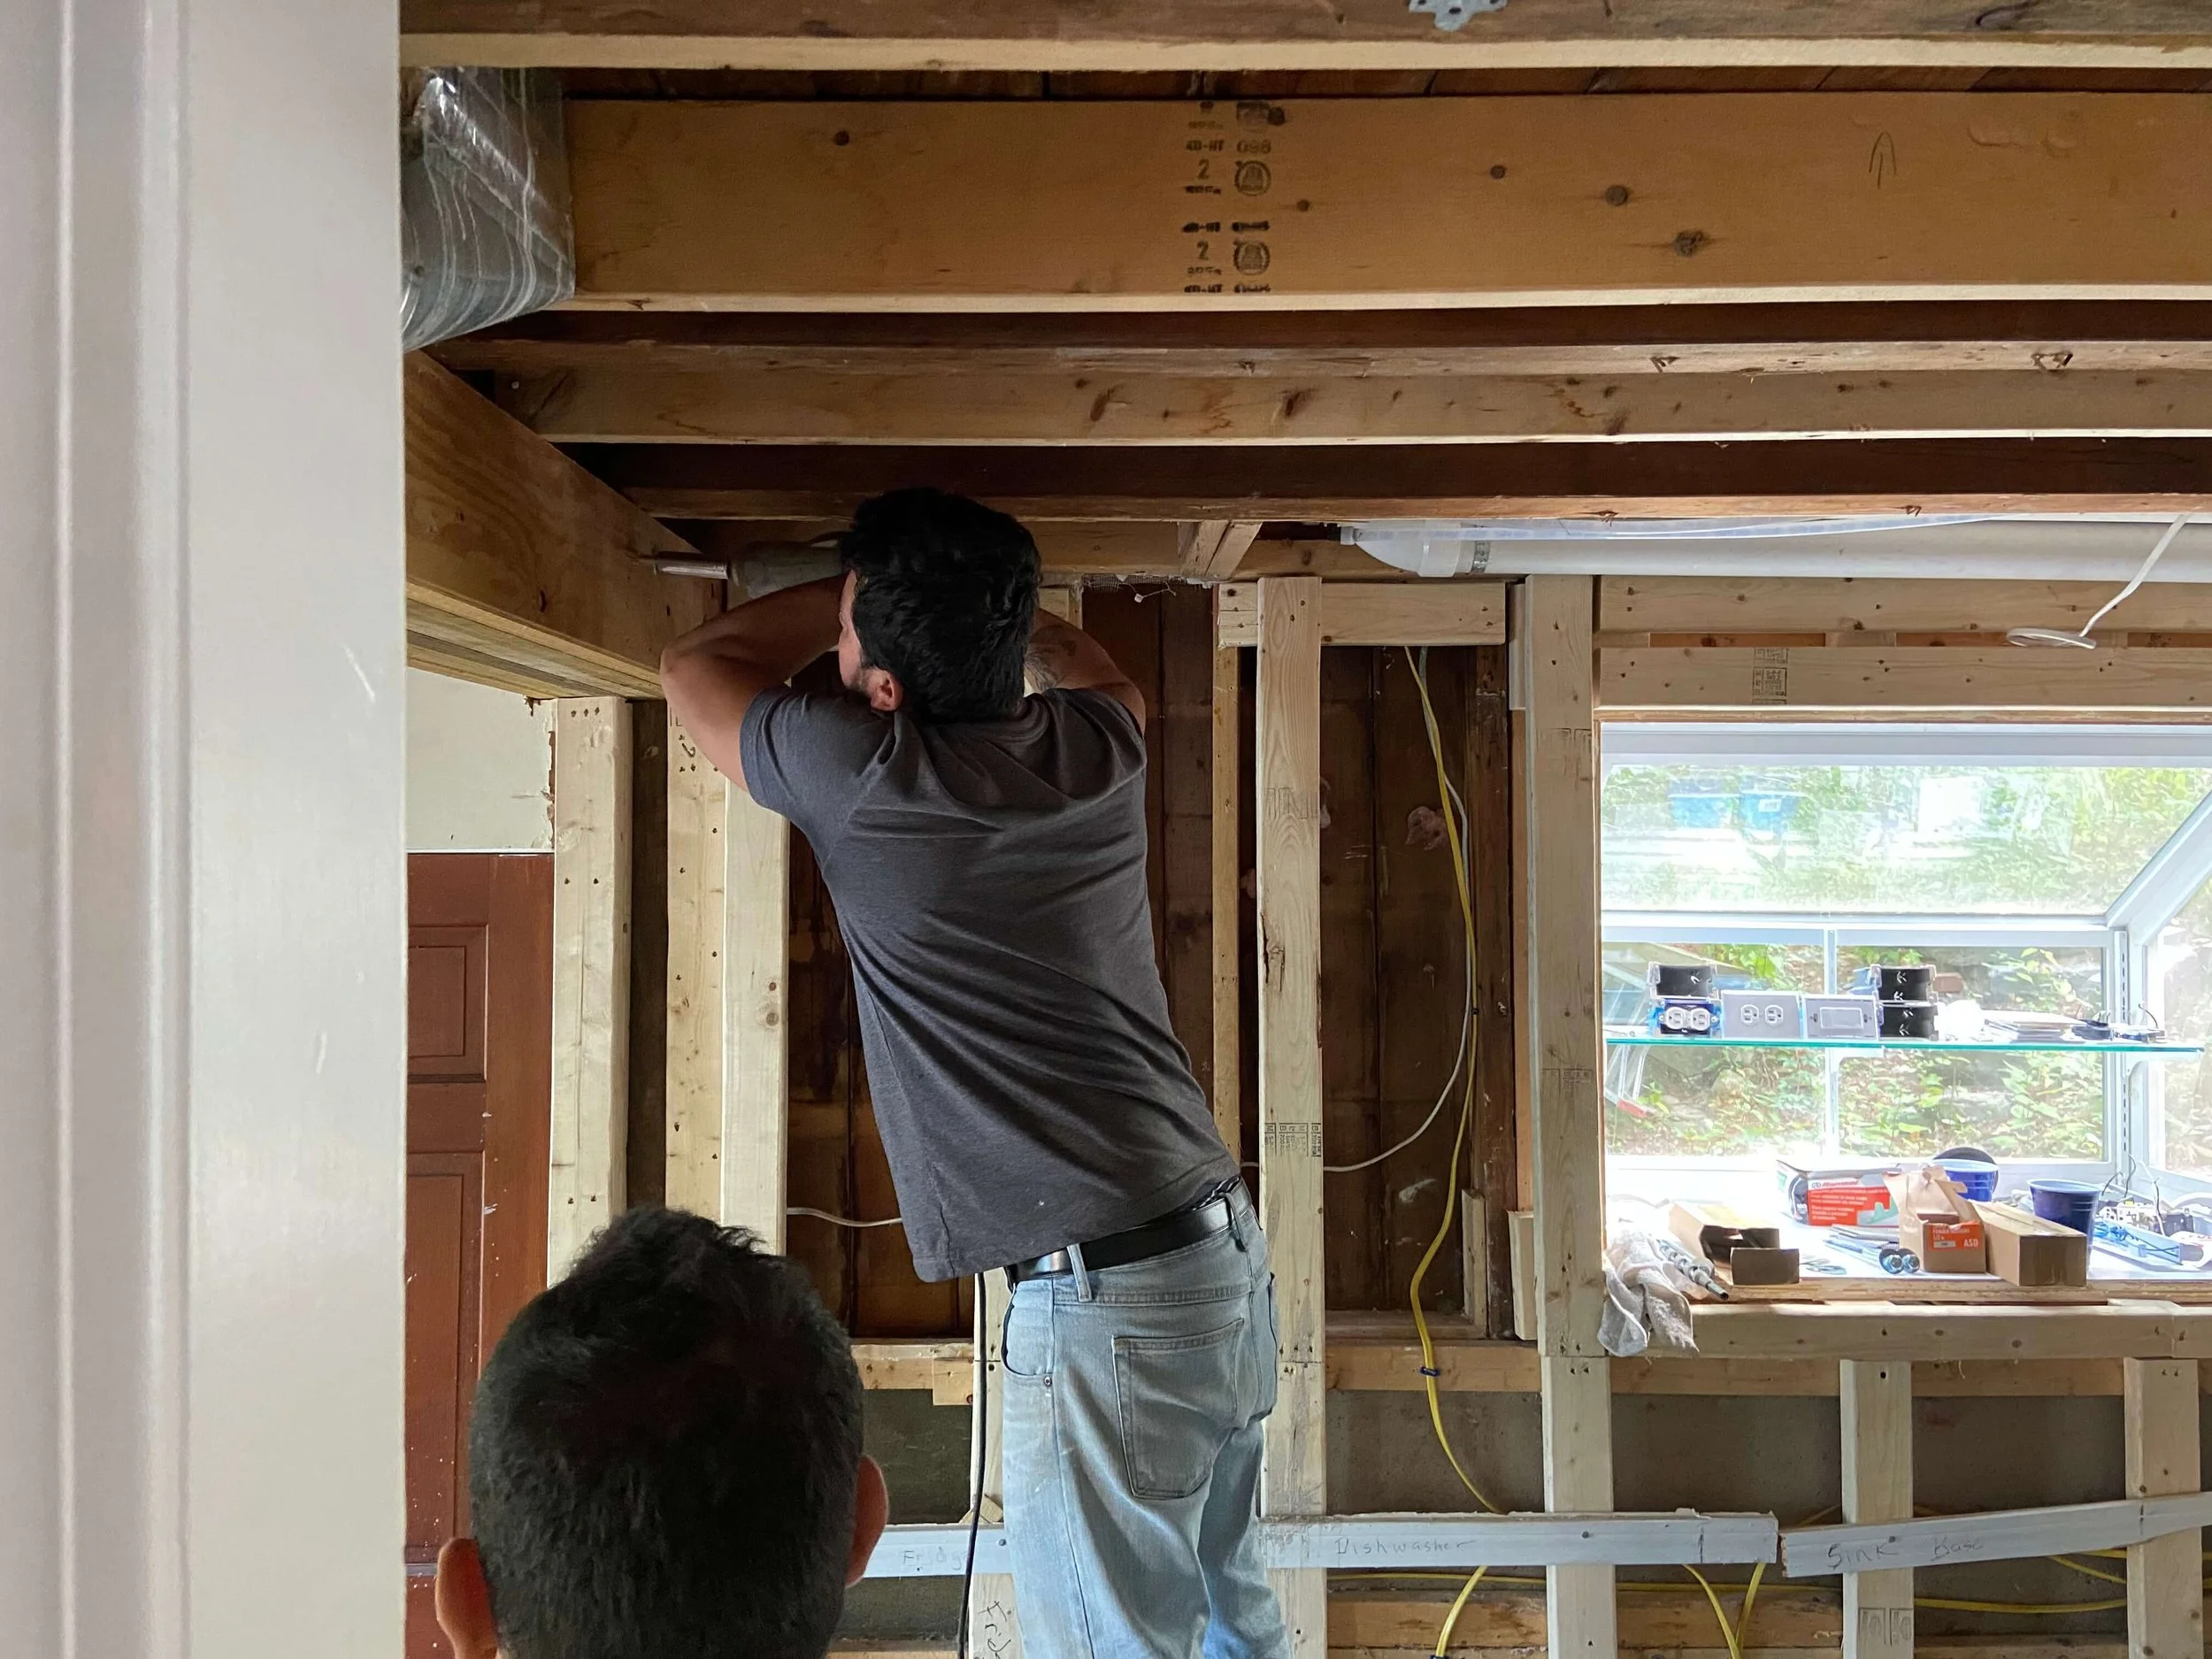
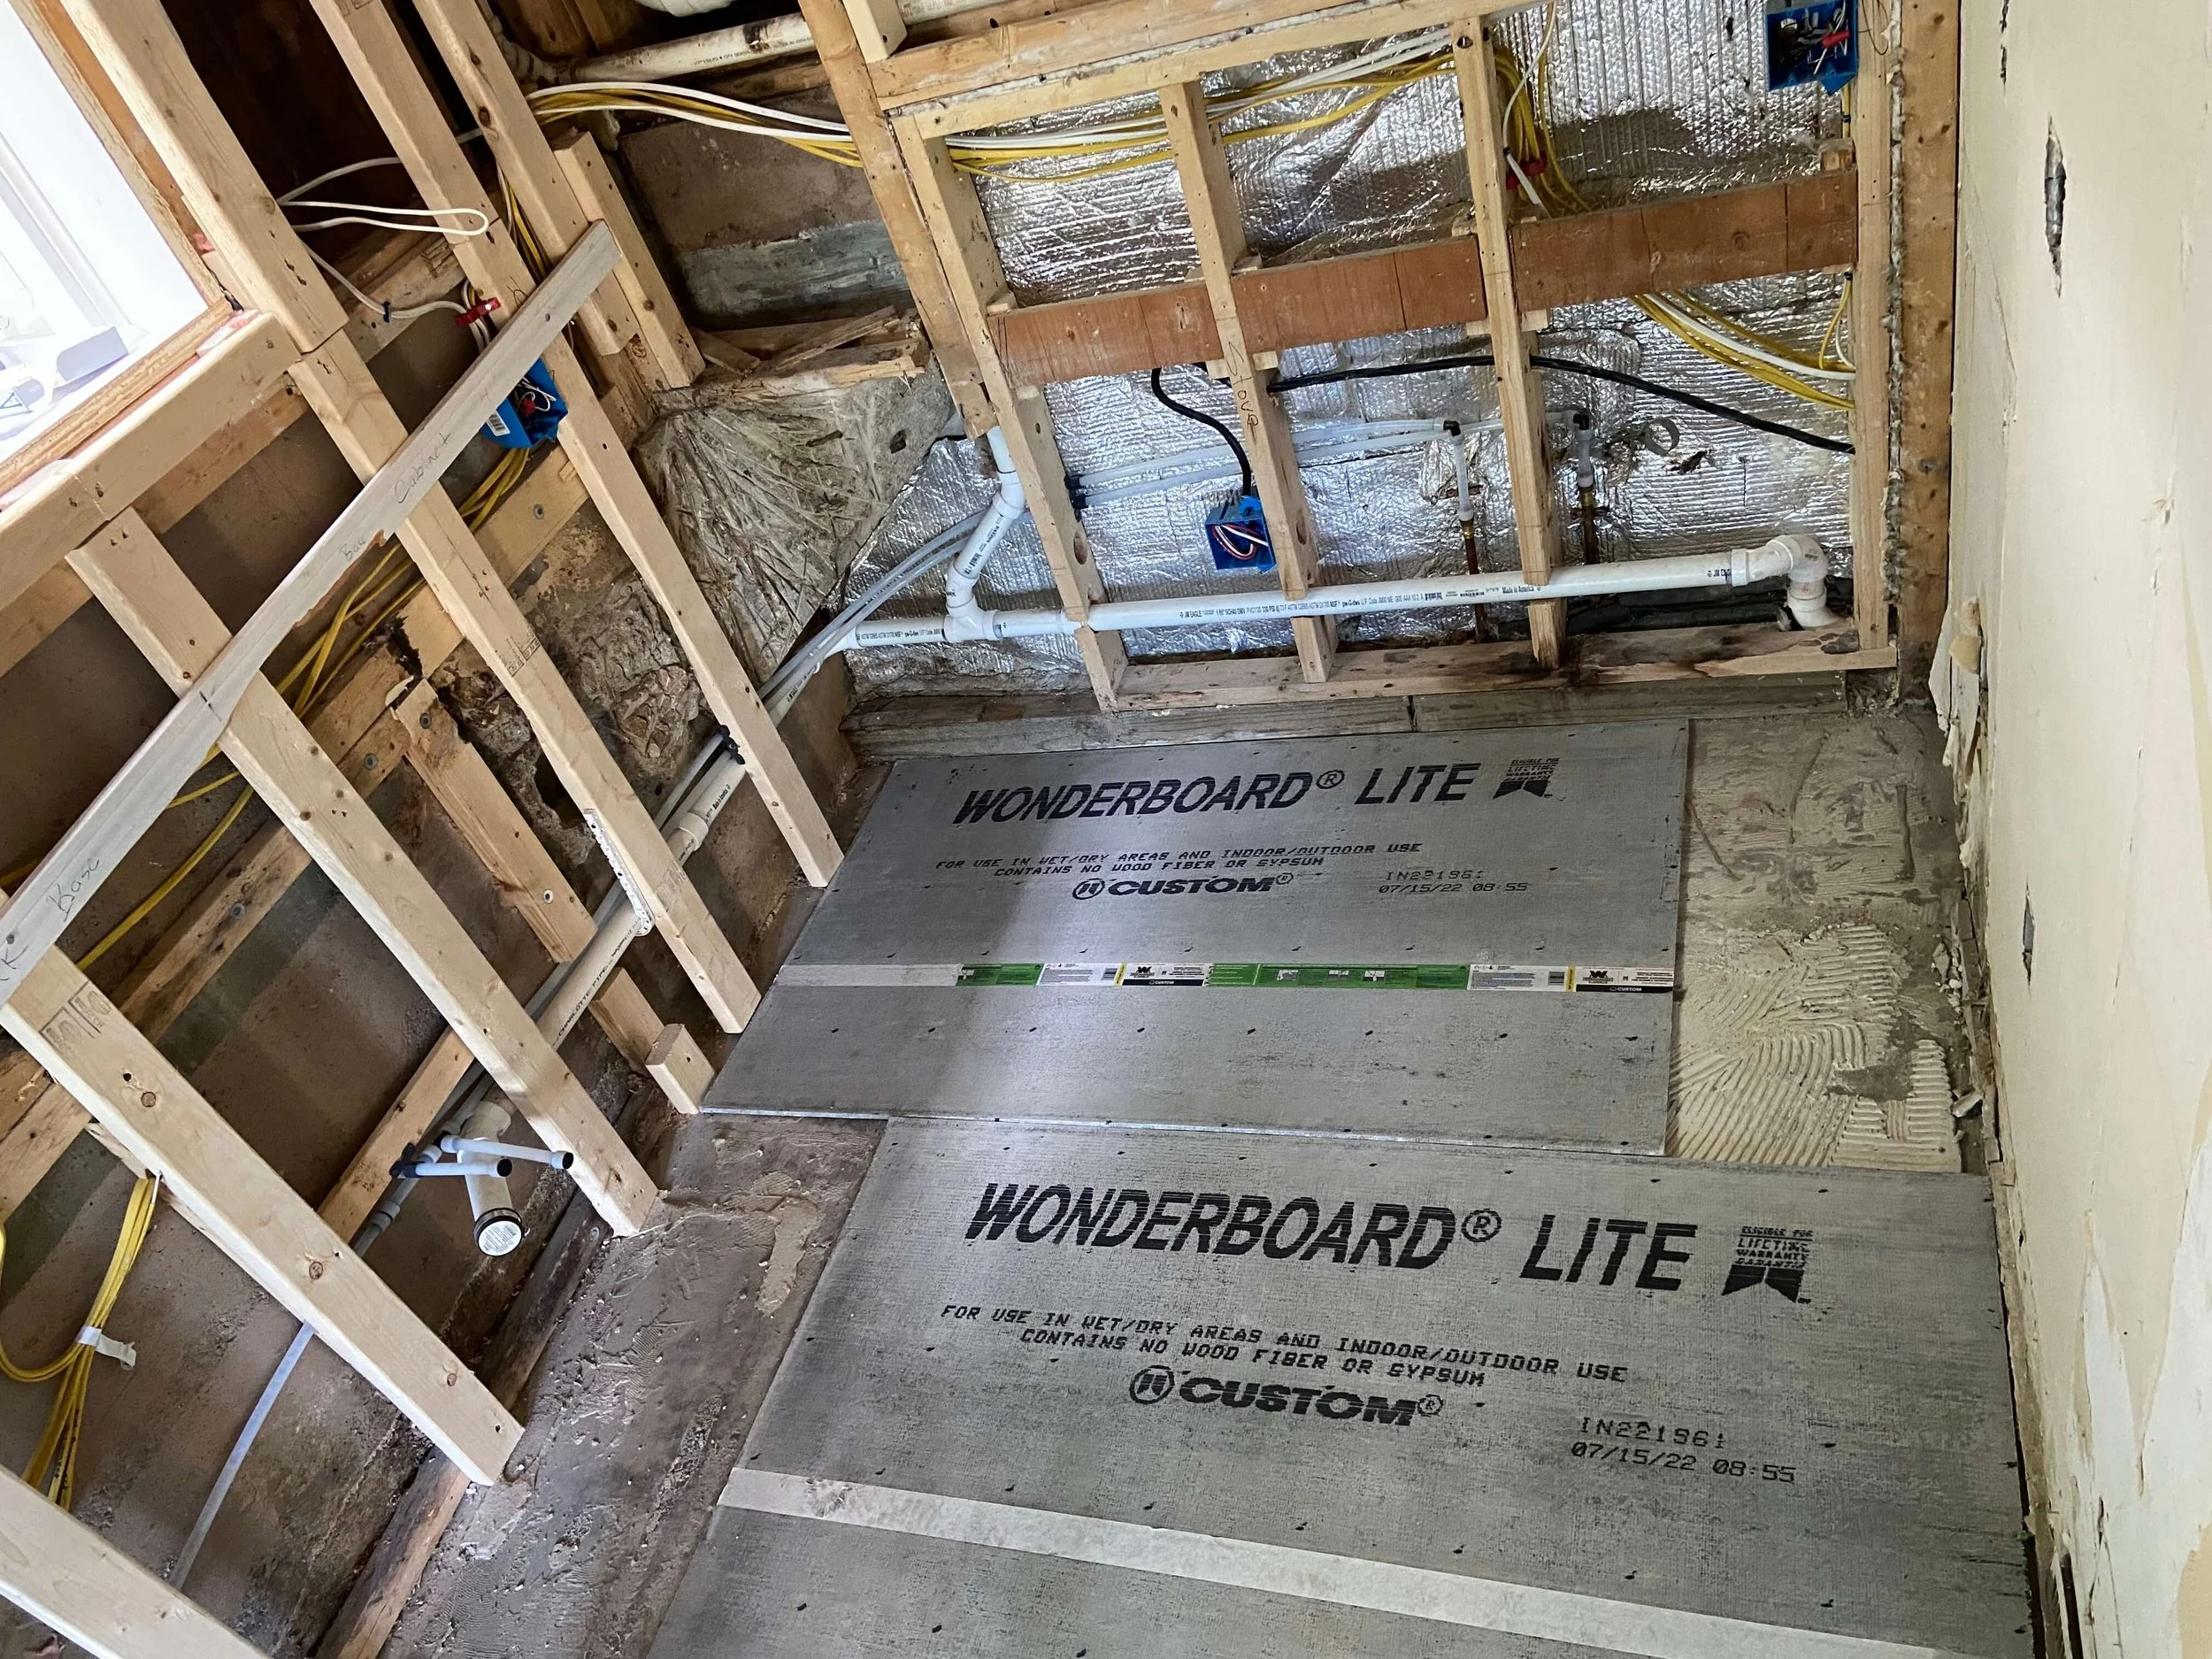
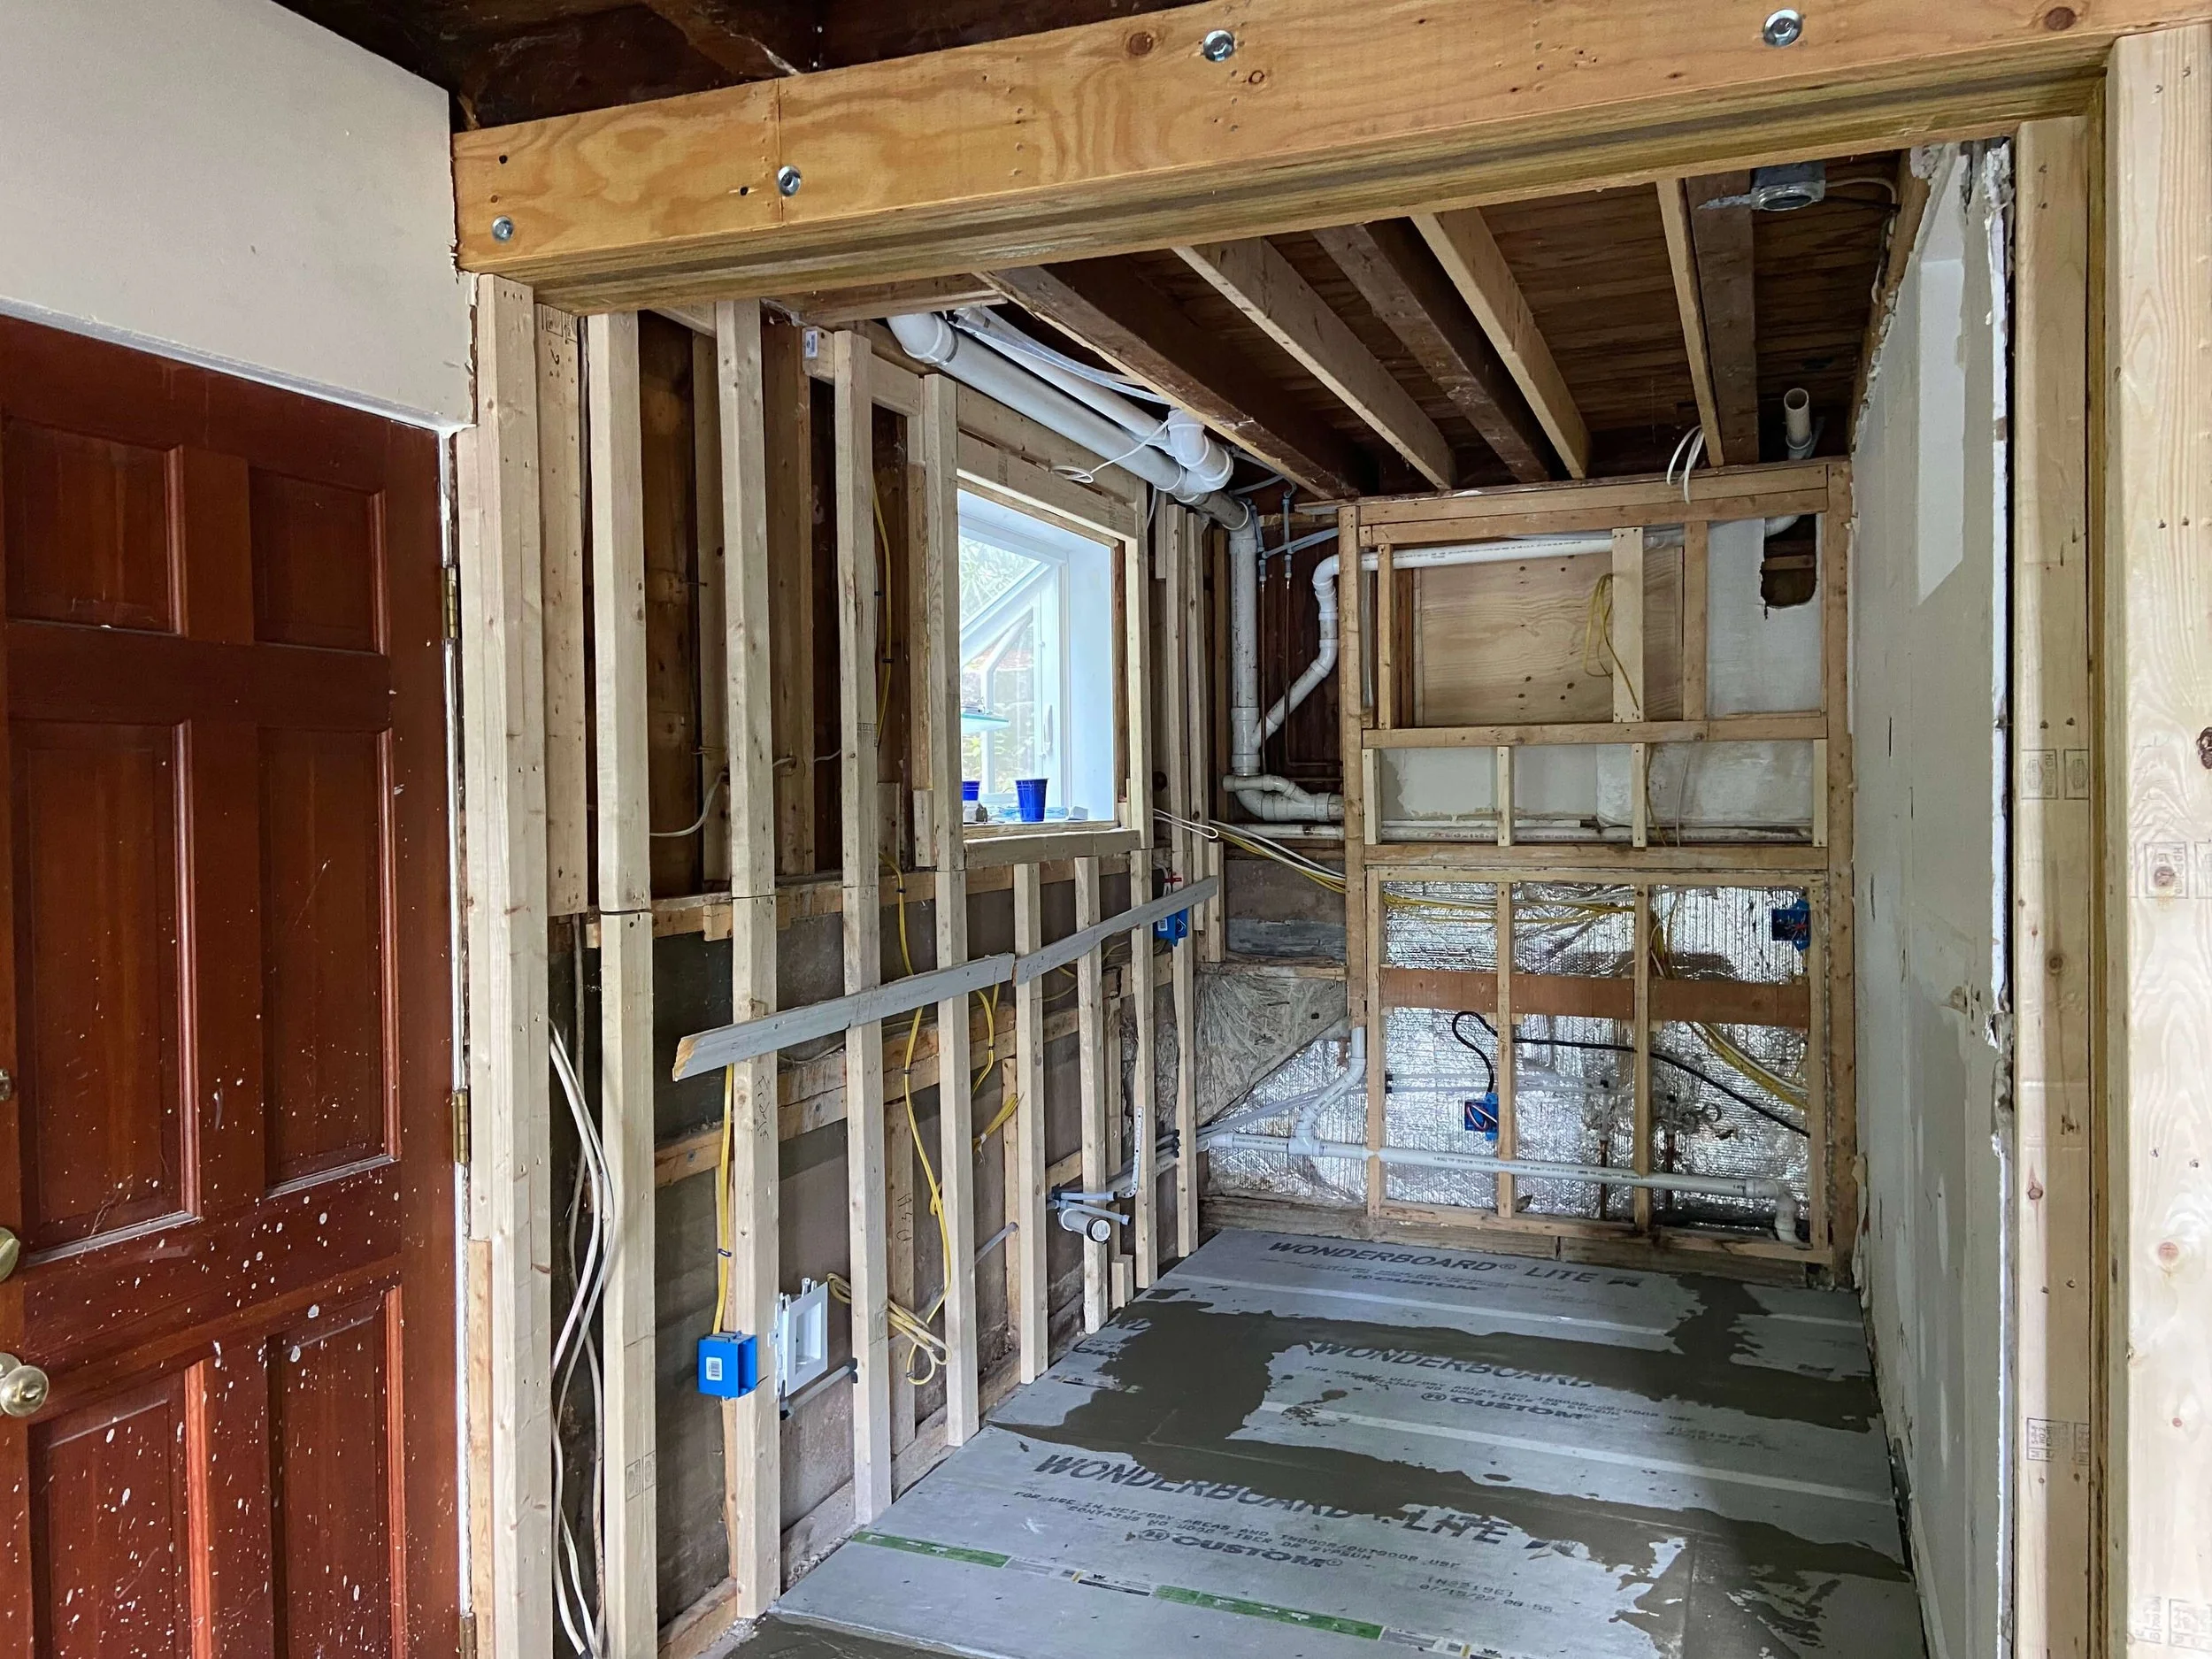
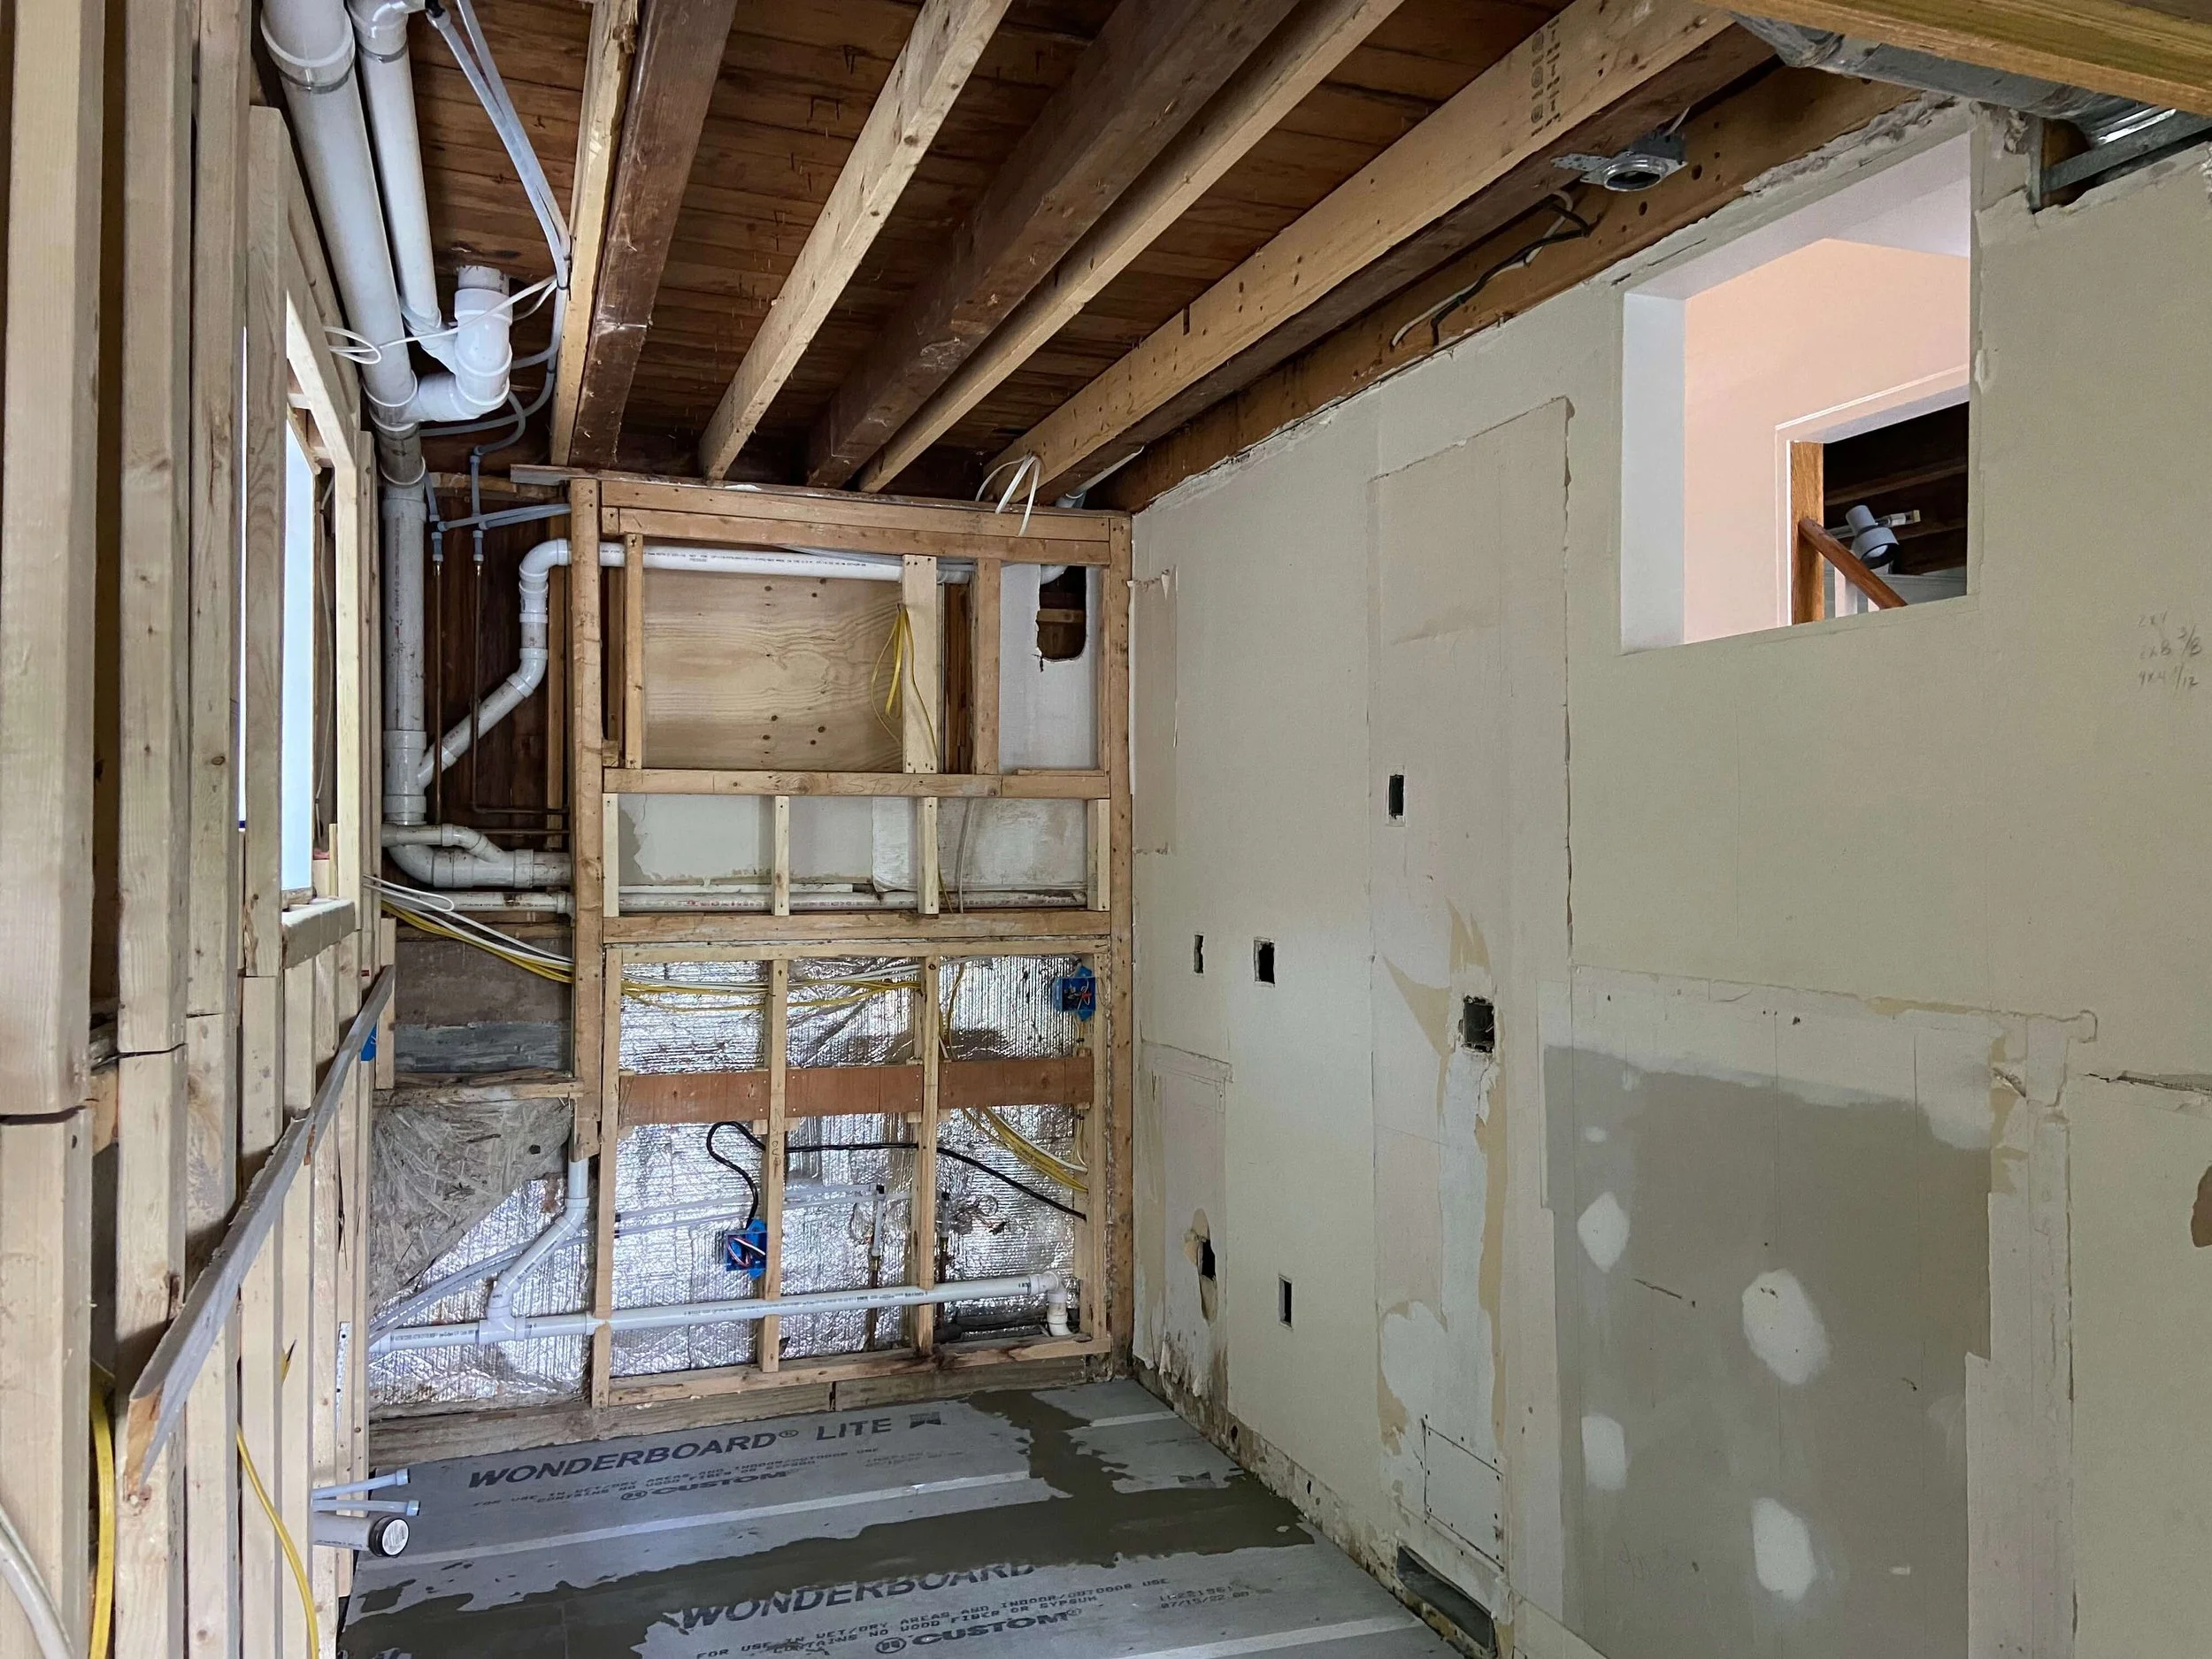
At the end of this step, the building inspector must sign off on rough plumbing and electrical work before insulation could be placed.
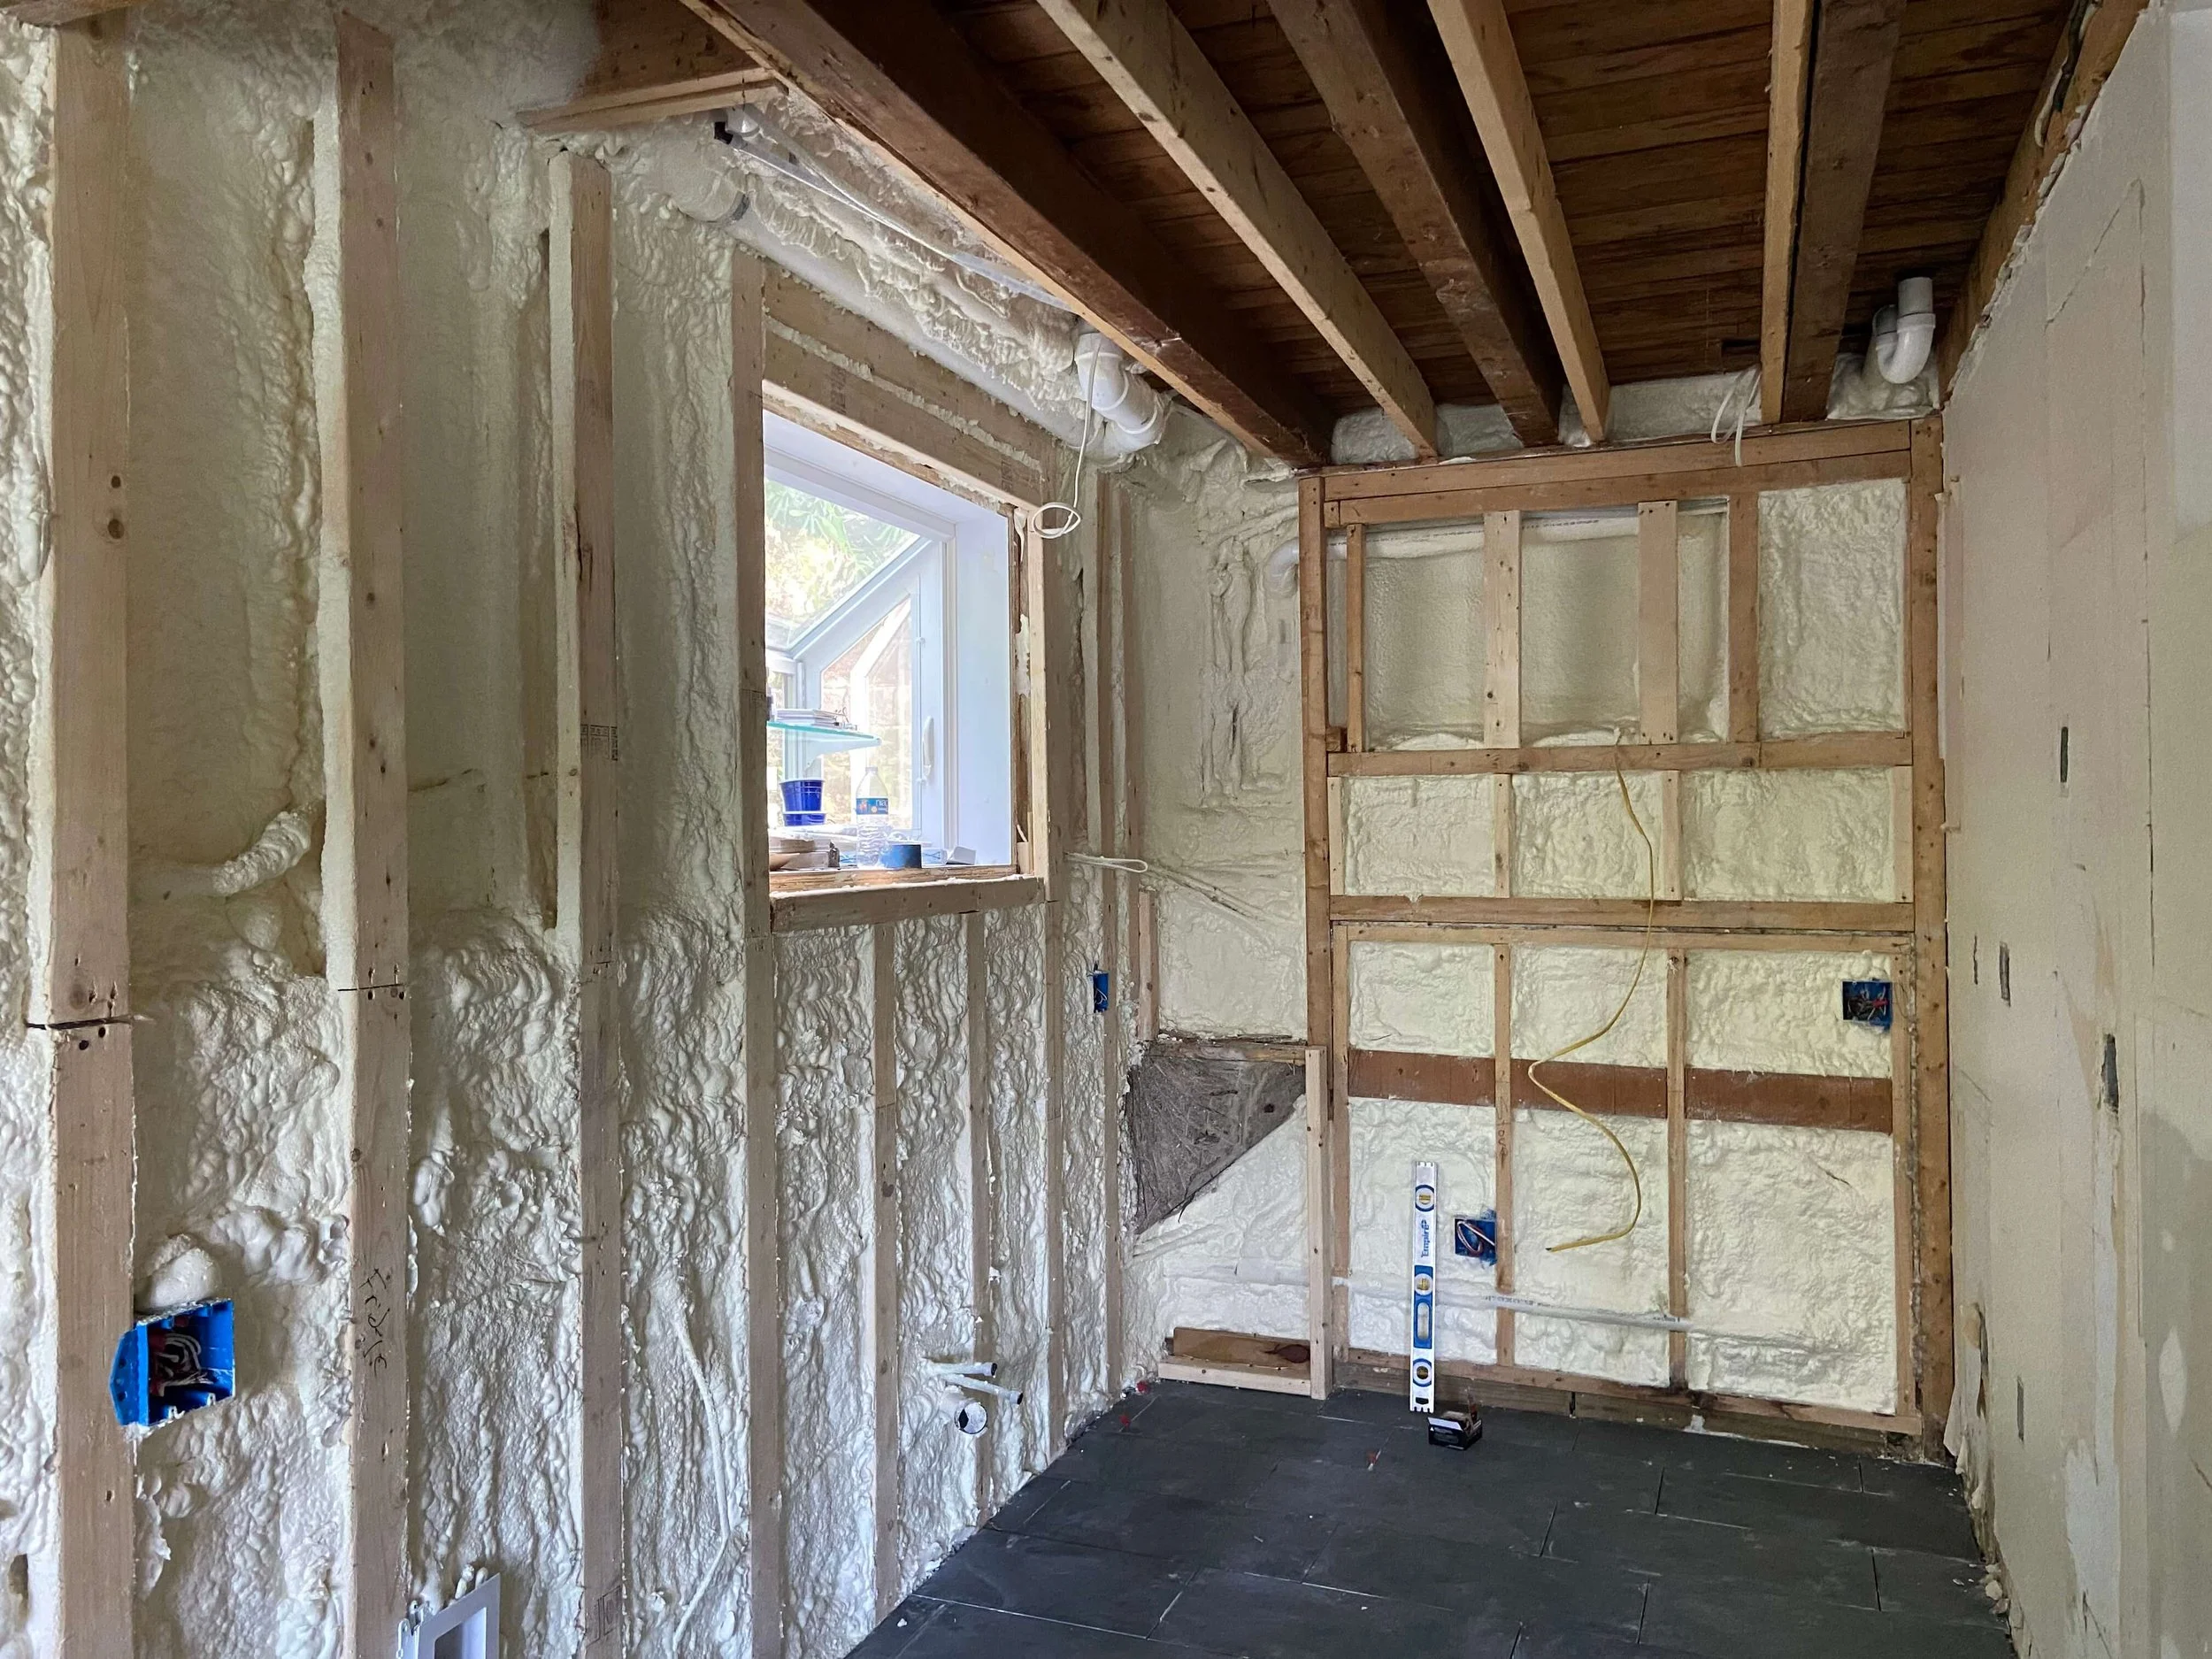
Step 8: Insulate
My GC opted for spray foam insulation which is great for gap coverage.
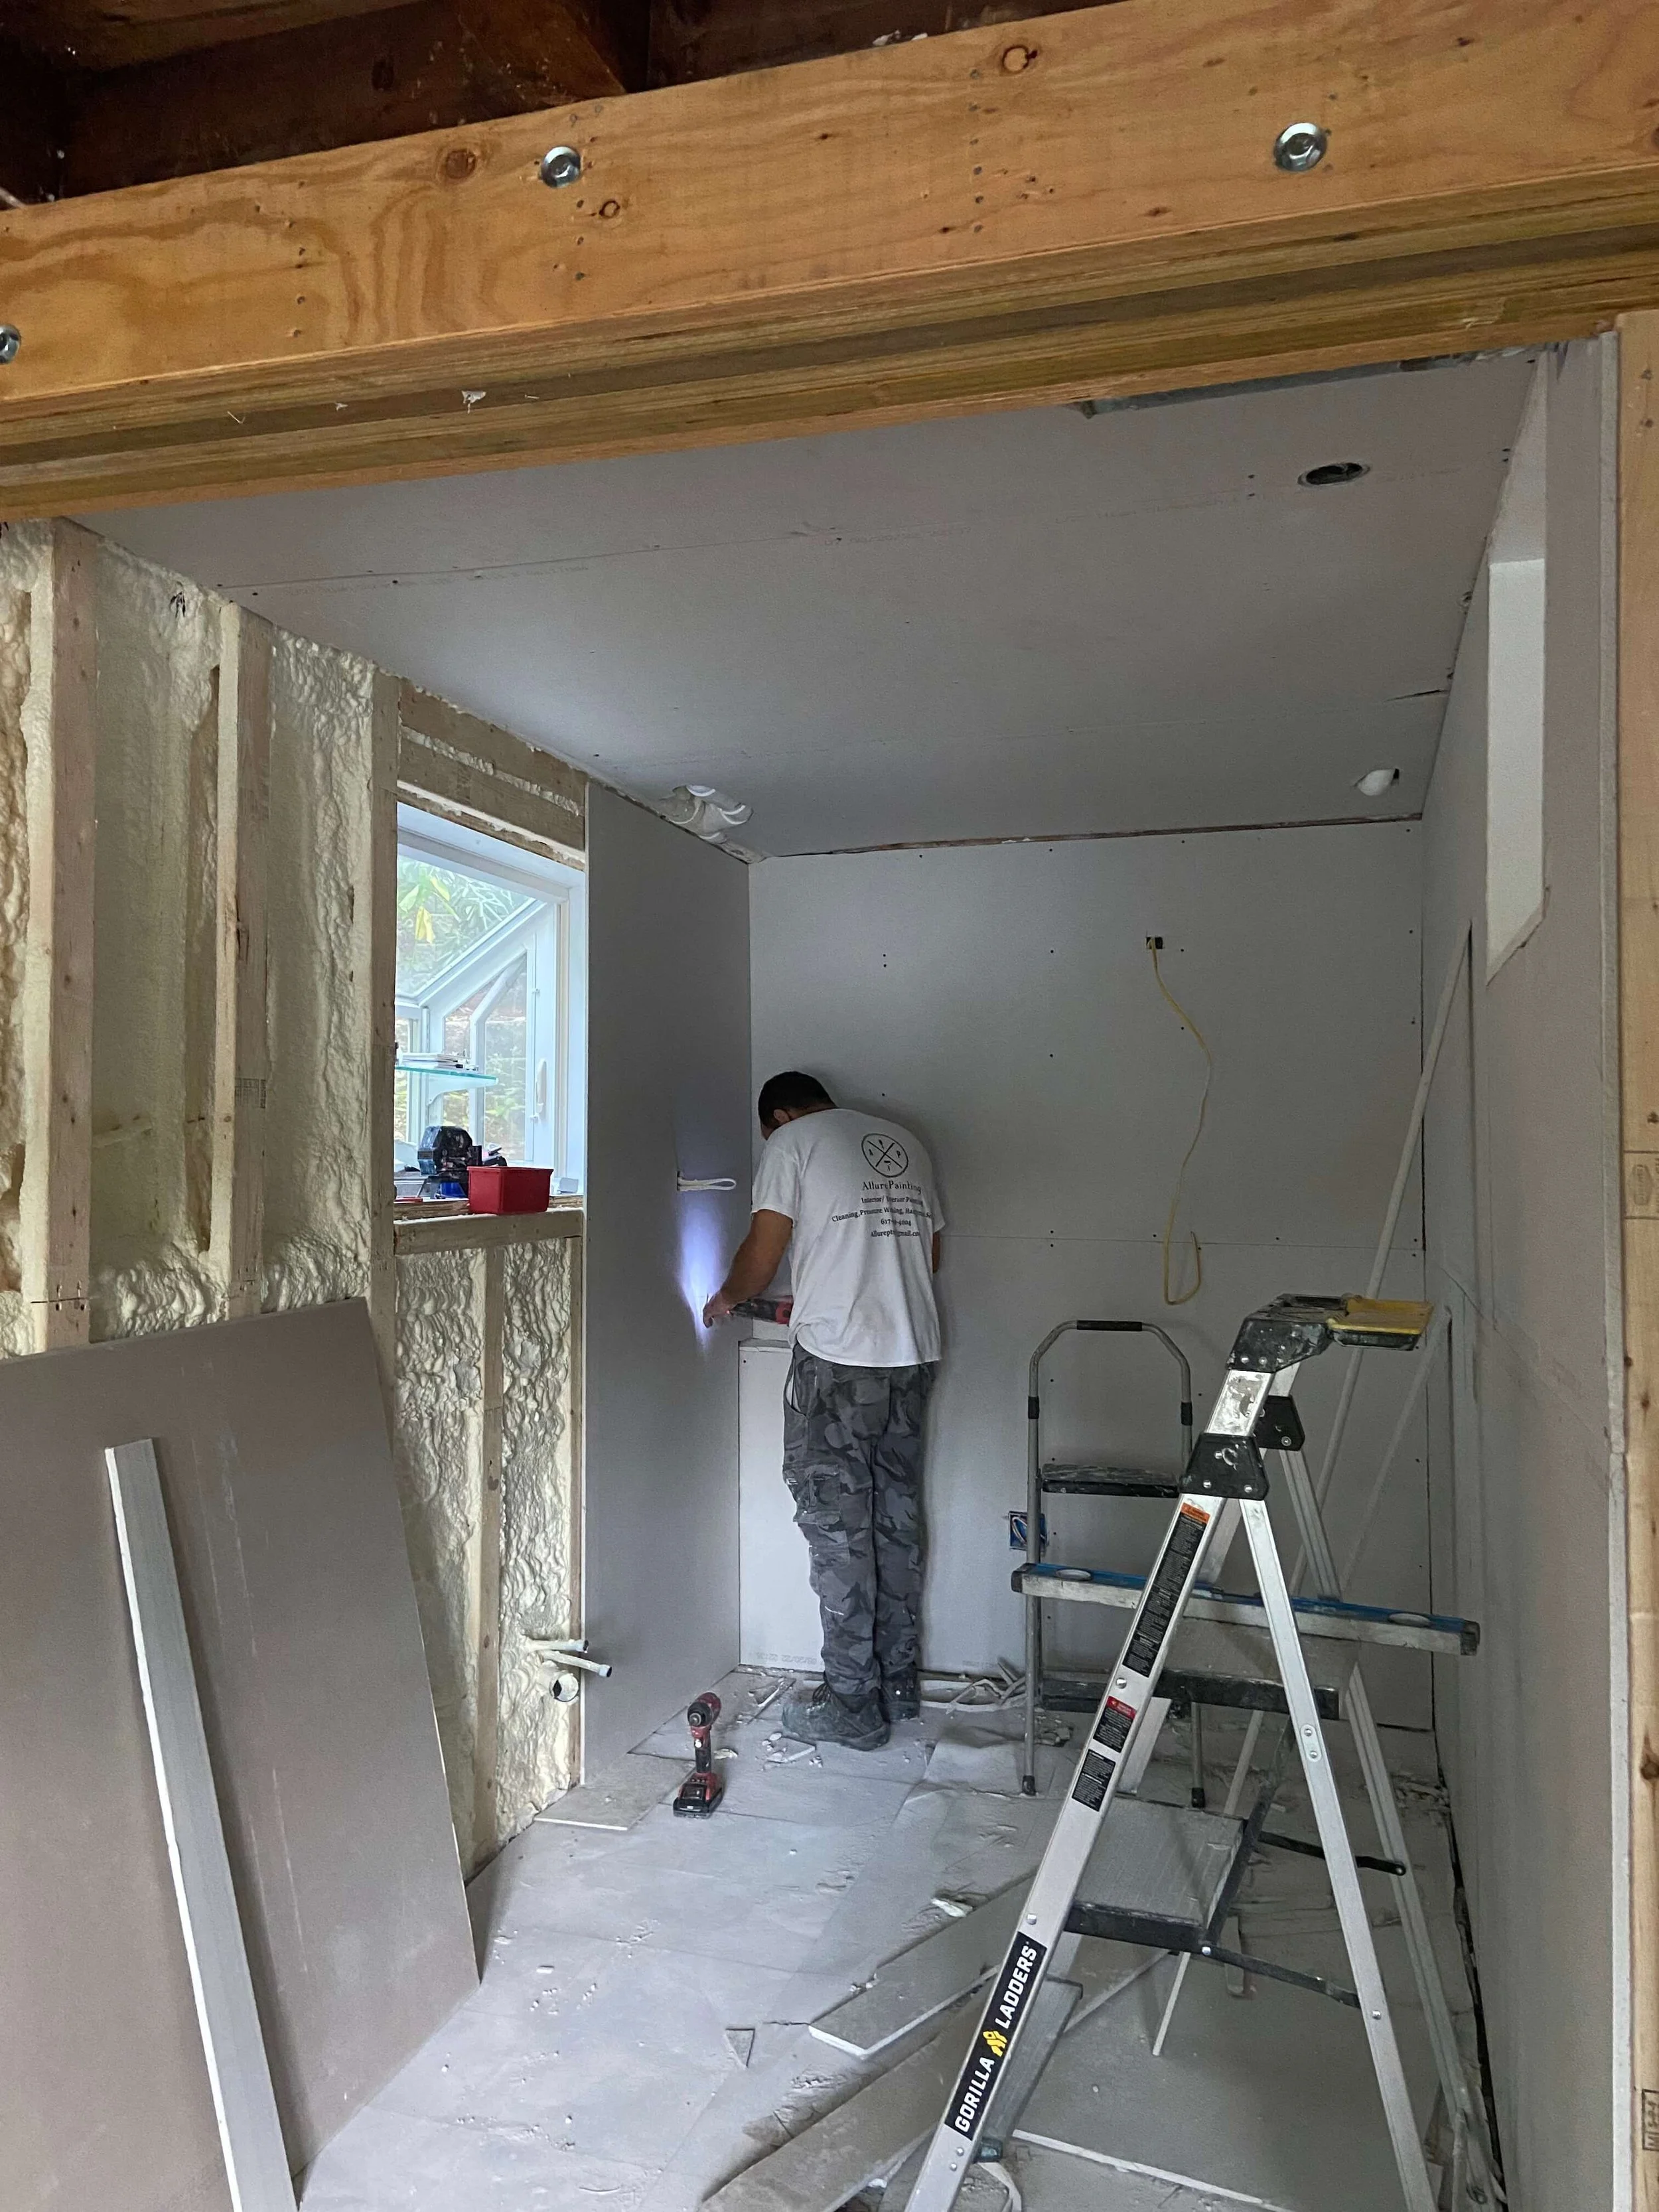
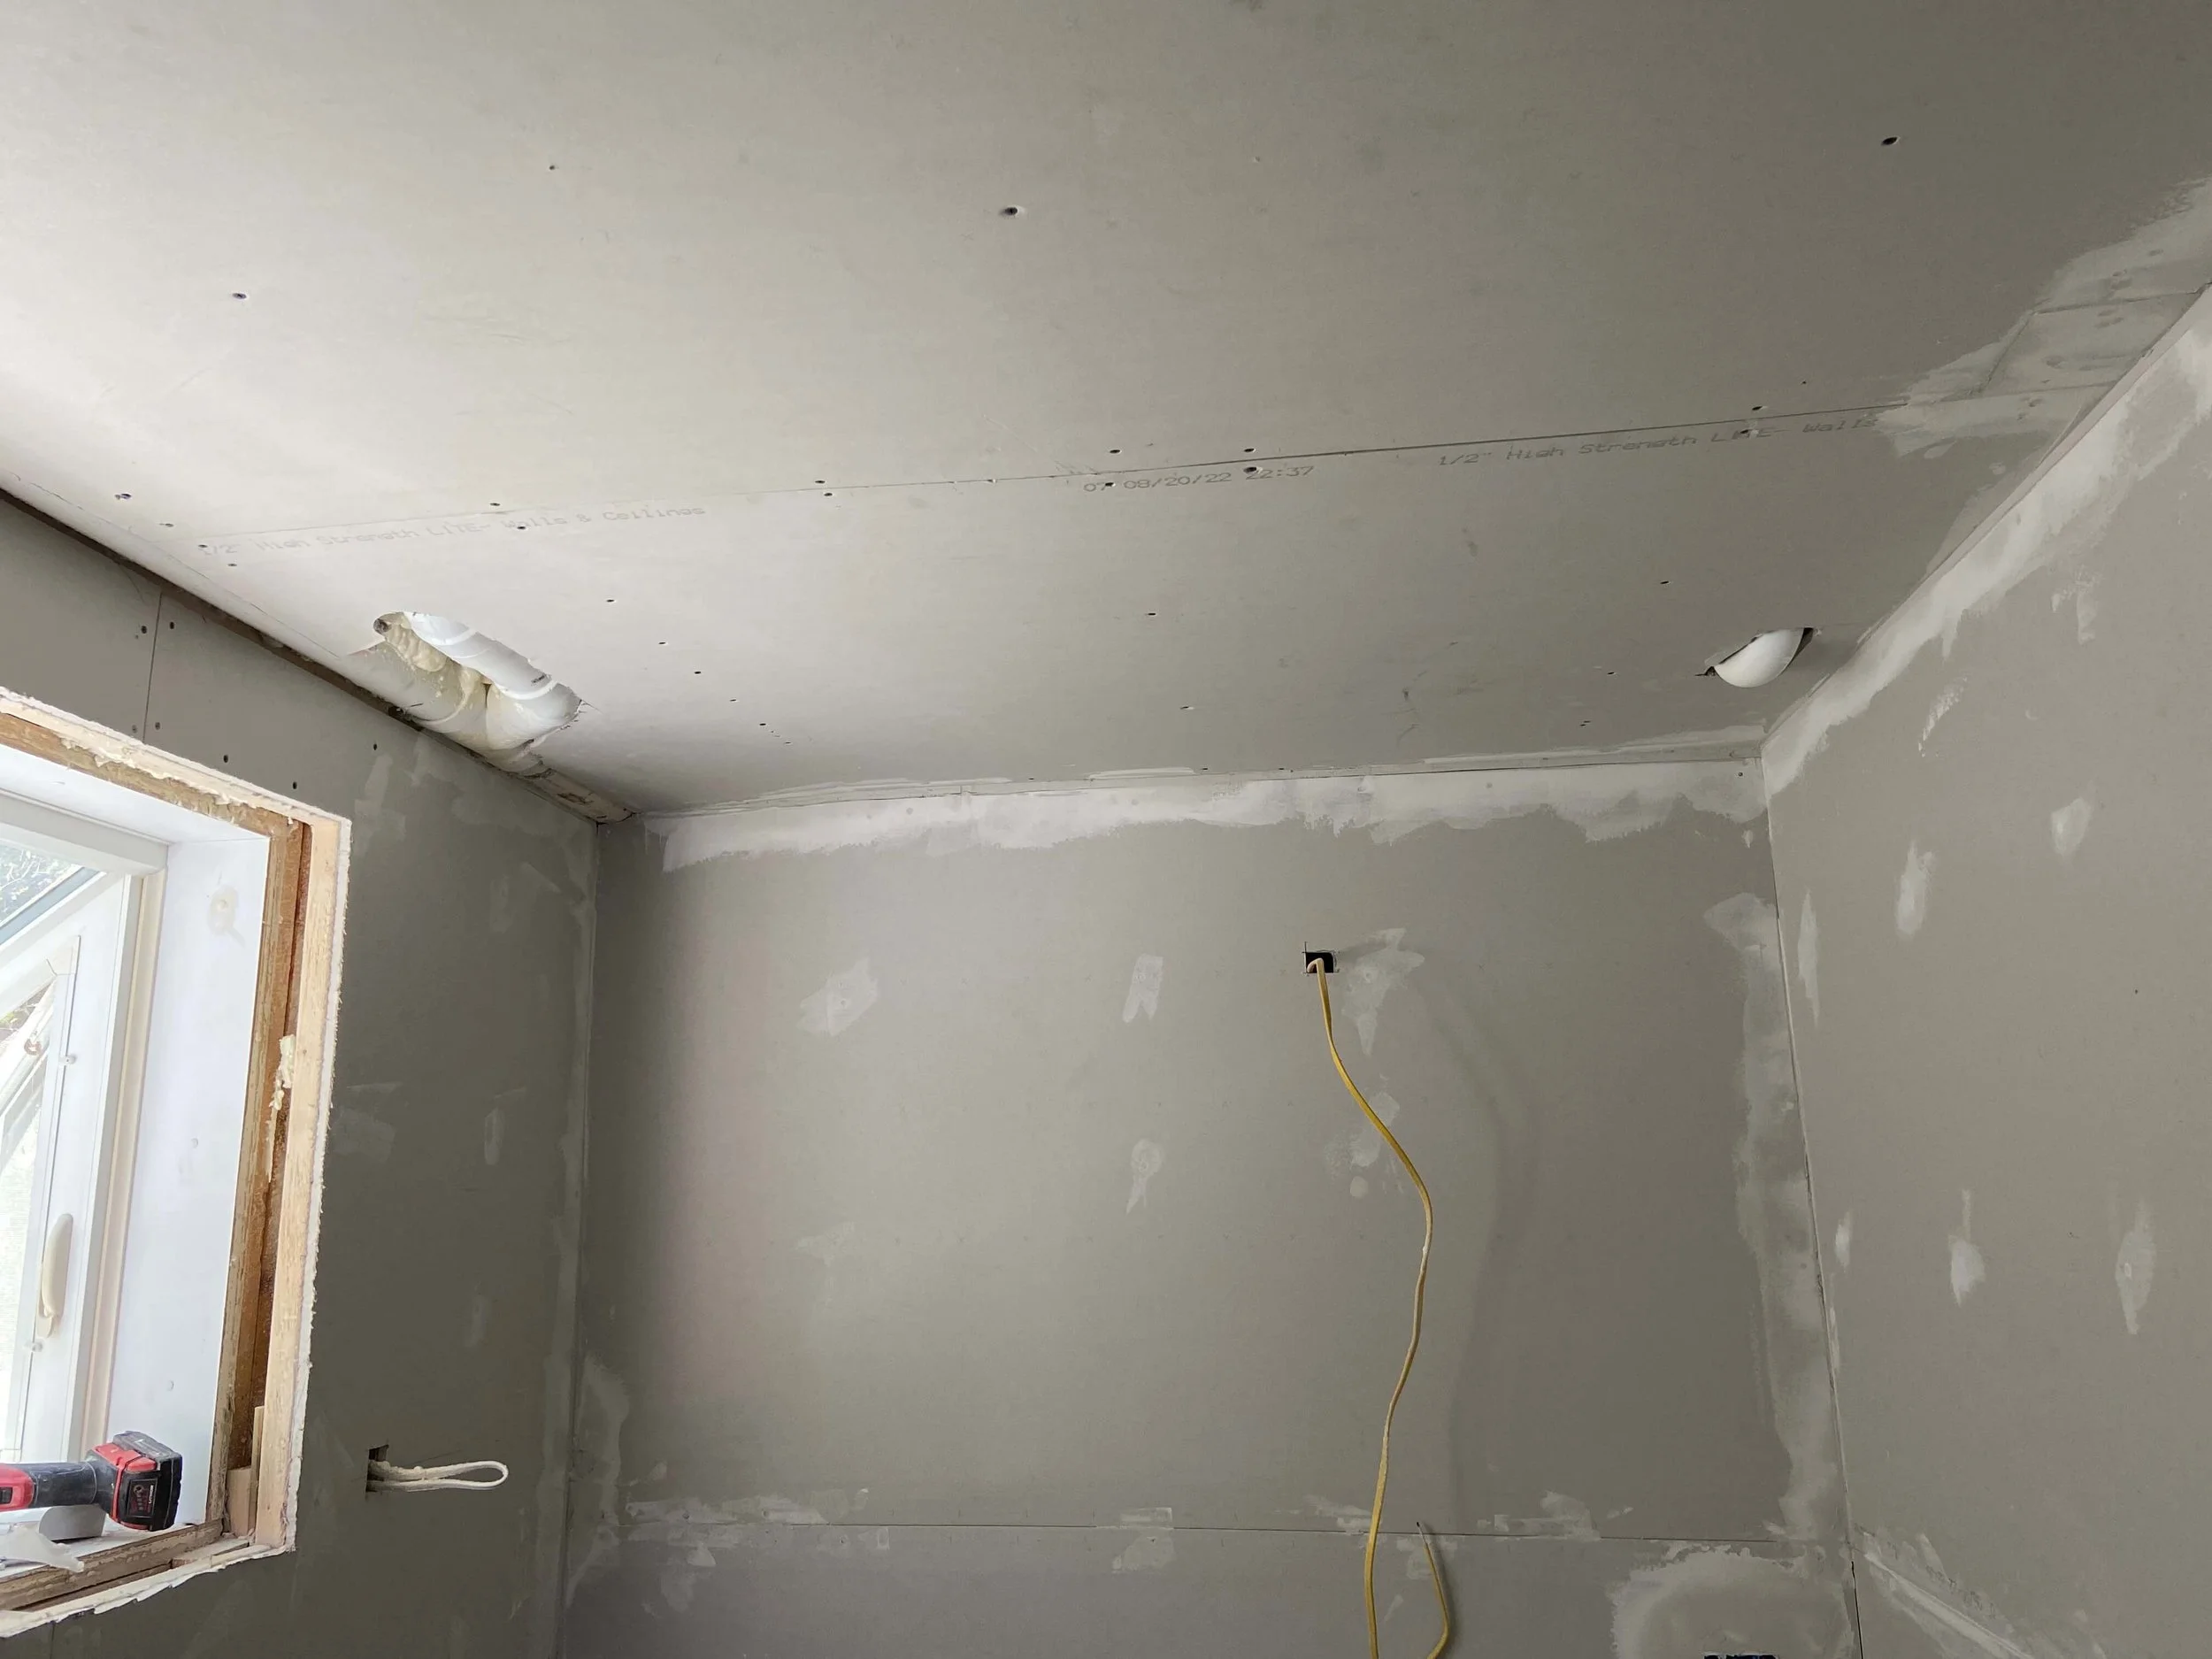
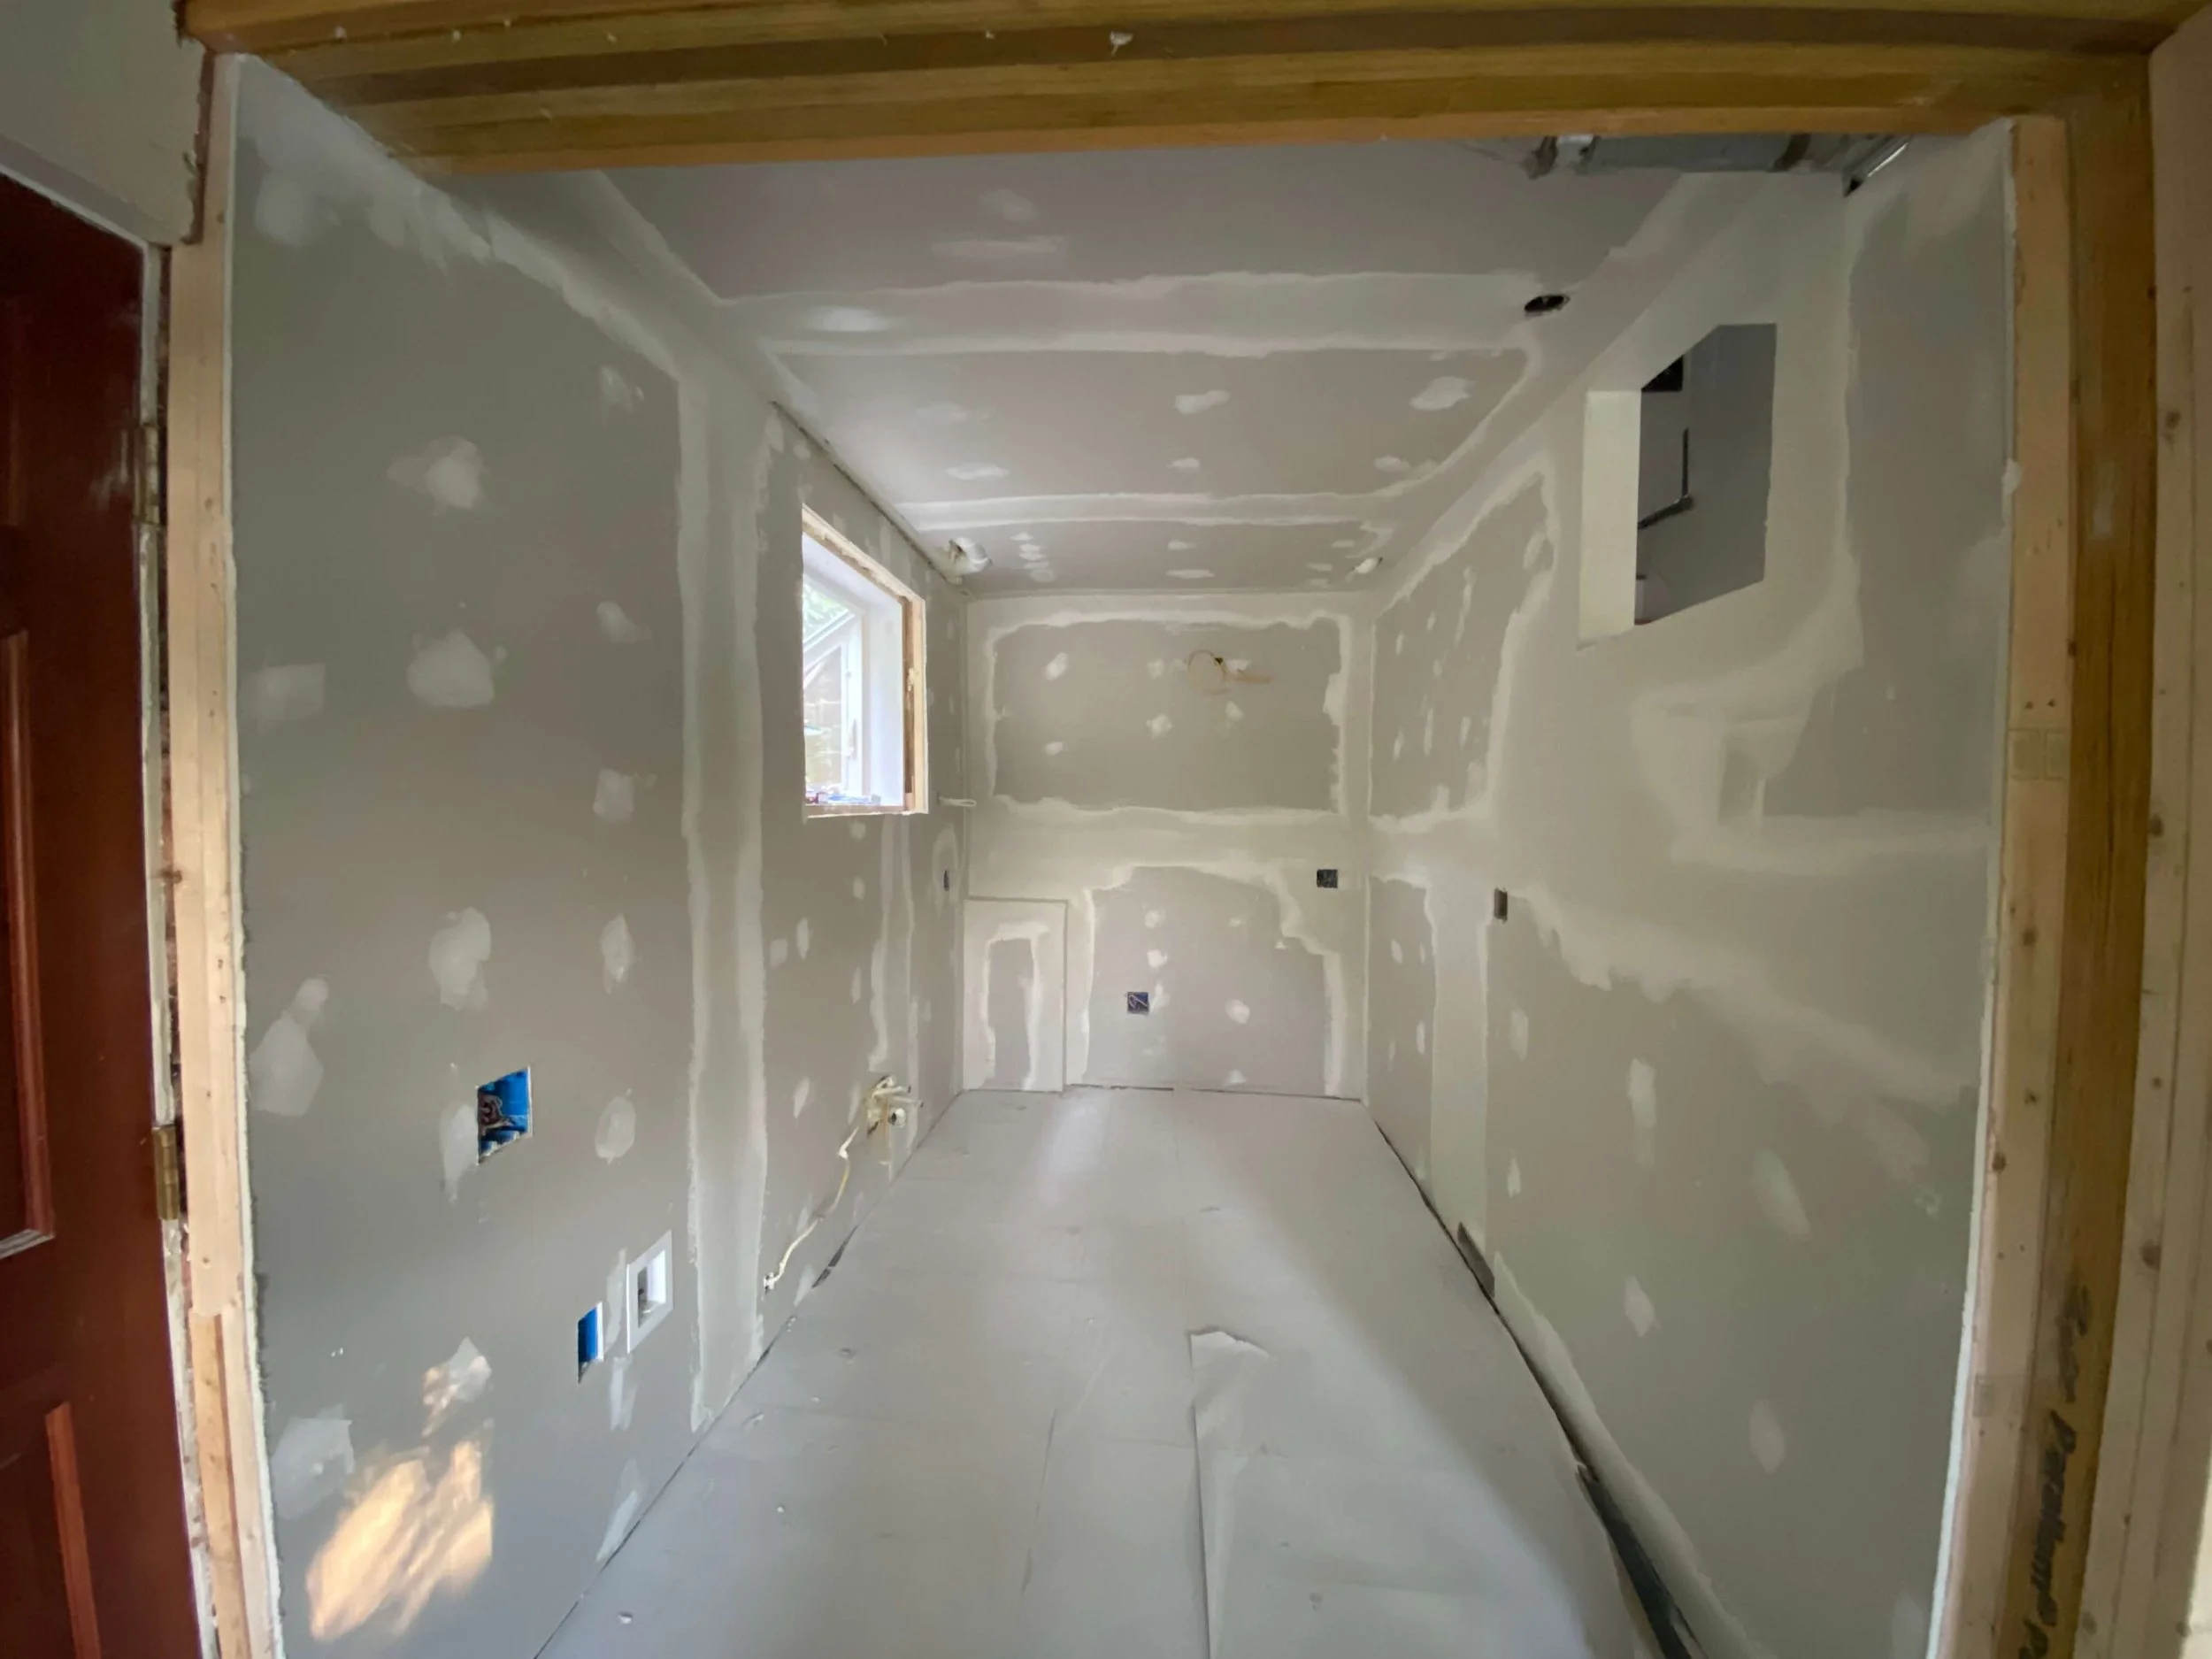
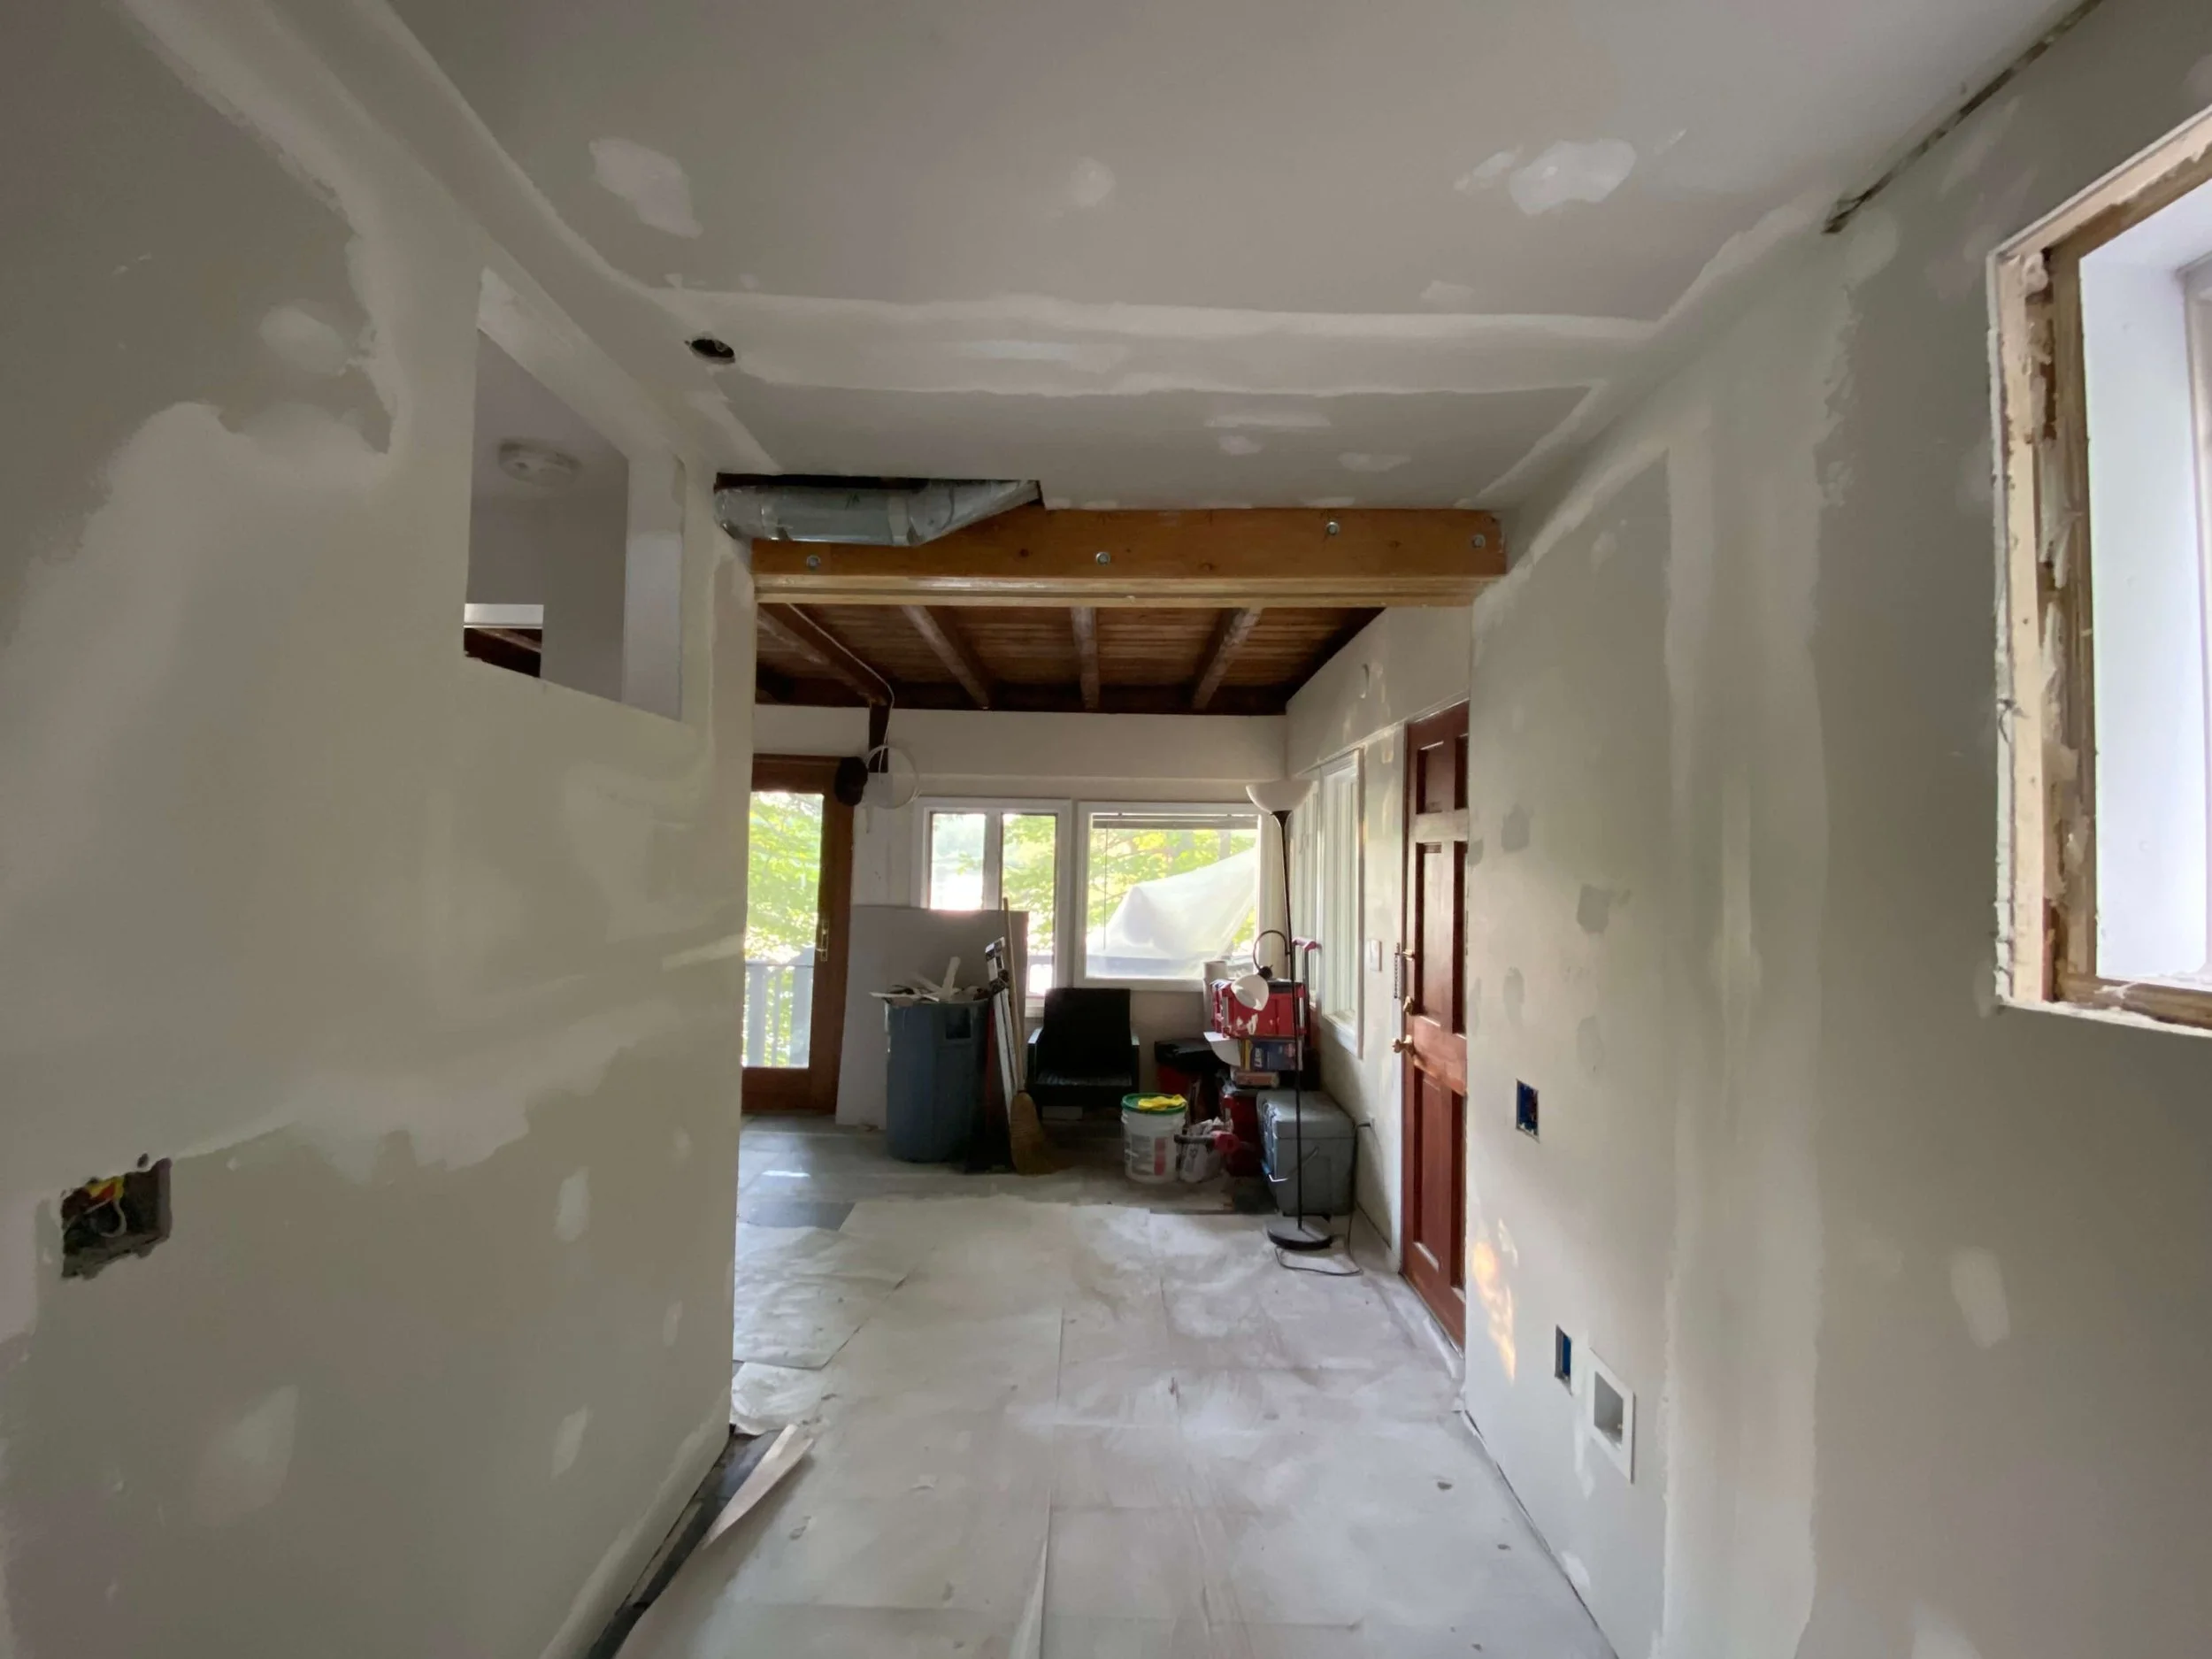
Step 9: Mount drywall on walls and ceiling
We had a small miscommunication with our GC. We told him that we wanted as much ceiling height as possible, but did not know that it would be taken so literally as to mean cut outs for plumbing that stuck out.
Unfortunately we caught this late and had to redo the ceiling with a drop of 2 inches in order not to deal with random soffits in the ceiling.
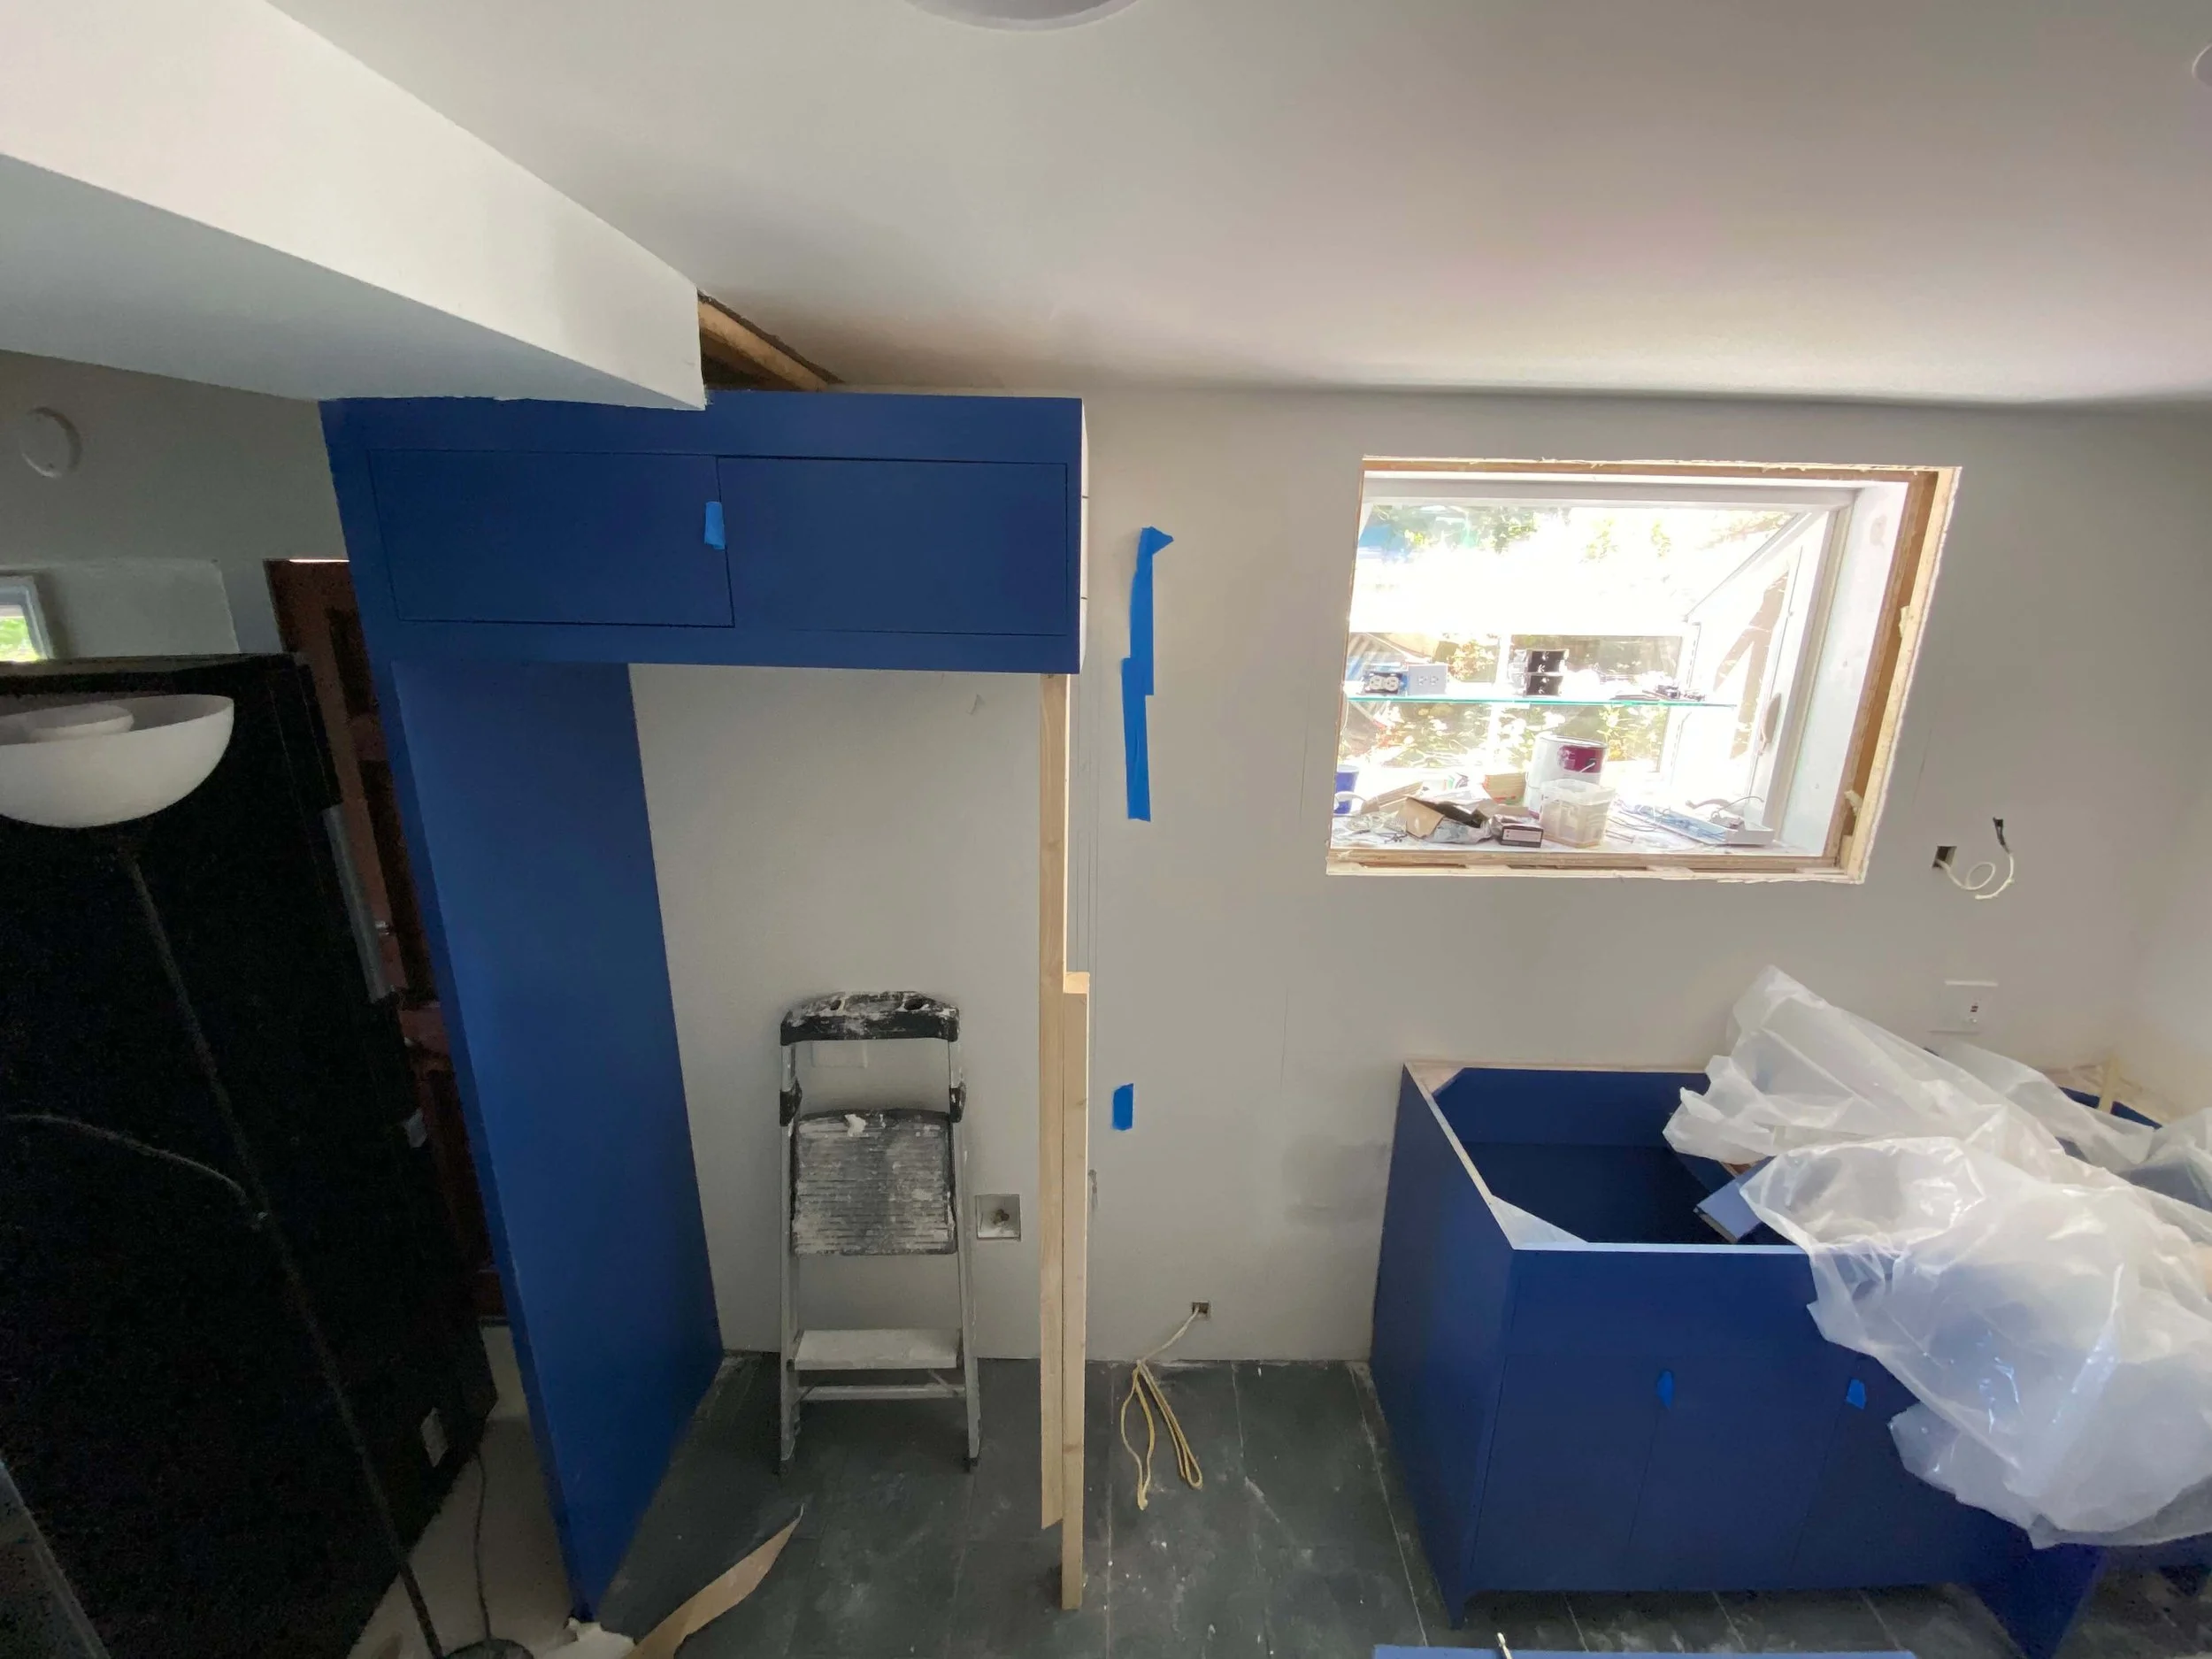
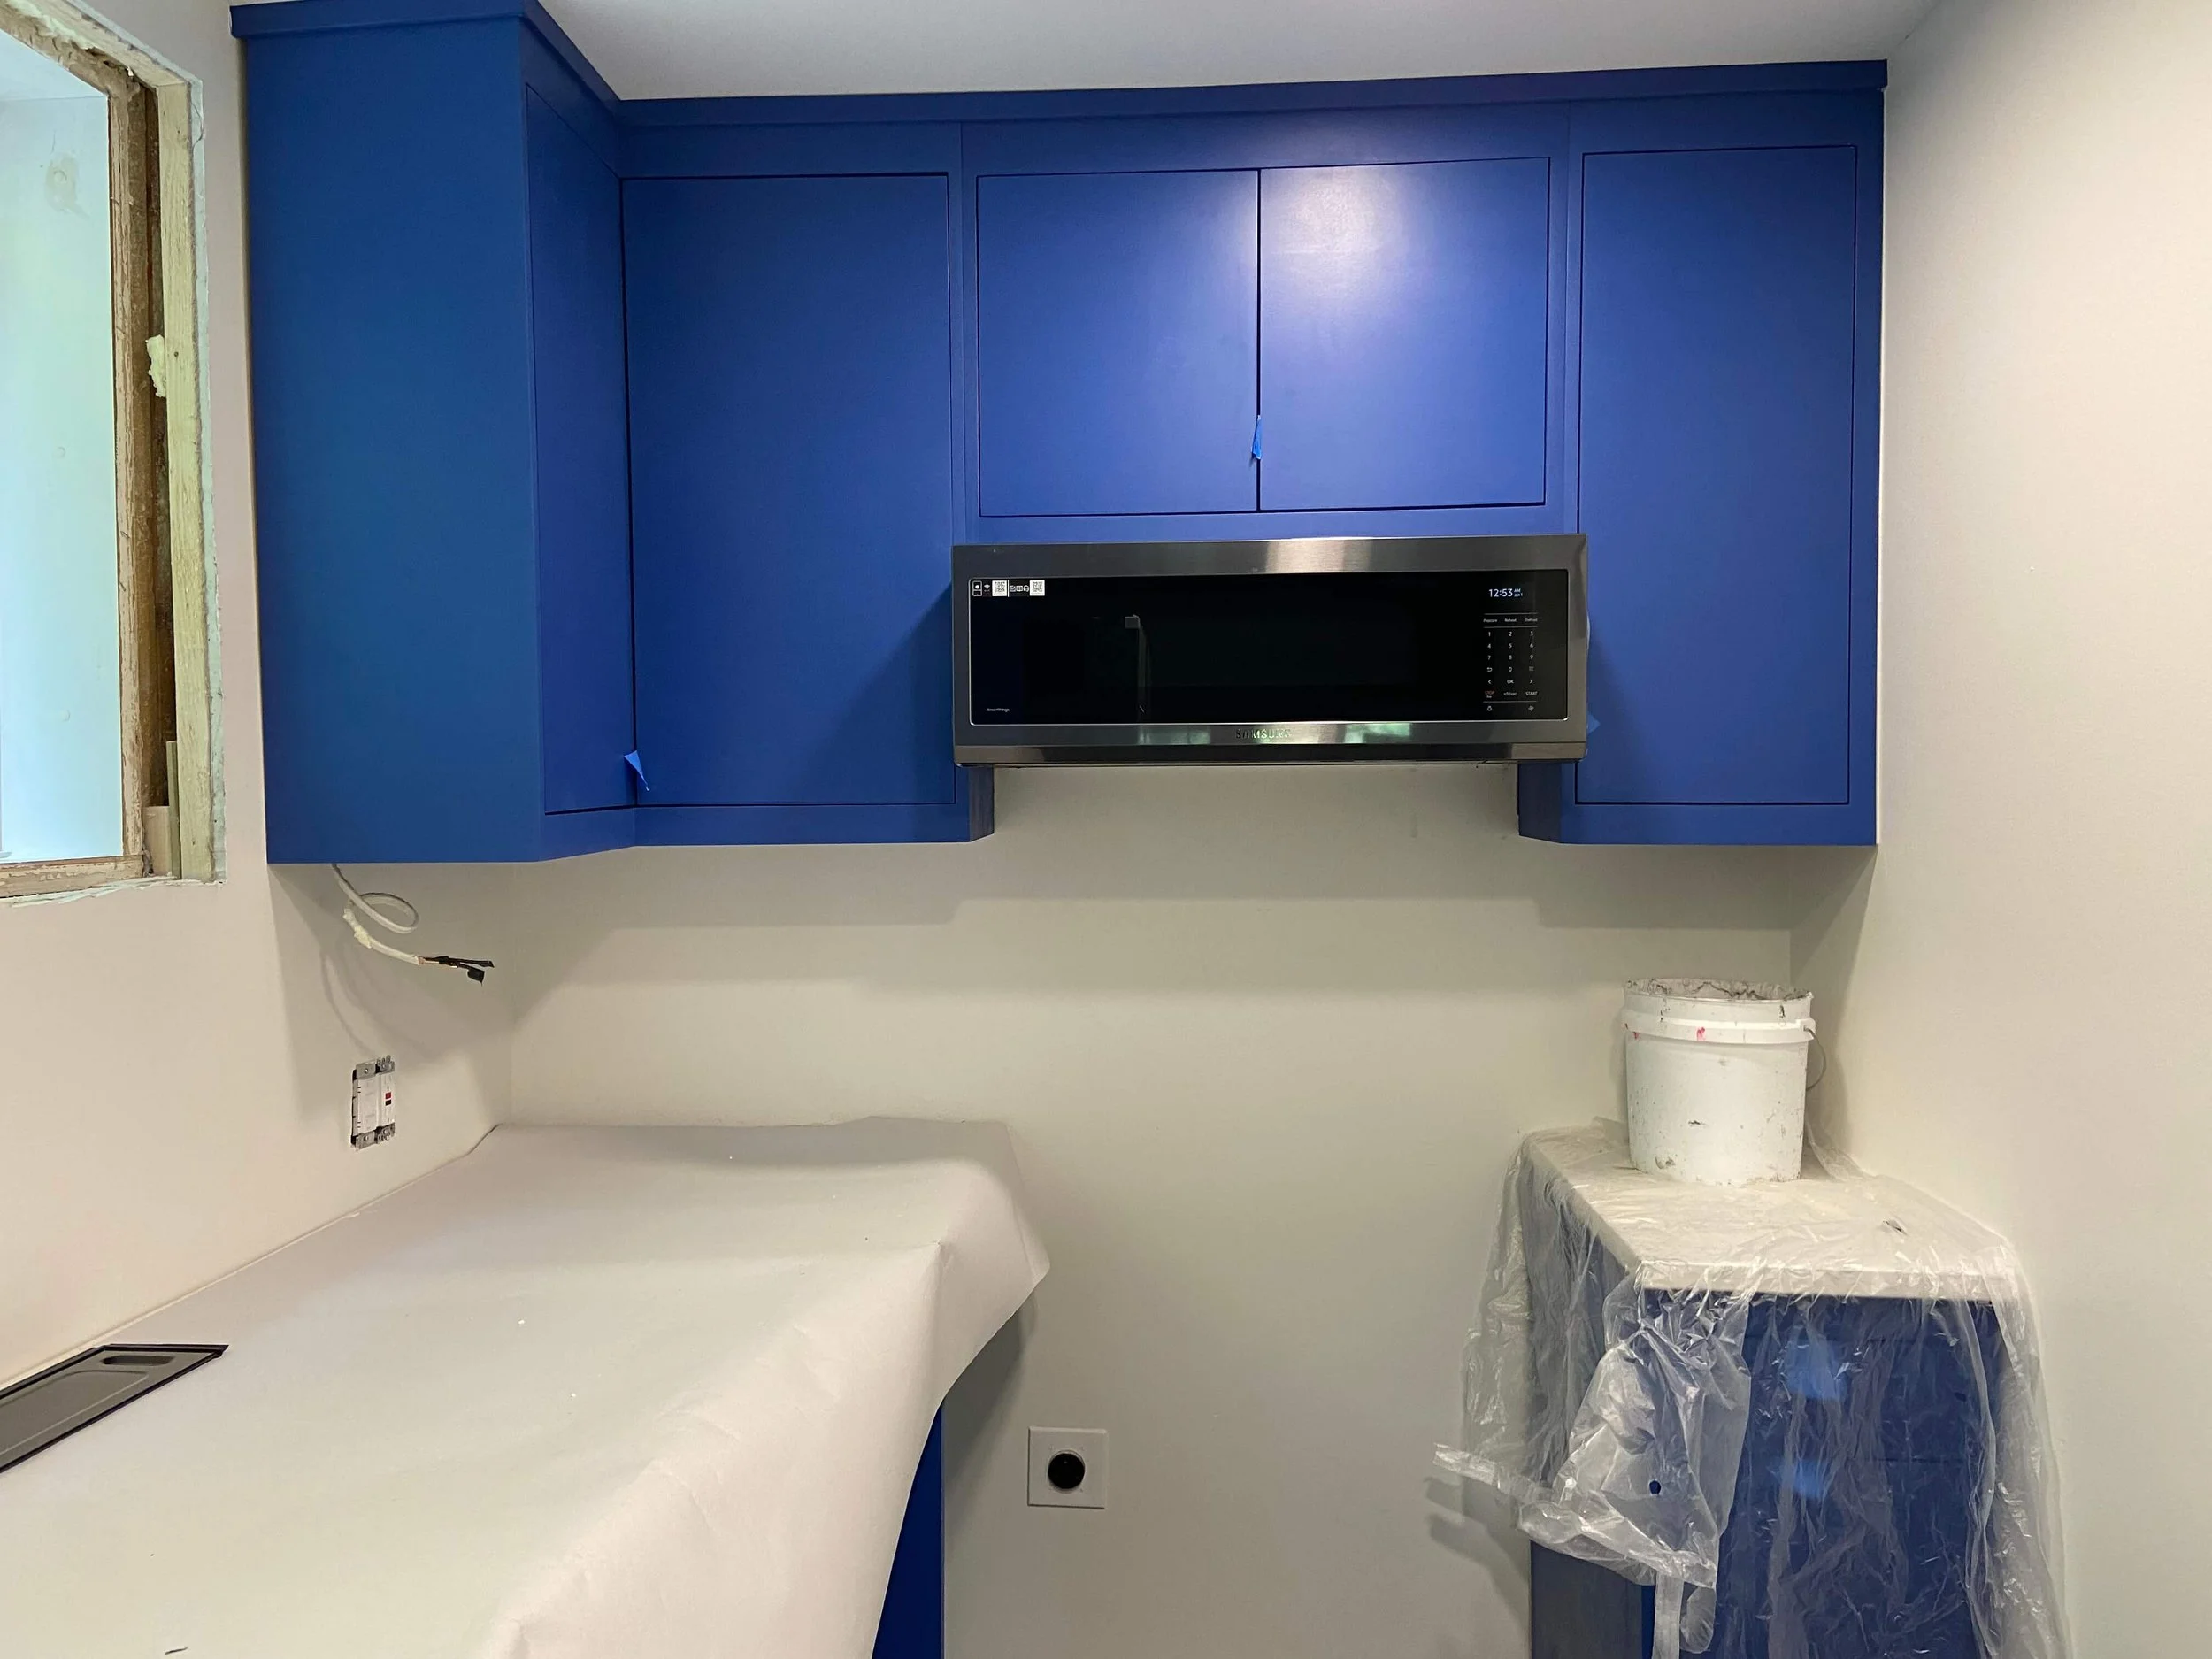
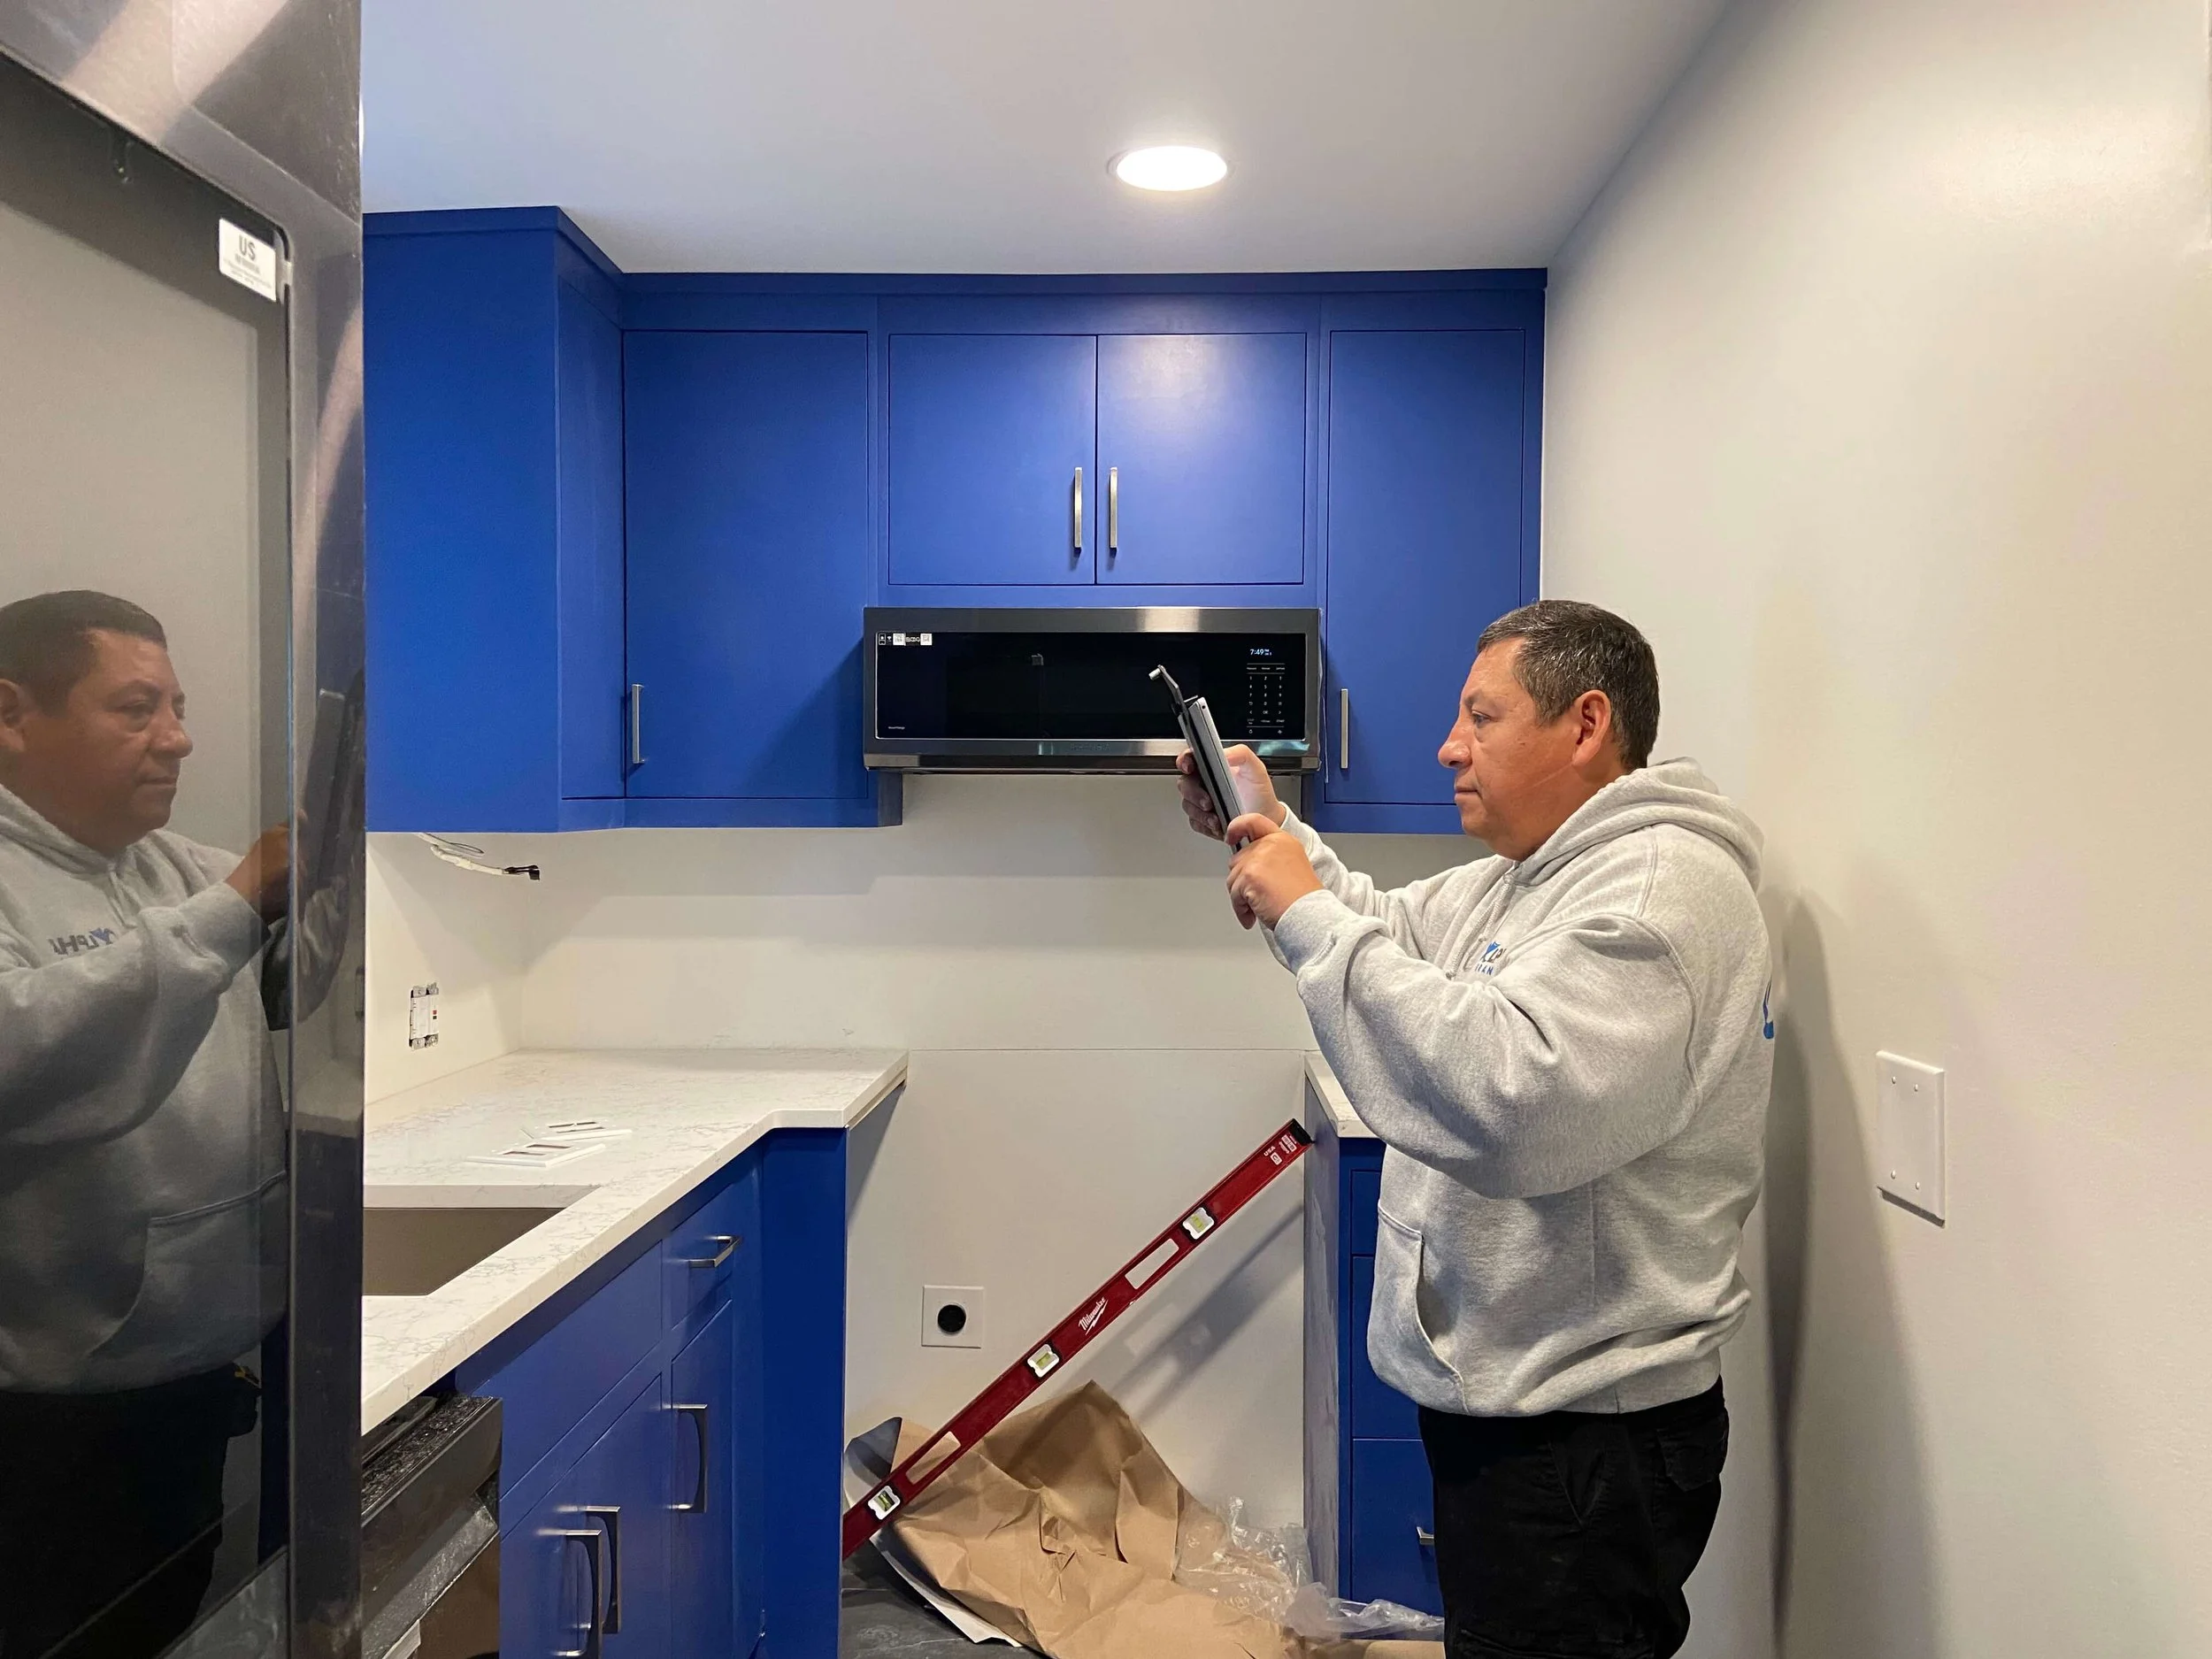
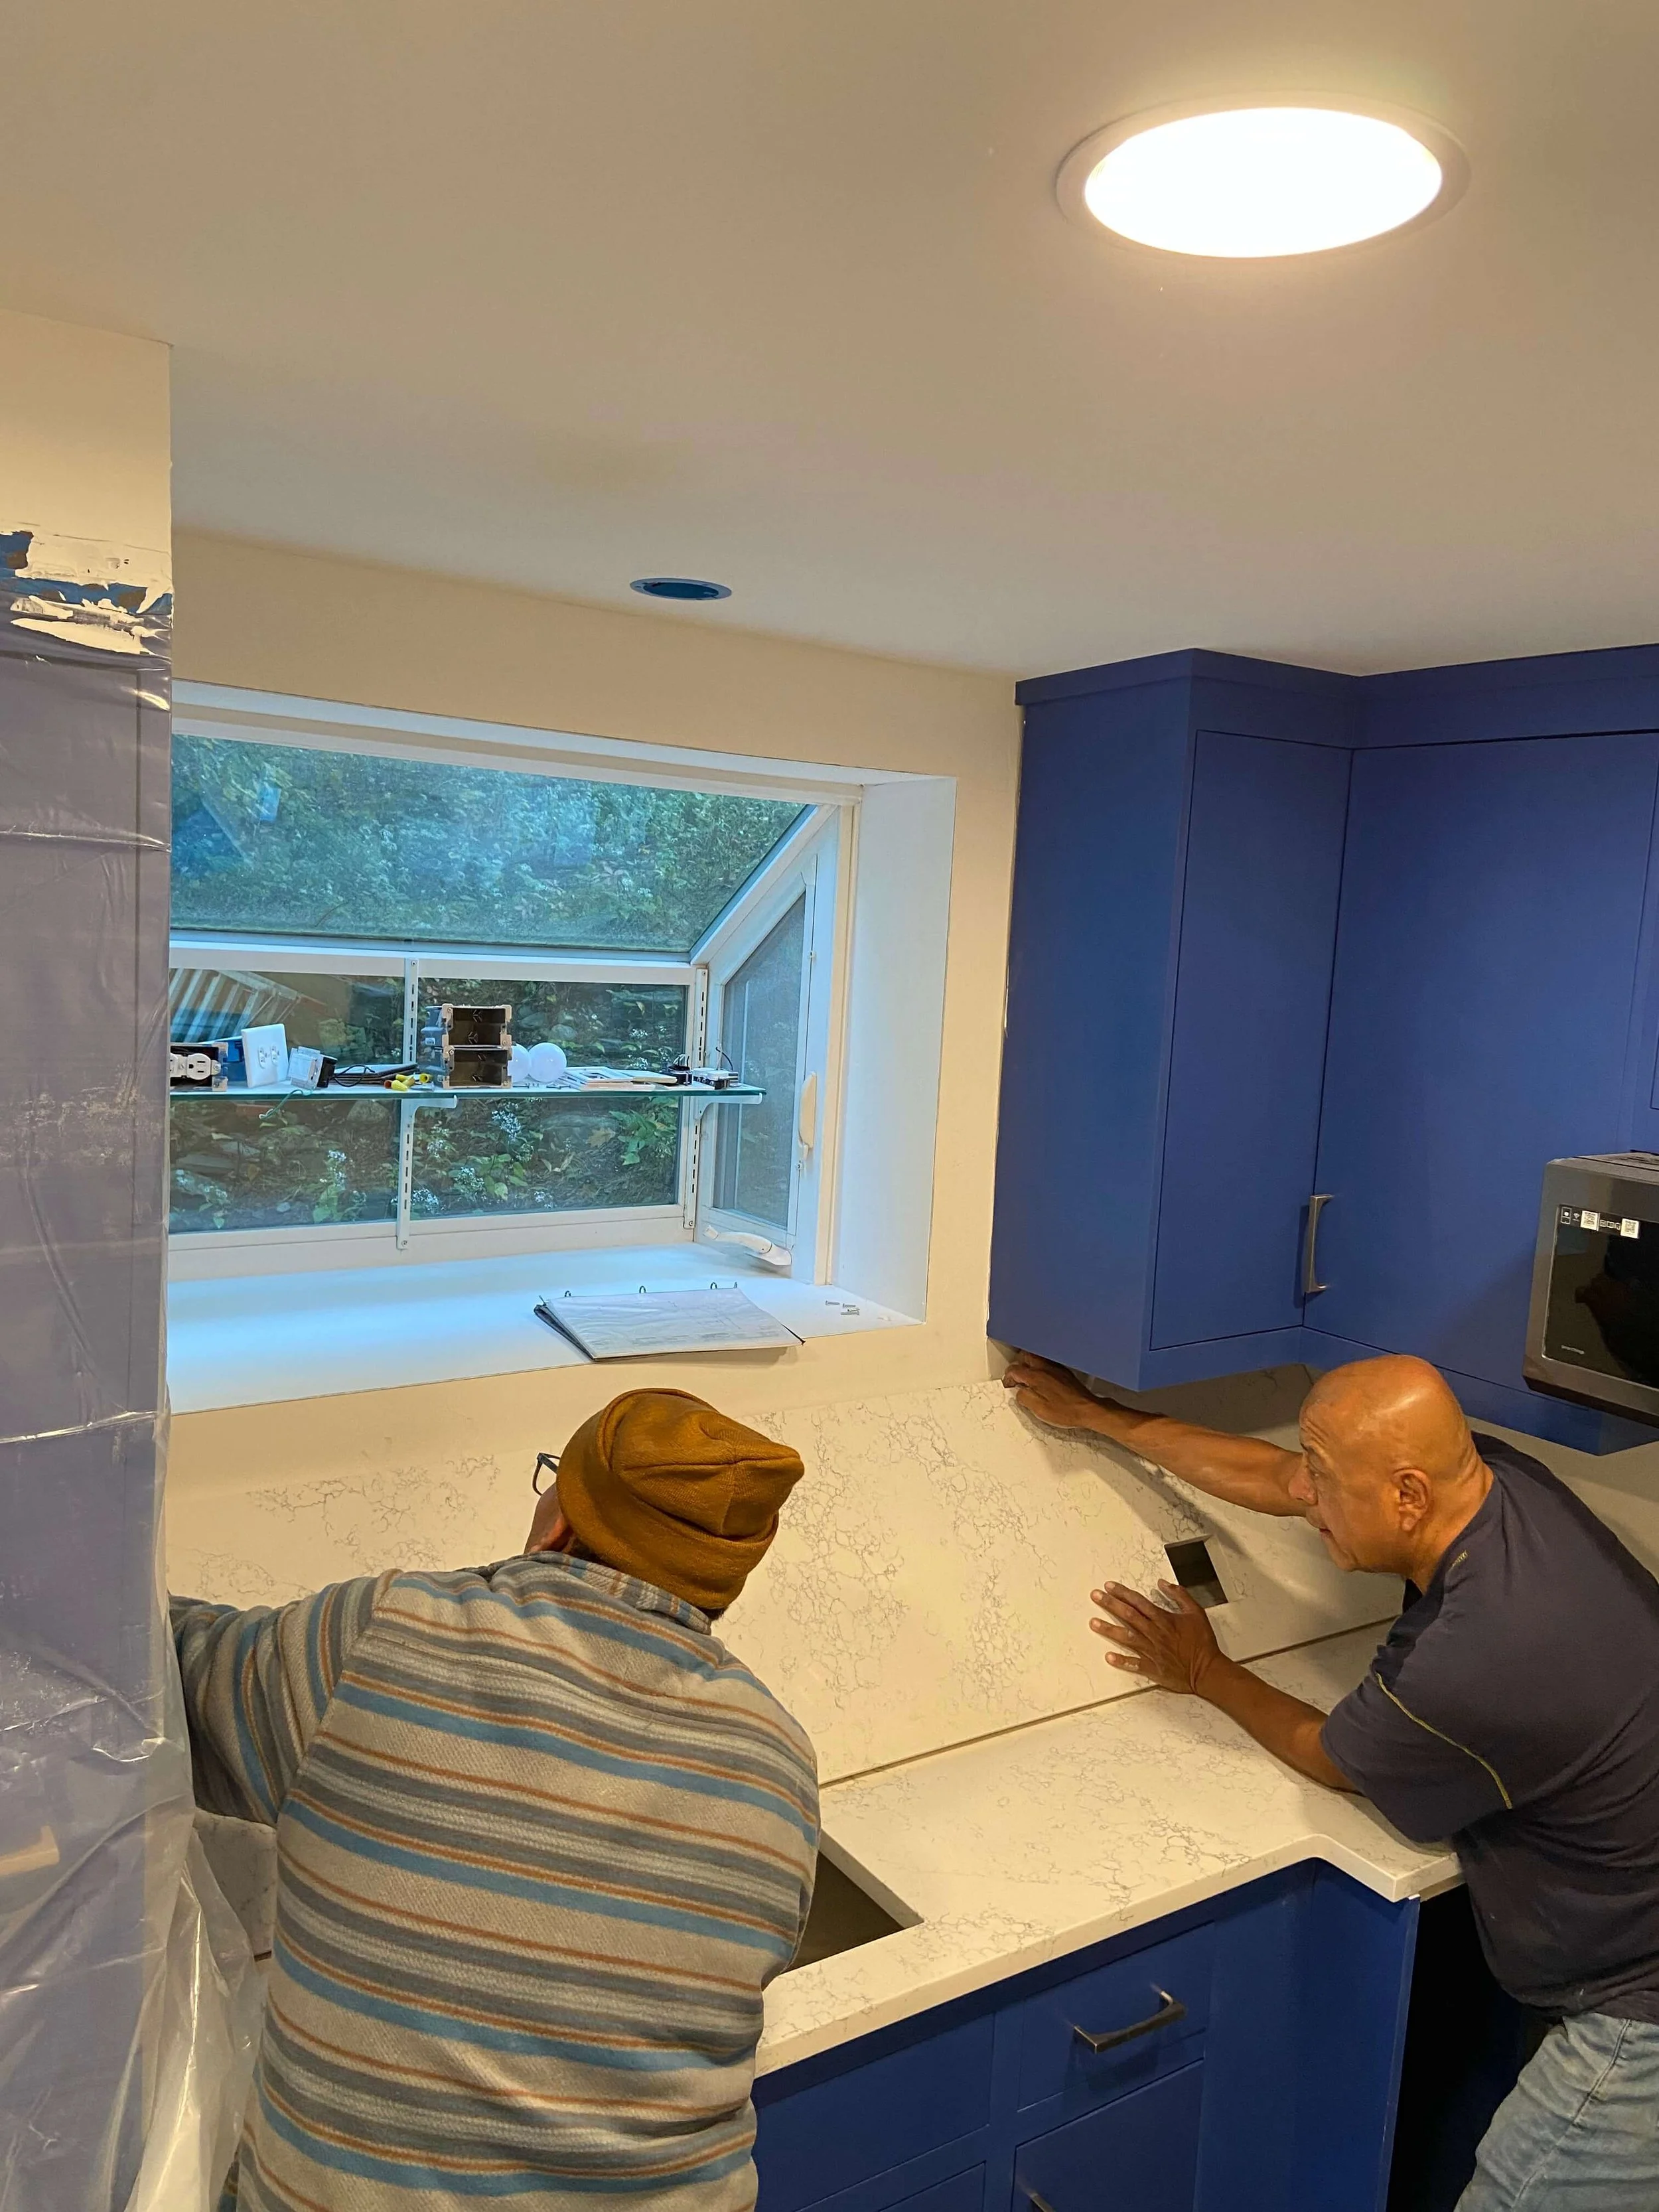
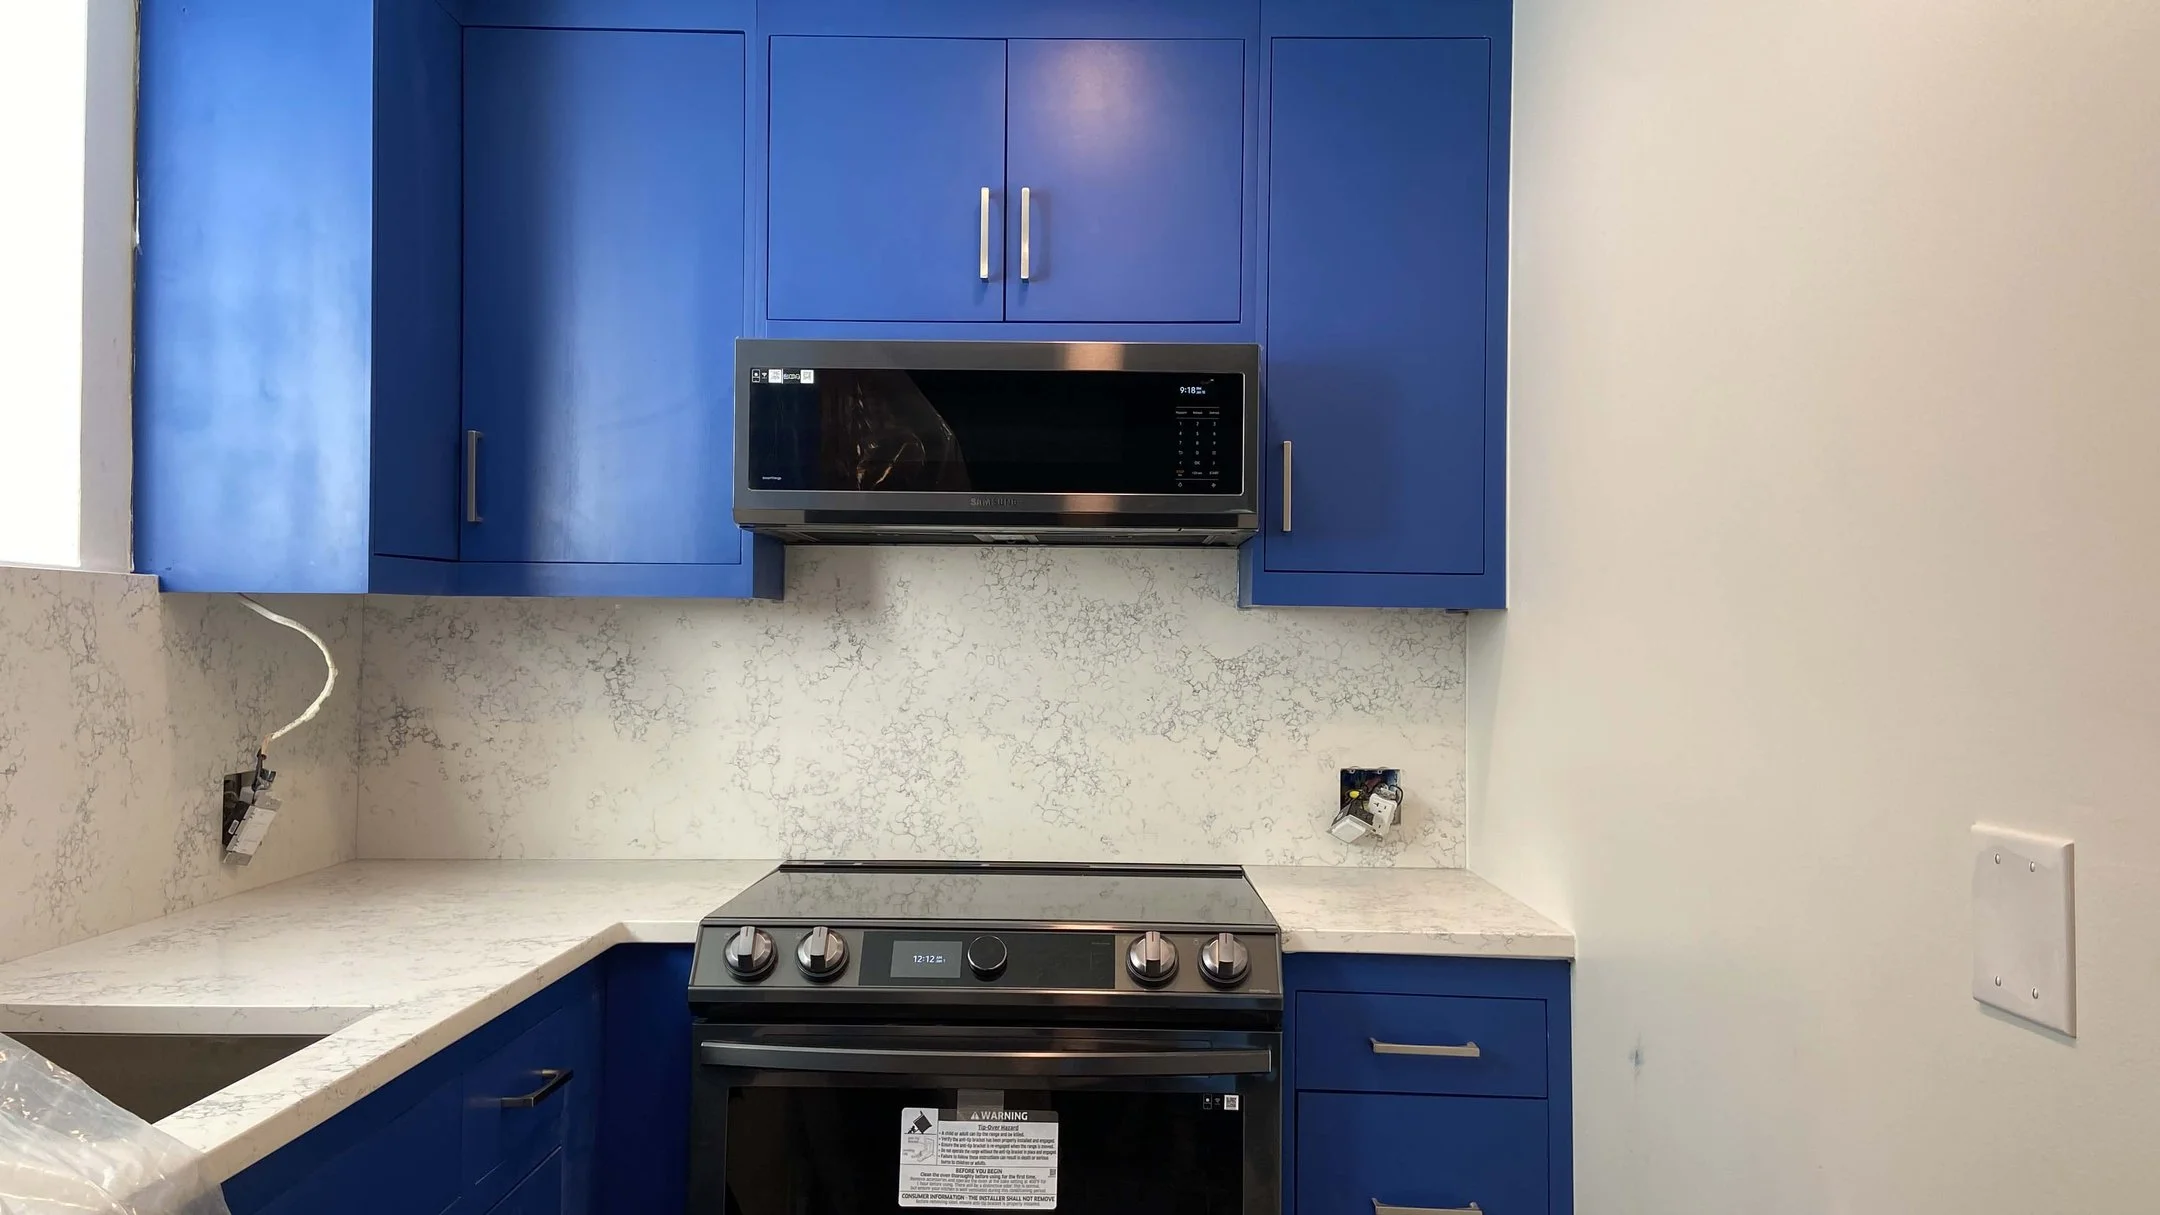
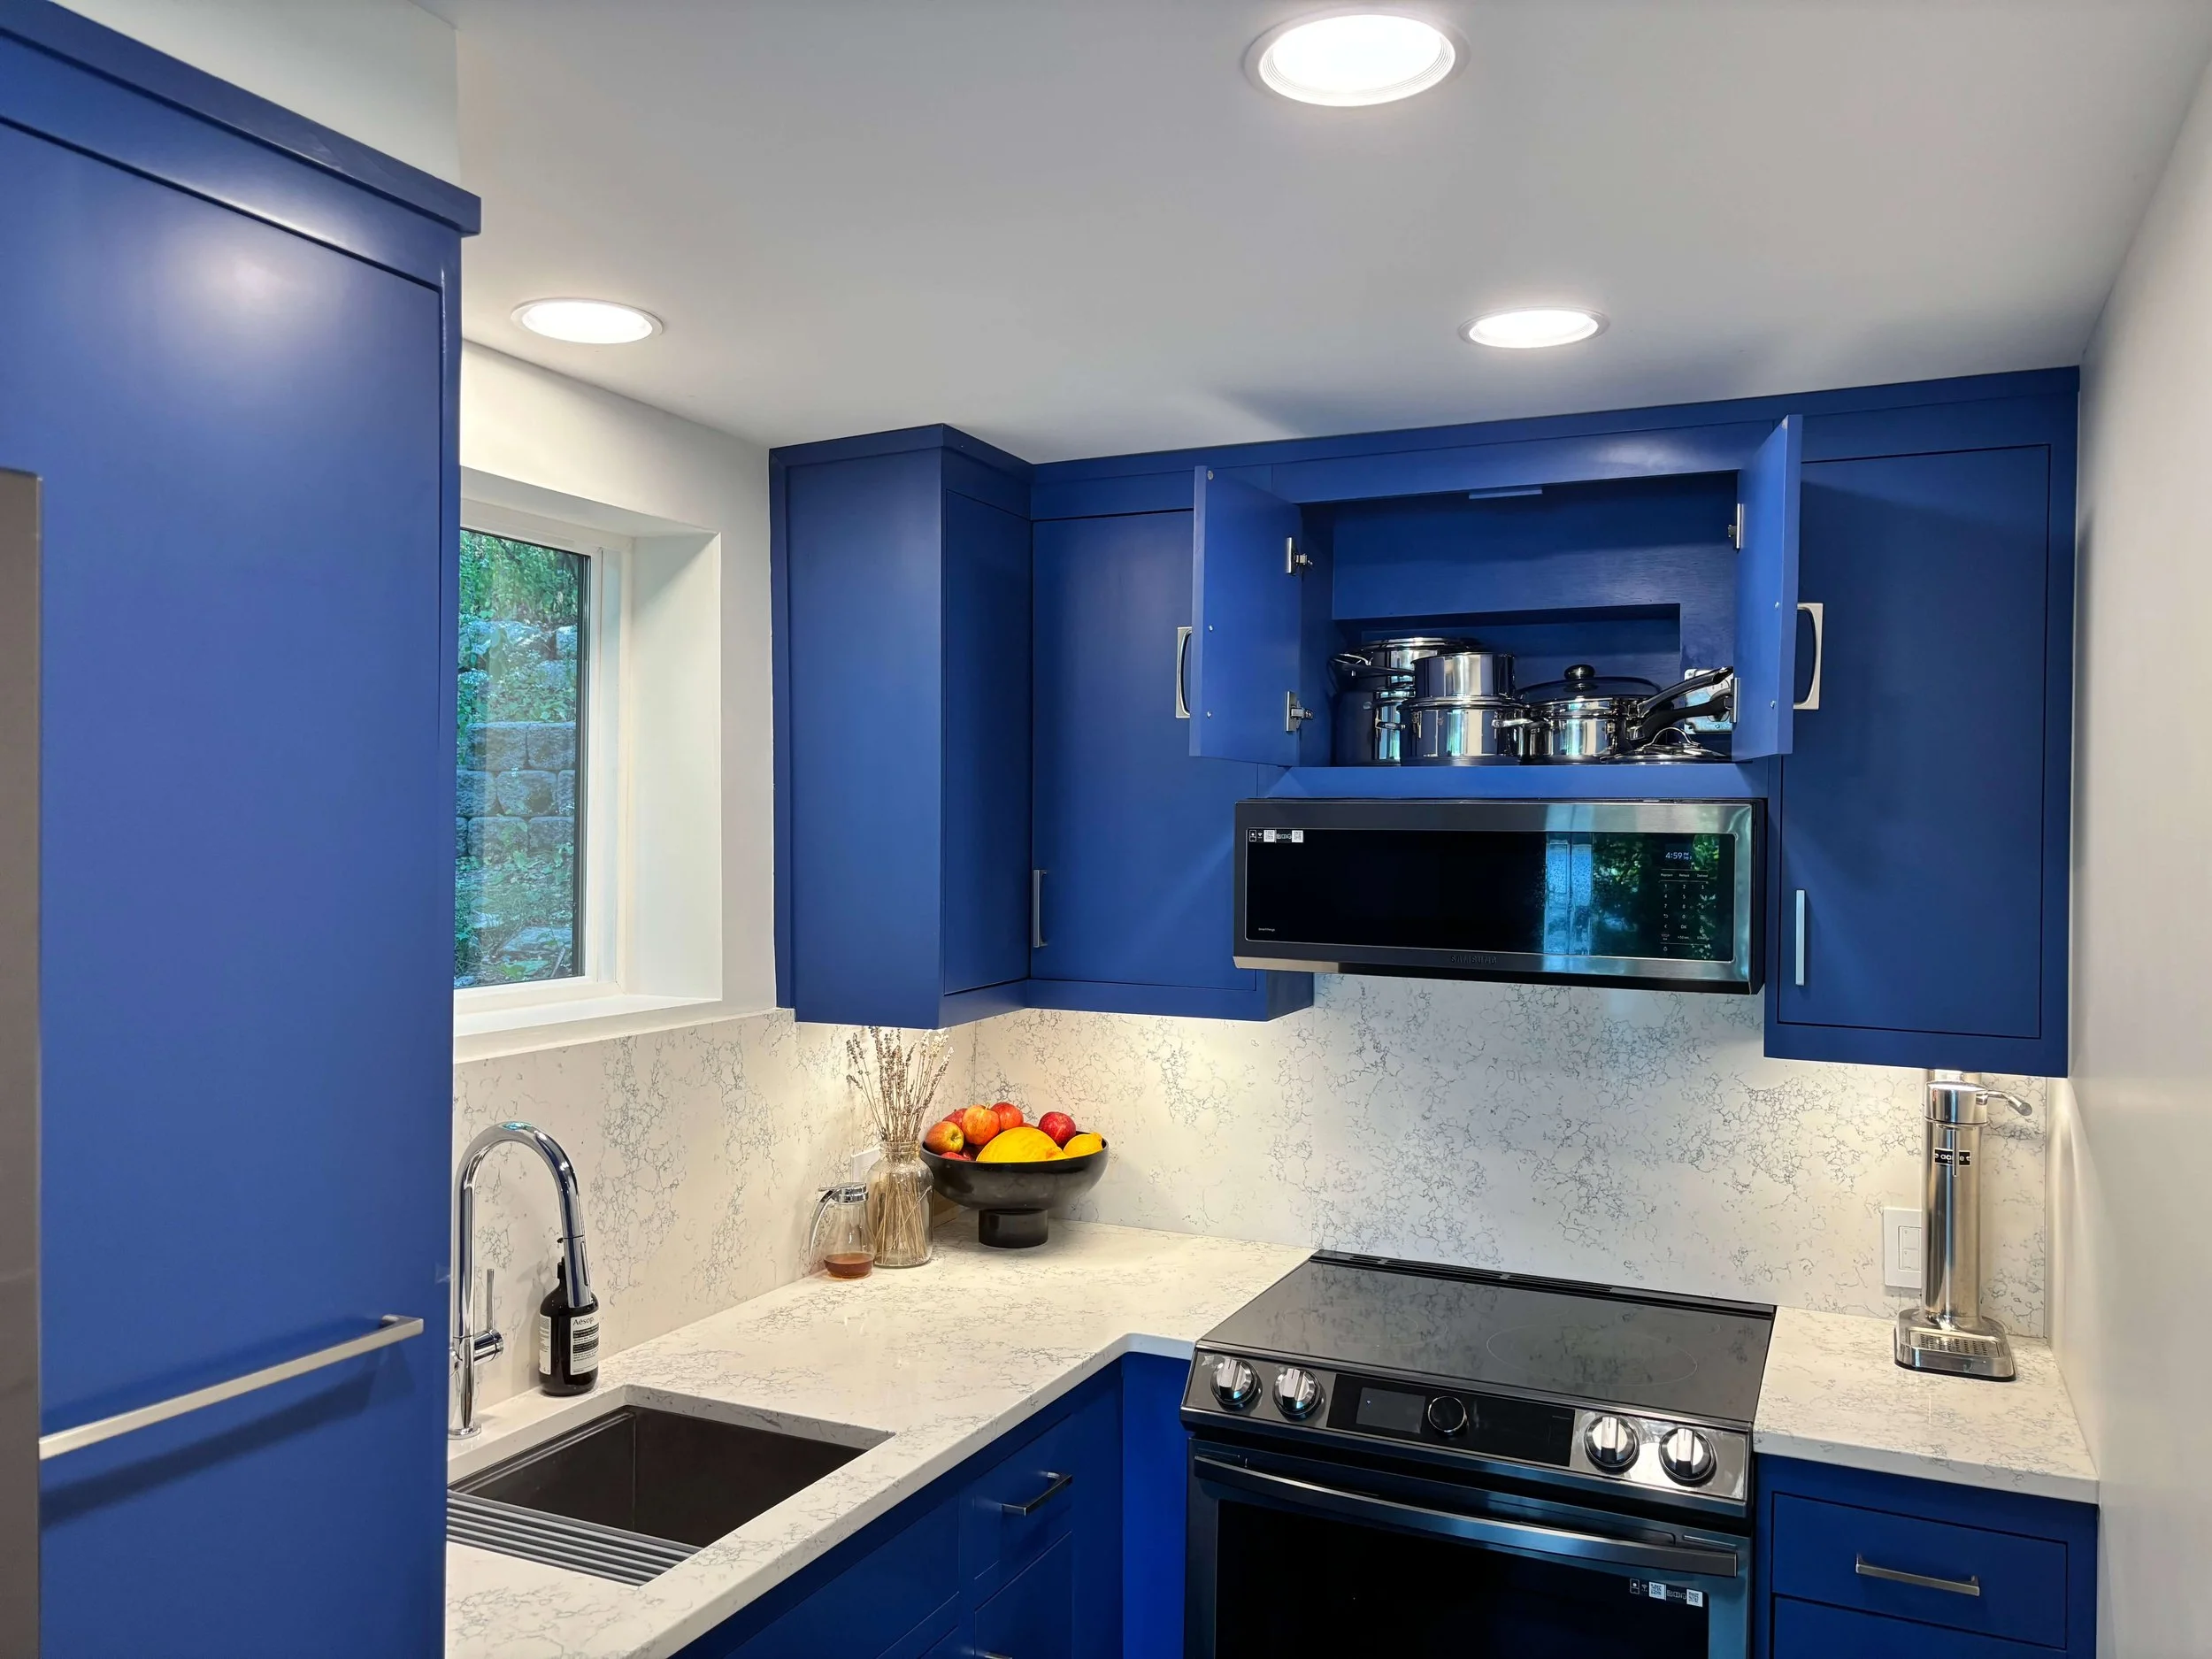
Step 10: Hang cabinets, connect appliances
We settled on a shade of blue from Sherwin Williams and handed the swatch to our cabinet maker who in turn had our cabinets lacquered. That’s the nice bit about going custom- any shade or finish is possible.
Things really took shape once cabinets were up!
Here’s my tip: Do not expect perfect lines and leveled cabinets in an older home. Some things simply can’t be corrected in a realistic time and cost manner.
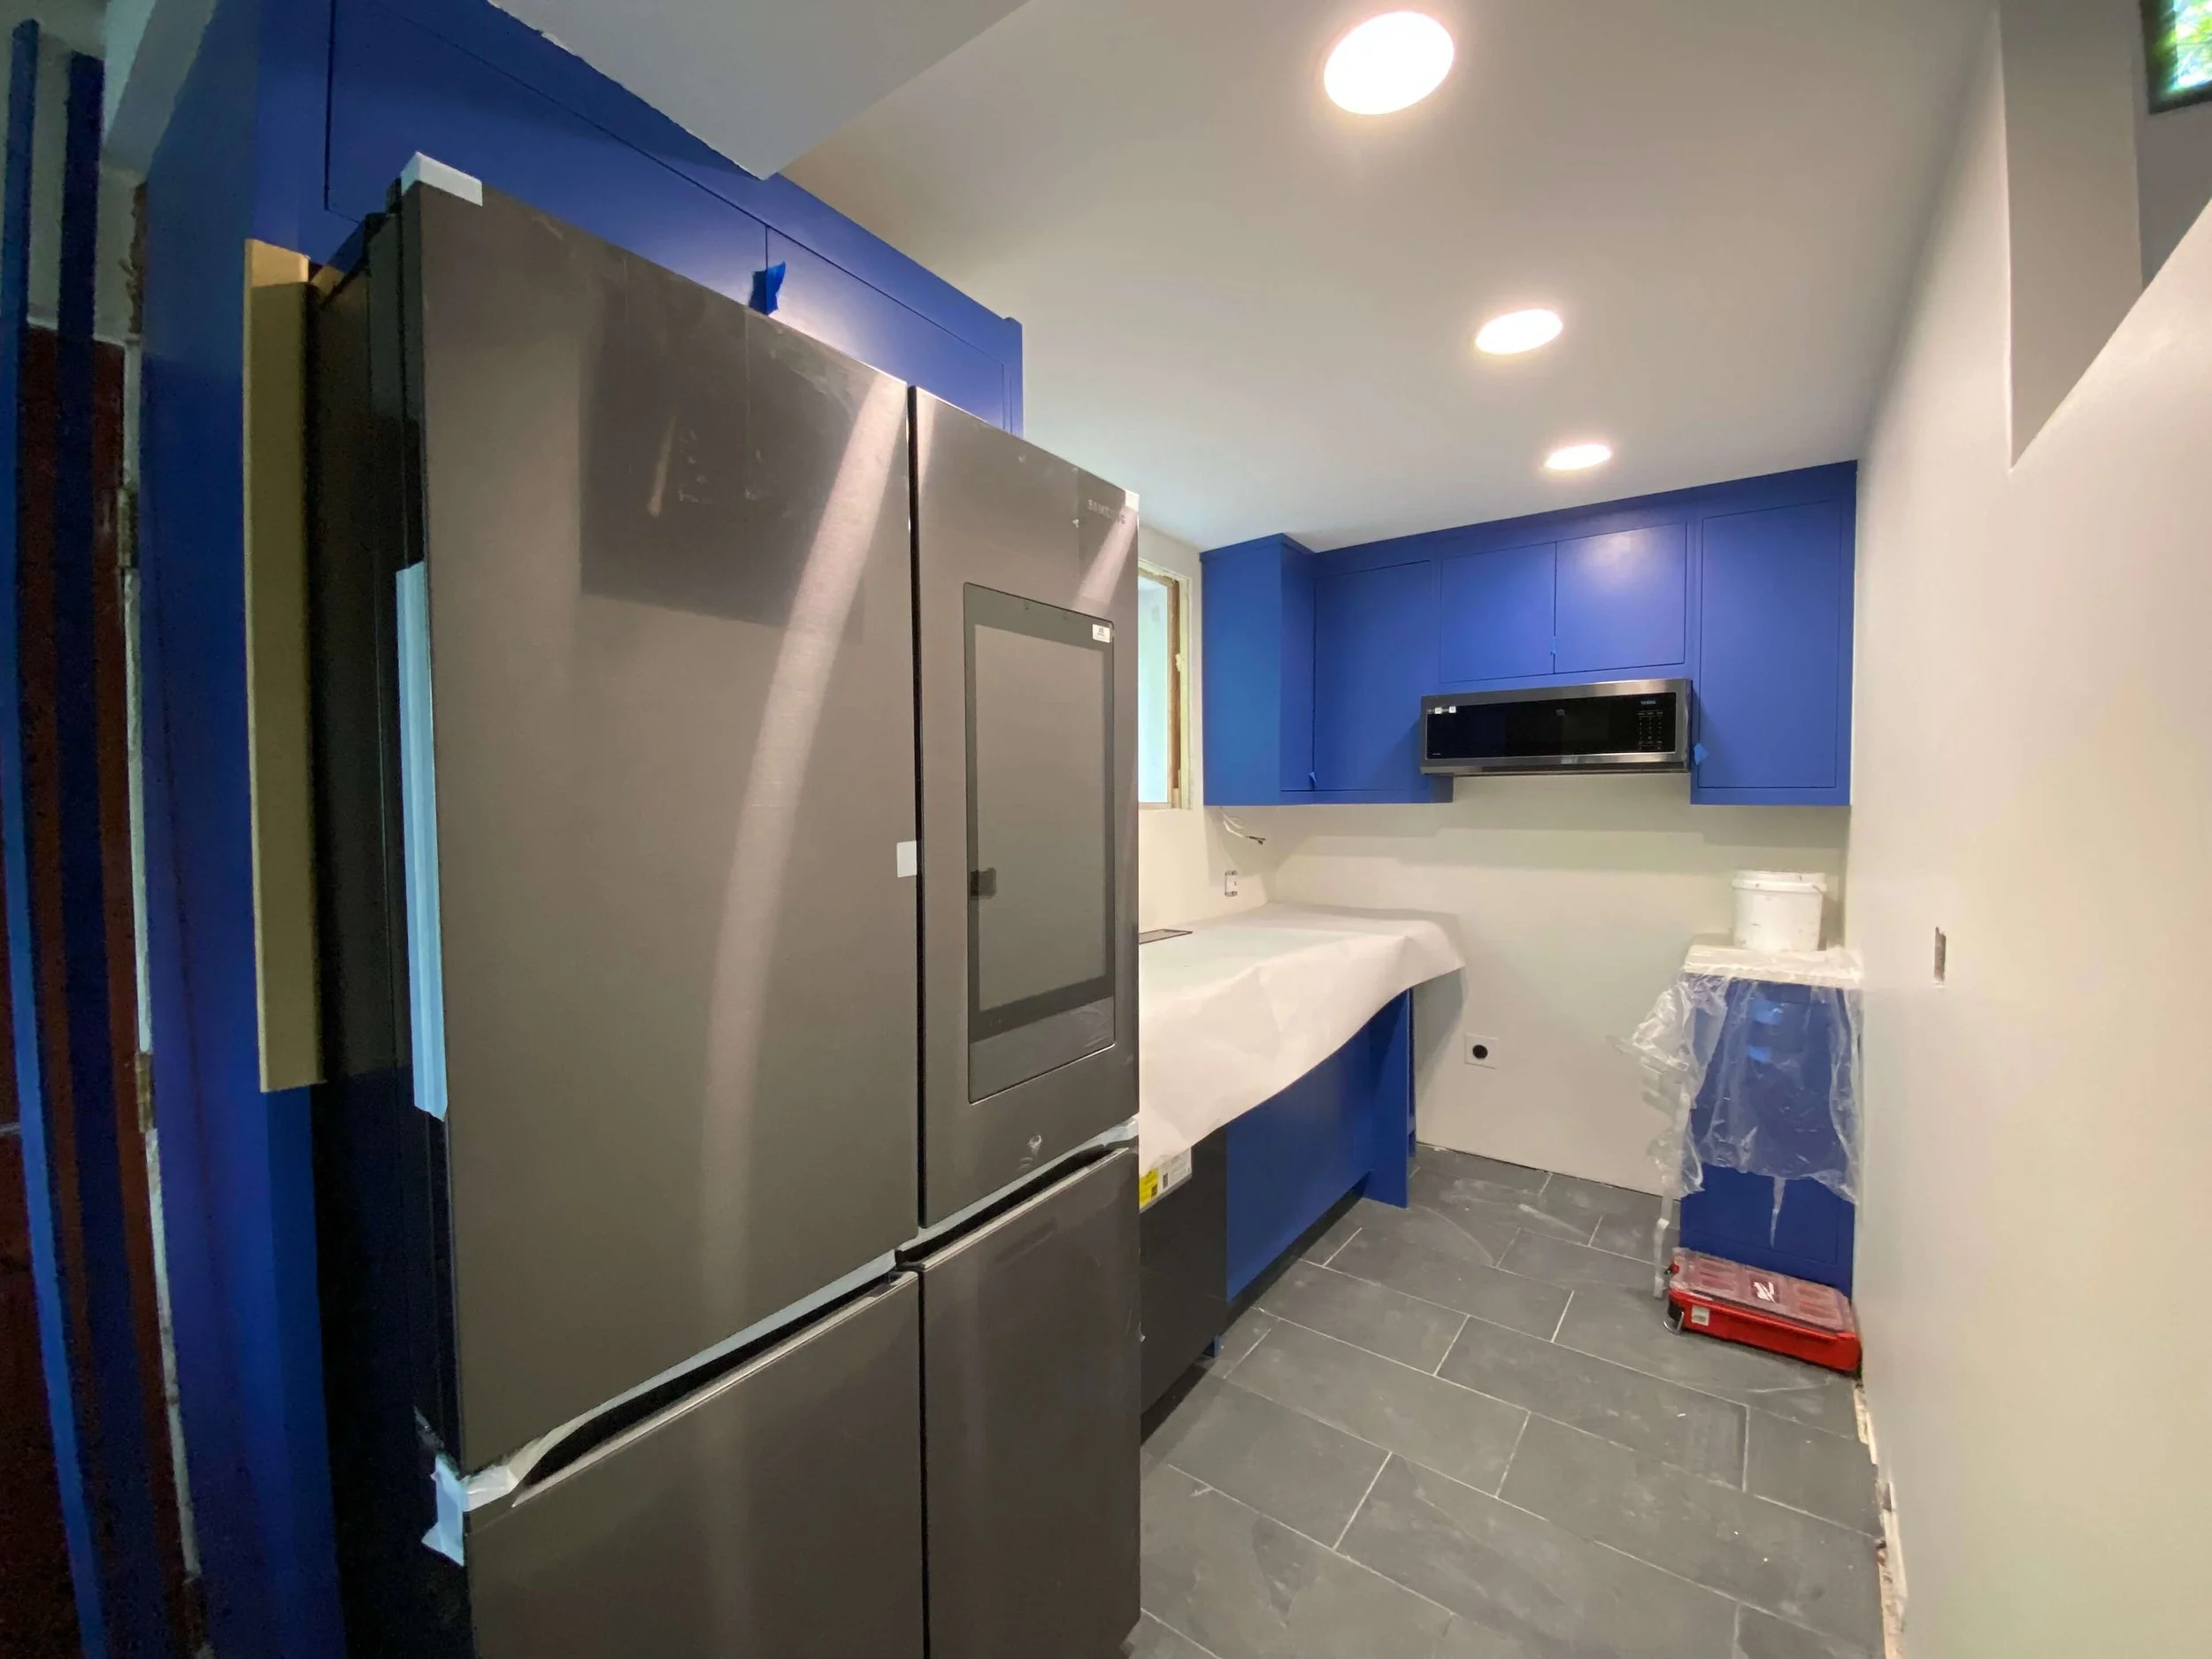
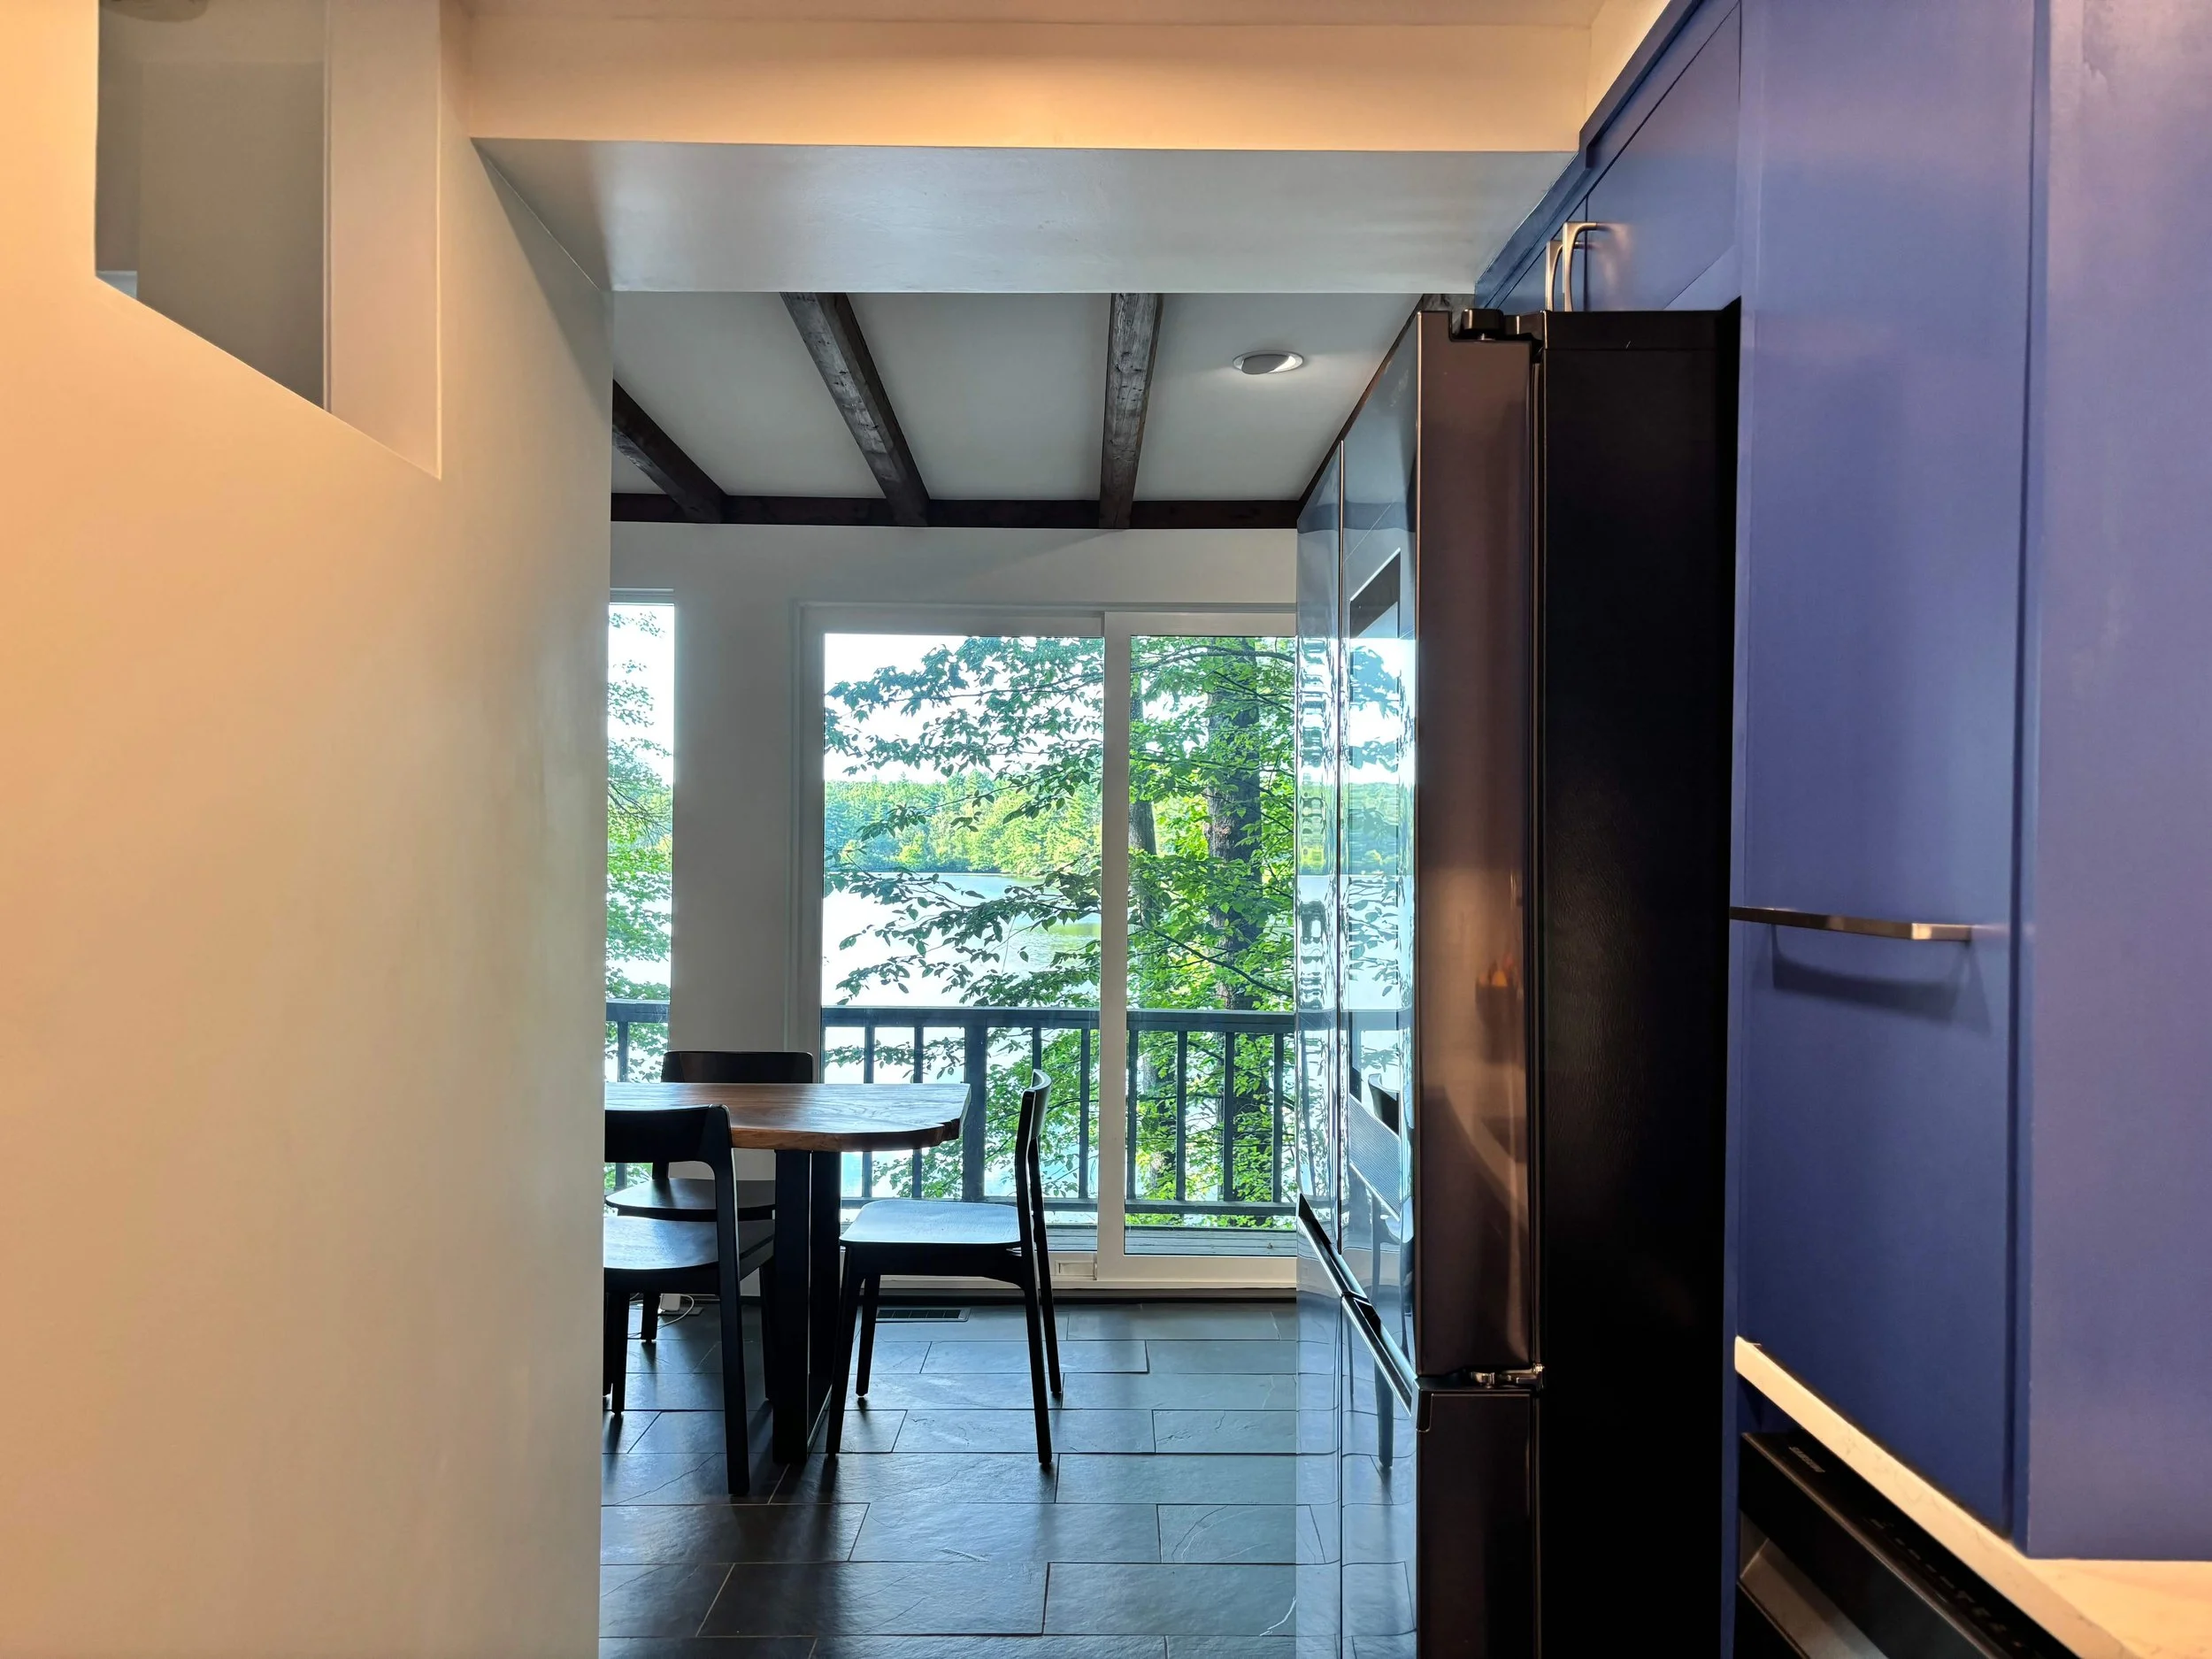
I wish we had known about counter-depth refrigerators vs non-counter-depth ones (like ours).
Don’t regret the refrigerator purchase, but regretted the cabinet design. We could have brought the cabinets forward with a greater depth so that the refrigerator would not appear to stick out so much.
I don’t know that we would have halted the process and have our cabinet guy rebuild that piece. We were in mid-September at this point and pretty much tired of living in dust and eating microwaved foods.
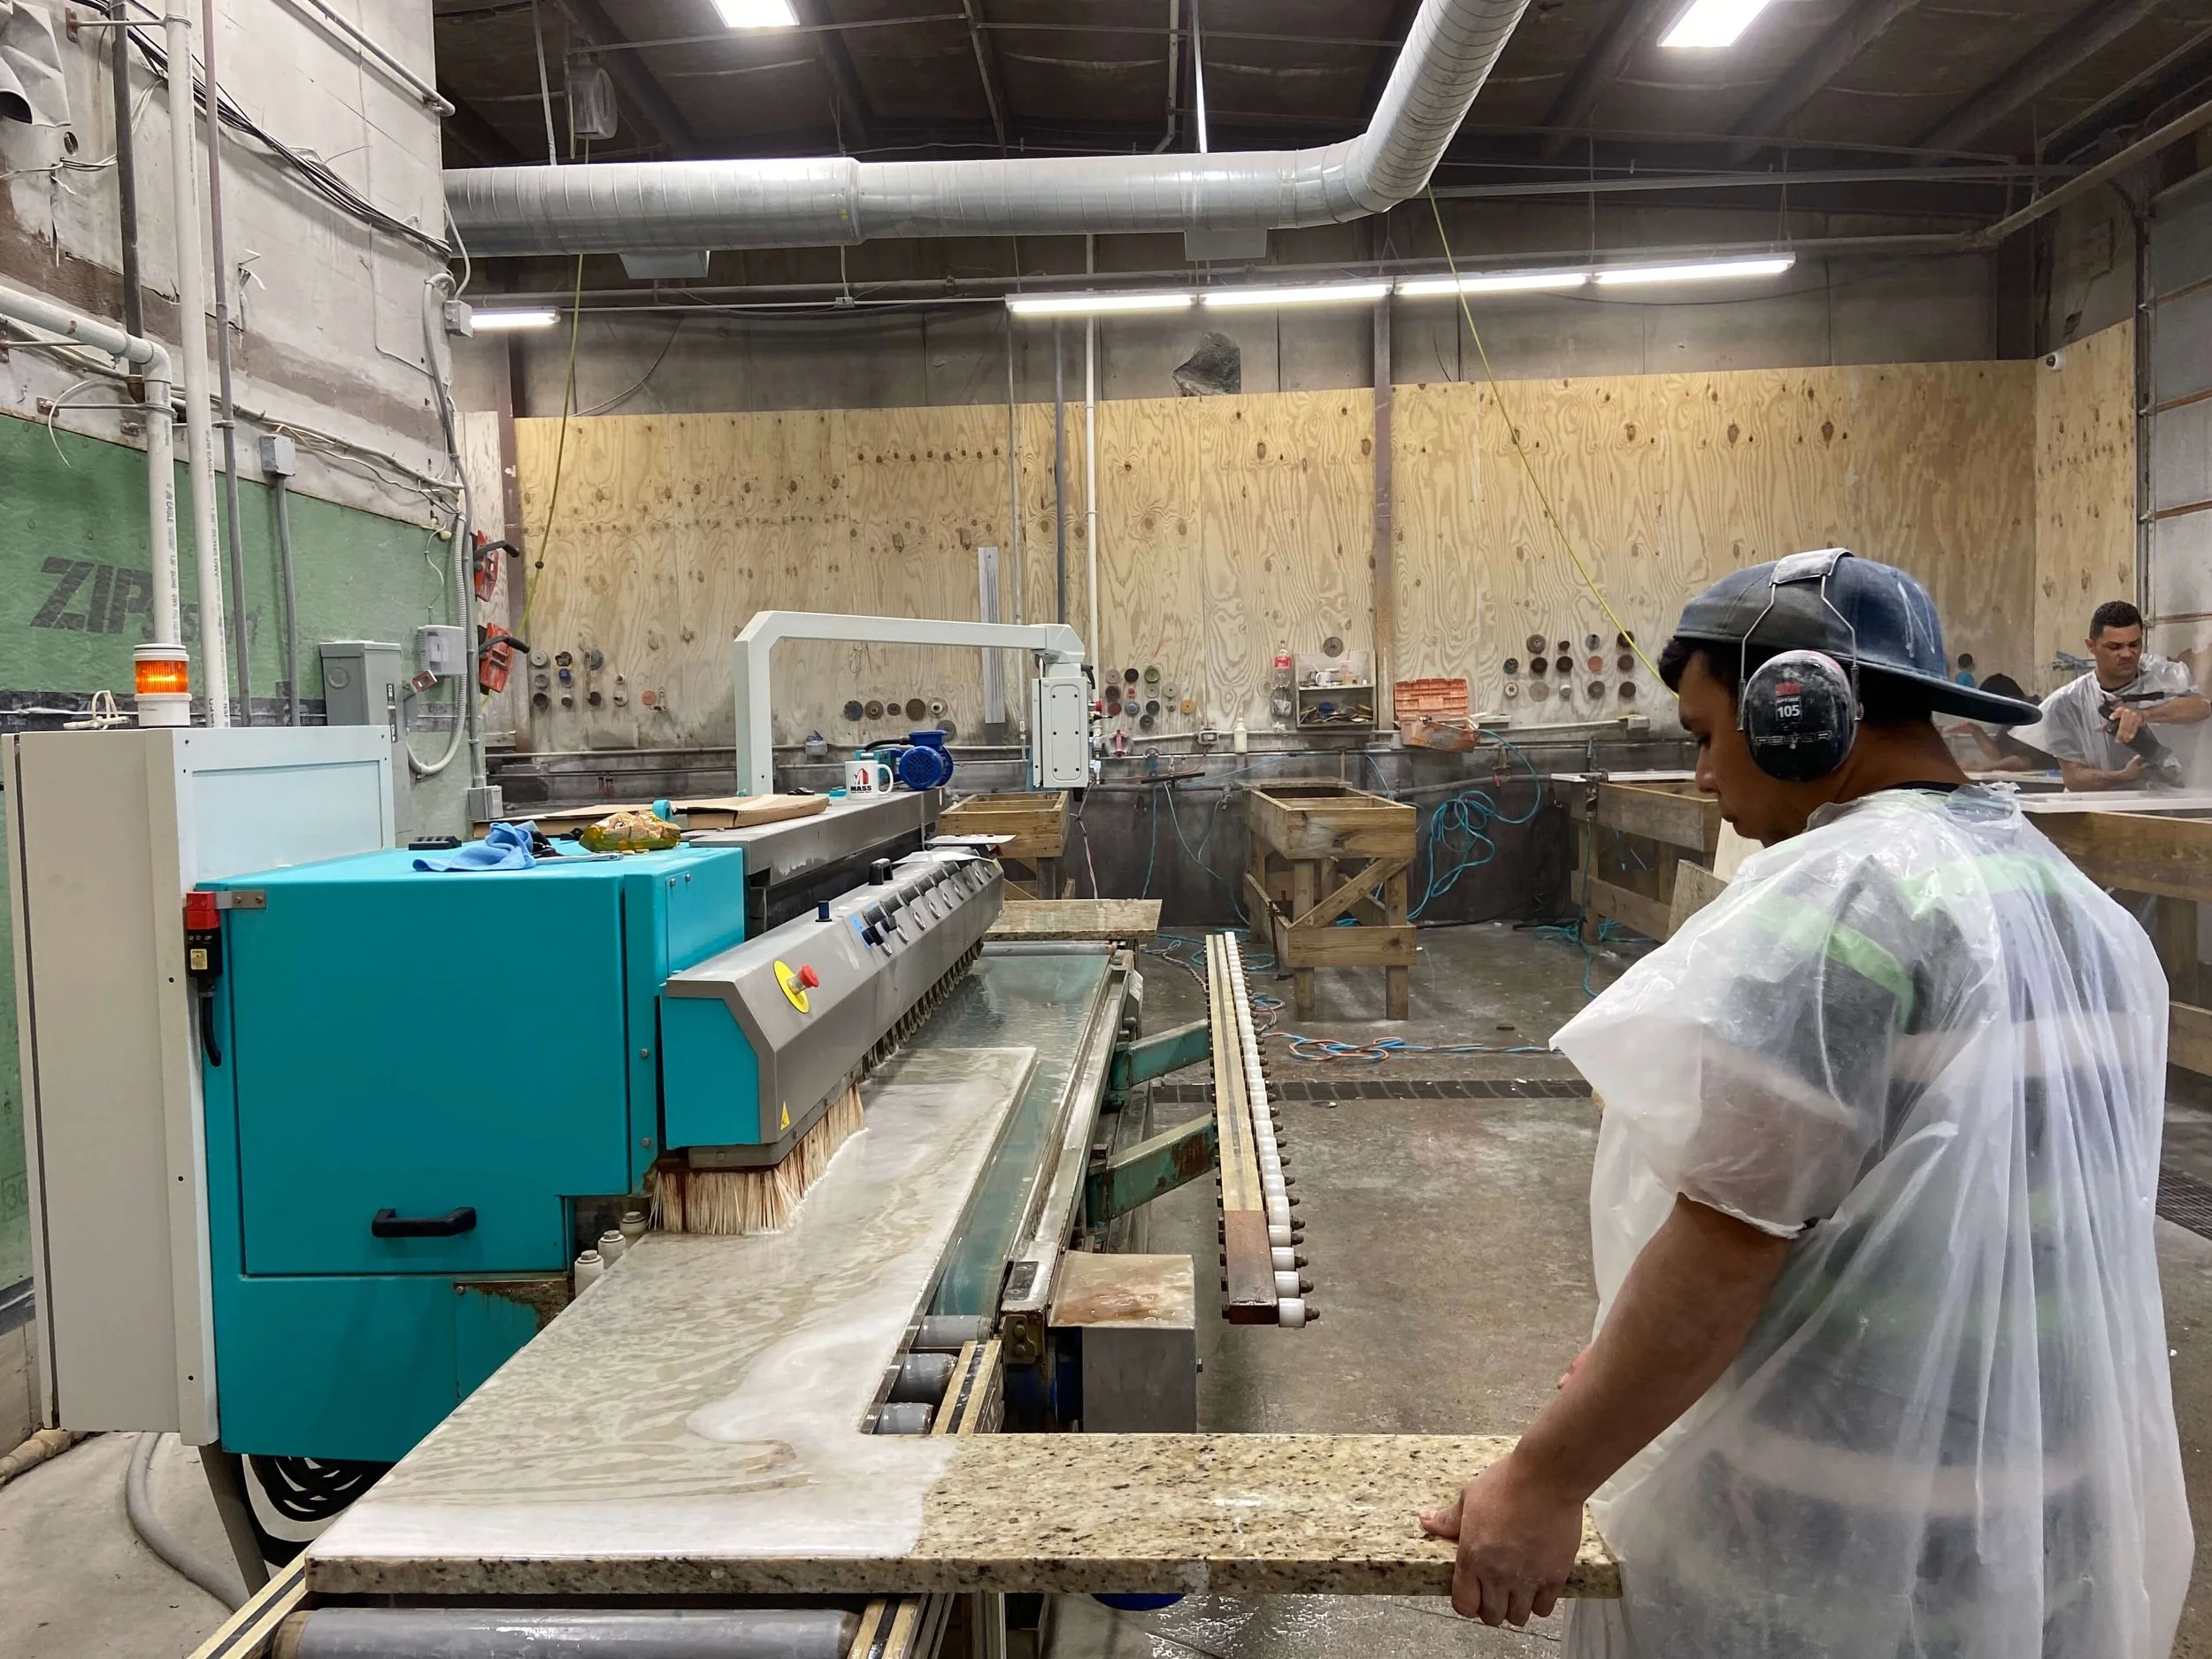
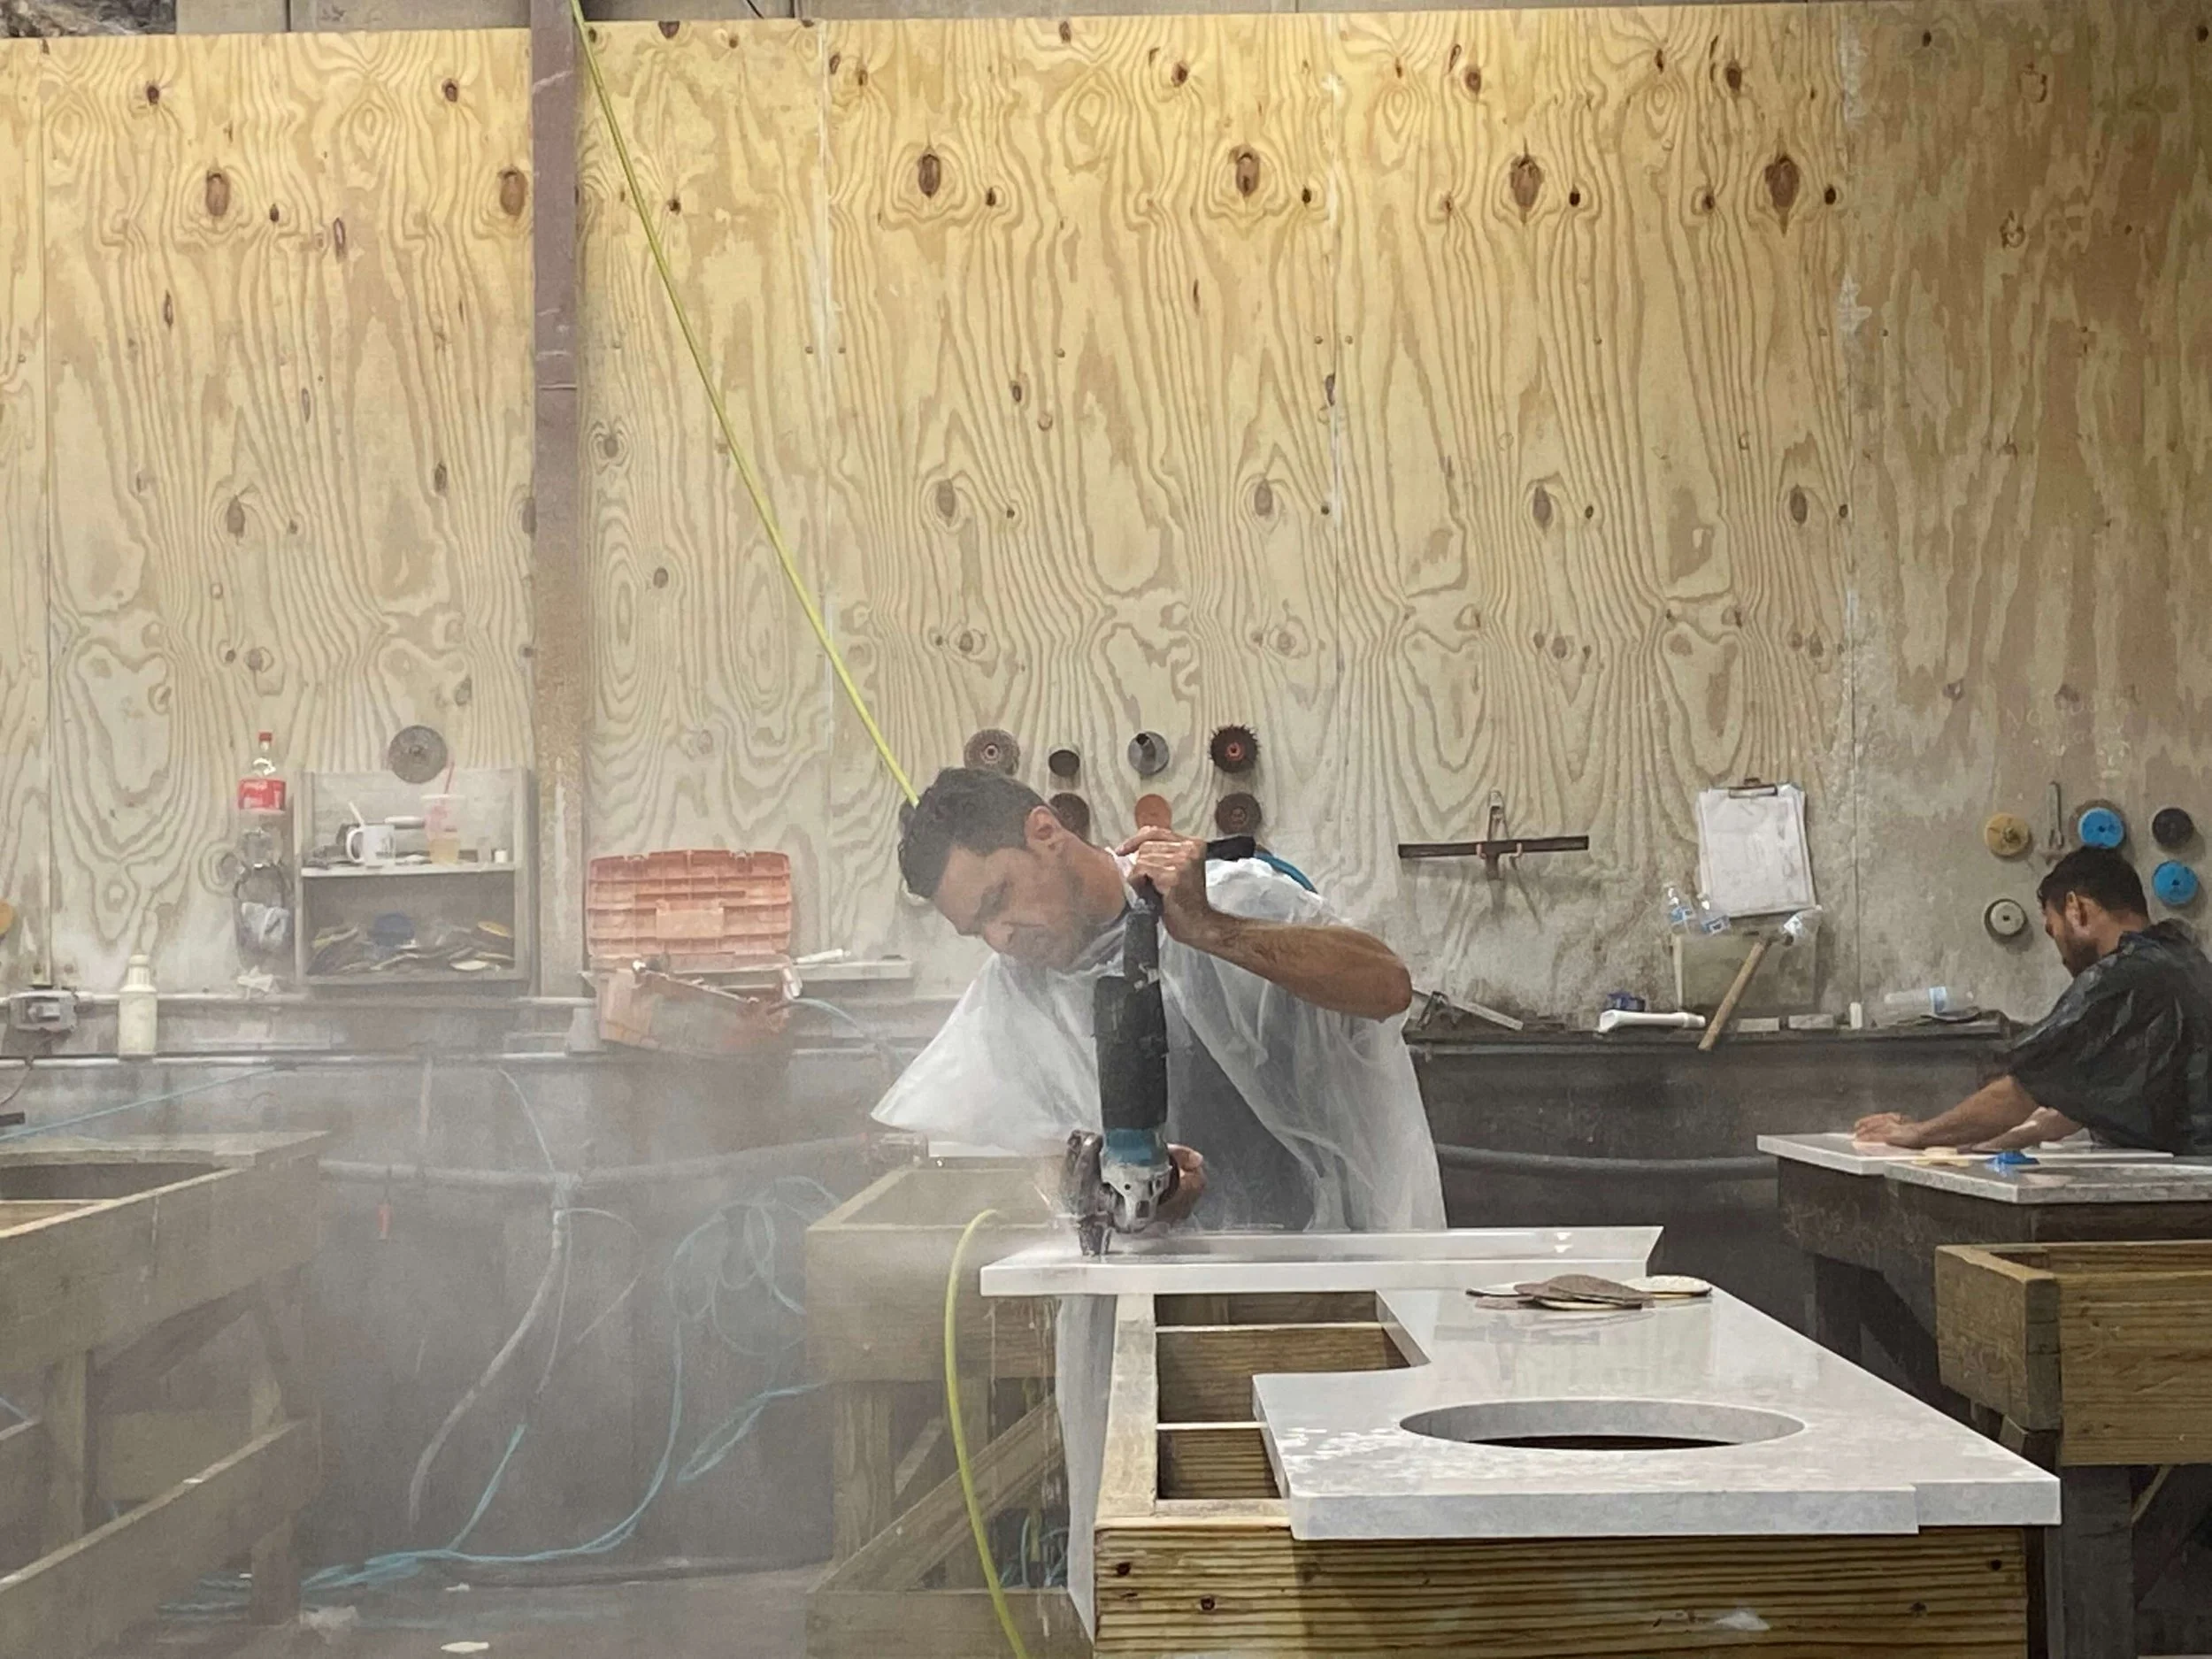
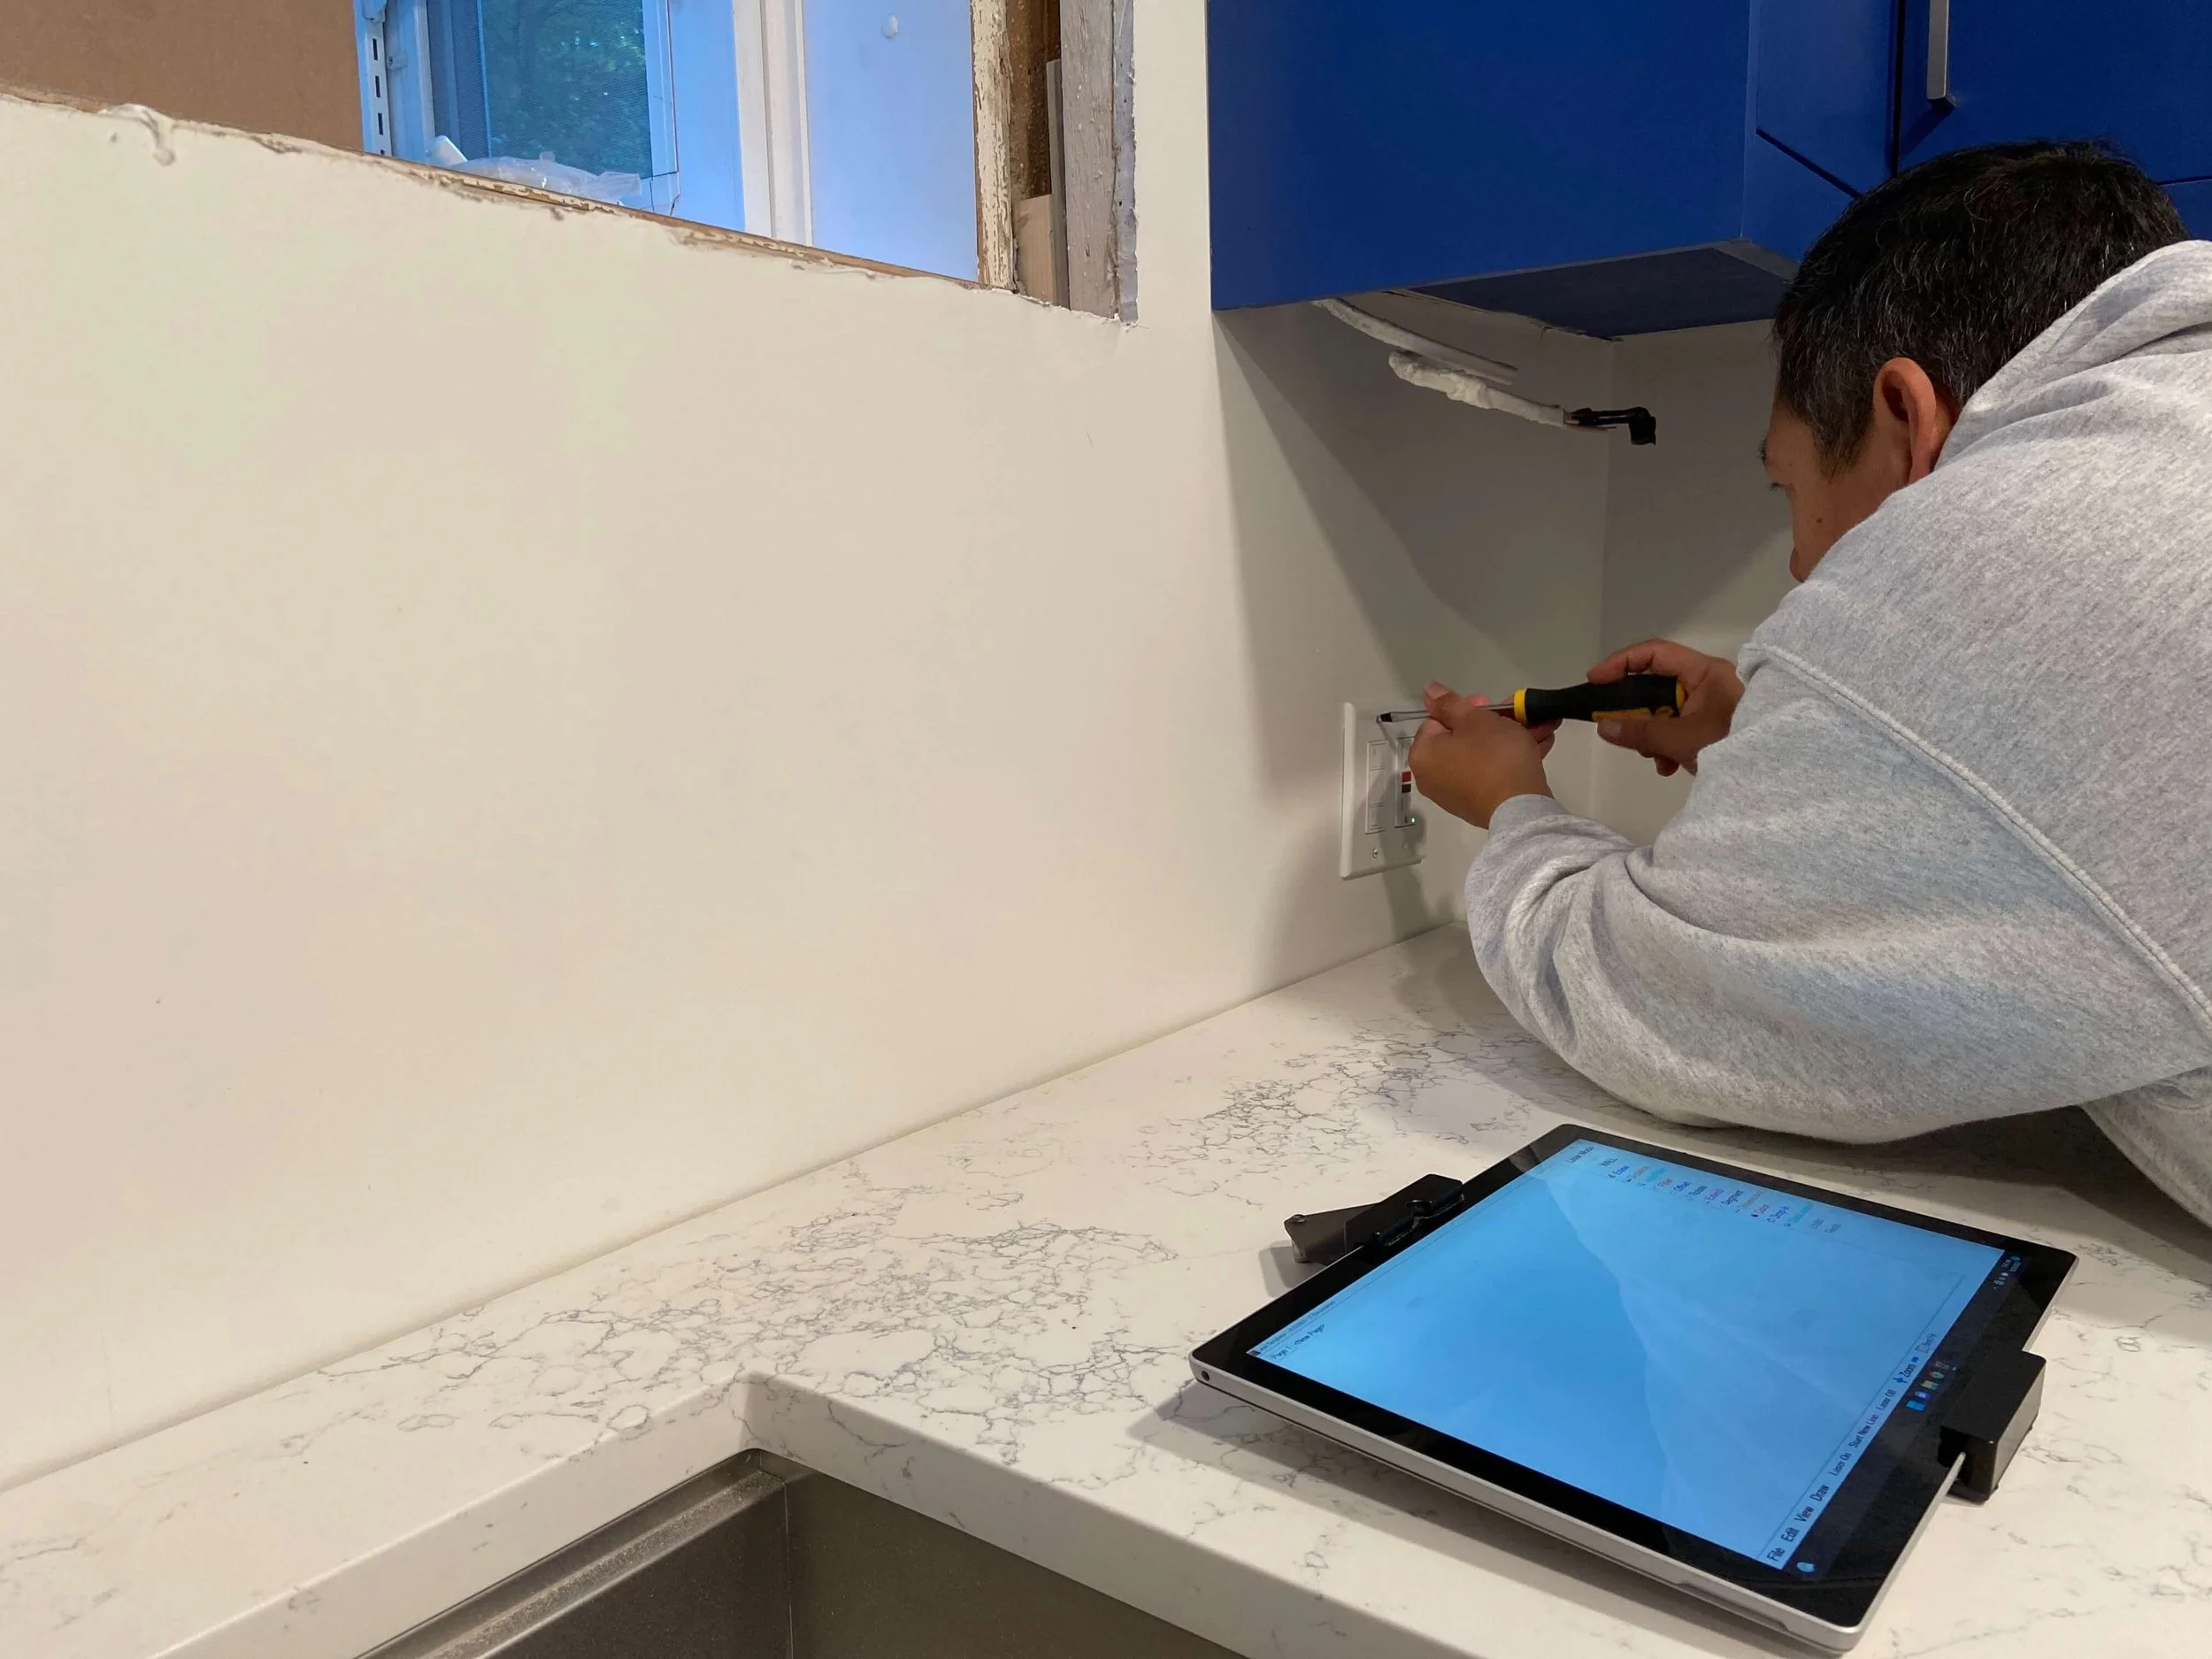
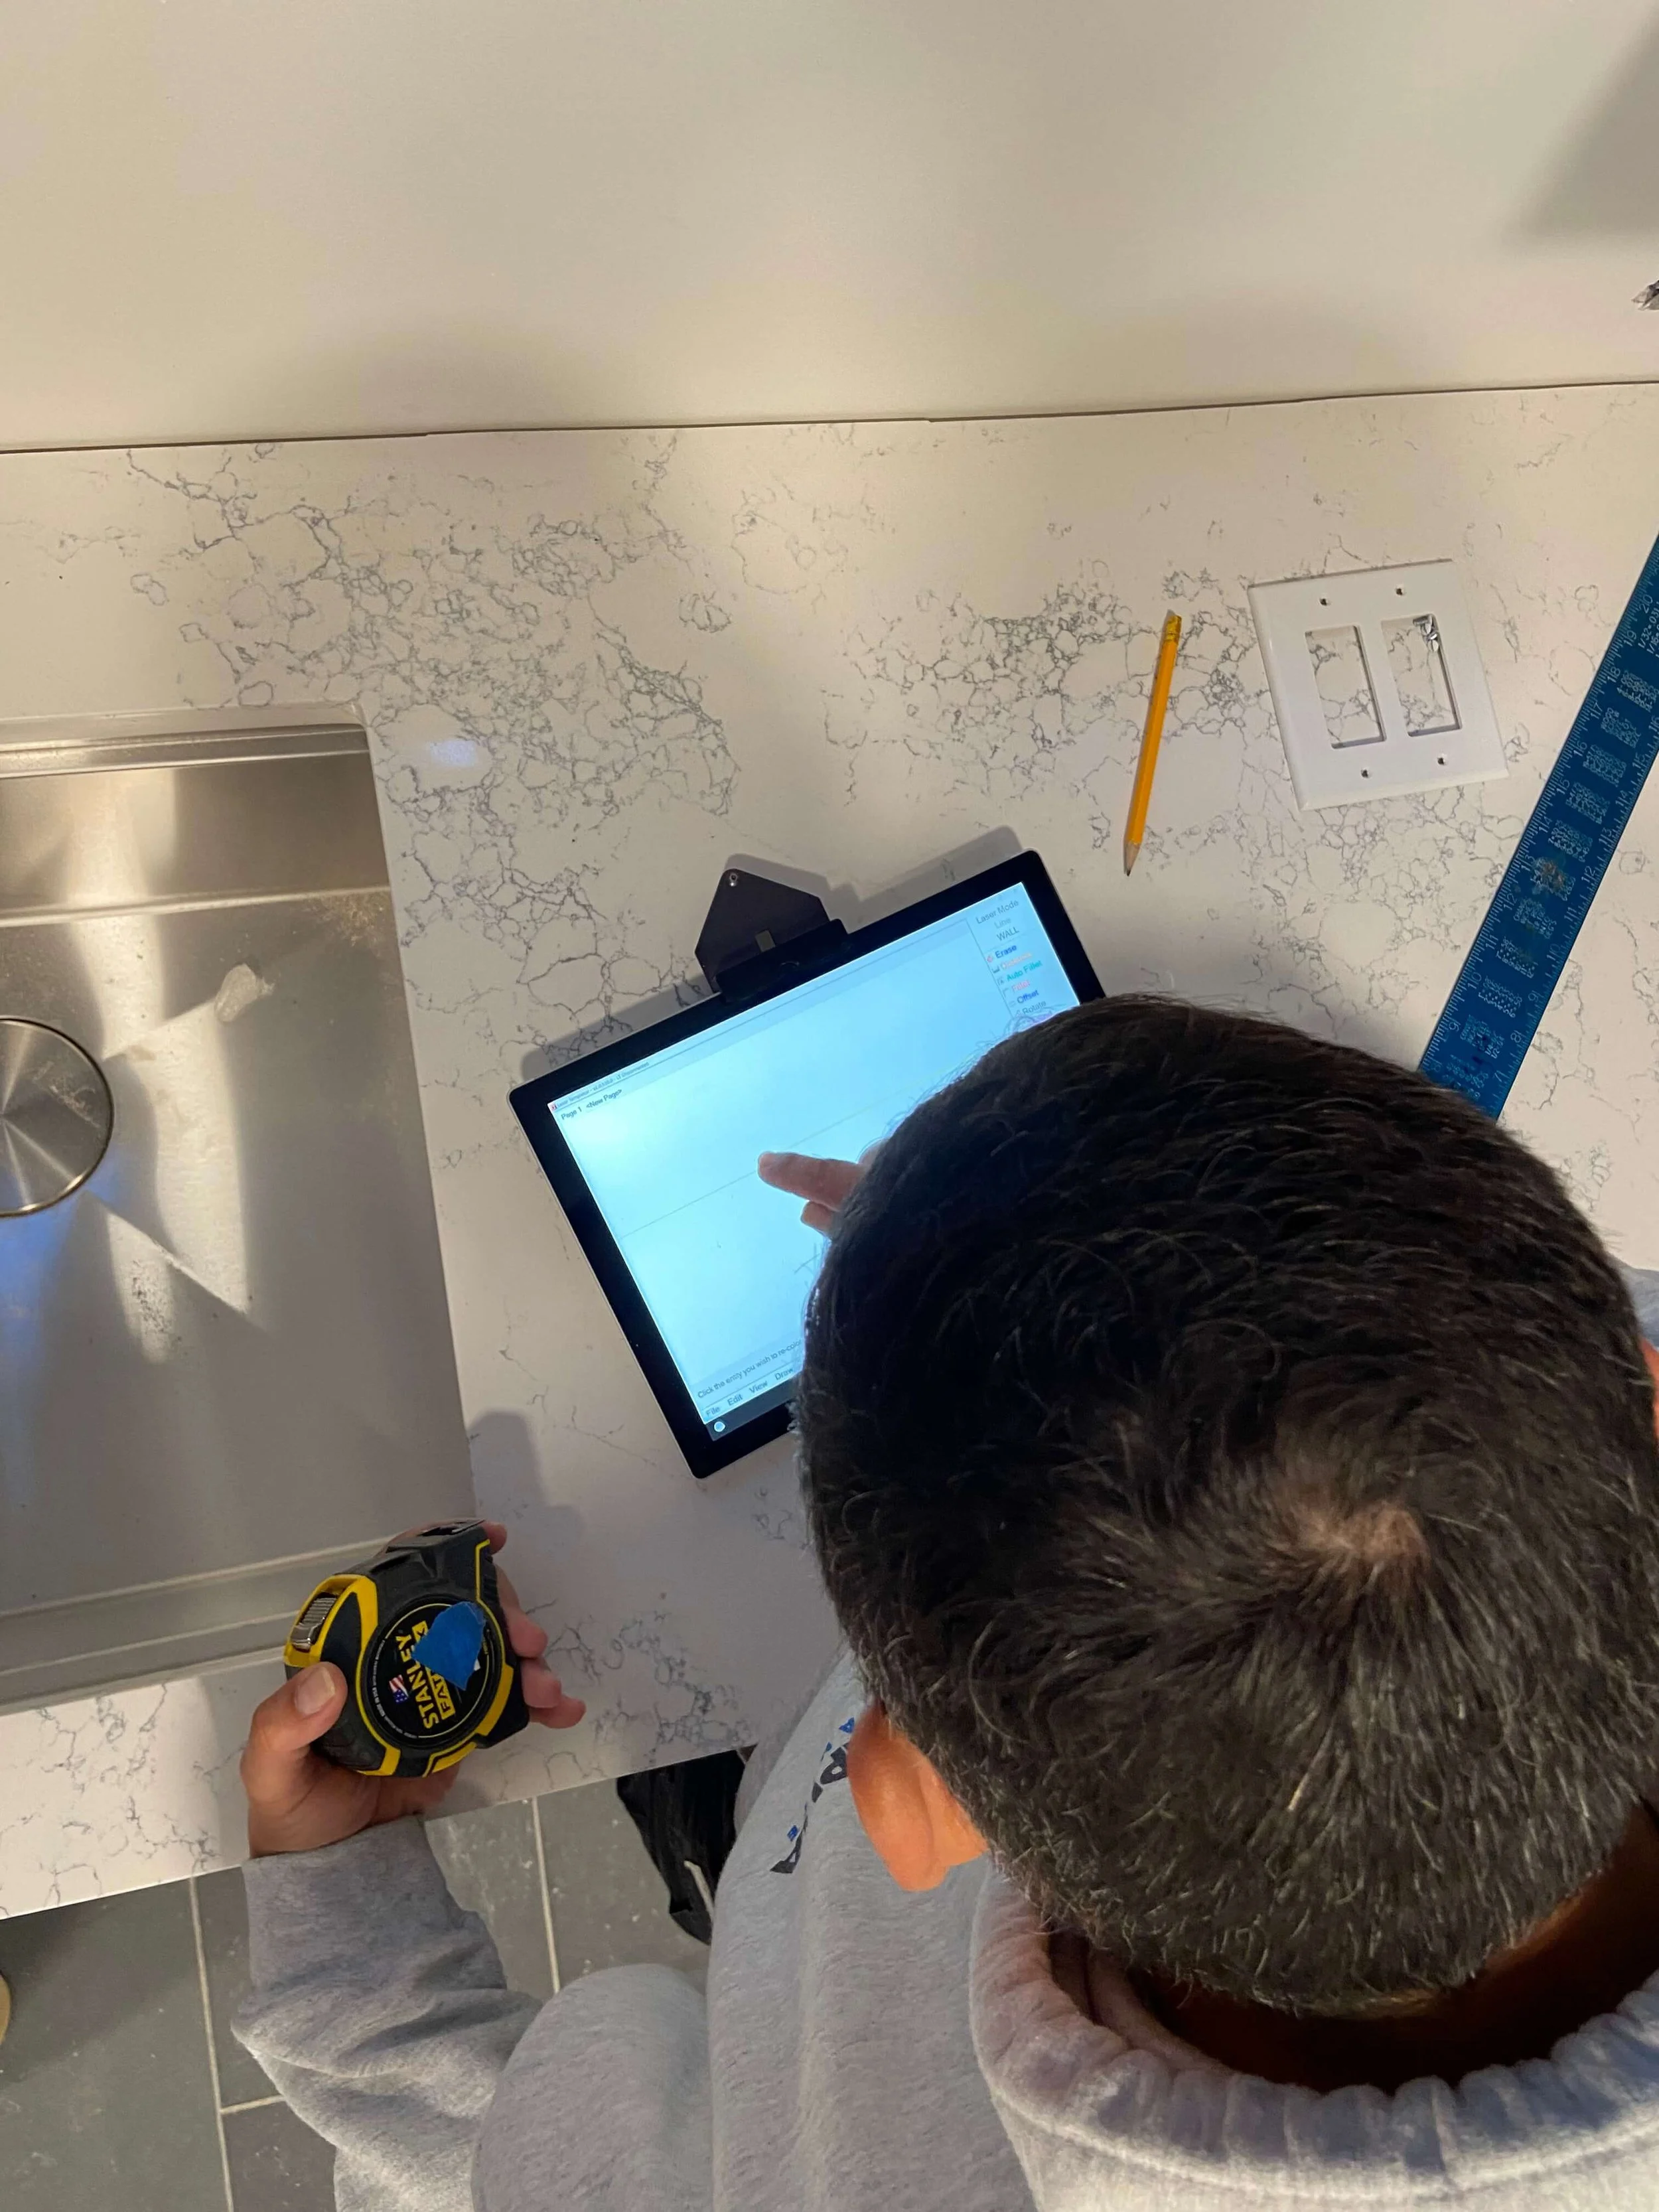
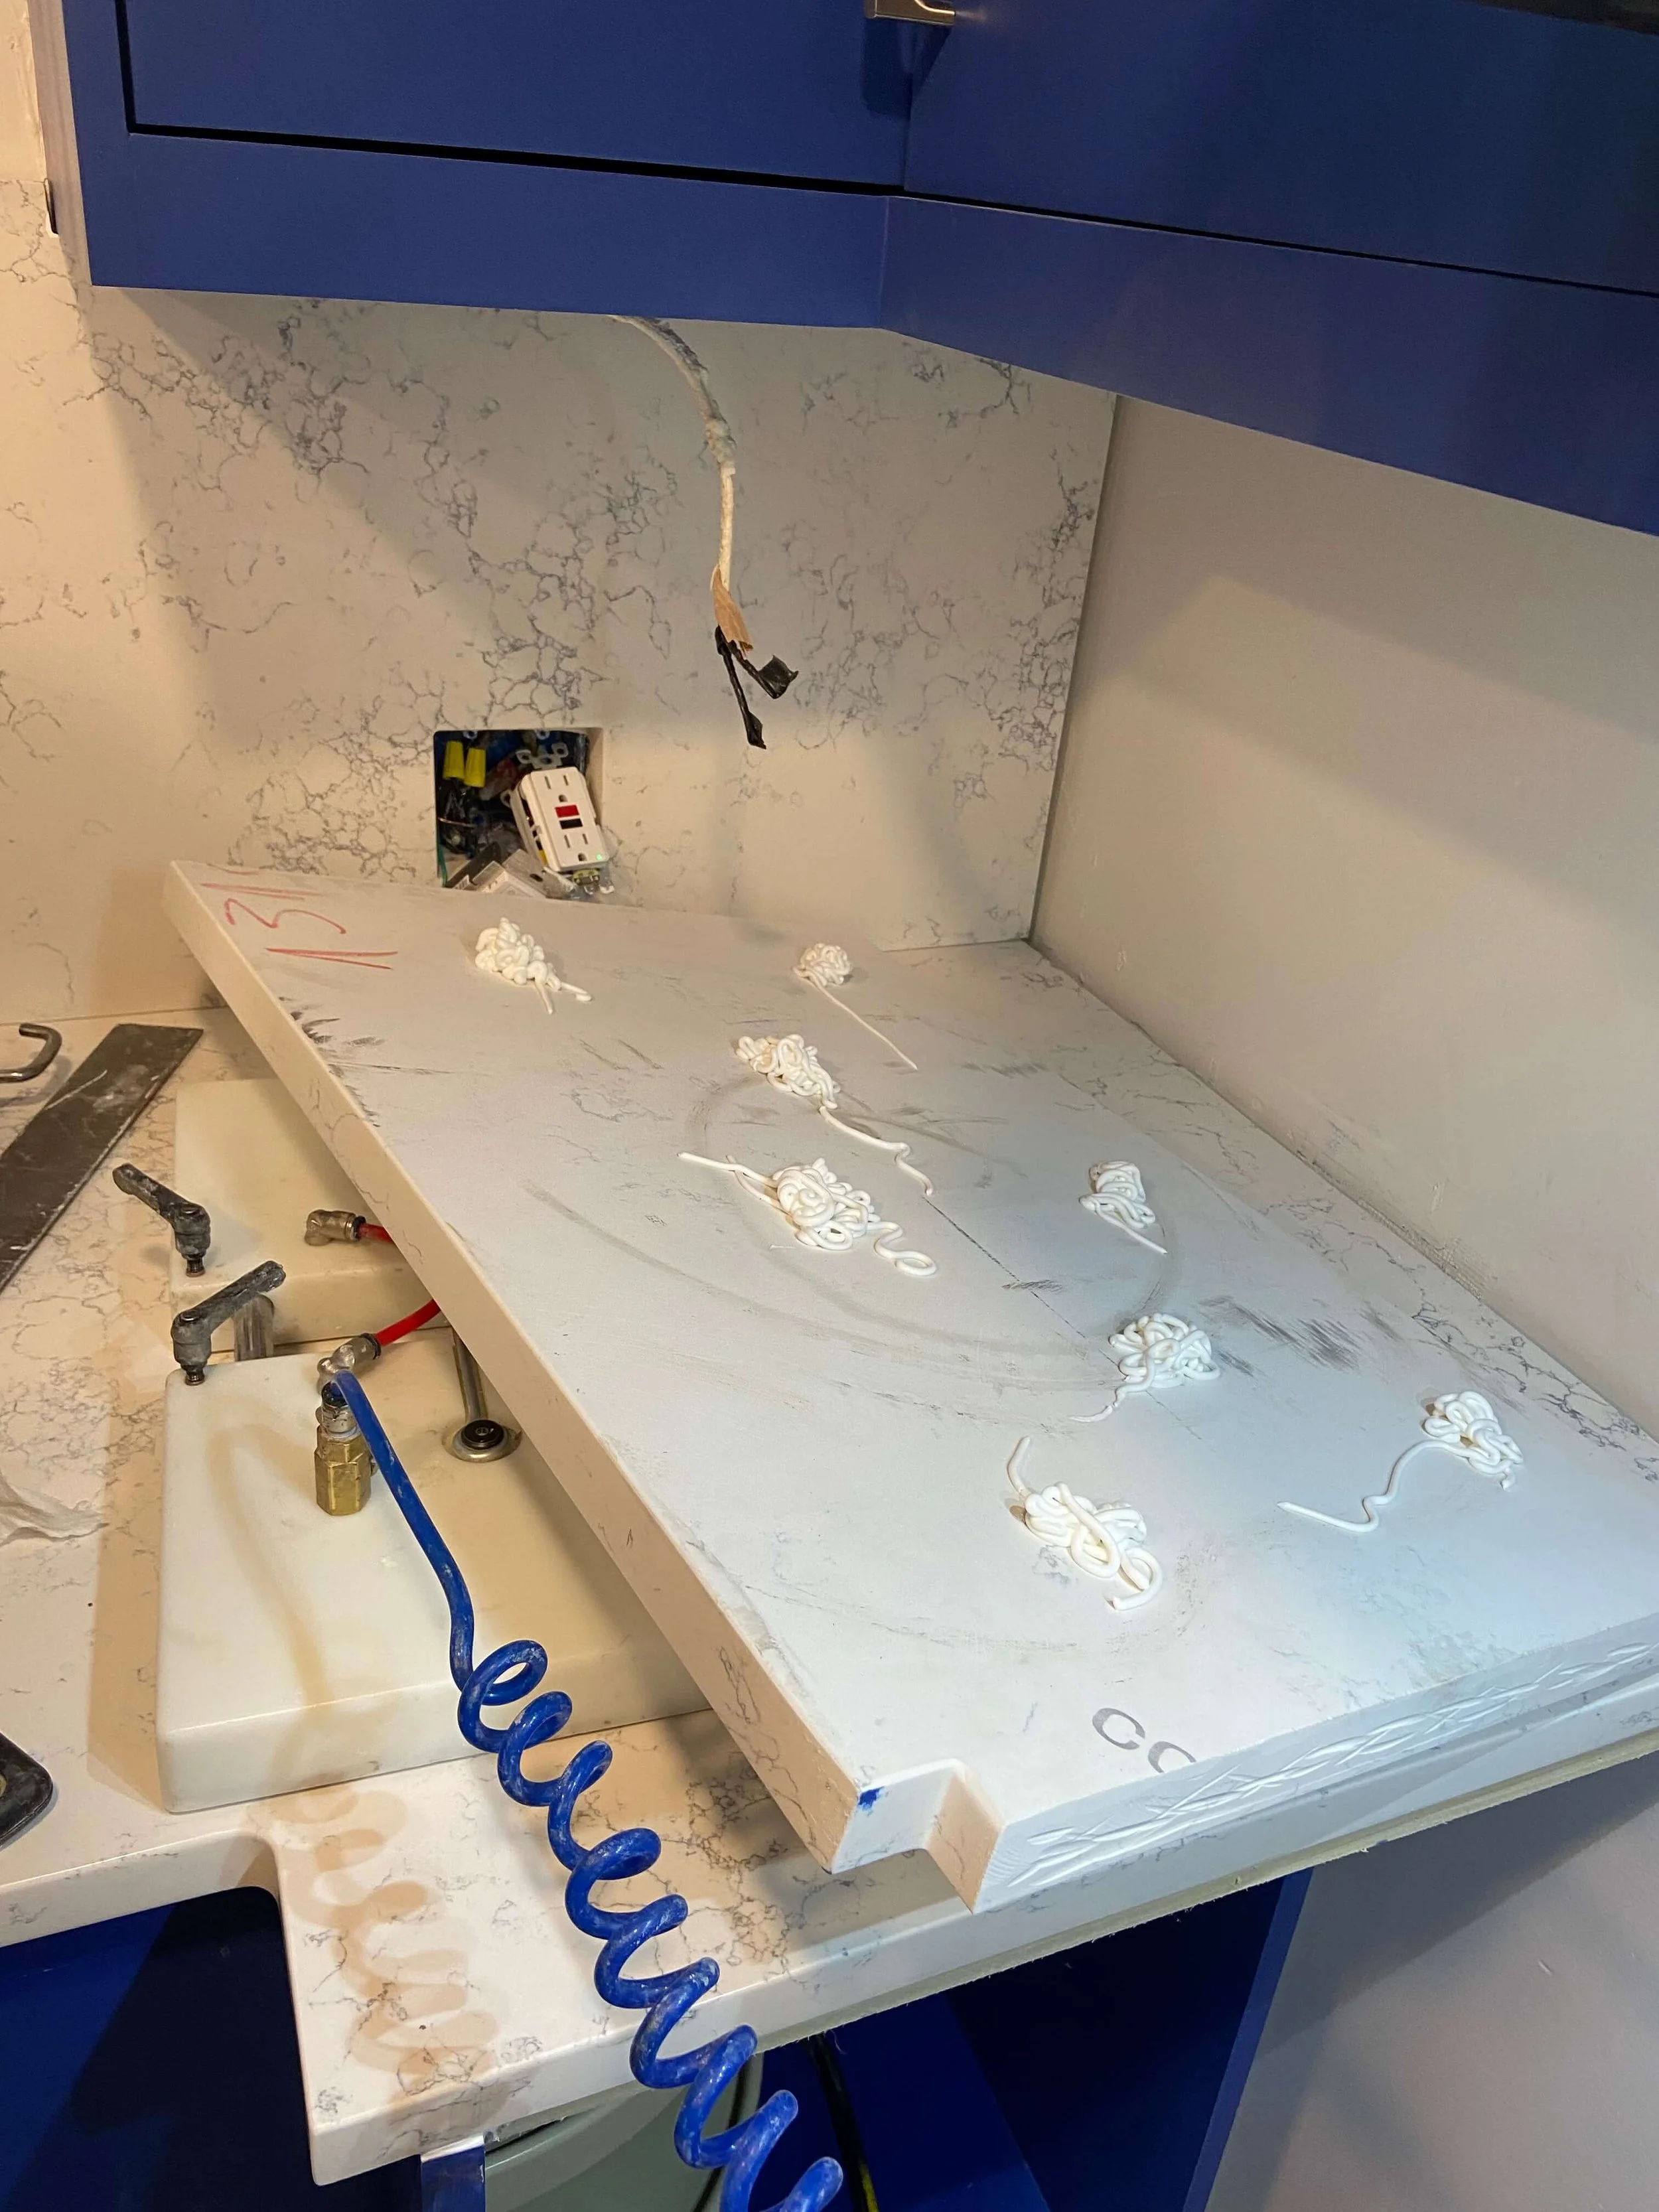
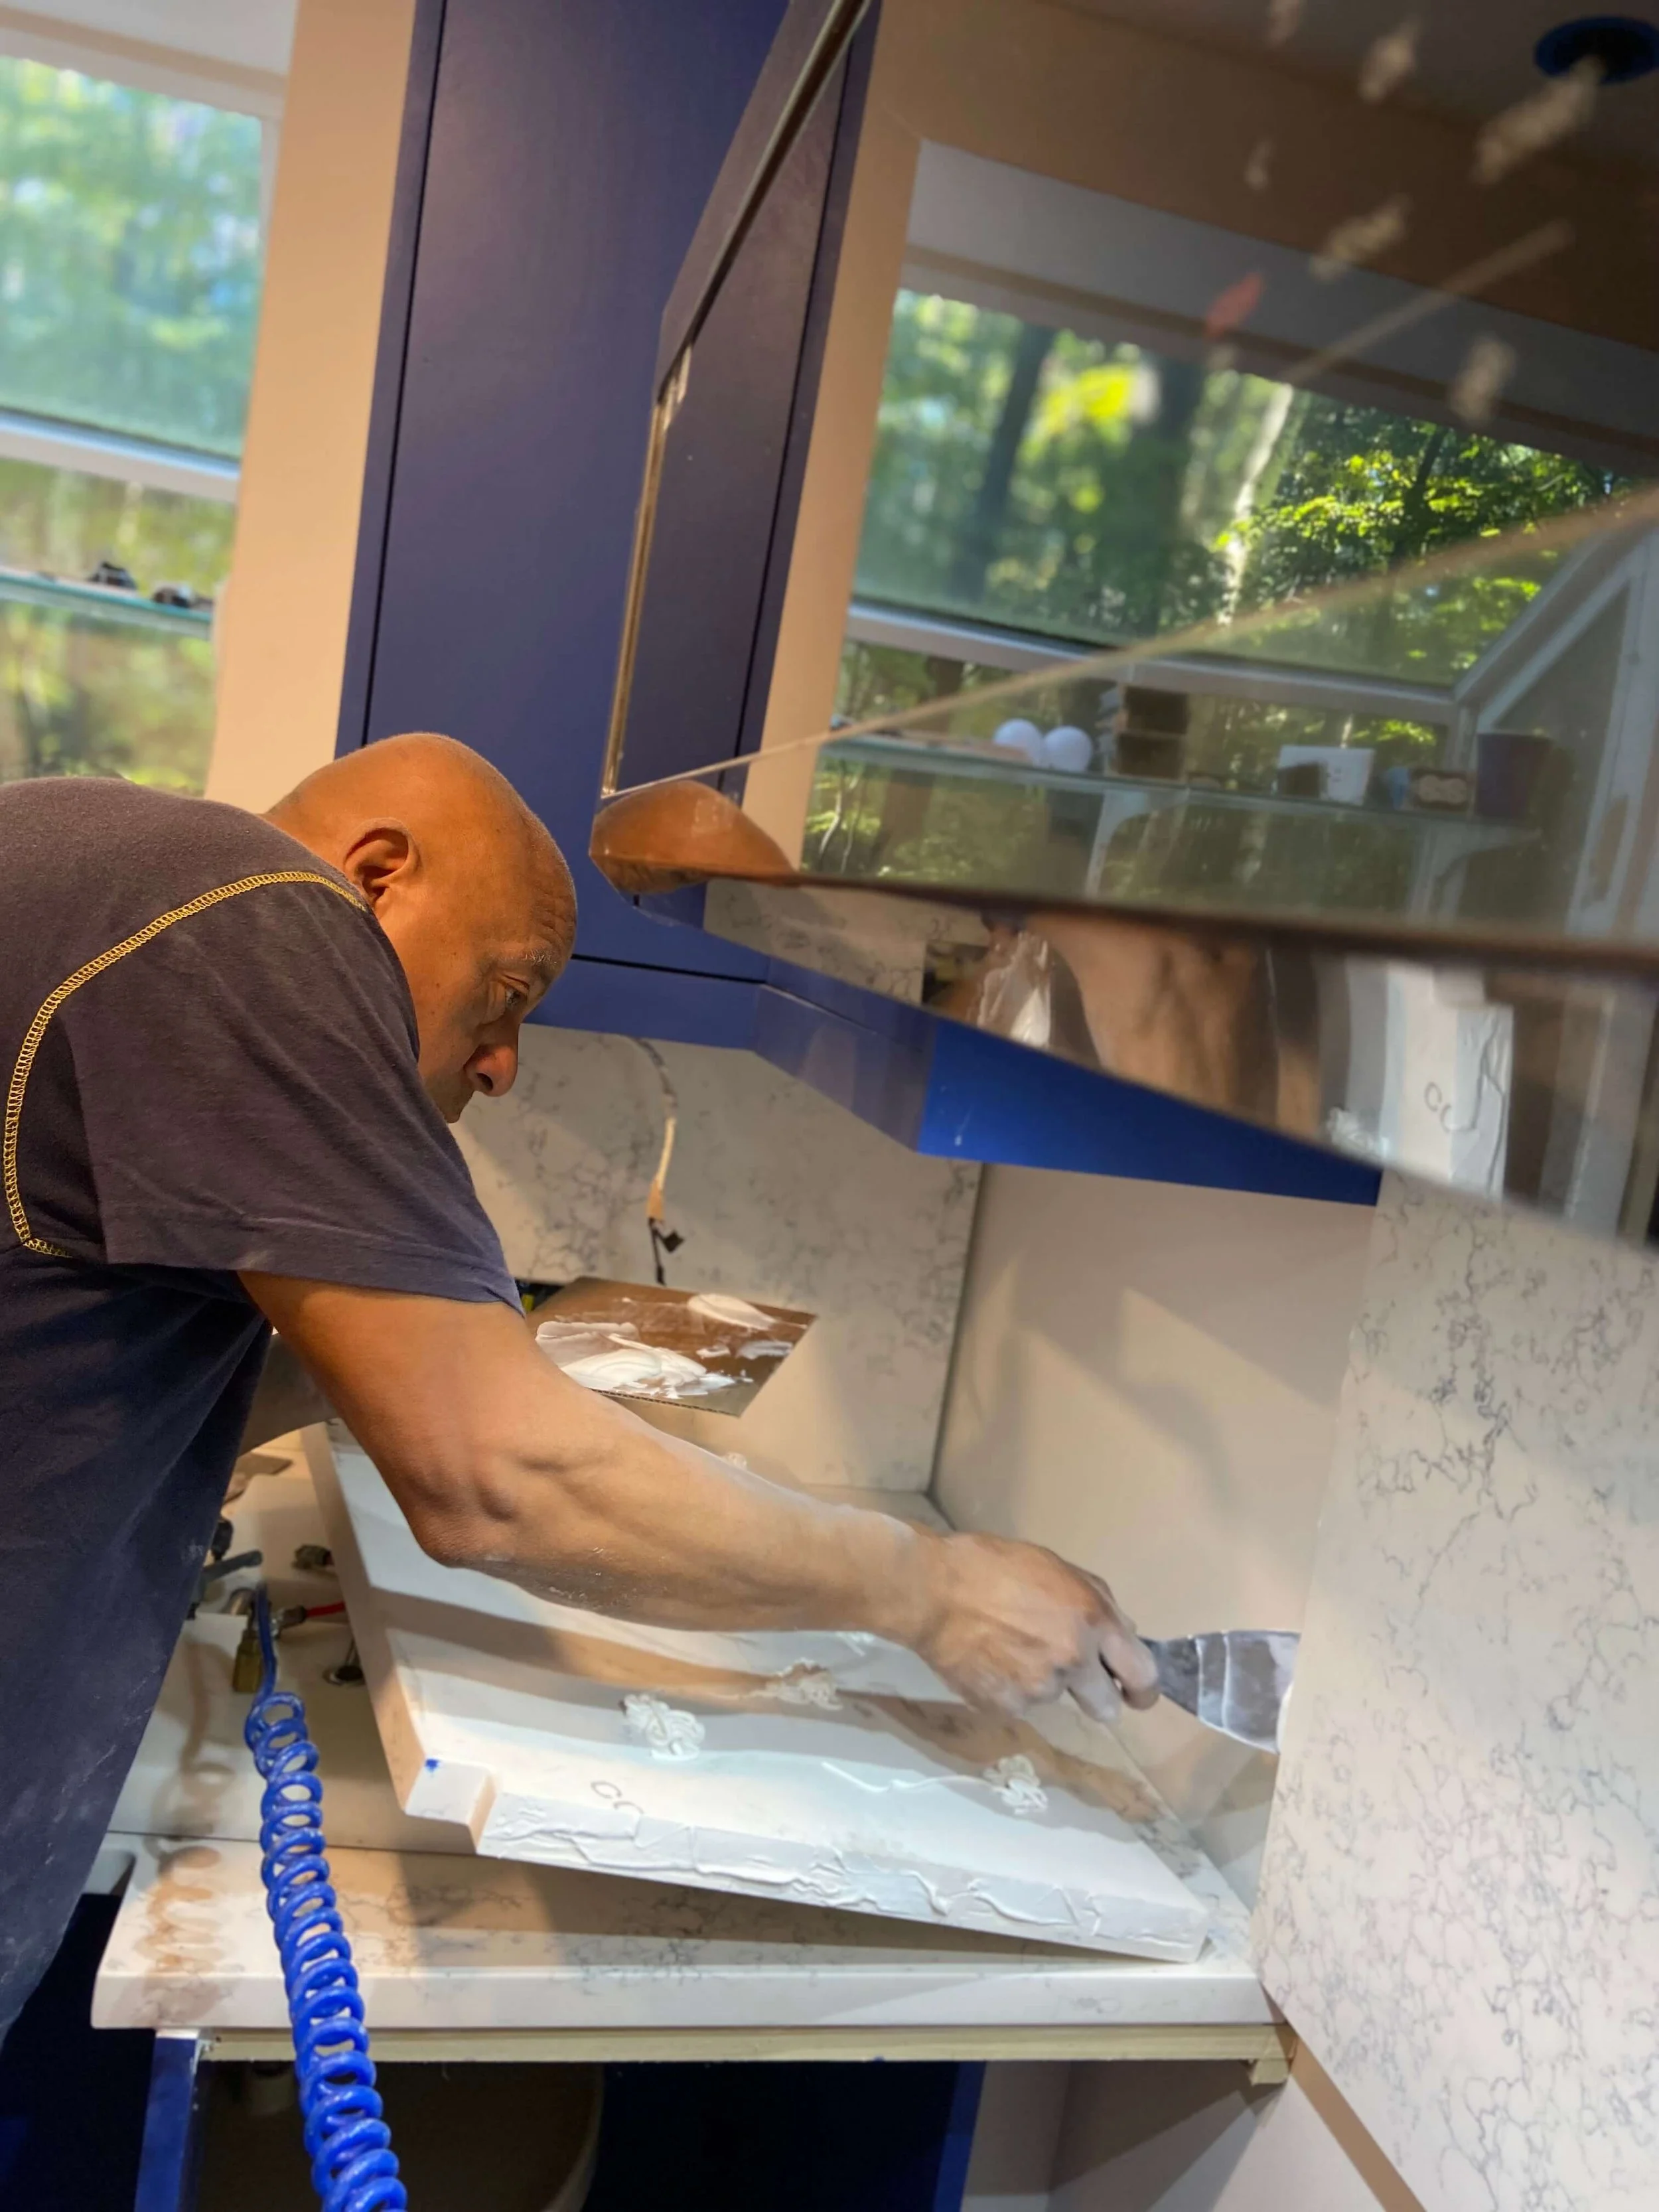
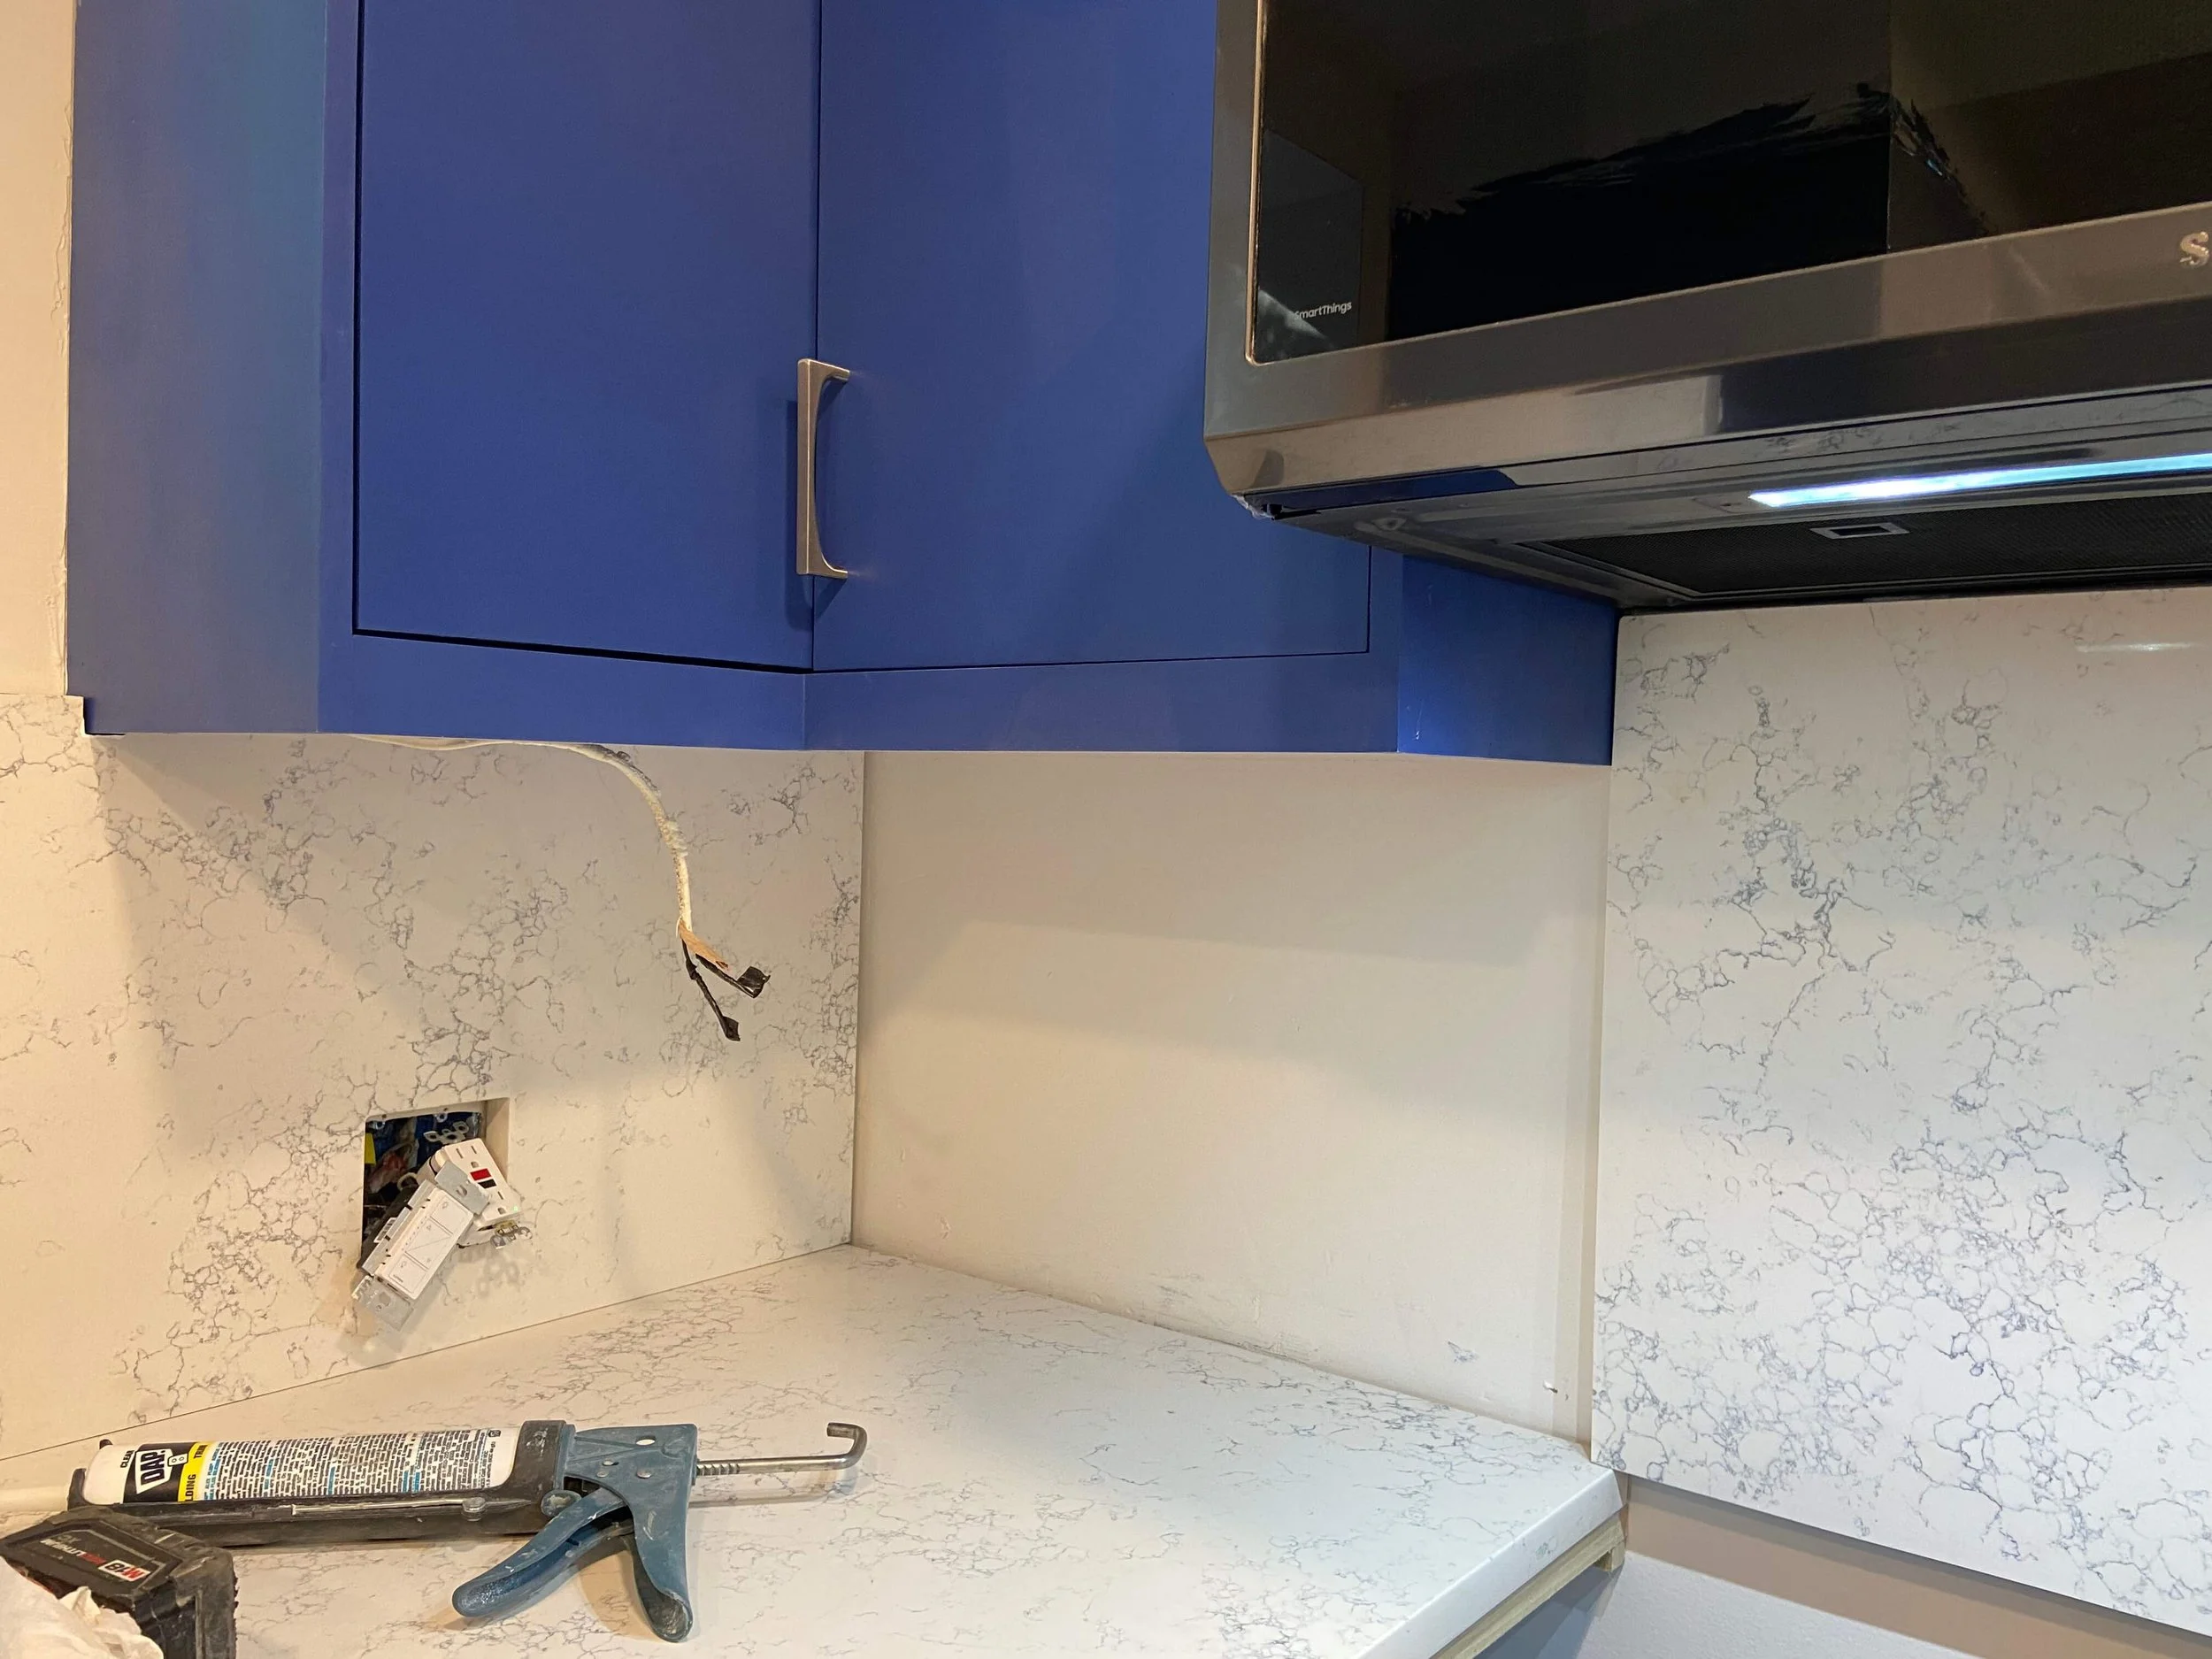
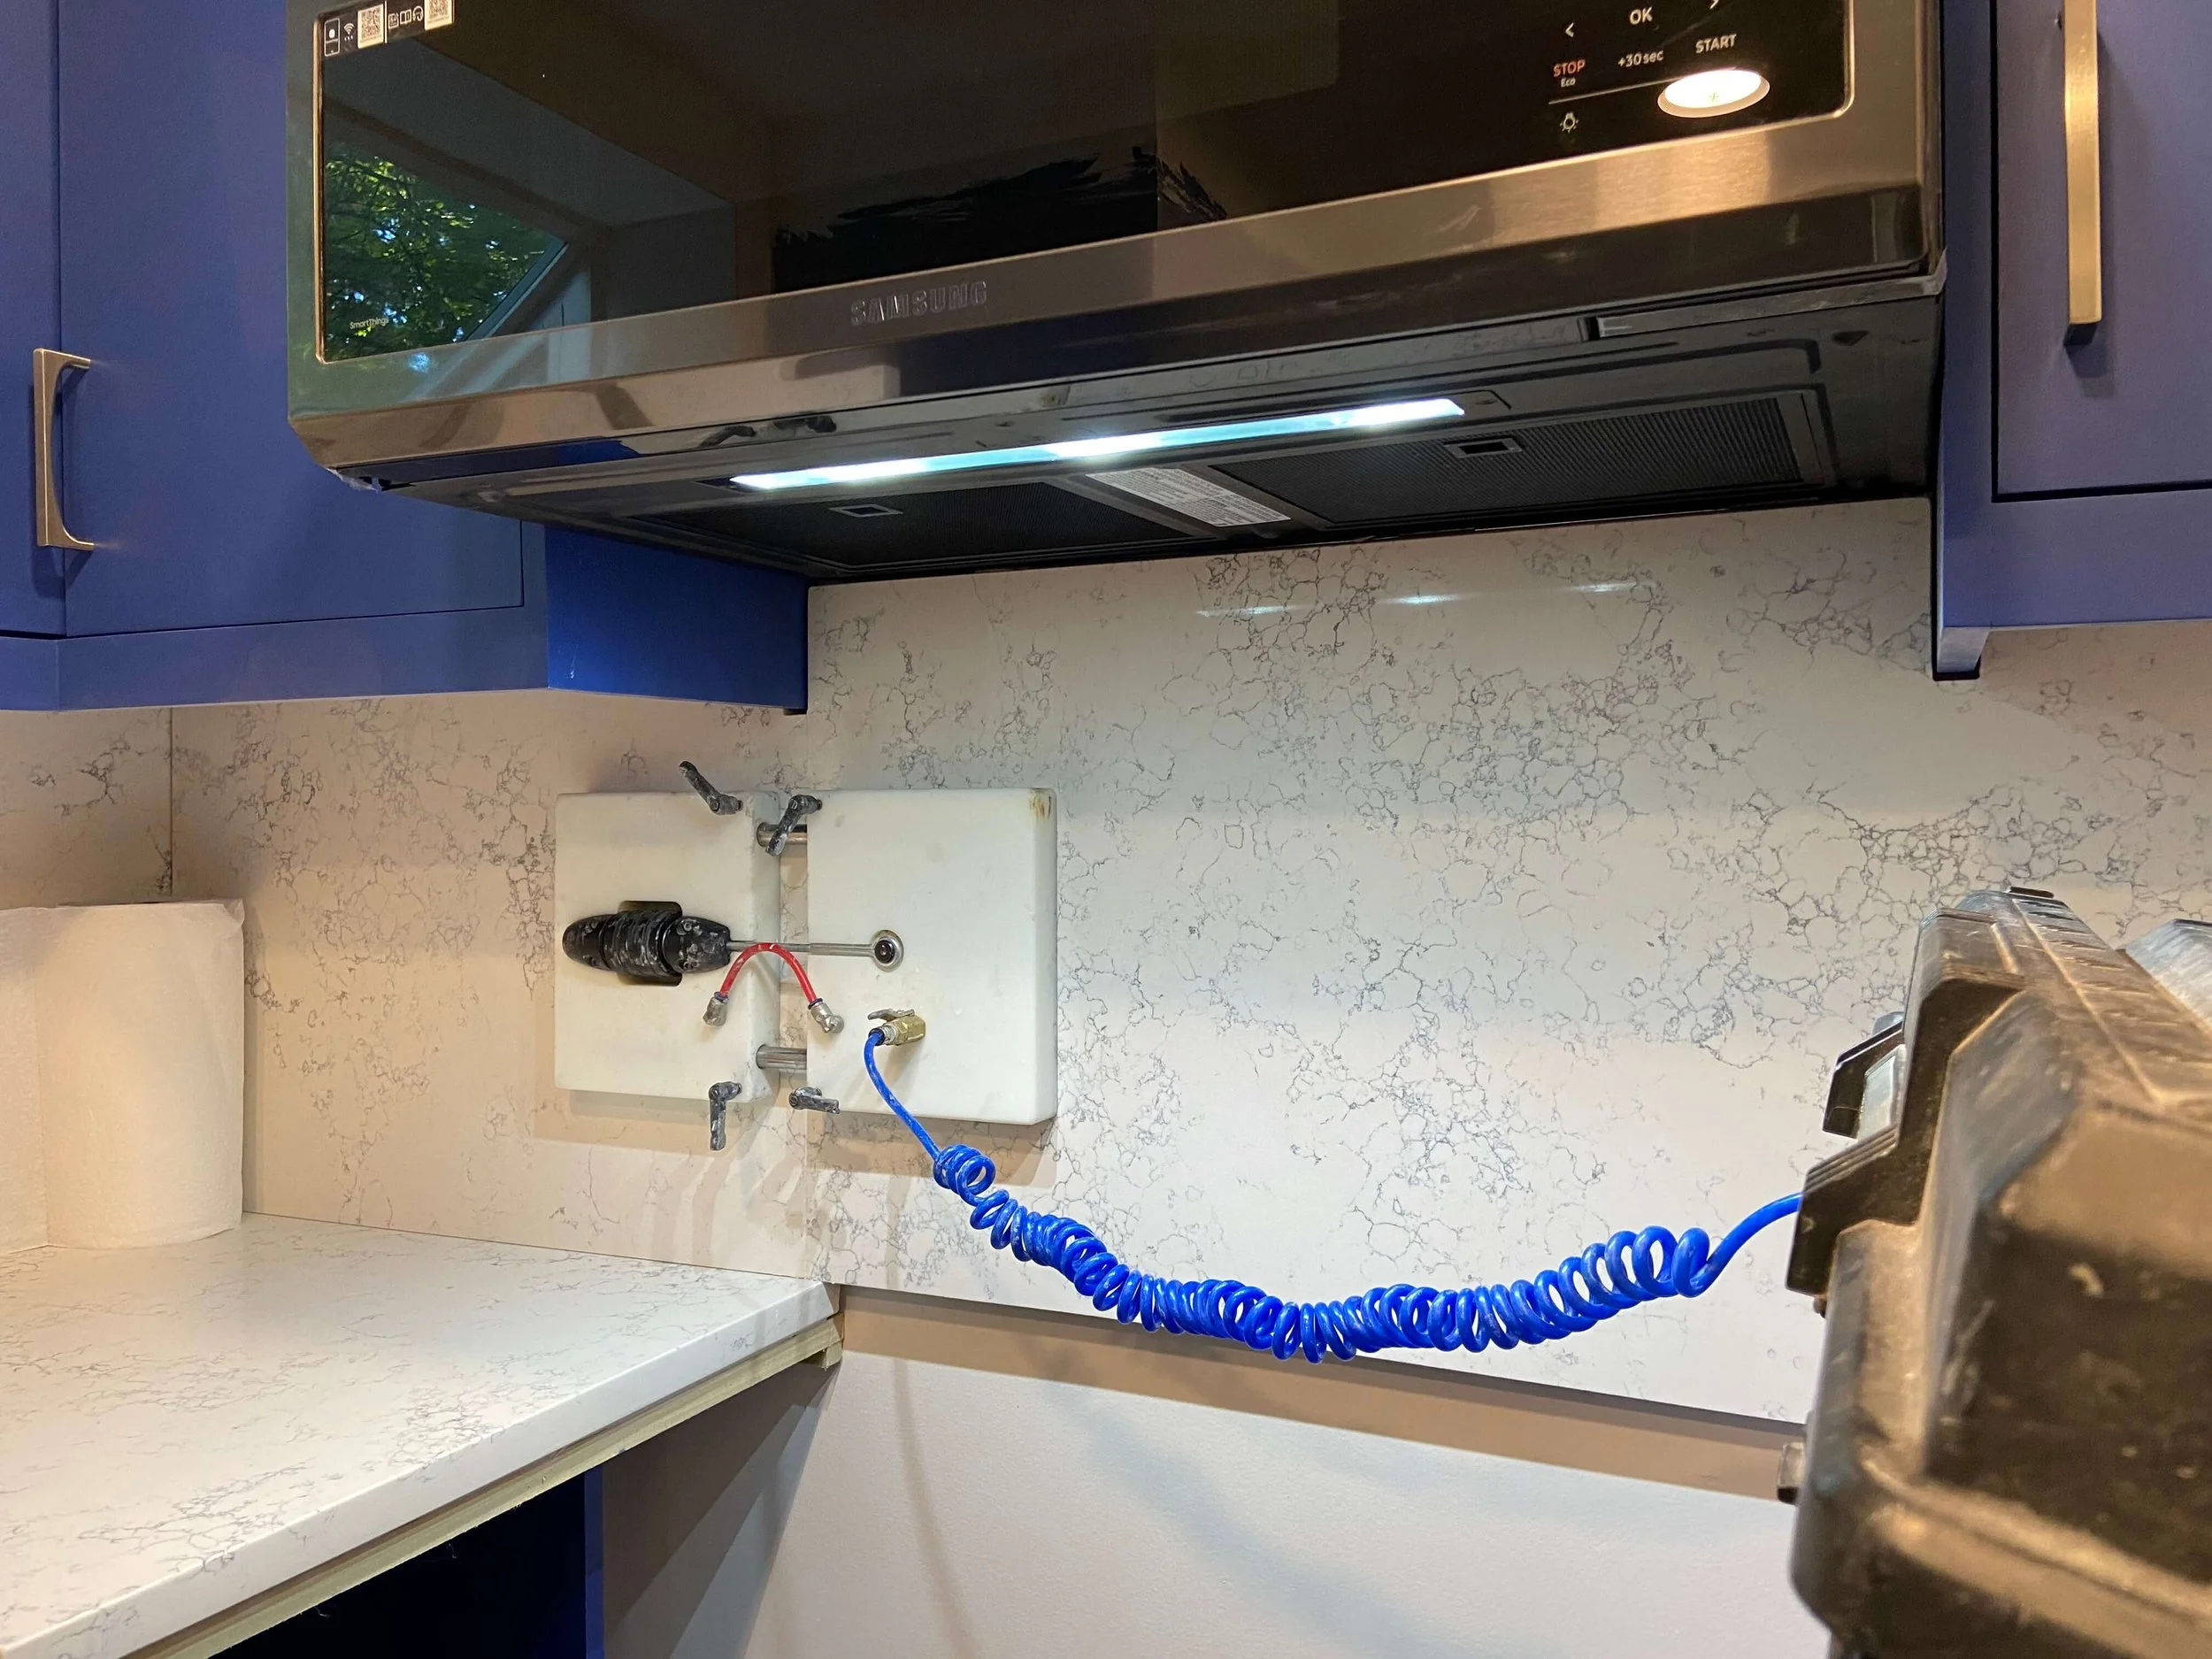
Step 11: Install countertop and backsplash
Once cabinets (and sink, if it’s an undermount) are installed, we had our fabricator come in to map out a template of the countertop space.
Measurements are taken in person and made precise to the space, down to 1/16 of an inch.
Countertops are templated first, then installed 7–10 business days later. The process repeats for the backsplash.
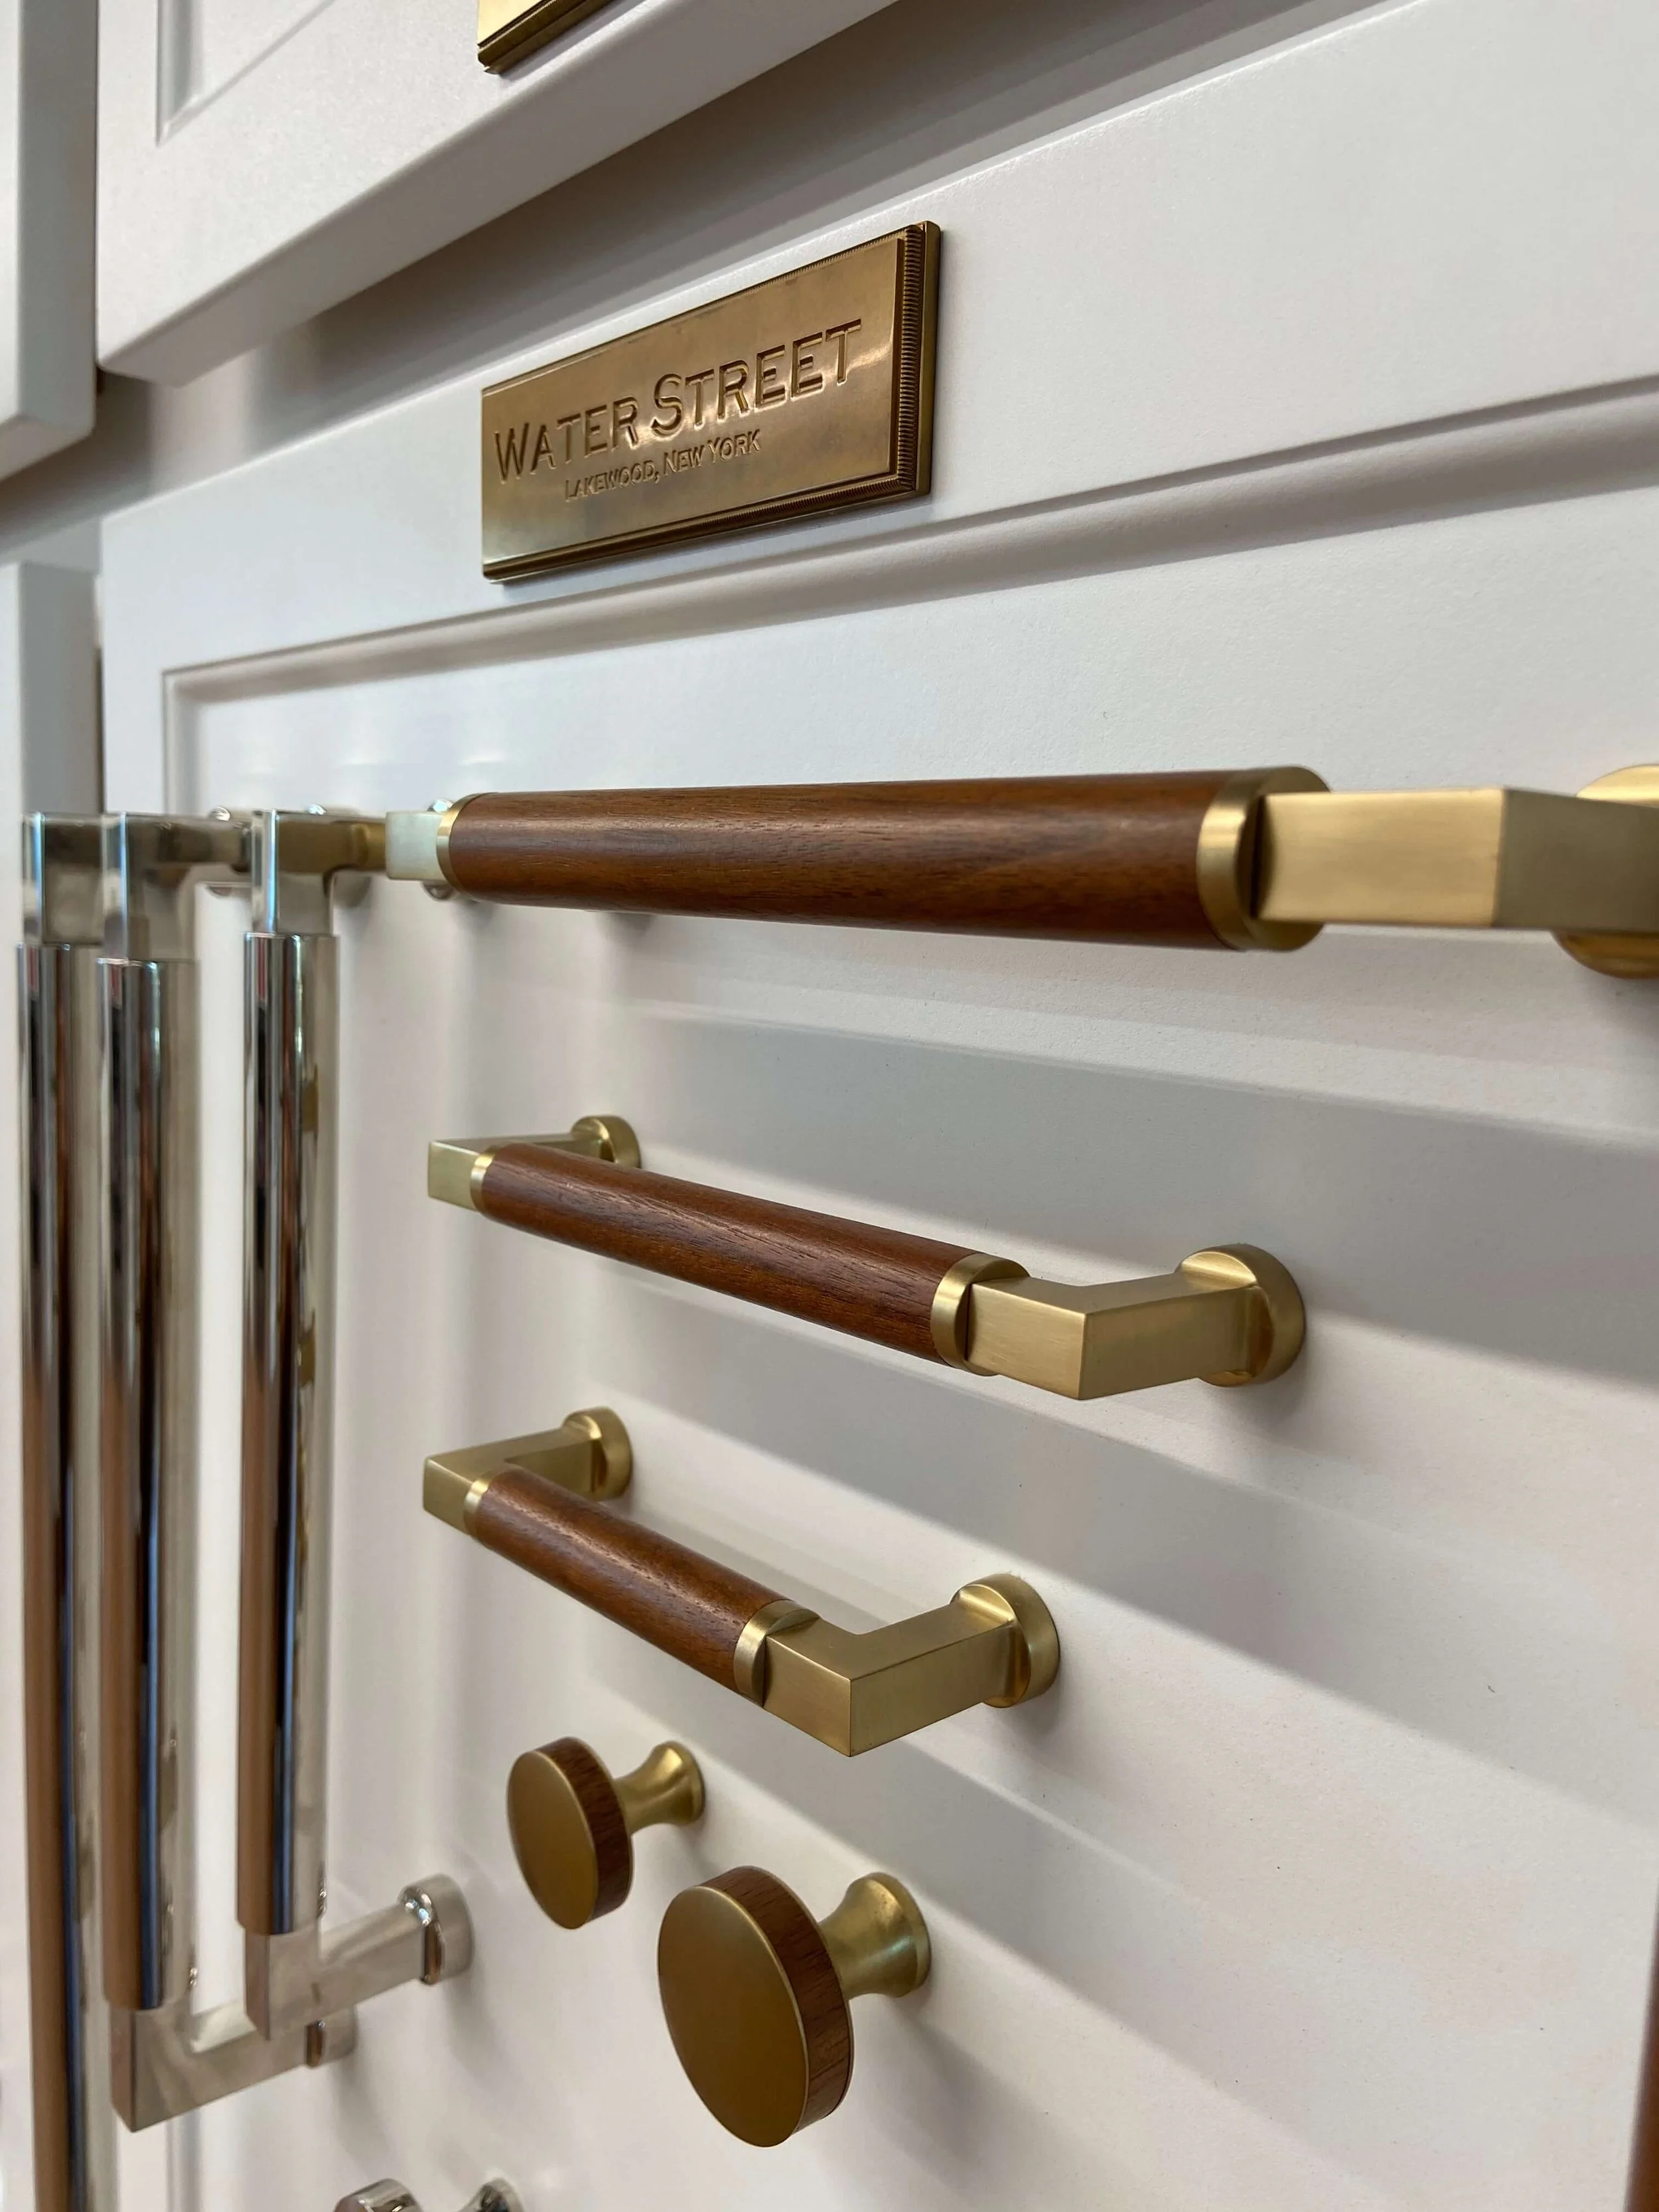
Cabinet pulls got installed at some point. Obviously not process-critical.
We bought our cabinet hardware from MACK Hardware in Burlington. I highly recommend this shop for its excellent customer service. It may look overwhelming with the sheer number of offerings they have, but just grab a staff and share your look and price range- you’ll get an instant shortlist.
It was helpful to be able get a physical hold of the hardware for sensory feedback and to see if they were wide enough for a 4-finger grip.

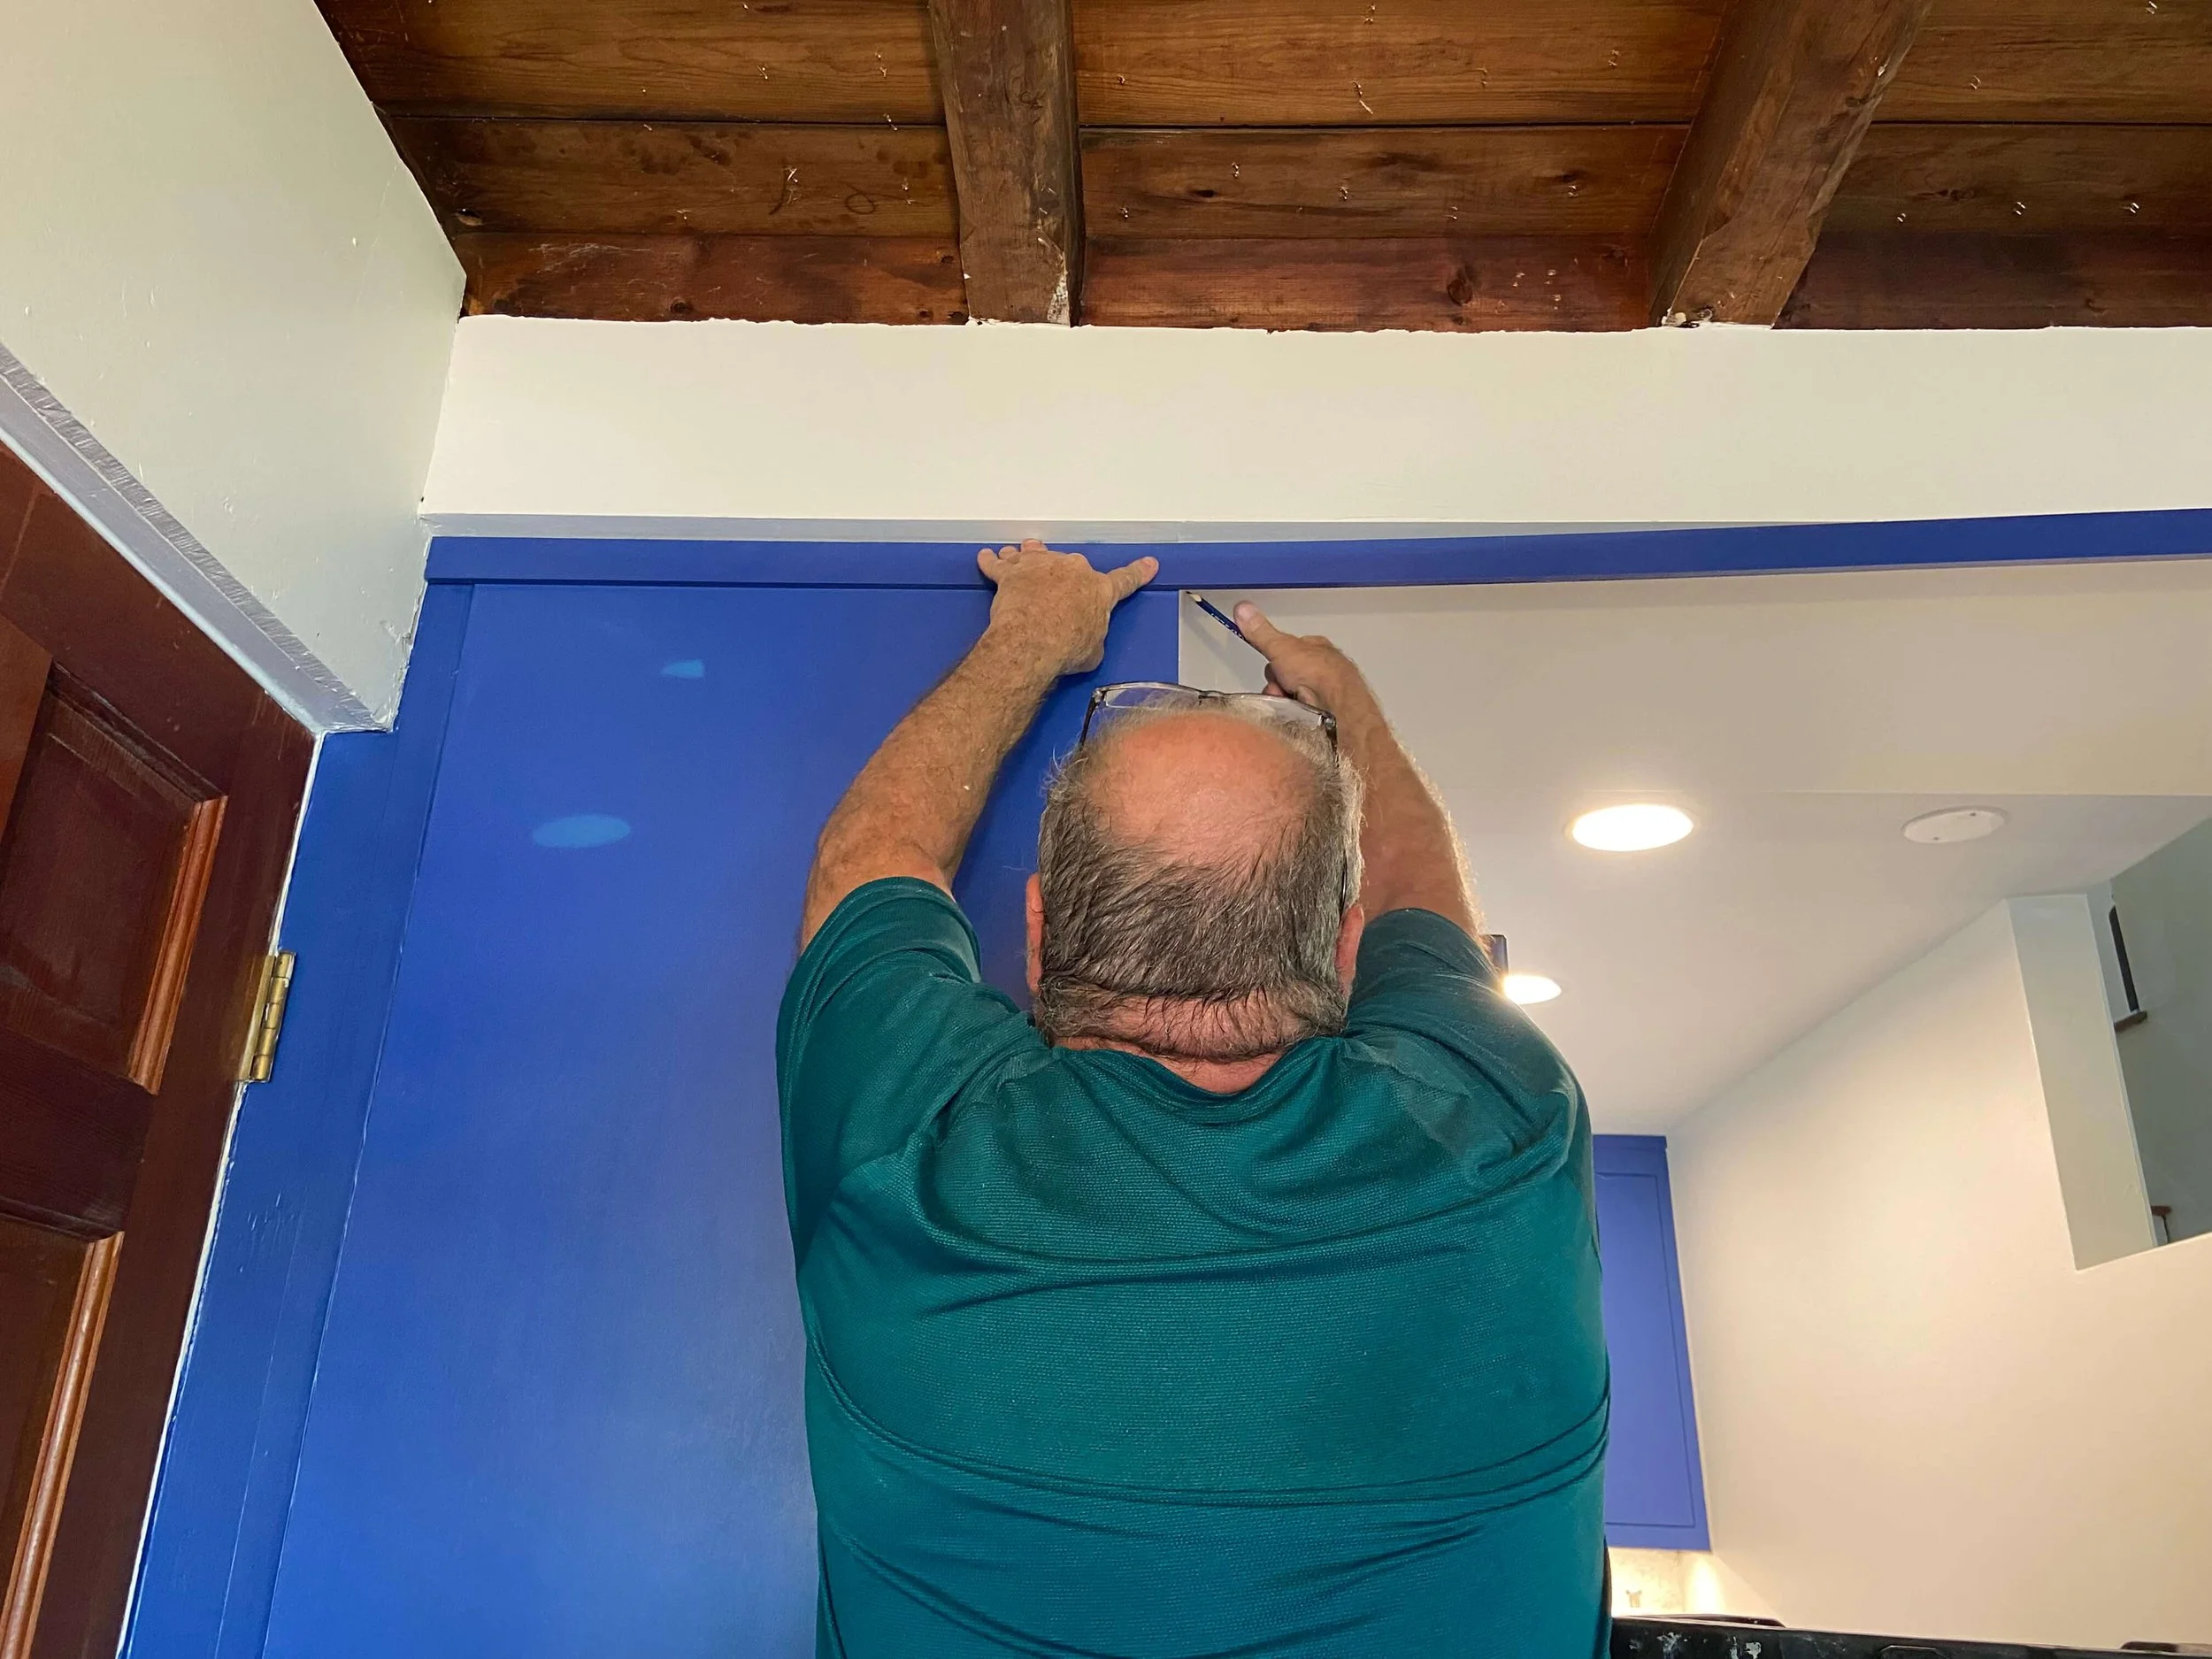
Step 12: Finish carpentry and paint
Just finishing touches at this point!
Trim cabinets to cover gaps between cabinets and walls/ceiling. Paint touch ups for walls and cabinets.
If your quartz countertops got stained, the answer is Soft Scrub with bleach. Yes, even for areas with colored veining.

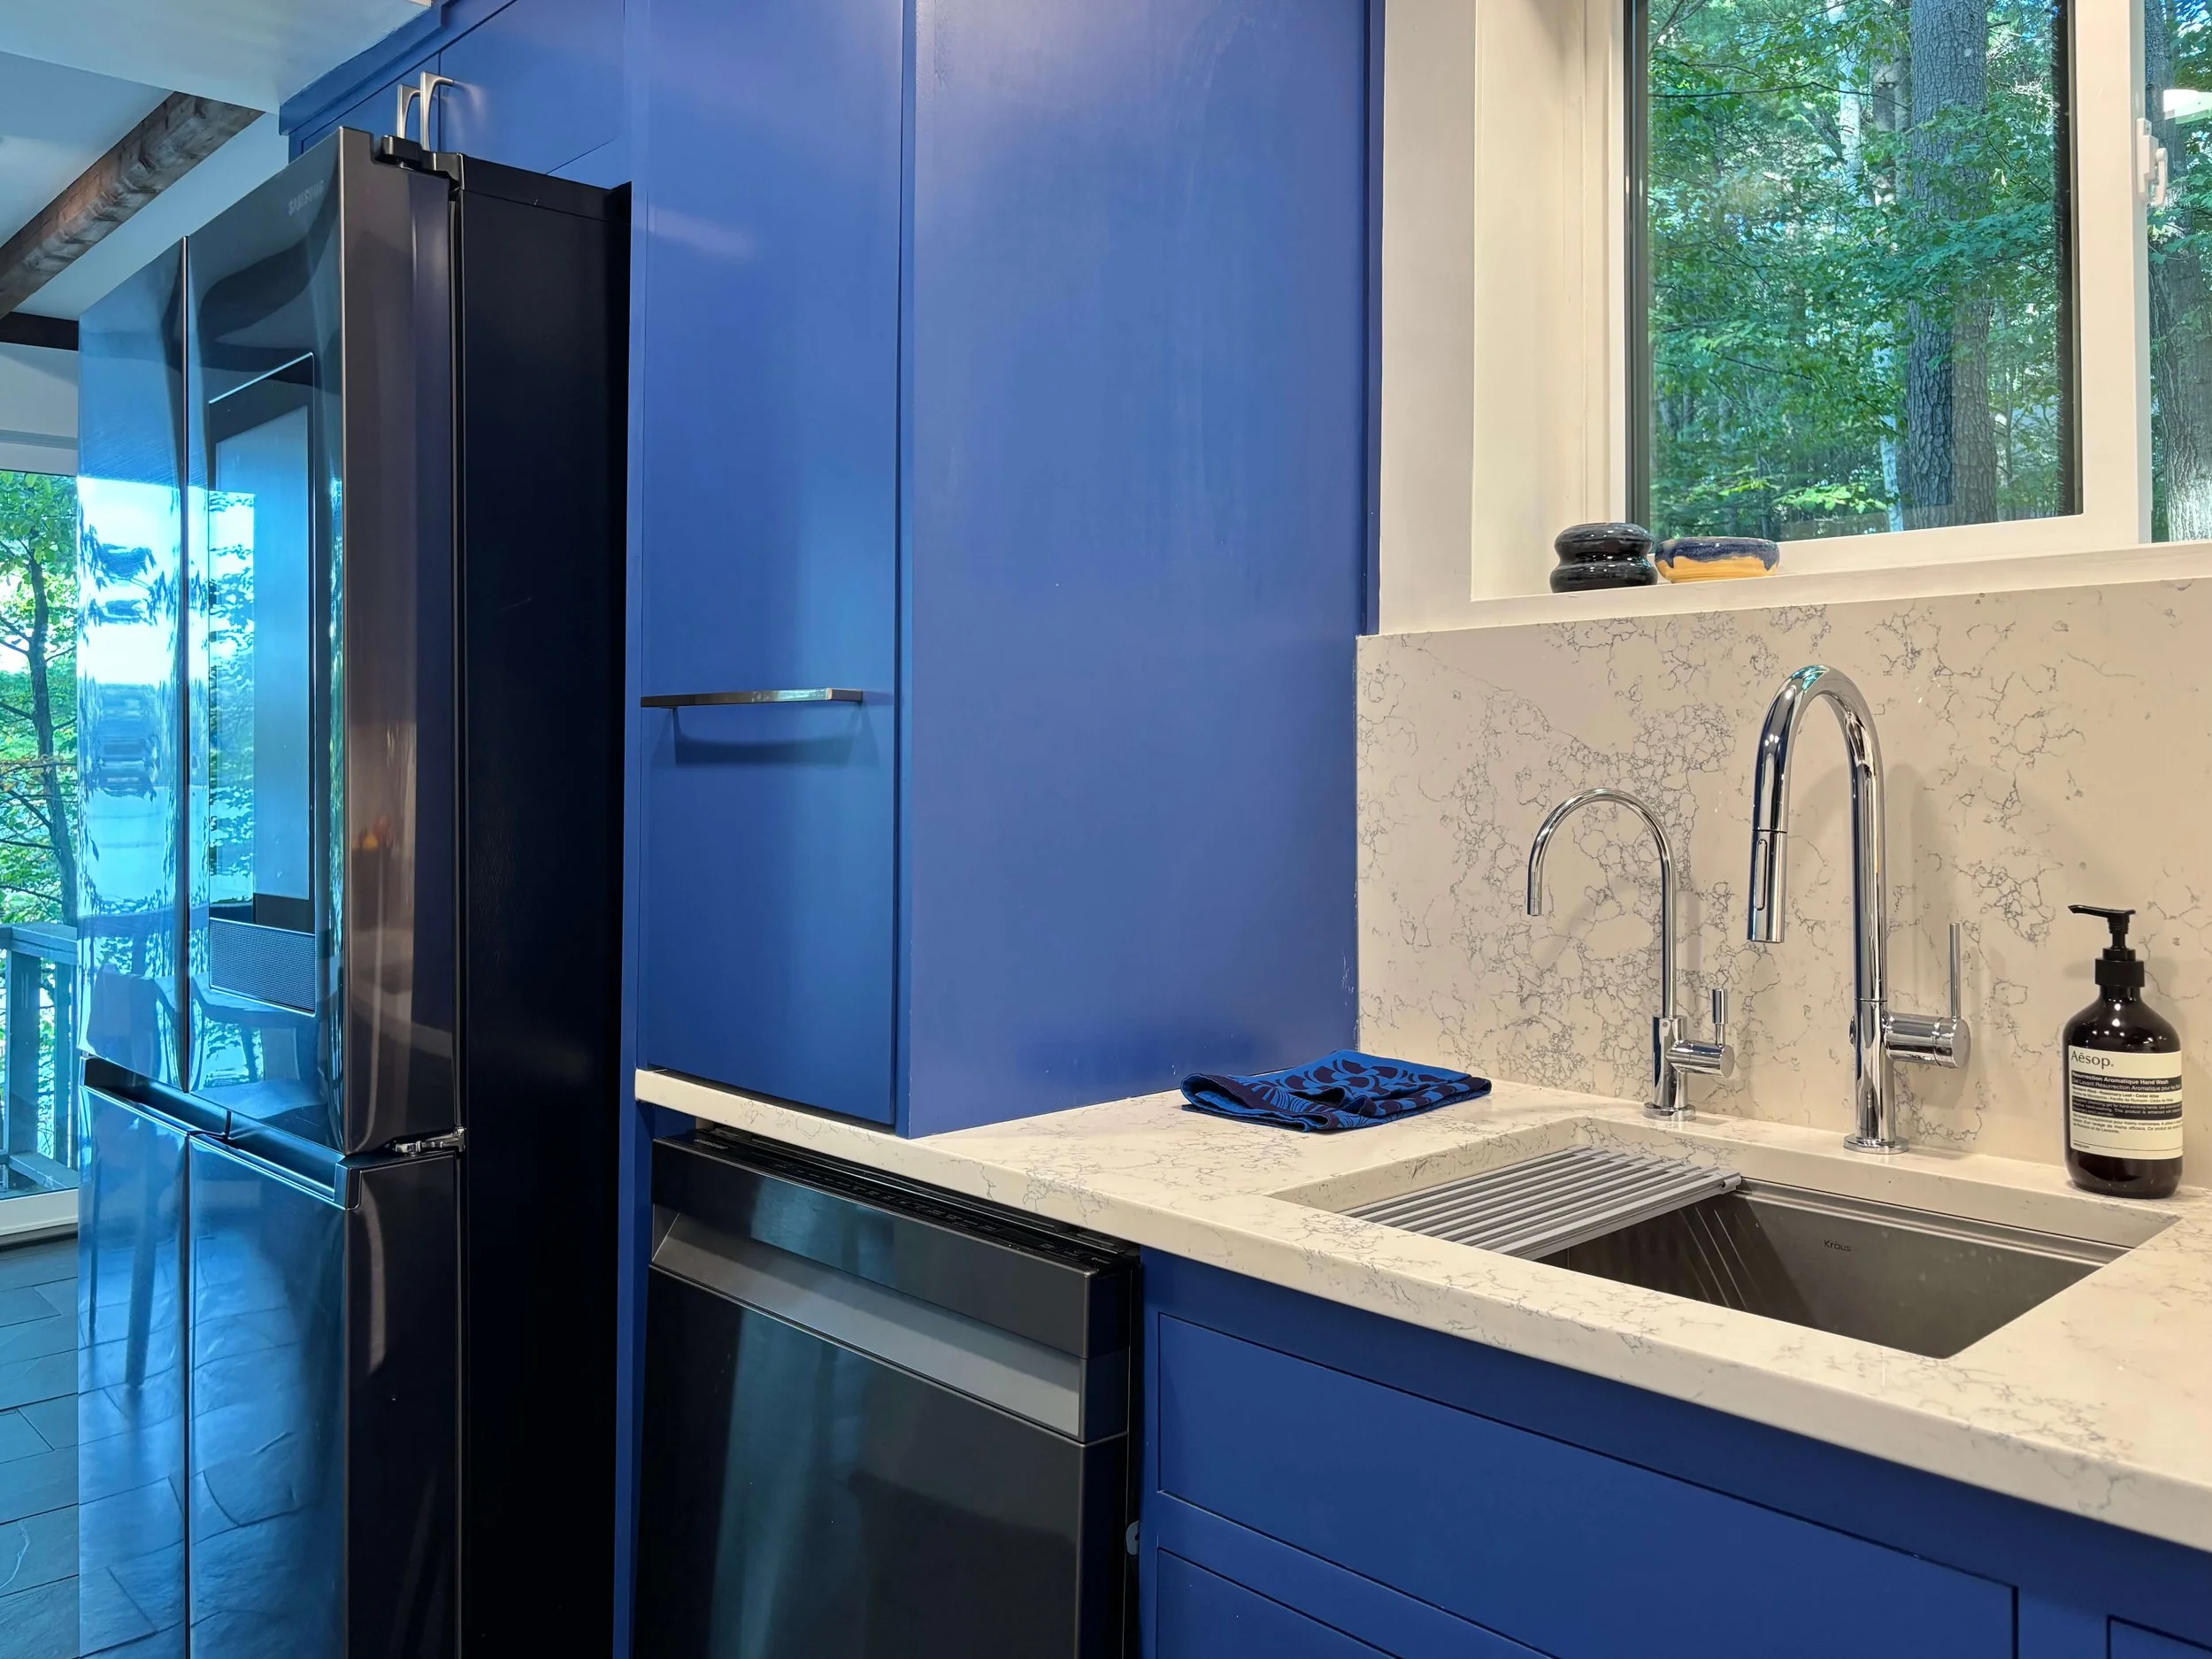
The finish

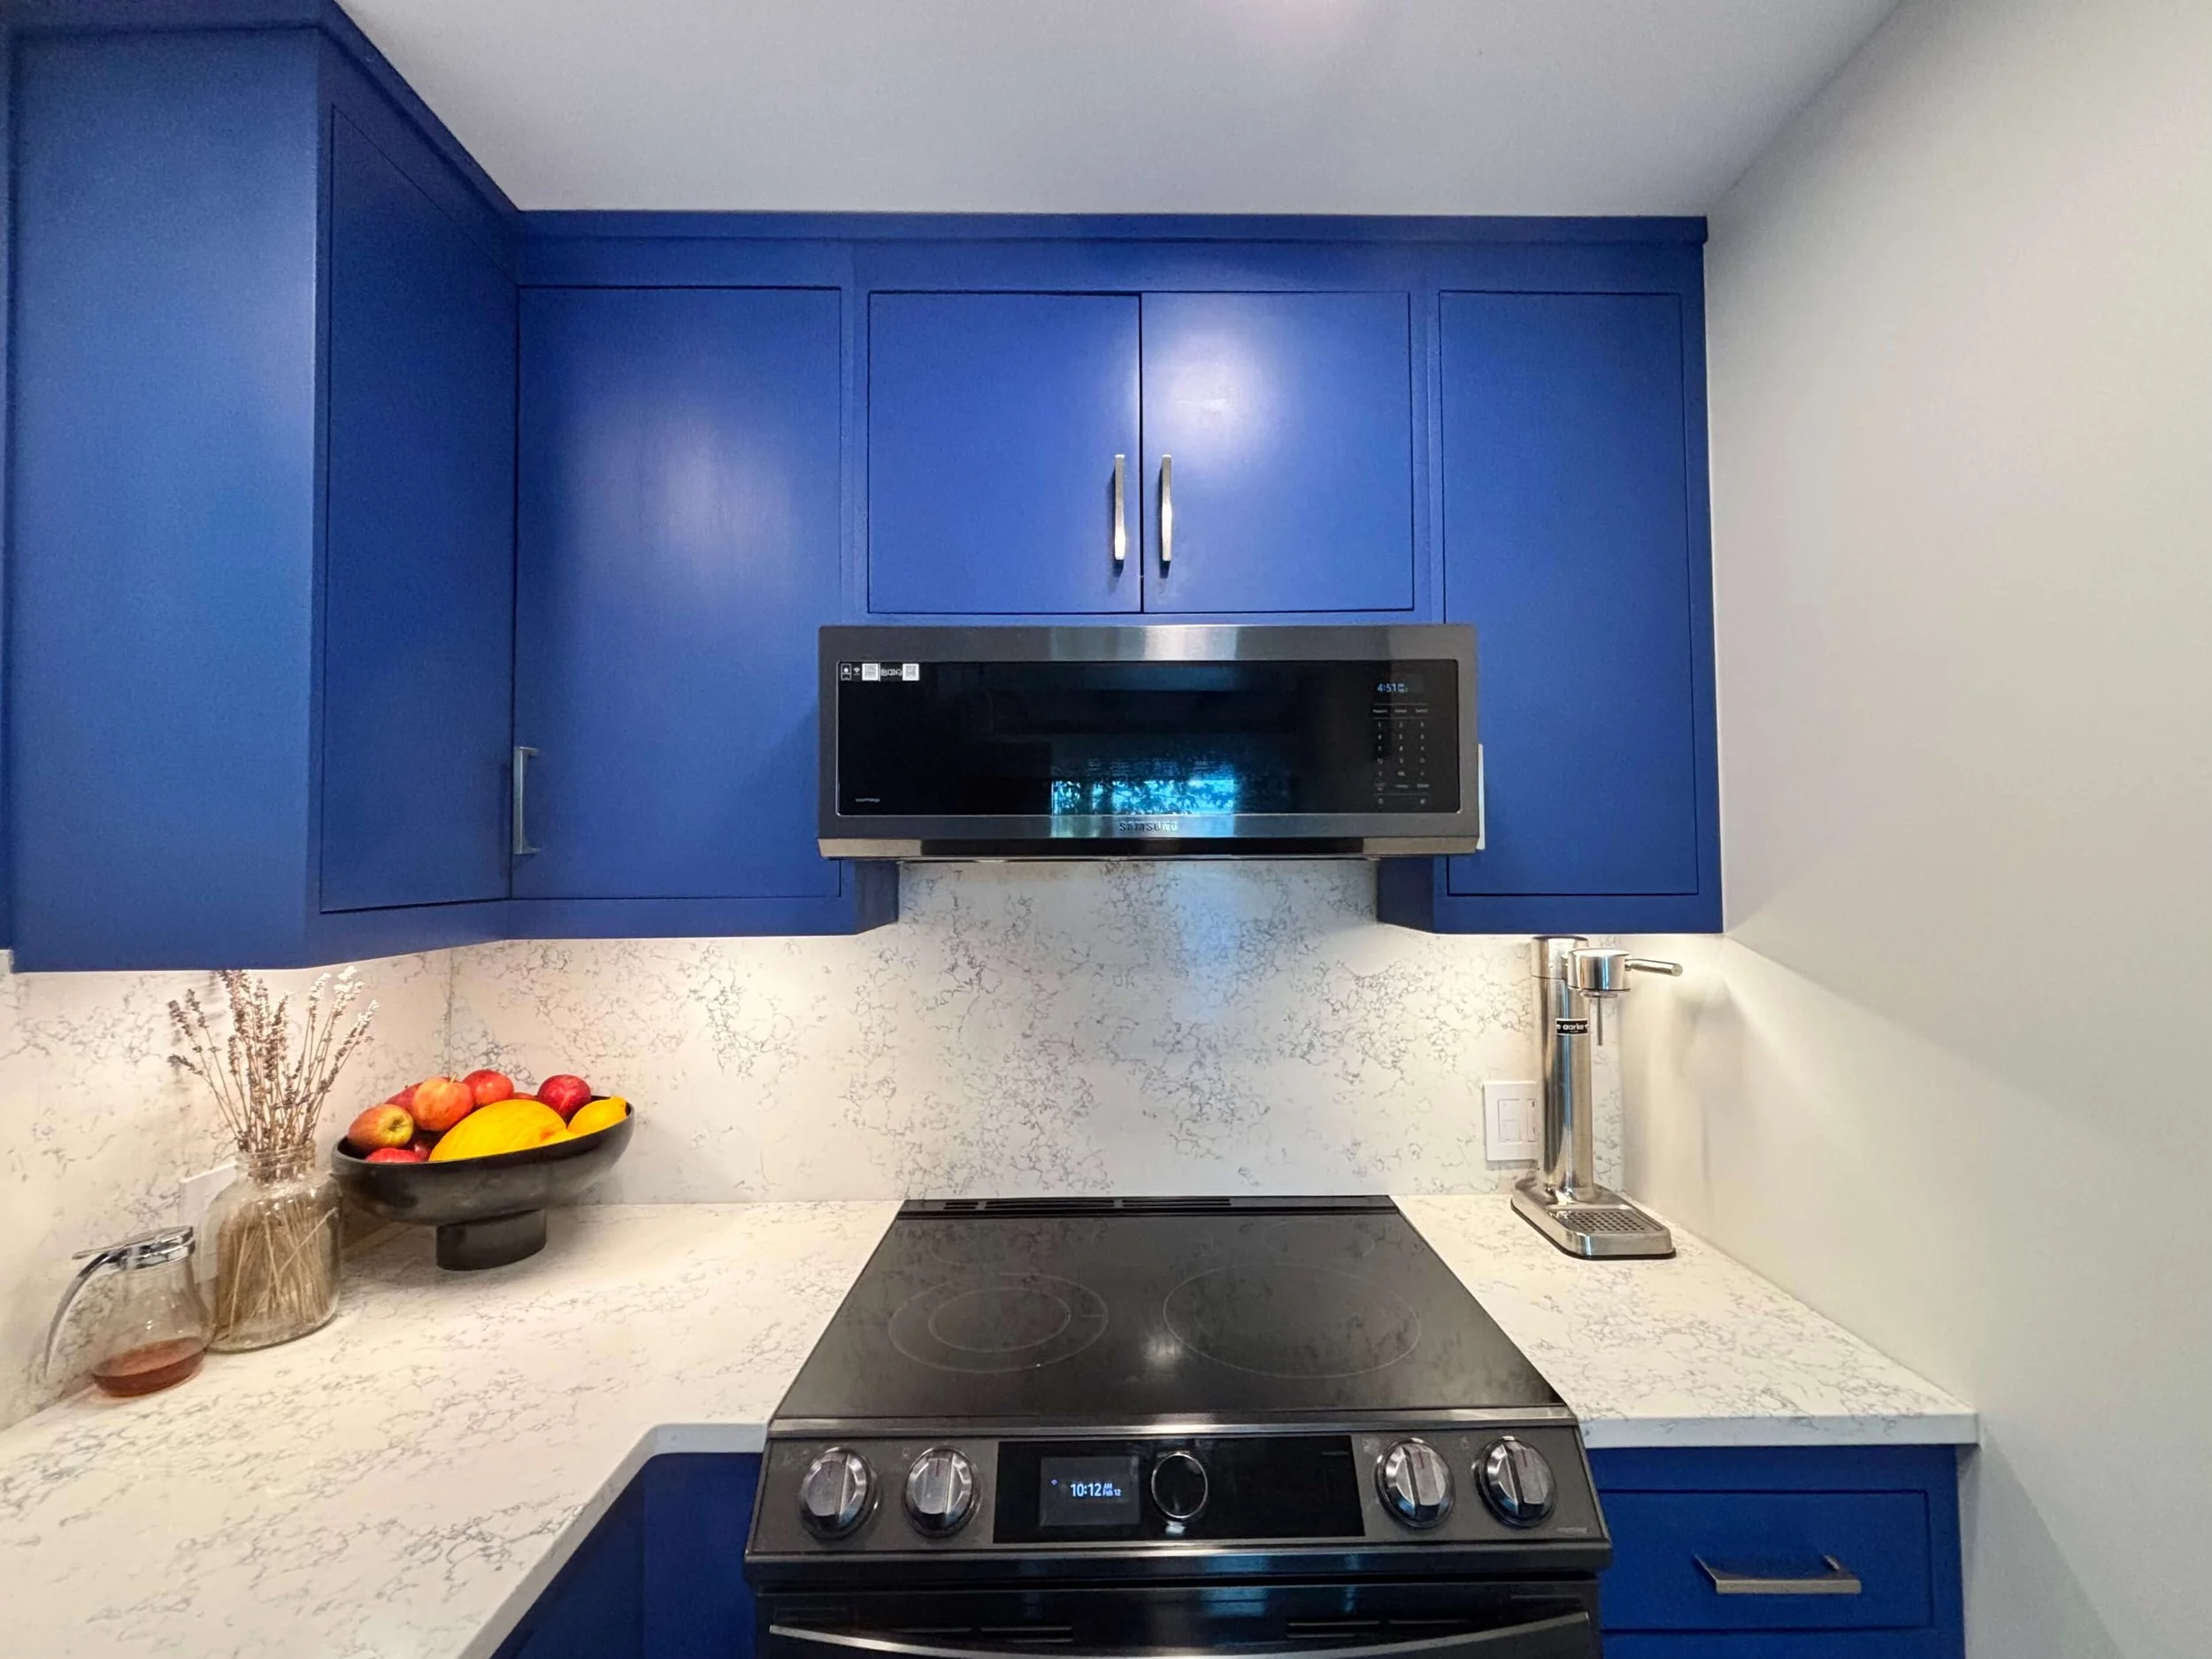
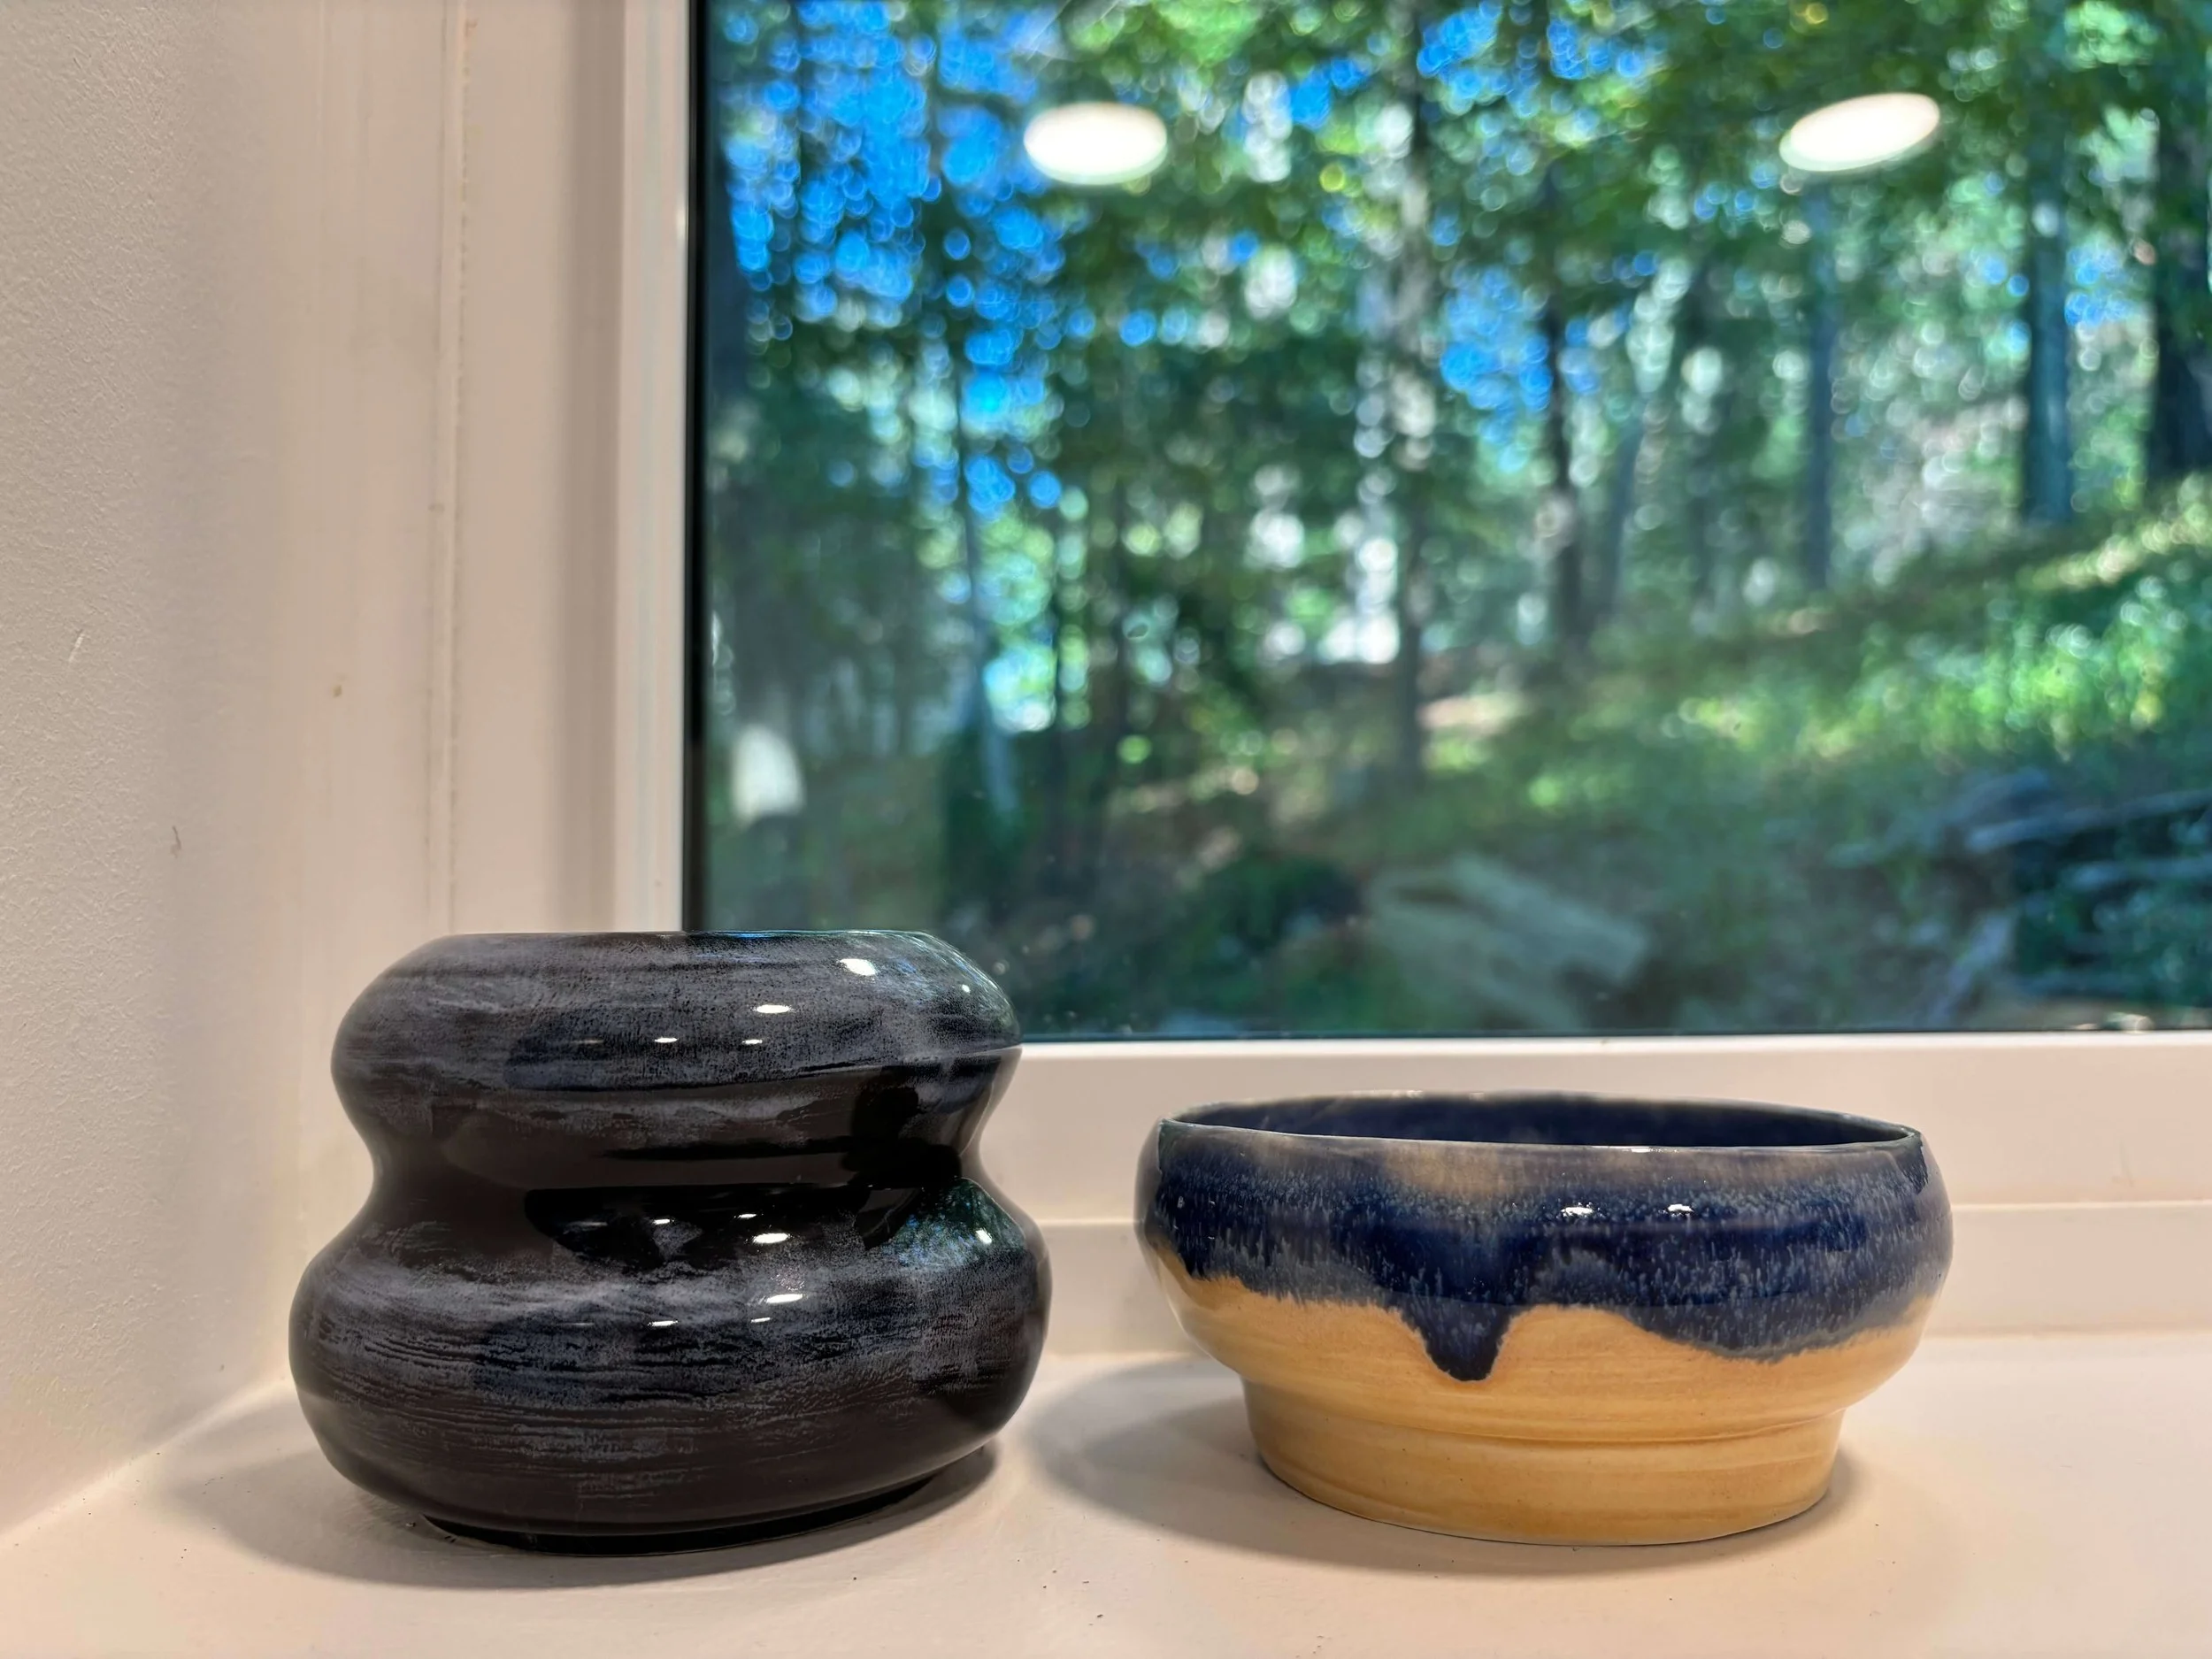
Ceramics, handmade by Joan!
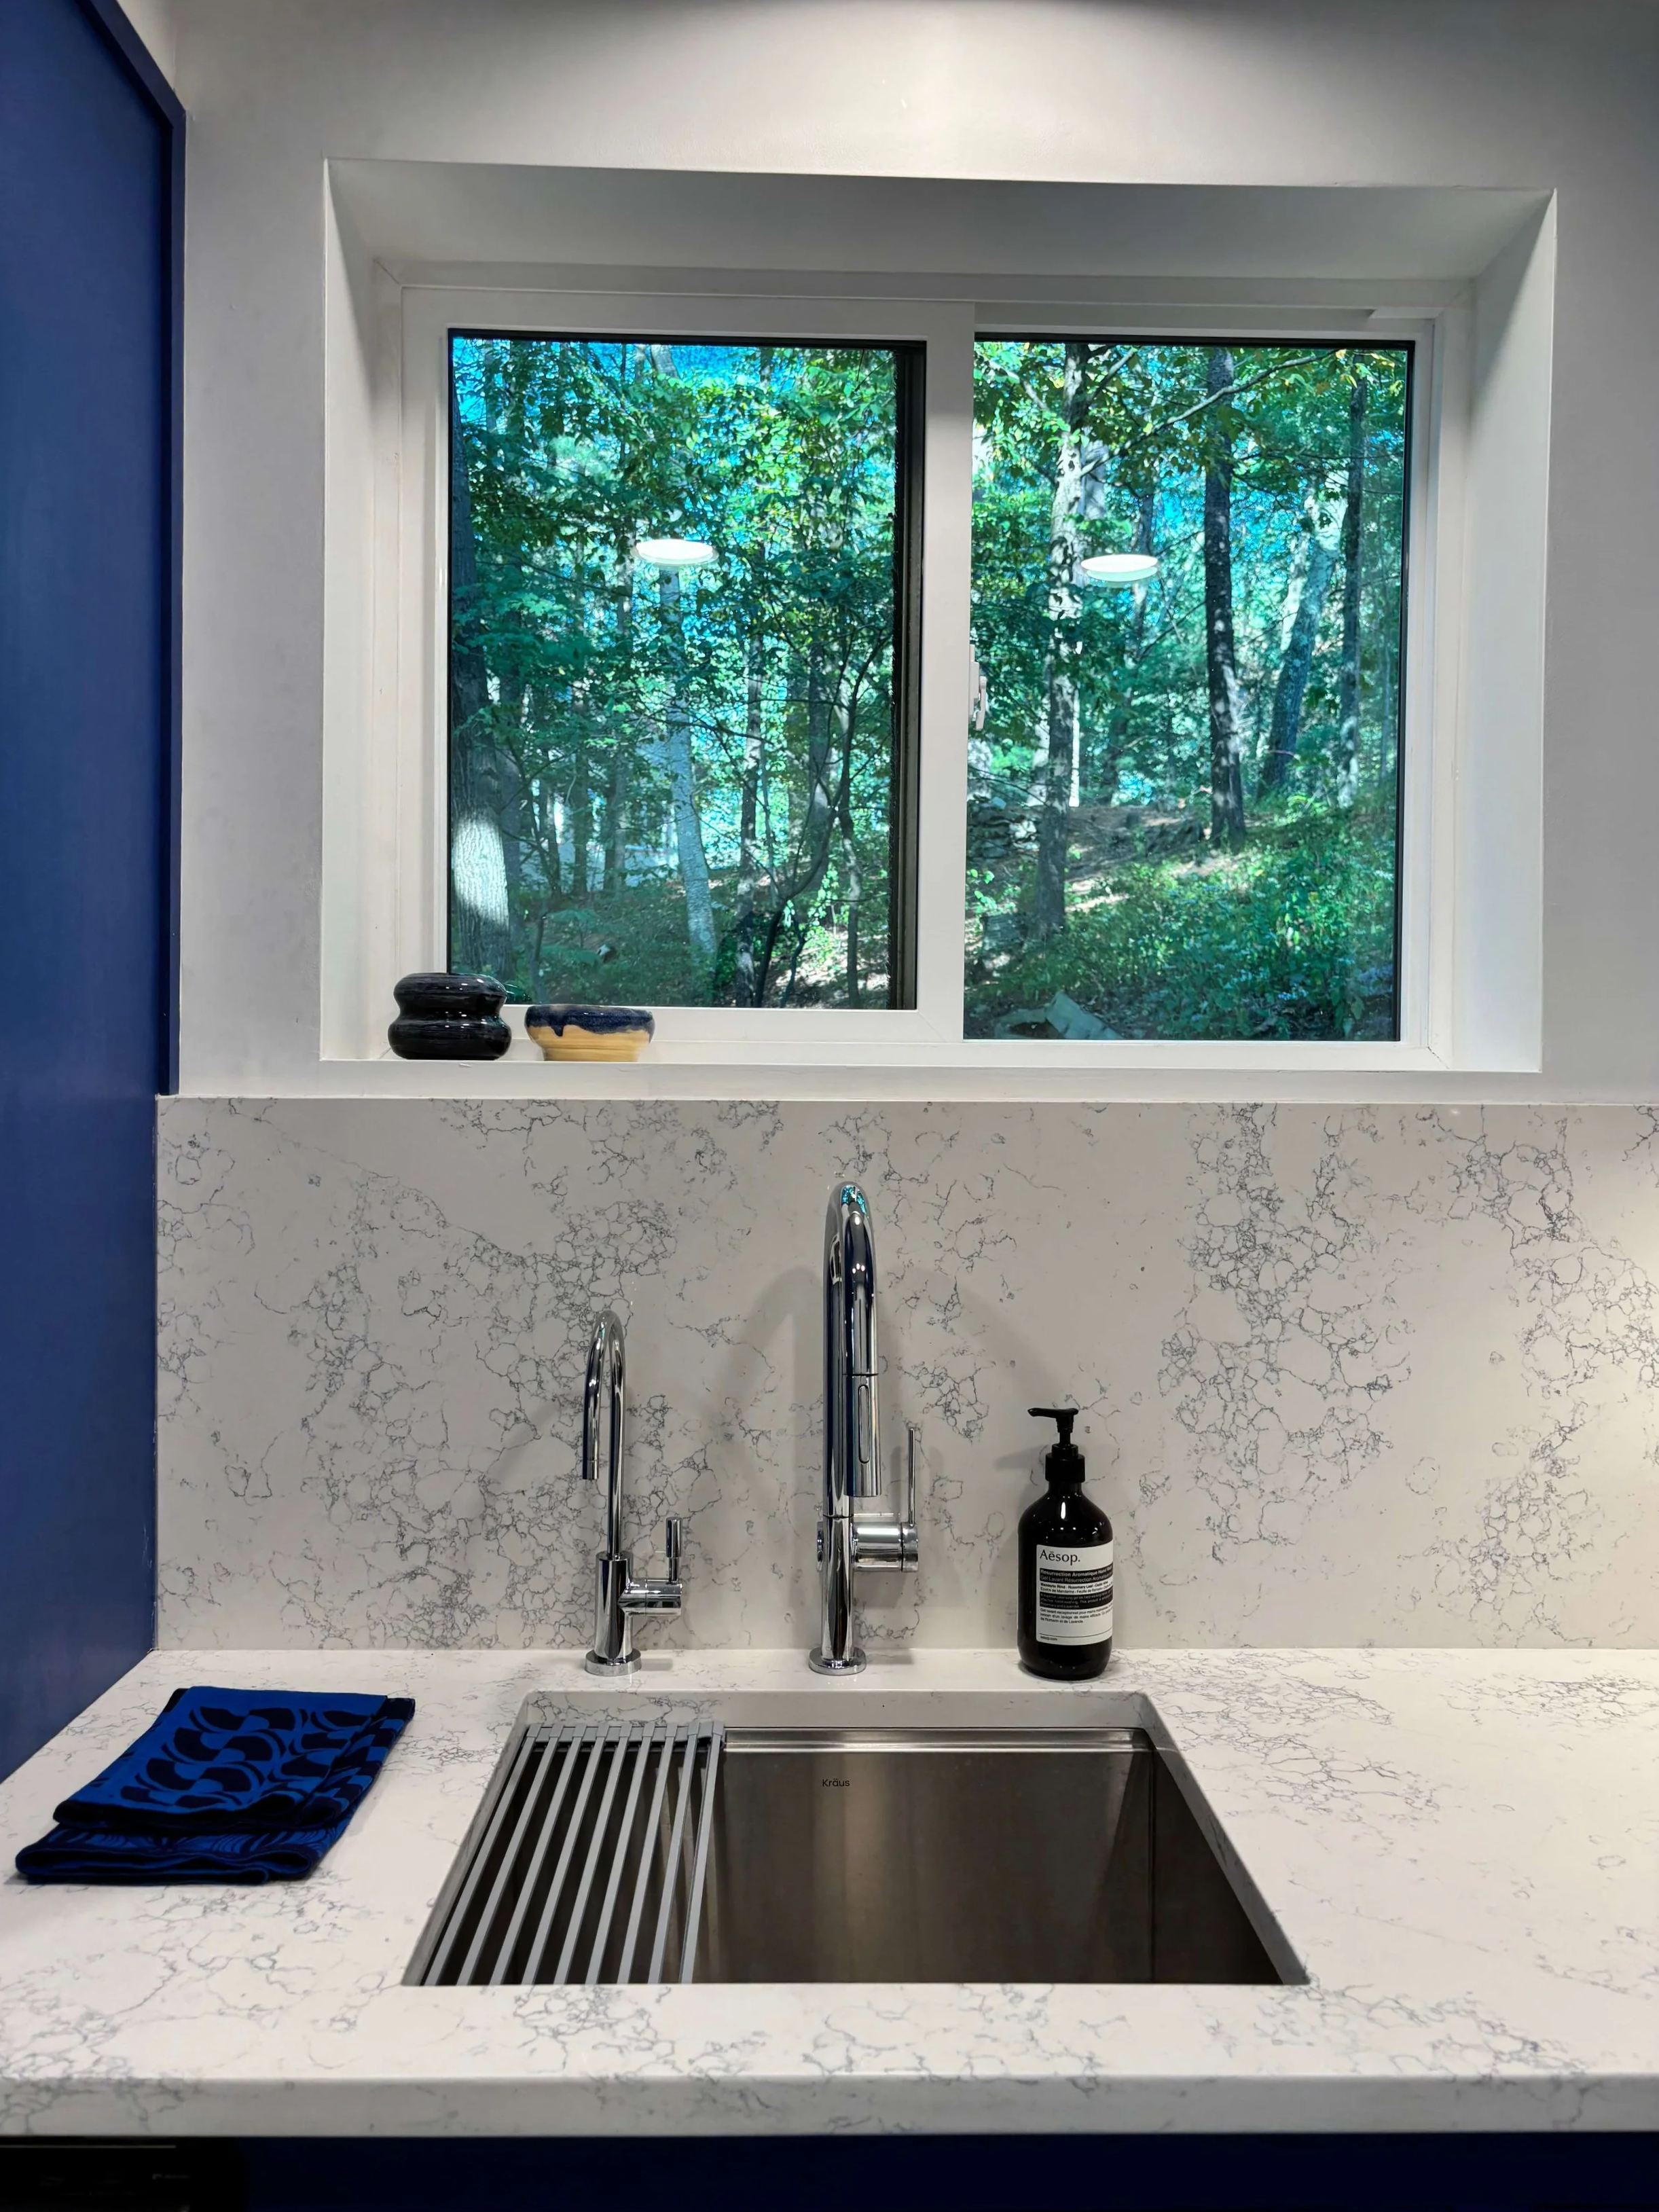
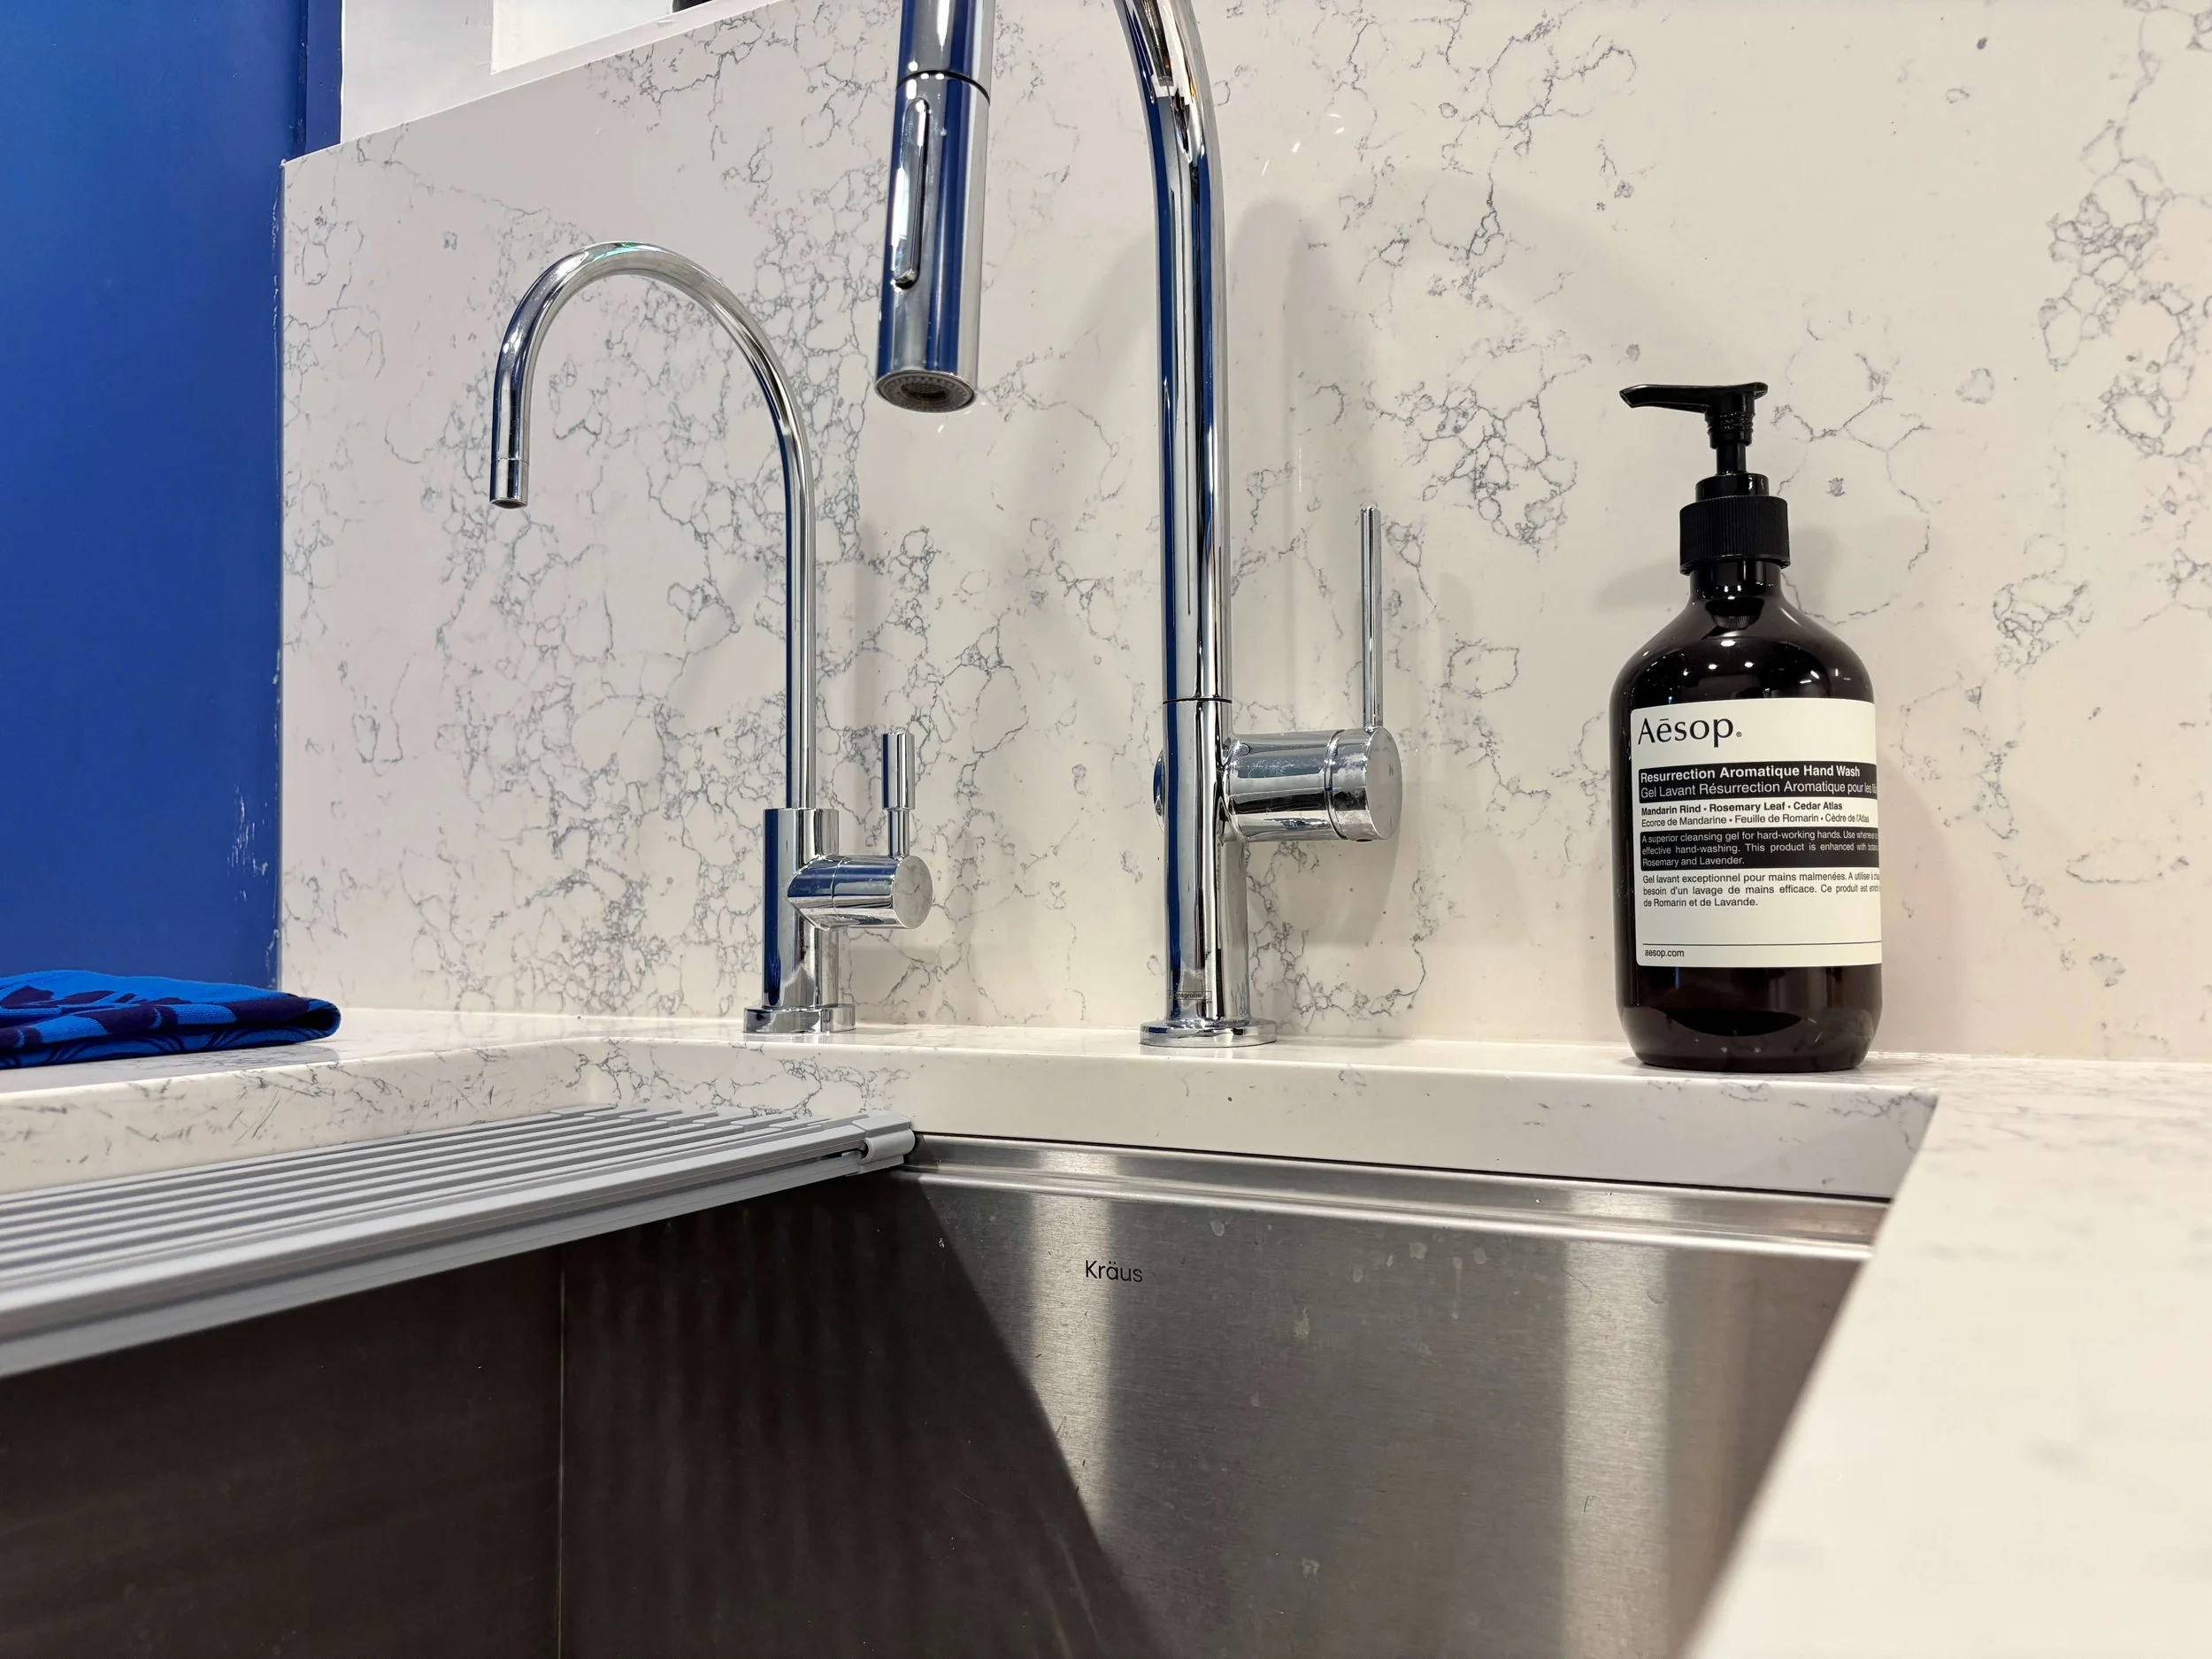
Kitchen Faucet, by Hansgrohe from Home Depot
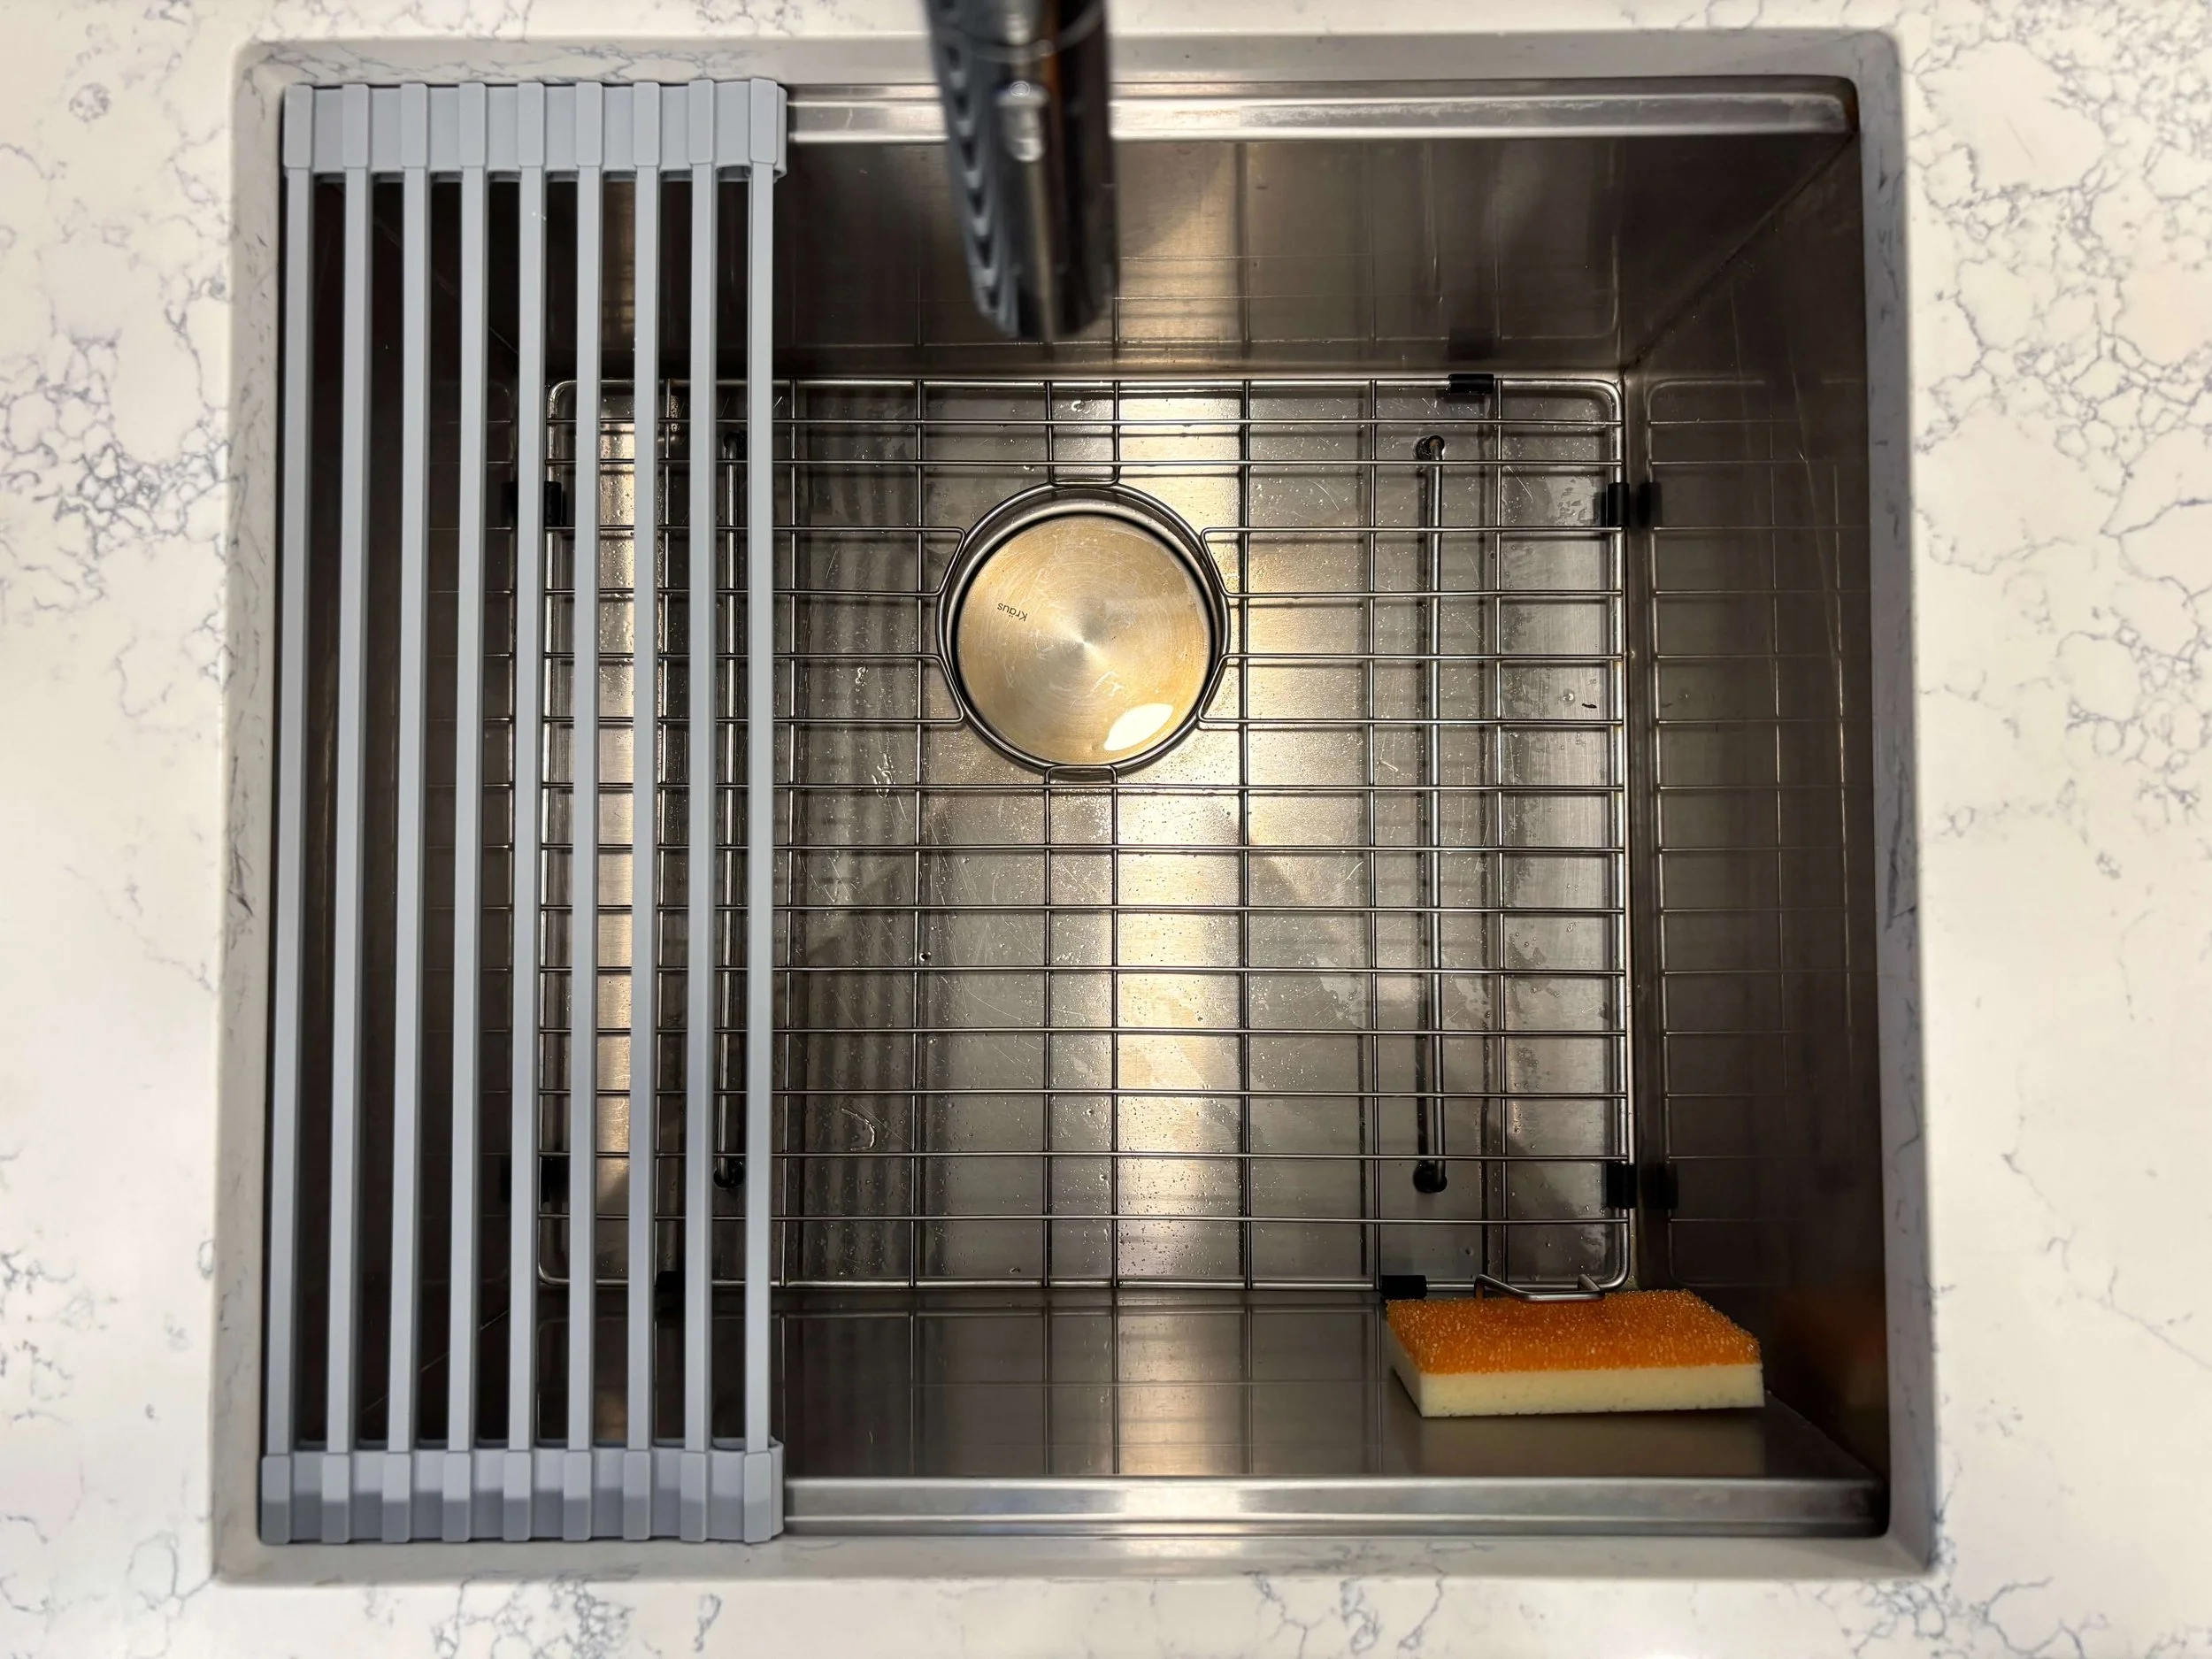
Workstation Sink, by Kraus from Home Depot
Work by:
Paint and tile installation
Erick Garcia, Allure Painting
Custom Cabinets
Bob Daly, Custom Cabinets by Bob
Countertop Fabricator
Mass Granite Inc.
General Contracting
Adam Muise, R. Muise Construction